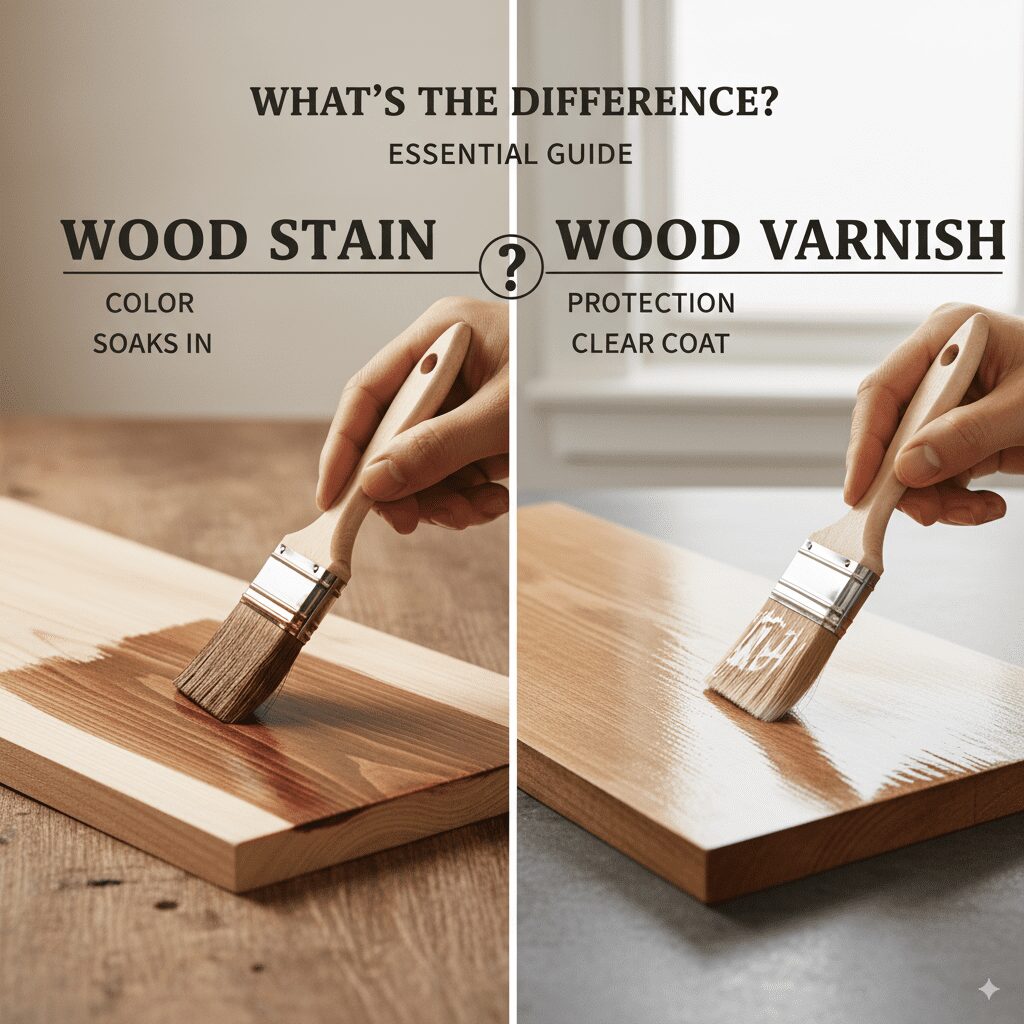
Stain vs Varnish: What’s the Real Difference?
Quick answer: Stain soaks into wood fibers to add color and reveal the grain, but it offers almost no protection on its own. Varnish sits on top of the wood as a hard, clear film that blocks moisture, UV rays, and everyday wear. Most projects that need to last actually use both — stain first for color, then a varnish topcoat for protection.
The confusion between stain and varnish is common because both products get brushed onto bare wood and both change how it looks. But they do fundamentally different jobs. Get the order or the combination wrong and you end up with the kind of uneven finish that has to be sanded back and redone. Below is what each product actually does, how to tell them apart before you buy, and where most guides oversimplify the difference.
What Is Wood Stain?
Best Outdoor Varnish Topcoat
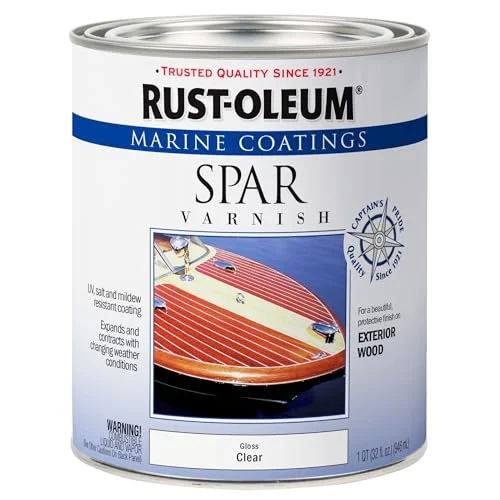 |
Rust-Oleum Marine Spar Varnish – $19.98 A true oil-based spar varnish — the flexible, UV-resistant topcoat this article recommends over stain for anything that lives outdoors.
|
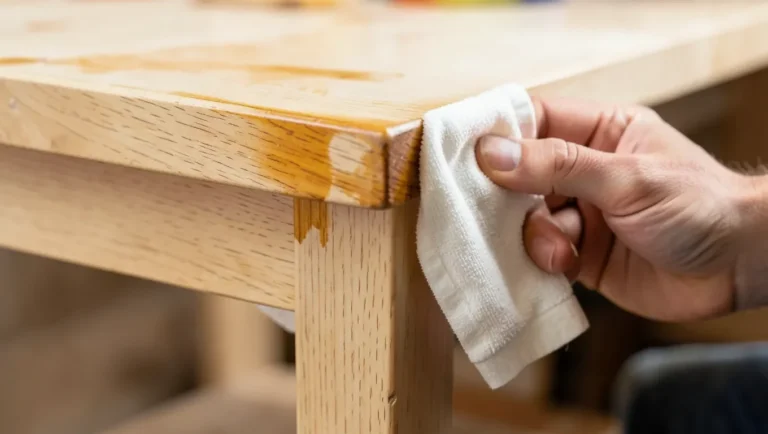
Wood stain is a pigment or dye suspended in a thin carrier (oil, water, or gel) that soaks into the open pores of the wood instead of sitting on the surface. Because it penetrates rather than coats, it changes the wood’s color while leaving the grain pattern fully visible — unlike paint, which hides it.
Stains come in three main bases. Oil-based stains penetrate deepest and give the richest, most even color, but need 6–8 hours (sometimes overnight) between coats and clean up with mineral spirits. Water-based stains dry in 1–2 hours, have far less odor, and clean up with soap and water, but raise the wood grain slightly and need a light sanding afterward. Gel stains sit closer to the surface and don’t run, which makes them the right choice for vertical surfaces like cabinet doors or for blotch-prone woods like pine and cherry. Always test on an offcut of the actual wood you’re finishing — the same stain can look noticeably different on open-grained oak than on tight-grained maple.
One point worth being direct about: stain by itself does not protect wood from water, scratches, or UV fading. It’s a color layer, not a shield. Any stained surface that gets touched, walked on, or rained on needs a clear topcoat over it.
What Is Varnish?
Varnish is a film-forming finish: a mix of resin, drying oil, and solvent that cures on top of the wood into a hard, clear layer. Instead of soaking in like stain, it builds a physical barrier that seals out moisture, blocks UV rays, and resists everyday scuffs. It’s usually applied over stain for color plus protection, though it also looks fine brushed straight onto bare wood if you want the natural tone with a protective sheen.
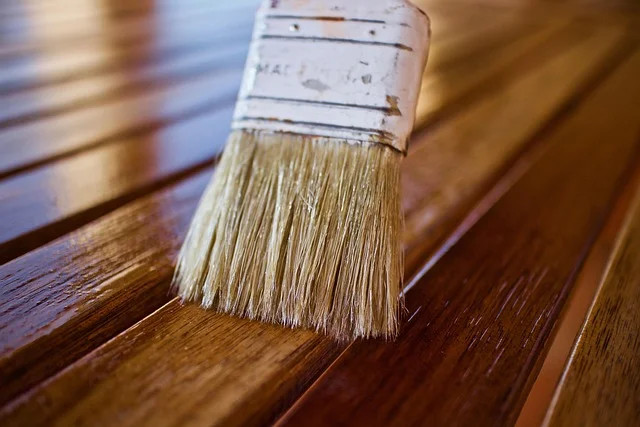
Two traits define a good varnish: hardness (resistance to scratches) and flexibility (ability to expand and contract with the wood without cracking). Spar varnish trades some hardness for extra flexibility and UV blockers, which is why it’s the standard choice for exterior doors, railings, and boats — wood outdoors moves more with humidity and temperature than wood indoors does, and a rigid finish will crack under that movement. Interior varnishes lean harder and glossier since they don’t need to flex as much.
Oil-based varnishes amber and yellow over years of UV exposure, which is desirable on a warm-toned wood like walnut but noticeable on something pale like maple or ash. If color drift matters to you, look for a water-based polyurethane-varnish hybrid instead. Whatever you use, stir it gently rather than shaking it — shaking introduces air bubbles that show up as tiny craters once the finish cures.
Varnish vs. Polyurethane: The Distinction Most Guides Skip
Most of what’s sold as “varnish” on hardware store shelves today is actually polyurethane, and the two aren’t chemically identical — a detail almost every comparison article glosses over. Traditional varnish (spar varnish, marine varnish) uses natural or alkyd resins dissolved in drying oils like tung or linseed oil. Polyurethane uses a synthetic urethane resin instead, which cures harder and more scratch-resistant but with less flexibility than true varnish.
The practical difference: for a tabletop or floor that needs maximum scratch resistance, polyurethane wins. For an exterior door, deck railing, or anything else that expands and contracts outdoors, true spar varnish’s flexibility keeps it from cracking in a way rigid polyurethane eventually will. There’s also a compatibility issue worth knowing before you start layering finishes — oil-based polyurethane can usually go over an oil-based stain without trouble, but mixing a true spar varnish over a water-based polyurethane sealer can cause adhesion problems. If you’re not sure which one a can actually contains, check the label for “urethane” or “polyurethane” in the ingredients, not just the word “varnish” in the product name.
Key Differences Between Stain and Varnish
Here’s the side-by-side breakdown once you strip out the marketing language.
| Aspect | Stain | Varnish |
|---|---|---|
| Purpose | Adds color and enhances grain | Provides protection and sheen |
| Application | Penetrates into wood | Forms a layer on top |
| Protection Level | Low (needs topcoat) | High (resists moisture, UV, scratches) |
| Drying Time | 1–8 hours depending on base | 4–24 hours per coat |
| Finish Options | Matte, semi-transparent | Glossy, satin, matte |
| Durability Alone | Low — needs a topcoat | High for heavy use |
| Typical Cost | $10–20 per quart | $15–30 per quart |
This is exactly why most finished projects use both: stain sets the color, varnish locks it in and protects it. For an outside second opinion on the terminology, The Spruce has a solid varnish vs. stain guide.
When to Use Stain vs. Varnish
If the goal is changing the wood’s color — turning pale pine into a rich walnut tone, for example — stain is the right starting point. It’s the standard choice for decks, fences, and furniture where you still want the grain texture visible through the color.
Varnish matters most on high-traffic or exposed surfaces, like kitchen cabinets or outdoor benches, where the finish needs to actually hold up against spills, sun, and scuffing rather than just look good on day one. For interior floors, varnish over stain gives you color and durability together.
If you already like the wood’s natural color, skip stain entirely and varnish straight onto bare wood for shine and protection without altering the tone. In humid rooms like bathrooms, varnish helps prevent the wood from absorbing moisture and warping. For anything outdoors, pick a UV-rated exterior varnish specifically — interior-rated finishes will chalk and fail faster outside. Porous woods like oak take stain evenly; denser woods like maple often need a preconditioner first to avoid blotching.
On cost: stain is cheaper up front for covering large areas, but a good varnish topcoat saves money over time by cutting down how often you have to refinish. Always test both products on a scrap piece of the actual project wood before committing to the full surface.
Tools and Materials Needed for Staining and Varnishing
Having the right tools on hand before you start prevents most of the common mistakes below.
| Category | For Staining | For Varnishing |
|---|---|---|
| Basic Tools | Sandpaper (120-220 grit), lint-free cloths, foam brushes | Natural bristle brushes, foam applicators, sanding sponges |
| Materials | Wood stain, preconditioner (for softwoods), mineral spirits for cleanup | Varnish, thinner (if needed), tack cloth for dust removal |
| Safety Gear | Gloves, mask, eye protection | Respirator, gloves, drop cloths |
| Optional Extras | Stain pads, orbital sander | Stir sticks, paint trays, wet/dry vacuum |
Most of this list runs under $50 total for a small project. For manufacturer application guidance, Minwax publishes a staining tips reference worth checking before you start. Clean brushes immediately after use — dried-in stain or varnish shortens a brush’s life fast.
How to Apply Stain: Step-by-Step Guide
Applying stain is straightforward if you follow these steps in order. Rushing any of them is what causes blotchy results.
- Prepare the surface: sand the wood starting with 120-grit paper, progressing to 220-grit for smoothness. Wipe away dust with a tack cloth.
- Apply preconditioner: for softwoods like pine, brush on a wood conditioner to ensure even absorption. Let it sit 15 minutes, then wipe off the excess.
- Stir and test the stain: mix well without creating bubbles, then test on a scrap piece to check the actual color and drying time.
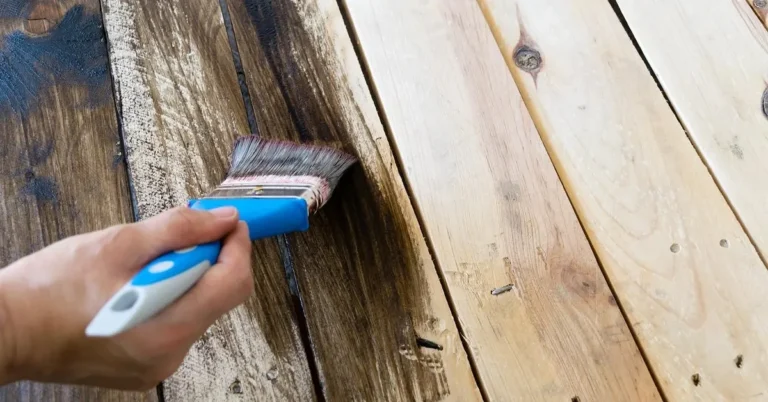
- Apply the stain: use a foam brush or cloth to spread it evenly along the grain, working in sections to avoid lap marks.
- Wipe off excess: after 5–15 minutes, wipe with a clean cloth. Longer dwell time before wiping deepens the color.
- Let it dry: wait 1–8 hours depending on the stain’s base before recoating. Full cure takes about 24 hours.
- Seal it: apply a varnish or polyurethane topcoat once the color coat has fully dried.
Start to finish this usually takes a full day including dry time. If the result looks blotchy, sand it back lightly and reapply — it’s a normal fix, not a sign you ruined the piece.
How to Apply Varnish: Step-by-Step Guide
Varnishing builds a durable finish in thin layers — patience here matters more than speed, since thick coats are what cause drips and uneven cure.
- Sand the surface: if it’s already stained, lightly sand with 220-grit to smooth it, then clean thoroughly with mineral spirits.
- Stir the varnish: mix gently to combine the ingredients. Thin with mineral spirits if it’s too thick for the first coat.
- Apply the first coat: use a natural bristle brush, flowing with the grain and working quickly enough to keep a wet edge.
- Let it dry: wait 4–6 hours, then sand lightly between coats with 320-grit paper.
- Apply additional coats: build 2–3 layers for real durability, sanding lightly between each one.
- Final cure: allow 24–48 hours before light use, and avoid setting heavy objects on it for about a week.
For anything outdoors, choose a marine-grade spar varnish specifically for the extra UV blockers and flexibility — it’s the difference between a finish that lasts one season and one that lasts several.
Common Mistakes to Avoid When Using Stain and Varnish
These are the errors that show up most often, along with how to avoid each one.
- Not sanding enough: rough surfaces absorb stain unevenly. Always progress through grits and remove dust between passes.
- Skipping preconditioner on softwoods: this is the single biggest cause of blotchy pine and fir. Apply it every time on those species.
- Over-applying: too much stain or varnish causes drips and drags out dry time. Wipe or tip off the excess promptly.
- Ignoring drying times: rushing coats causes bubbling or peeling later. Let each coat fully dry before the next.
- Poor ventilation: fumes build up fast in a closed room — use fans and a proper respirator, not just a paper dust mask, with oil-based products.
- Wrong tool choice: cheap brushes shed bristles into a wet finish. A quality natural-bristle or foam brush pays for itself in fewer redos.
- Improper disposal: oily rags from oil-based stain or varnish can spontaneously combust as they dry. Lay them flat outside to dry completely, or soak them in water in a sealed metal container before disposal.
None of these mistakes are hard to fix — sanding back and redoing a section is normal, not a sign the project failed.
Tips for Achieving Professional Results
A few habits separate a professional-looking finish from an amateur one.
- Work in moderate temperatures: 60–80°F keeps drying at a normal pace and avoids surface cracking.
- Use raking natural light while applying: it reveals missed spots and drips that artificial overhead lighting hides.
- Layer thin: several light coats build a more even, durable finish than one heavy coat.
- Clean tools immediately: rinse or wipe brushes right after use so they’re ready for the next coat.
- Test custom blends on scrap first: mixing two stains for a custom shade is fine, but always confirm the result before committing to the full piece.
- Add UV protection outdoors: for anything in direct sun, pick a varnish with UV blockers built in, not a standard interior formula.
The University of Minnesota Extension also publishes a solid wood finishes reference if you want more background on finish chemistry.
Frequently Asked Questions
Can I apply varnish directly over stain?
Yes, and it’s the standard combination. Wait until the stain is fully dry (usually 24 hours), then lightly sand and apply varnish over it for protection. This gives you color plus durability without any compatibility issues.
Do I need to sand between coats of varnish?
Yes. Light sanding with 220–320 grit removes dust nibs and gives the next coat something to grip. Wipe the surface clean before applying the next coat.
Is stain waterproof?
No. Stain alone adds color but almost no water resistance. Always add a varnish or sealant topcoat if the piece will see any moisture, especially outdoors.
How long does varnish last on wood?
Indoors, a good varnish finish typically holds up 5–10 years with normal care. Outdoors, exposure to sun and weather cuts that to roughly 2–3 years. Recoat as soon as it starts dulling or peeling to protect the wood underneath.
Can I use stain on previously varnished wood?
Not directly — the existing varnish film blocks stain from penetrating. You’ll need to sand off the old finish completely first, then stain the bare wood. It’s more labor, but it’s the only way to get an even result.
What’s better for outdoor furniture: stain or varnish?
Both, used together. Stain for the color, then a genuine exterior-grade spar varnish for UV and moisture protection — a standard interior varnish will fail much faster outside.
How do I fix blotchy stain?
Sand the area lightly, apply a wood conditioner, and restain. For particularly blotch-prone wood, switch to a gel stain — it sits closer to the surface and controls absorption far better than a thin liquid stain.
Conclusion
The short version: stain changes color, varnish provides protection, and most durable finishes use both in sequence. If you’re only picking one, match it to the job — stain for pieces that just need a color change indoors, varnish for anything that has to hold up against handling, moisture, or sun.
Test on scrap wood before committing to the full project, follow the dry times for the specific product you’re using, and don’t skip the topcoat on anything that will actually get used. That combination is what separates a finish that lasts years from one that needs redoing next season.
Sponsored / affiliate links. As an Amazon Associate I earn from qualifying purchases. I may earn additional commission from eligible campaigns.