How to Remove Wood Caps From Furniture Without Damaging It (5 Methods)
The safest way to remove wood caps from furniture is to work them loose gradually instead of prying hard: lift screwed-in caps with a thin putty knife or flathead screwdriver, and soften glued caps with a hairdryer before you touch them with a blade. If a cap still won’t budge, cracking it out with a small chisel and mallet does far less damage than forcing a screwdriver under it, which is usually what tears out the surrounding wood grain.
Wood caps, also sold as furniture buttons or hole plugs, sit over the screws that hold cabinet backs, chair rails, drawer fronts, and table legs together. Some are pressed in dry, some are glued, and a few older pieces still have them screwed on directly. Each type needs a slightly different approach, and using the wrong one, like twisting a screwdriver blade under a glued cap, is what usually splits out a chunk of the wood around it instead of just popping the cap free.
This guide walks through how to tell which type of cap you’re dealing with, five removal methods ranging from gentlest to last-resort, what changes when the cap has been painted over, and how to fill or replace the hole once the cap is out.
What You’ll Need
Best For Gentle Cap Removal
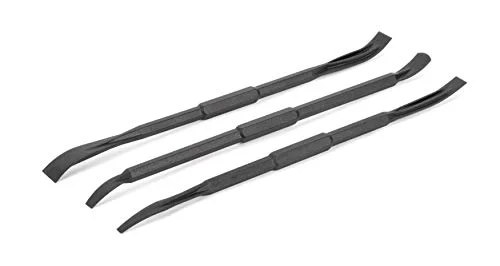 |
Titan 17713 3-Piece Non-Marring Precision Pry Bar Set – $9.99 A metal screwdriver blade is what usually gouges the wood around a cap – these nylon tips get under it without marking the finish.
|
Beyond the pry tool above, gather a flathead screwdriver, a hairdryer or heat gun, a small wood chisel and mallet for stubborn caps, fine-grit sandpaper, and wood glue in case you want to reuse the caps. A soft cloth under your work area catches debris and protects the finish while you work.
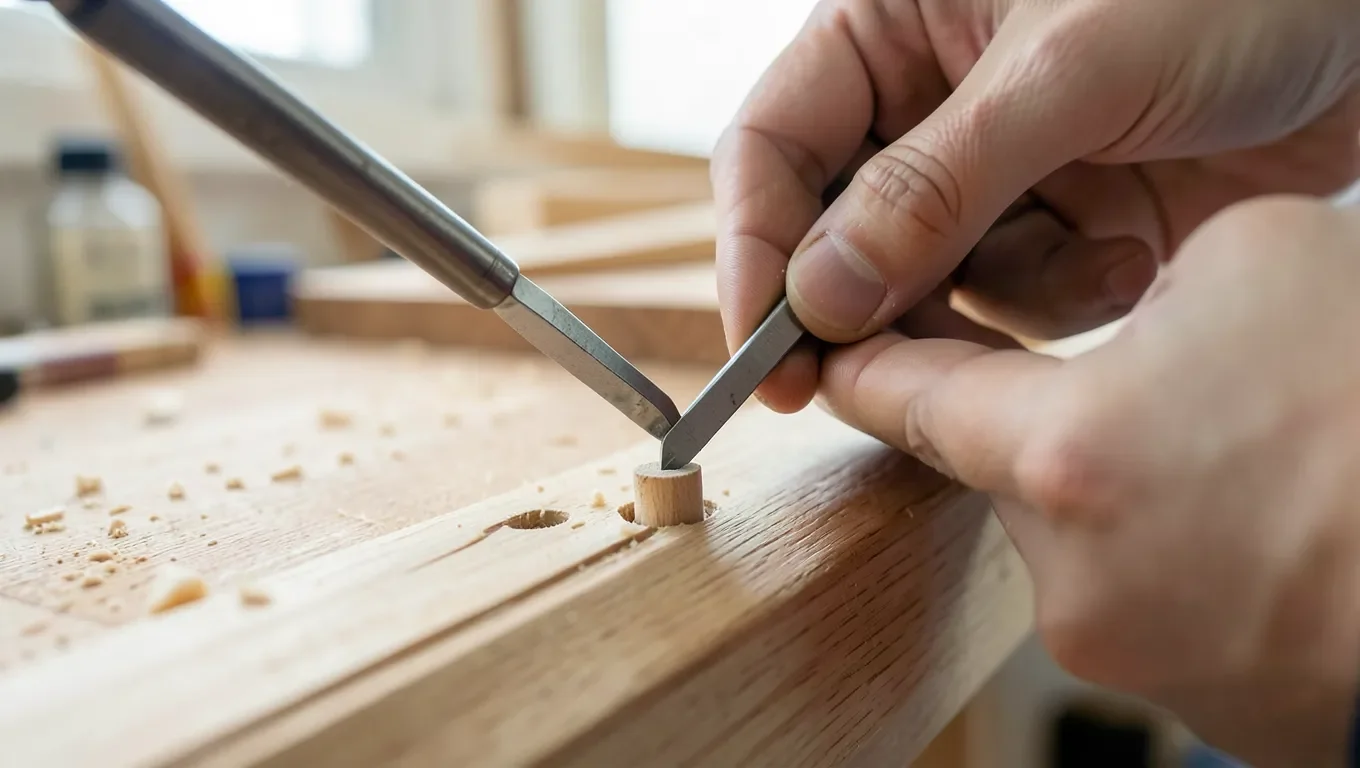
Identify Your Wood Cap Type Before You Start
Most wood caps fall into three categories, and picking the wrong removal method for the type you actually have is the single biggest cause of chipped or gouged furniture. Look closely at the edge of the cap first: a visible seam with no adhesive residue usually means it’s pressed in dry; a thin bead of dried glue around the rim means it’s bonded; and a slot or cross pattern in the center means it’s screwed on directly, not covering a hidden screw at all.
| Cap Type | How to Tell | Best Method |
|---|---|---|
| Pressed-in (dry-fit) | Clean seam, no glue residue, slight wiggle if you press the edge | Putty knife or non-marring pry tool |
| Glued | Thin ring of dried adhesive visible around the rim | Heat, then pry – or solvent for stubborn glue |
| Screwed-in | Visible screw slot in the center of the cap | Matching screwdriver, turned slowly |
| Painted over / badly stuck | No visible seam, paint or finish bridges the gap | Chisel and mallet, or drilling as a last resort |
Method 1: Removing Screwed-In Wood Caps
If your cap has a visible screw slot, it’s not a plug at all, it’s a decorative cap threaded directly onto a screw. Match the screwdriver to the slot exactly; a bit that’s slightly too small or too large will strip the slot and make the cap far harder to remove later. Turn slowly and steadily rather than forcing it – if it resists, back off and add a drop of penetrating oil to the seam, then let it sit for five minutes before trying again.
Keep steady, even pressure straight down into the slot as you turn. Cams (the screwdriver slipping out of the slot) are what chew up both the cap and the finish around it, so it’s worth going slower here than feels necessary.
Method 2: Removing Glued Wood Caps With Heat
Most furniture-grade wood caps are set with a standard wood glue, which softens well below the temperature that would damage the wood itself. Run a hairdryer on medium heat back and forth over the cap for 60 to 90 seconds, staying a few inches away so you don’t scorch the finish. You’re aiming to warm the glue joint, not the whole piece of furniture.
Once the glue feels warm to the touch, slide a putty knife or the non-marring pry tool under one edge and work it slowly around the circumference rather than lifting from a single point. Lifting evenly spreads the stress across the whole glue joint instead of concentrating it on one spot, which is what causes splitting.
Method 3: The Solvent Softening Trick
If heat alone isn’t cutting through the glue, a solvent can finish the job. Apply a few drops of acetone or isopropyl alcohol right at the seam with a cotton swab, let it sit for two to three minutes so it wicks into the joint, then try prying again. Test the solvent on a hidden spot first if the furniture has a lacquer or shellac finish, since some solvents will also soften the finish itself, not just the glue.
Work in a ventilated room and keep solvents away from open flame or the hairdryer’s heating element. Combining heat and solvent at the same time isn’t necessary and adds unnecessary fire risk – use one, check the result, then move to the other if needed.
Method 4: Chisel-and-Mallet (For Stuck or Painted-Over Caps)
Some caps, especially ones that have been painted over or sat glued in place for decades, won’t respond to heat, solvent, or prying at all. In that case, a small wood chisel and a light mallet actually cause less collateral damage than continuing to force a screwdriver under the edge. Set the chisel’s beveled edge flat against the center of the cap and tap it gently with the mallet to crack the plug rather than the surrounding wood. Rotate the chisel about 45 degrees and tap again, working in from the center outward.
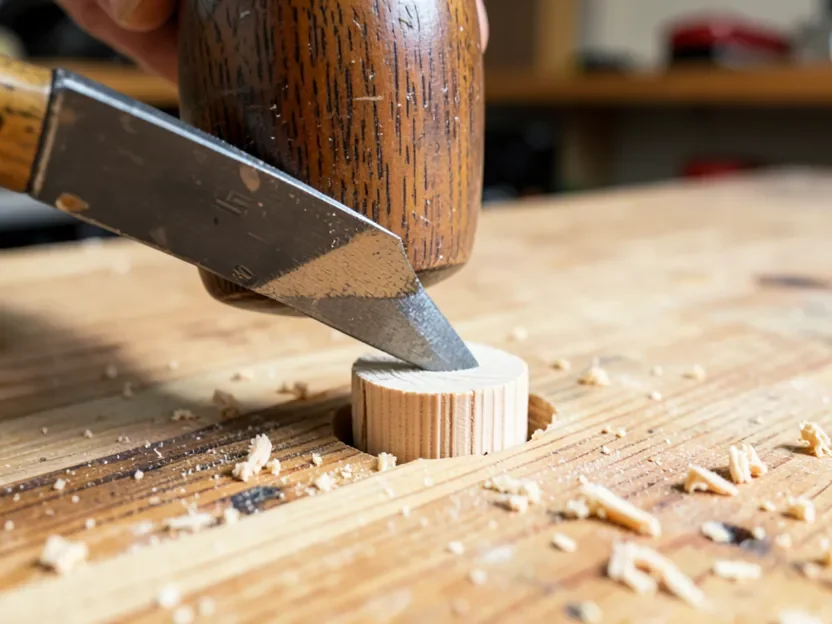
As the plug splinters, pick the pieces out with needle-nose pliers instead of continuing to chisel once you’re close to the hole’s edge. If the cap still won’t crack after a few taps and you can see a screw head underneath, switch to a slow-speed drill instead: center a bit slightly smaller than the screw head, drill down just far enough to grind out the remaining plug material, and stop the moment you feel the bit contact metal. Drilling too far or off-center is what strips the screw head, which turns a five-minute job into a much bigger repair.
Method 5: Pulling a Cap Intact So You Can Reuse It
If the cap itself is in good shape and you’d rather reuse it than replace it, skip prying altogether. Hot-glue one end of a short 1/4-inch dowel to the center of the cap, hold it for about 30 seconds while the glue sets, then pull straight out along the dowel’s length. This pulls the whole cap free in one piece instead of cracking it, which matters most on caps with a decorative grain pattern or a stain match that would be hard to replace exactly. If hot glue doesn’t hold on a stubborn cap, a small dab of epoxy on the dowel gives a stronger bond for the same trick.
Sanding and Refinishing the Hole
Once the cap is out, dry-fit a replacement or check the hole before doing any sanding. If you’re not replacing the cap, sand the area with fine-grit sandpaper (220-grit is a safe starting point on most furniture finishes), working in the direction of the grain and blending slightly past the edges of the hole so you don’t leave a visible ring.
Matching an existing stain color is the trickiest part of this step. Test any stain on a hidden spot, like the underside of the piece, before applying it to the visible hole, and build color up in thin coats rather than trying to match it in one pass. For a full walkthrough of blending patches and touch-ups into an existing finish, see our guide on how to repair furniture finish.
Replacing Wood Caps
Replace a cap if it cracked during removal or if the original is missing altogether. Measure the diameter of the hole (or the old cap, if it survived) with calipers or a ruler before ordering, since wood caps typically come in fractional sizes like 3/16″, 5/16″, 3/8″, and 1/2″, and a cap even slightly off in size will either sit loose or need to be forced in.
Match the wood species and grain direction as closely as you can if the caps will stay unfinished or lightly stained; for a painted piece, species matters far less since the color will cover it anyway. A small dot of wood glue around the inside edge of the hole, not the face of the cap, keeps it seated without adhesive squeezing out around the rim.
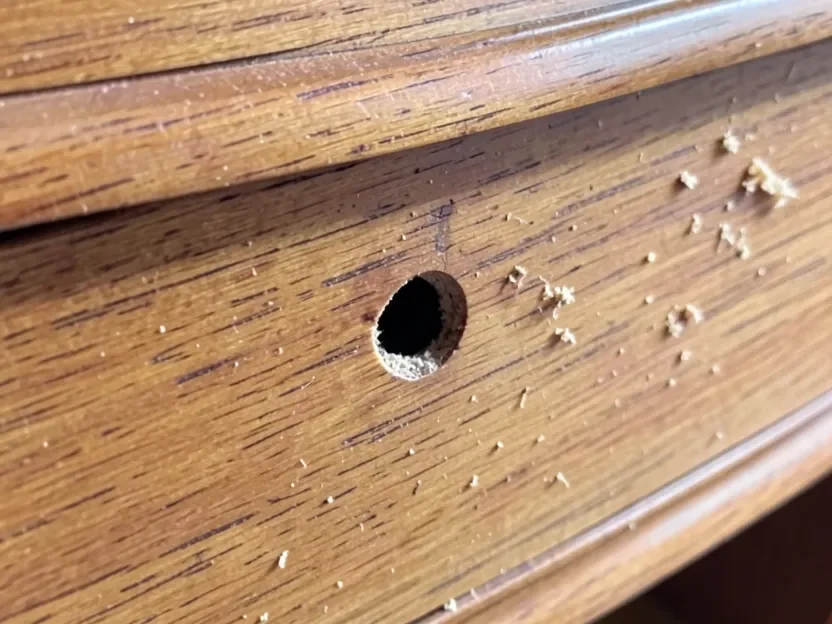
Preventing Wood Caps From Loosening Again
Most caps loosen from repeated humidity swings, which cause the surrounding wood to expand and contract slightly more than the cap itself. Keeping furniture away from direct sunlight, radiators, and rooms with big humidity swings (like an unfinished basement) reduces how often this happens. When moving furniture, lift it instead of dragging it; the vibration and stress from dragging is a common, overlooked cause of caps working loose over time.
If a particular cap keeps coming loose even after regluing, it’s usually a sign the hole itself has worn slightly oversized. In that case, a slightly larger replacement cap, or a shim of thin veneer glued inside the hole first, gives the new cap something to grip.
Frequently Asked Questions
How Do I Know if My Wood Cap Is Glued or Screwed In?
Look at the center and the rim. A visible slot or cross pattern in the center means it’s a screwed-in cap, not a plug. A thin ring of dried adhesive around the outer edge, with no slot visible, means it’s glued. No residue and a clean seam usually means it’s just pressed in dry and should come out with gentle prying alone.
What’s the Fastest Way to Remove a Painted-Over Wood Cap?
Heat and solvent usually don’t reach through a layer of paint fast enough to help. A small wood chisel and mallet, tapped gently to crack the plug from the center outward, is typically faster and causes less damage to the surrounding paint than trying to pry a painted-over cap loose.
Can I Reuse a Wood Cap After Removing It?
Yes, as long as it comes out intact. Hot-gluing a short dowel to the center of the cap and pulling it straight out preserves the cap for reuse far better than prying it off, which often cracks or chips the edge. Clean off any old adhesive residue before regluing it back into place.
Will Removing a Wood Cap Damage the Screw Underneath?
Not if you stop as soon as the cap material is cleared. The main risk is drilling too far or off-center once you can see the screw head, which strips the head and makes the screw itself much harder to remove afterward. Center the bit carefully and stop the instant you feel it contact metal.
Conclusion
Removing a wood cap from furniture comes down to matching the method to the cap type in front of you: gentle prying for dry-fit caps, heat and solvent for glued ones, and a chisel and mallet as the controlled last resort for anything stuck or painted over. Take the slower, gentler method first in every case – it’s almost always faster in the end than repairing wood you didn’t need to damage in the first place.
Sponsored / affiliate links. As an Amazon Associate I earn from qualifying purchases. I may earn additional commission from eligible campaigns.