Can You Restain Oak Cabinets? Yes — Here’s the Real Process
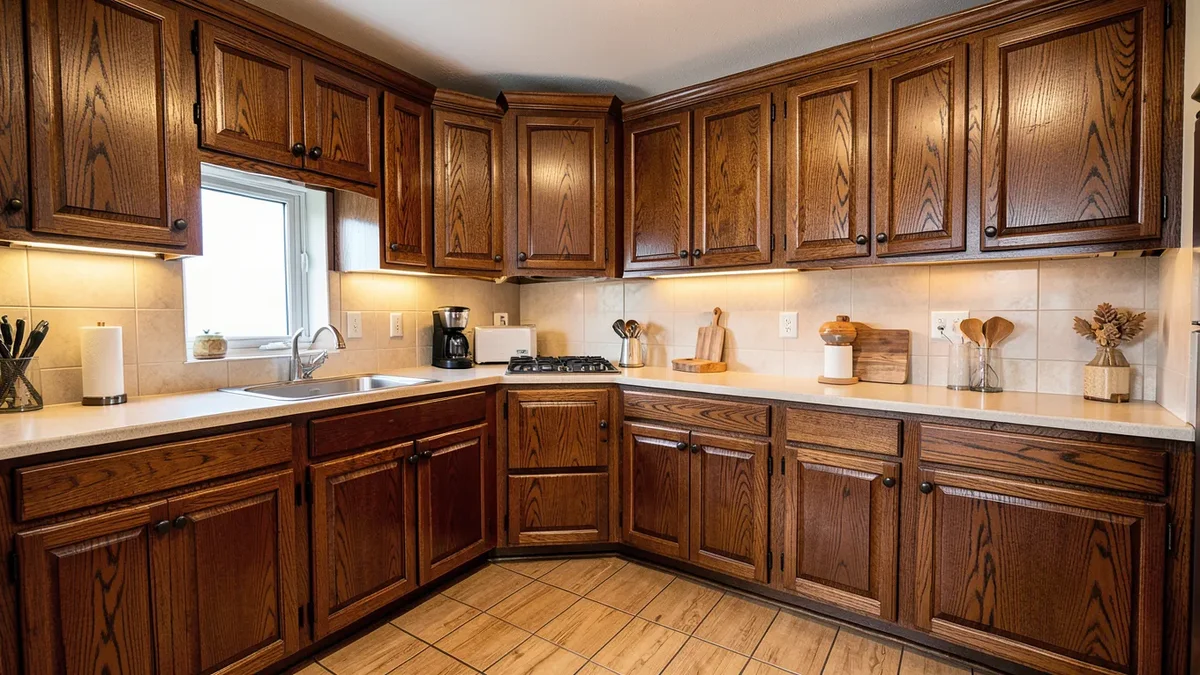
Yes, you can restain oak cabinets, and in most cases you don’t have to strip them down to bare wood to do it. An intact existing finish — no peeling, no deep gouges — can usually take a liquid deglosser plus a gel stain and come out looking new without any sanding. A damaged finish or a jump to a noticeably lighter color is where full sanding becomes the more reliable route instead.
Oak is one of the more forgiving woods to restain because its color depth comes from the wood itself, not just the old stain sitting on top — but its open grain structure also means it behaves differently than a tight-grained wood like maple or cherry. Below is the actual decision process: which method fits your cabinets, how oak’s grain affects the outcome, and the mistakes that turn a restaining project blotchy. If your goal is specifically a much lighter, almost bone-white result rather than just a different stain color, stain alone will not get you there on red oak — see our guide to bleaching red oak for the two-part wood bleach process that actually removes the wood’s natural reddish pigment.
Do You Need to Strip the Old Finish First?
Best for No-Sand Restaining
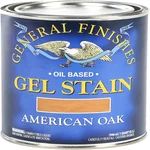 |
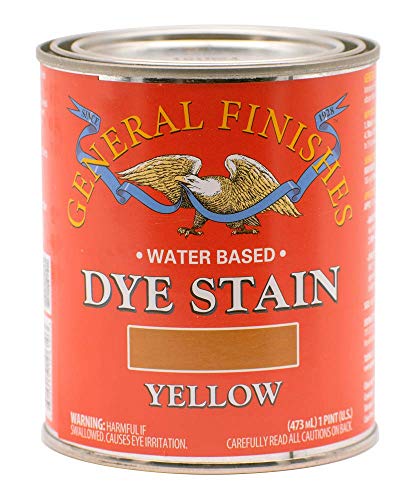
General Finishes American Oak Gel Stain – Check Current Price A thick gel formula that sits on the surface instead of soaking in, letting you restain cabinets over an existing finish without full sanding.
|
Not always. There are two legitimate paths, and picking the wrong one is the most common reason restaining projects go badly.
Path 1: Deglosser + gel stain (no sanding). If your cabinets’ existing finish is sound — no peeling, cracking, or bare wood spots — wipe them down with a liquid deglosser (a chemical that etches and dulls the old topcoat so a new coat can grip it). Once it’s dry and slightly dulled, a gel stain applied directly over that surface will bond without you sanding at all. This only works going to a darker or similarly toned color; gel stain sits on top of the surface rather than penetrating the wood, so it can’t lighten what’s underneath.
Path 2: Full sand to bare wood. If you want to go noticeably lighter than the current color, or the existing finish has damage, sanding down to bare oak is the only way to get a clean, even result. This is more labor, but it’s also the only path that lets a traditional oil- or water-based stain actually penetrate the wood grain the way it’s designed to.
Why Oak Takes Stain Differently Than Other Woods
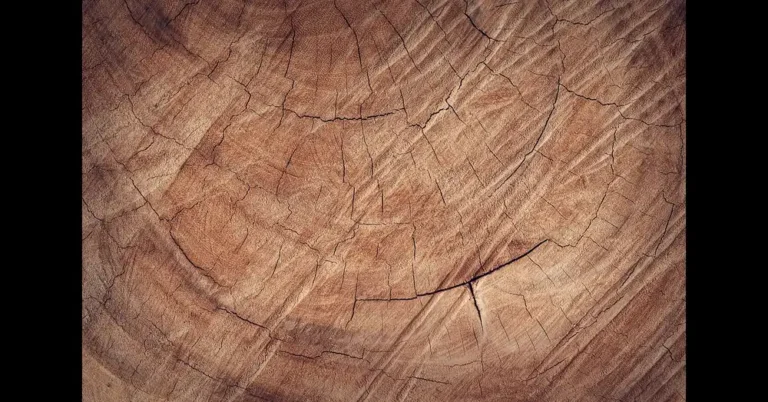
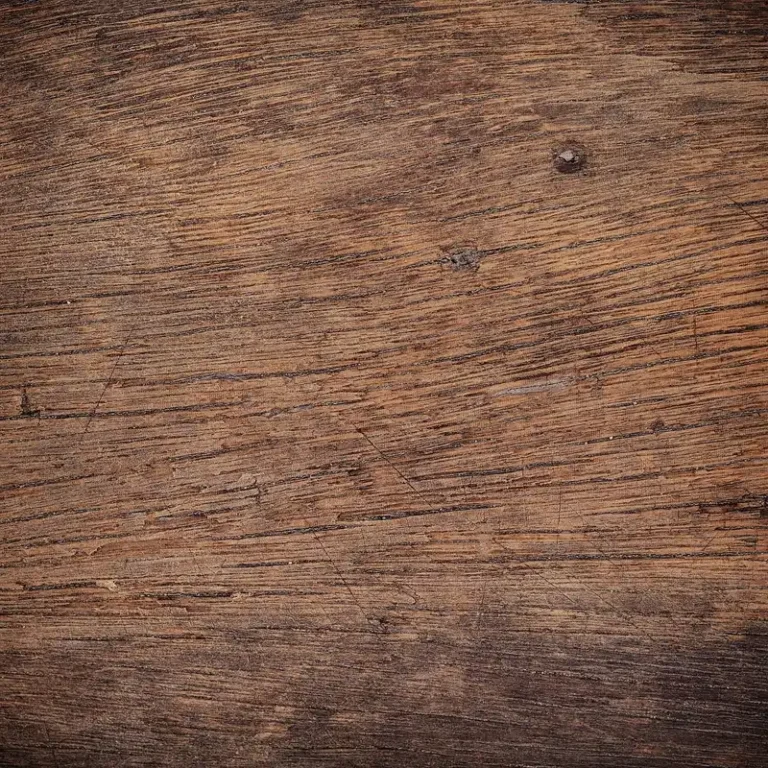
Oak is a ring-porous hardwood, meaning it has large, open pores running through its grain that you can actually feel with a fingertip on bare wood. Those pores soak up liquid stain unevenly compared to a fine-grained wood, which is why oak has that classic “highlighted grain” look after staining — the pores go darker than the surrounding flat grain, creating natural depth and contrast that woods like maple or birch don’t show.
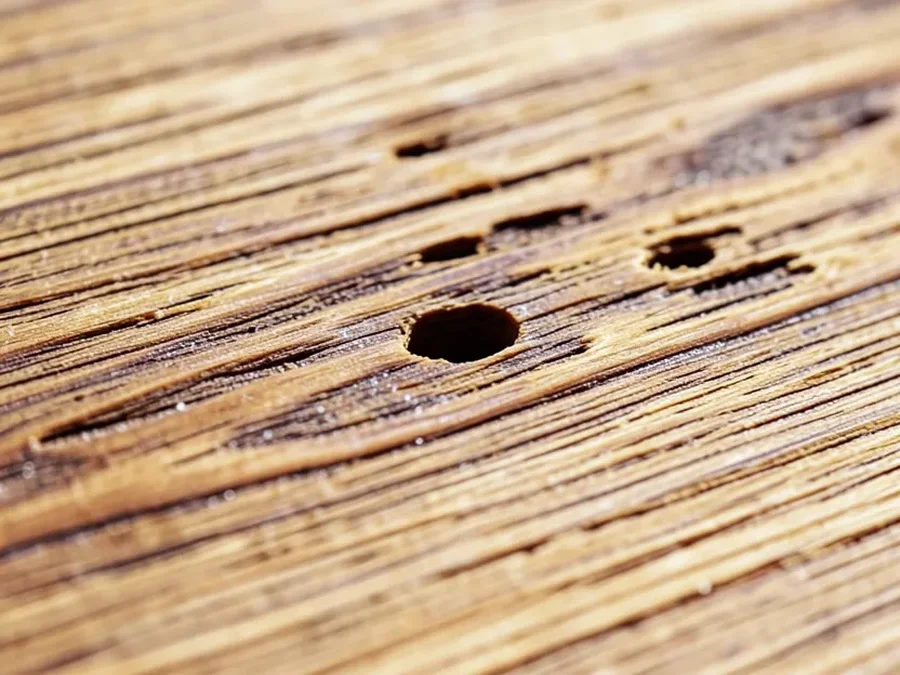
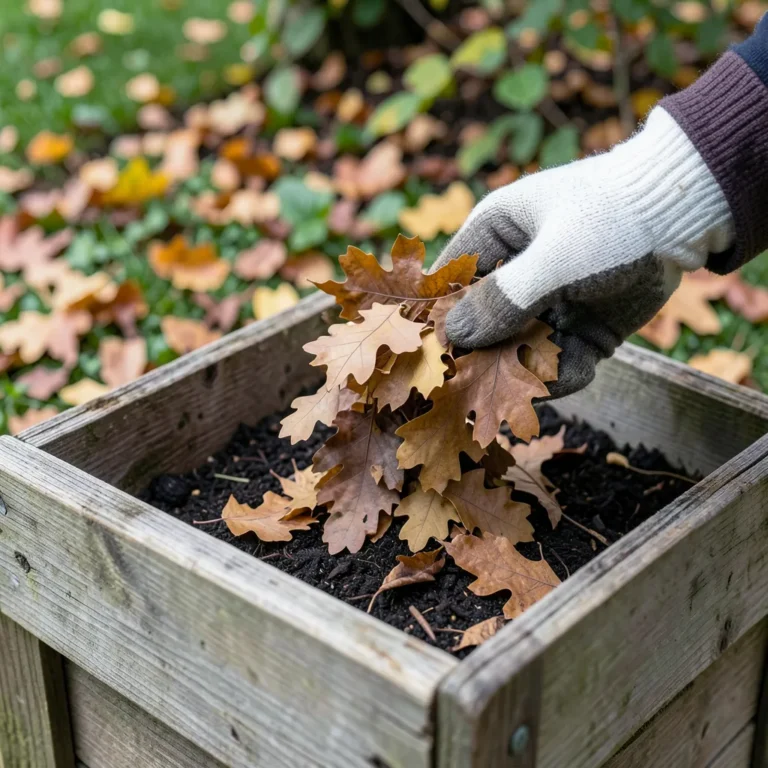
Oak also carries more natural tannins than many domestic hardwoods. That matters if you’re using a water-based dye stain or doing an ammonia/vinegar-and-steel-wool ebonizing treatment, since tannins react with those chemistries to darken the wood on their own, sometimes unevenly if the tannin content varies across boards from different trees. Oil-based and gel stains are far less affected by this since they rely on pigment sitting in and on the grain rather than a chemical reaction.
Step-by-Step: Prep and Sanding (If You’re Going the Full-Strip Route)
Remove all doors, drawer fronts, and hardware first, and label each one with painter’s tape so they go back in the same spot — cabinet doors are rarely perfectly interchangeable once hinges have worn in. Clean every surface with a degreasing cleaner before you touch sandpaper; kitchen cabinets accumulate a cooking-grease film that will clog sandpaper and cause uneven stain absorption if it isn’t removed first.
Work through the grits in order rather than jumping straight to fine paper: 100-grit to strip the existing finish and level any damage, 150-grit to remove the scratches the coarse paper left, then 220-grit to finish. Always sand with the grain, not across it — on oak specifically, cross-grain scratches show up more obviously once stain is applied because they cut across those open pores. Vacuum and wipe with a tack cloth before staining; any leftover dust will trap under the stain and show as a rough, gritty texture.
Step-by-Step: Applying the Stain
For bare, freshly sanded oak, a liquid oil-based stain wiped on with a rag and worked into the grain, then wiped off after 5-15 minutes (check the can for the exact window), gives the most traditional look with the grain pattern showing through clearly. For the deglosser method over an intact existing finish, a gel stain applied with a rag or brush and leveled with a foam brush is the better choice since it won’t run or drip on vertical cabinet faces the way a thin liquid stain would.
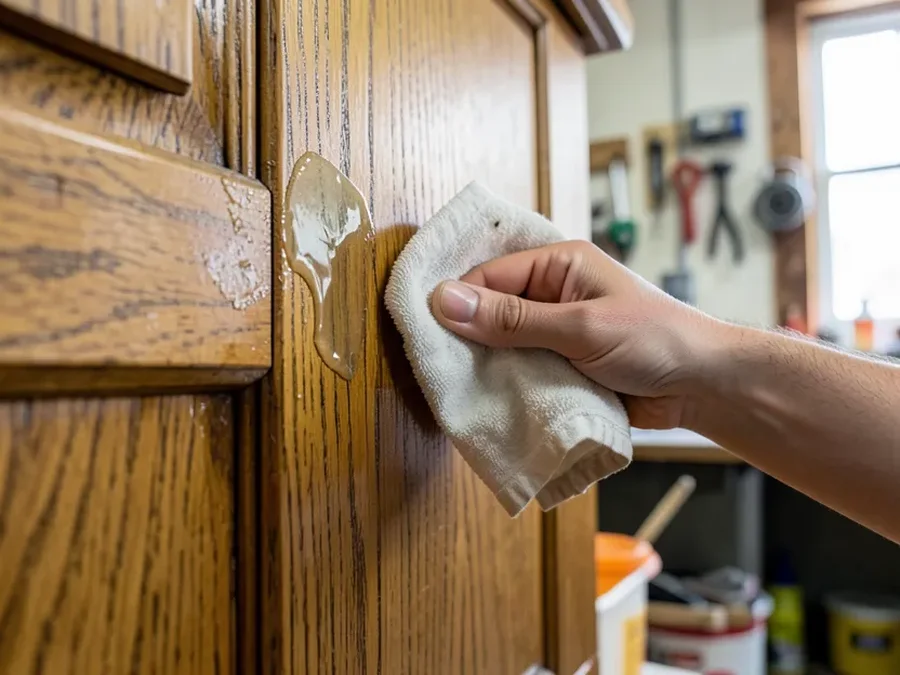
Plan on two coats for full color saturation on oak, letting the first coat dry fully (check the label, but 4-8 hours is typical for oil-based products) before the second. Skip a light scuff-sand between coats only if you’re using gel stain over an already-degreased surface; for bare wood with liquid stain, a very light pass with 320-grit between coats knocks down raised grain fibers without removing color.
Sealing and Protecting the Finish
Once the stain is fully dry, a topcoat is what actually protects your work from water rings, grease splatters, and daily wear — skipping this step means the color you just applied will wear off at contact points within months. Water-based polyurethane dries fast and won’t yellow over time, which matters on lighter stain colors. Oil-based polyurethane ambers slightly as it cures, which some people like on warm oak tones and others find muddies a lighter finish. Either way, plan on two to three thin coats rather than one thick one — thin coats level better and are far less likely to show brush marks or drips on vertical cabinet faces.
Common Mistakes That Cause Blotchy Results
The single most common failure is staining bare oak without enough working time — wiping the excess off too fast, before the stain has had a chance to soak evenly into the open pores, leaves lighter patches that look inconsistent once the topcoat goes on. Take your time on the wipe-off step and work in small sections so you’re not racing against the stain starting to set up.
The second common mistake is skipping the deglosser step when going the no-sand route — stain or paint applied straight over a glossy existing finish without dulling it first will feel dry to the touch but can peel off in sheets within weeks because it never actually bonded to the surface. And with tannin-reactive treatments like ebonizing, always test on a hidden cabinet interior or a scrap of the same oak first, since tannin levels vary board to board and the color can come out darker or more uneven than you expect.
Frequently Asked Questions
Do I Need to Remove the Existing Finish Before Restaining Oak Cabinets?
Not necessarily. A sound existing finish paired with a darker or similar target color is exactly the case a liquid deglosser followed by a gel stain handles without any sanding. Save full sanding to bare wood for a lighter target color or a finish that’s already damaged.
What’s the Best Way to Clean Oak Cabinets Before Restaining?
Use a degreasing cleaner made for wood surfaces to strip off the cooking-grease film that builds up on kitchen cabinets. Skipping this step is a common cause of clogged sandpaper and uneven stain absorption.
How Many Coats of Stain Should I Apply to Oak Cabinets?
Two coats is standard for full color saturation on oak’s open grain. Let the first coat dry completely (typically 4-8 hours for oil-based stain) before applying the second, and lightly scuff-sand bare-wood applications between coats to knock down raised grain fibers.
Why Does My Stained Oak Look Blotchy?
Blotching on oak usually comes from wiping off excess stain too quickly, before it has evenly soaked into the wood’s open pores. Work in smaller sections and give the stain its full recommended dwell time before wiping, rather than rushing the whole cabinet at once.
Is Polyurethane the Best Finish for Oak Cabinets?
It’s a solid, durable default. Water-based polyurethane stays clear and won’t yellow, which suits lighter stain colors; oil-based polyurethane ambers slightly as it cures, which can complement warmer oak tones. Either works well applied in two to three thin coats rather than one thick coat.
Conclusion
Restaining oak cabinets is a realistic weekend-to-week project whether or not you strip them to bare wood first. The deglosser-plus-gel-stain method saves significant labor if you’re only going darker, while a full sand is worth it for a lighter result or damaged existing finish. Either way, understanding oak’s open, ring-porous grain — and giving stain the time it needs to soak in evenly — is what separates a professional-looking result from a blotchy one.
Test your chosen method and color on a hidden panel or scrap piece first, use corrosion-appropriate patience on dry times between coats, and finish with a real topcoat rather than skipping straight to reassembly. Do that and a set of dated oak cabinets can look completely current without a full replacement.
Sponsored / affiliate links. As an Amazon Associate I earn from qualifying purchases. I may earn additional commission from eligible campaigns.