How to Screw Mitered Corners Without Splitting Them
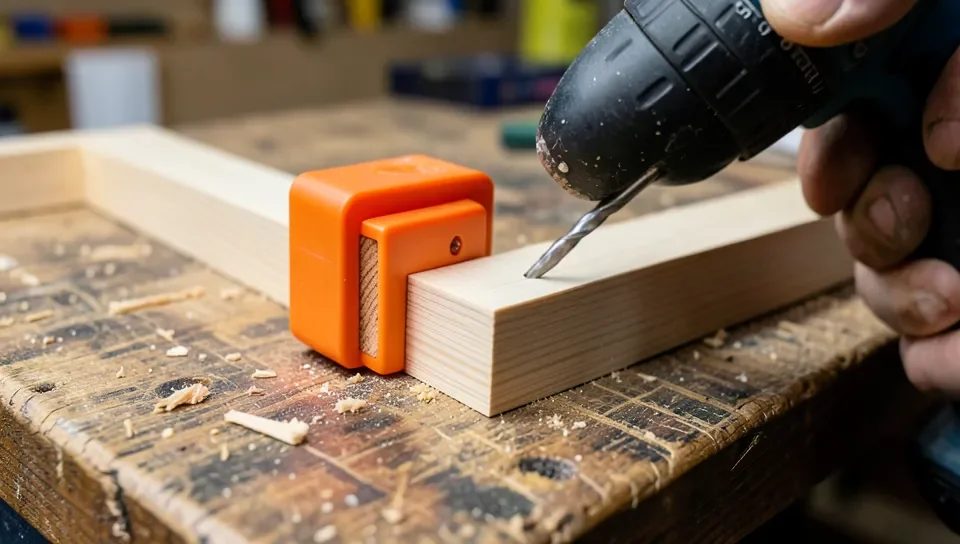
To screw a mitered corner without splitting it, hold the joint square in a corner clamp, drill a pilot hole angled through the miter before you drive anything, and apply wood glue to both mating faces first. The screw alone can’t do the job — its threads resist shear well but do a poor job resisting the joint being pulled straight apart, which is exactly the force glue is good at.
A mitered corner is two pieces of end grain meeting at 45 degrees, and end grain is genuinely the worst-gluing surface in woodworking — it soaks up glue like a straw instead of forming a solid bond, which is why a miter joint held together with glue alone is one of the weakest joints you can build. Screws are the obvious fix, but a miter’s acute angle and thin cross-section right at the tip make it one of the easiest joints in the shop to split if you drive a screw into it the wrong way.
That’s the actual failure mode worth understanding before you pick up a drill: it isn’t that screws are wrong for miters, it’s that the standard drill-and-drive approach that works fine on a flat butt joint will blow a mitered corner apart if you skip the steps below.
Why Mitered Corners Split So Easily
A screw driven into solid wood acts like a wedge — its threads push wood fibers outward as they bite in, and on a wide, flat board that outward pressure has plenty of surrounding material to absorb it. A mitered corner doesn’t have that margin. The tip of a 45-degree miter tapers down to almost nothing, so the same wedging force that a butt joint shrugs off has only a sliver of short-grain wood to push against near the point. Short grain near the tip has very little strength across the fibers, so it’s the first thing to give — and once a crack starts at that thin tip, it runs straight down the miter’s length. This is why the same screw size and the same amount of driving force that’s completely safe on a 2×4 face can split a picture frame corner or a piece of trim in one pass if you don’t prepare the joint first.
Best Corner Clamp for Screwing Mitered Joints
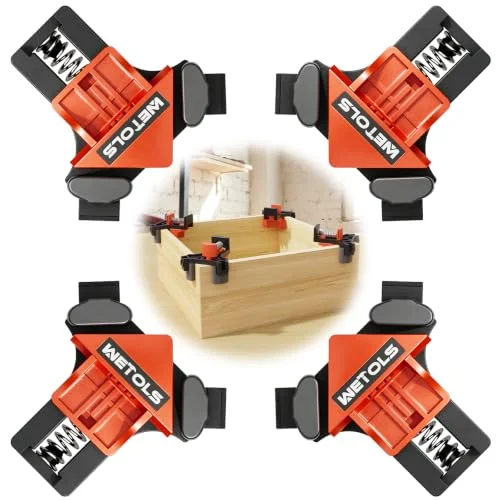 |
WETOLS 90 Degree Corner Clamp Set (4 Pcs) – $13.95 Spring-loaded jaws hold a mitered corner flush and square with one hand free, so you can drill the pilot hole and drive the screw without the joint shifting.
|
Pre-Drill Every Pilot Hole — No Exceptions
Pre-drilling is the single step that prevents most miter splits, and on a mitered corner it isn’t optional the way it sometimes is on flat stock. A pilot hole removes the wood the screw would otherwise have to wedge out of the way, so the screw can seat without generating the outward pressure that cracks short grain at the tip.
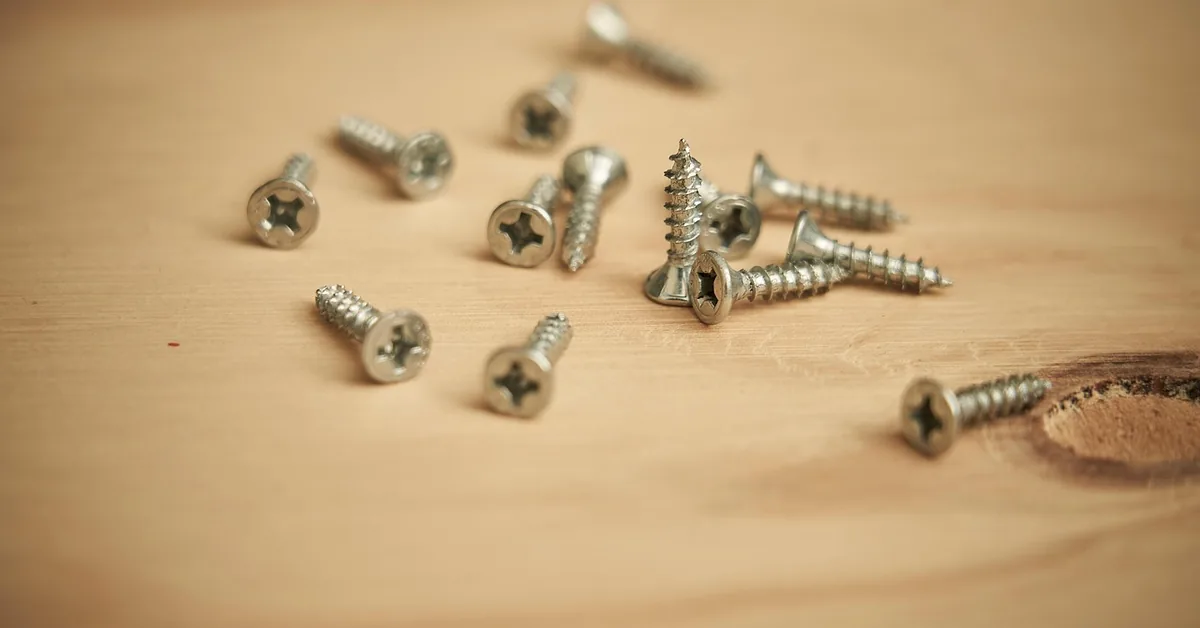
Size the pilot hole to the screw’s root diameter — the solid metal core under the threads, not the outer diameter including the threads. A hole that matches the threads’ outer width defeats the purpose, since the threads then have nothing to bite into; a hole sized to the root lets the threads still grip while removing the wood that would otherwise split. For a standard #8 wood screw, that’s roughly a 3/32-inch to 7/64-inch bit in softwood and closer to 1/8 inch in hardwood, where the denser fibers resist splitting less forgivingly. On the board the screw head sits against, drill a slightly larger clearance hole through just that piece so the two mitered faces get pulled tight together instead of the screw threads fighting to close a gap.
Angle matters as much as size here. Drill the pilot hole roughly perpendicular to the mitered face you’re driving through, not straight into the outside corner — angling it that way keeps the screw’s path running through the thicker body of both boards instead of skimming along the thin wedge near the tip, which is exactly where the wood has the least material to resist a crack.
Hold the Joint Square With a Corner Clamp
A dedicated 90-degree corner clamp does two jobs a hand-held “eyeball it” approach can’t: it holds both boards perfectly flush while you work, and it keeps the joint from creeping out of square under the sideways pressure of drilling and driving. A spring-loaded corner clamp (like the one below) is fast to set up for this specific job — set both boards into the jaws, let the spring tension hold the miter tight and flush, and you have both hands free for the drill.
Check the joint face for gaps before you drill anything. A corner clamp will hold a slightly misaligned miter just as firmly as a perfect one, and a gap at this stage only gets locked in once the screw goes in. Run a fingernail along the seam — if you can catch an edge, adjust the boards in the clamp before drilling, not after.
Glue and Screws Together Beat Either Alone
Screws and glue fail in different ways, which is exactly why combining them produces a joint stronger than either one alone. A screw resists shear extremely well — it holds two boards from sliding past each other — but it does a much weaker job resisting a straight pull-apart force, since that force is trying to pull the threads straight out along their length rather than shear them sideways. Glue is the opposite: a full glue bond across the joint face resists a straight pull-apart extremely well, distributing that load across the entire mating surface instead of concentrating it on one screw shank.
Run a thin, even coat of wood glue across both mitered faces before you clamp the joint, then drive the pre-drilled screw while the glue is still wet. The screw does the immediate job of holding the joint tight and aligned while the glue cures — usually a few hours for a full set, even though it’s often dry to the touch much sooner — and once cured, the glue is carrying most of the long-term load. A screw without glue can work loose over time as the wood expands and contracts with humidity; glue without a screw has nothing holding the joint tight while it cures and nothing backing it up if the bond ever fails at one small spot. Together, neither weakness matters.
Pocket-Hole Screws for a Cleaner, Hidden Corner
A straight screw driven through the outside face of a miter works, but it leaves a visible screw head (or a filled hole) on show — fine for the back of a frame, less fine on furniture where the corner is meant to be seen. A pocket-hole screw solves that by approaching the joint from a shallow angle on the inside or underside face instead of straight through the front, driving into the second board at an angle that crosses the joint line rather than running parallel to it.
The same splitting risk applies here, arguably more so, since the pocket screw is entering at an angle close to the miter’s own thin tip. Pre-drilling the pocket hole itself is standard with any pocket-hole jig, but also check that the angle you’ve set clears the mitered face on the inside — a pocket screw that breaks through the miter’s own cut line instead of staying inside solid wood will split the corner just as easily as a straight screw driven without a pilot hole.
Step-by-Step: Screwing a Mitered Corner
- Cut both mitered ends accurately with a miter saw set to the correct angle, and dry-fit the corner before gluing anything.
- Apply a thin, even layer of wood glue to both mitered faces.
- Seat the joint into a 90-degree corner clamp and check the seam for gaps before tightening fully.
- Drill a pilot hole sized to the screw’s root diameter through the first board, angled to run through the thicker body of the joint rather than near the tip.
- Drill a slightly larger clearance hole through just the first board so the screw pulls the two faces tight instead of wedging them apart.
- Drive the screw while the glue is still wet, snugging it firmly but stopping as soon as it’s seated — overdriving can still crack a pre-drilled miter if you keep cranking past the point where the joint is tight.
- Leave the clamp in place until the glue cures — check the label, but plan on a few hours minimum before the joint takes any real load.
Common Mistakes That Weaken Mitered Corners
- Skipping the pilot hole because “it’s just one screw.” One screw is all it takes to split a miter tip — this is the single most common cause of a cracked corner.
- Driving the screw too close to the outside point of the miter. The wood at the very tip has almost no cross-section left to resist splitting; keep the screw path in the thicker part of the joint.
- Using glue or screws instead of both. Each one covers a weakness the other has — skipping either leaves that weakness in the finished joint.
- Skipping the clamp and holding the joint by hand. Even a small amount of misalignment gets locked in permanently once the screw is driven.
- Choosing a screw that’s too long. A screw that punches through the far face of a thin miter has nowhere to go but out the wood, which both looks bad and weakens that exit point.
Frequently Asked Questions
Do you need to pre-drill before screwing a mitered corner?
Yes, always. A mitered corner’s acute angle and thin cross-section near the tip make it much more prone to splitting than a flat butt joint, and a pilot hole removes the wood the screw would otherwise wedge apart as it drives in.
What size pilot hole should you use for a mitered corner?
Size the pilot hole to the screw’s root diameter, not its full outer diameter — roughly 3/32 to 7/64 inch for a standard #8 wood screw in softwood, closer to 1/8 inch in hardwood. Drill a slightly larger clearance hole through the first board only so the screw pulls the two mitered faces tight together.
Can you screw a miter joint without glue?
You can, but the joint will be noticeably weaker over time. Screws resist shear well but resist a straight pull-apart force poorly, which is exactly the force glue handles best across a full mitered face. Using both together produces a joint stronger than either alone.
What’s the best clamp for holding a miter joint square while screwing it?
A dedicated 90-degree corner clamp is the fastest option — it holds both mitered boards flush and square with spring tension, freeing both hands for the drill, and prevents the joint from shifting out of alignment while you work.
Should you use pocket screws or regular screws on a mitered corner?
Regular screws driven through the outside face are simpler and fine when the screw head won’t show. Pocket-hole screws driven at an angle from the inside or underside face hide the fastener entirely, which matters more on furniture, but they still need the same pilot-hole and glue treatment to avoid splitting the miter.
Conclusion
A mitered corner isn’t a weak joint by nature — it’s a joint that punishes shortcuts. Pre-drill the pilot hole, hold the joint square in a corner clamp, and put glue on both faces before the screw ever touches the wood, and the same corner that splits in seconds under a rushed approach becomes one of the more durable joints in the project.
Sponsored / affiliate links. As an Amazon Associate I earn from qualifying purchases. I may earn additional commission from eligible campaigns.