How to Seal Cracks in Wood by Crack Type and Location
Seal wood cracks by matching the repair to crack width, location, and movement: clean the crack, decide whether it is cosmetic or structural, use glue for tight cracks that can close fully, use epoxy or wood strips for wider stable cracks, and use flexible caulk for outdoor or moving joints. Choose the wrong filler and the crack can reopen, hold moisture, stain finishes, or split the board farther as the wood moves through the seasons. This guide shows how to choose the right method for furniture, floors, decks, doors, siding, posts, and beams.
Why wood cracks in winter
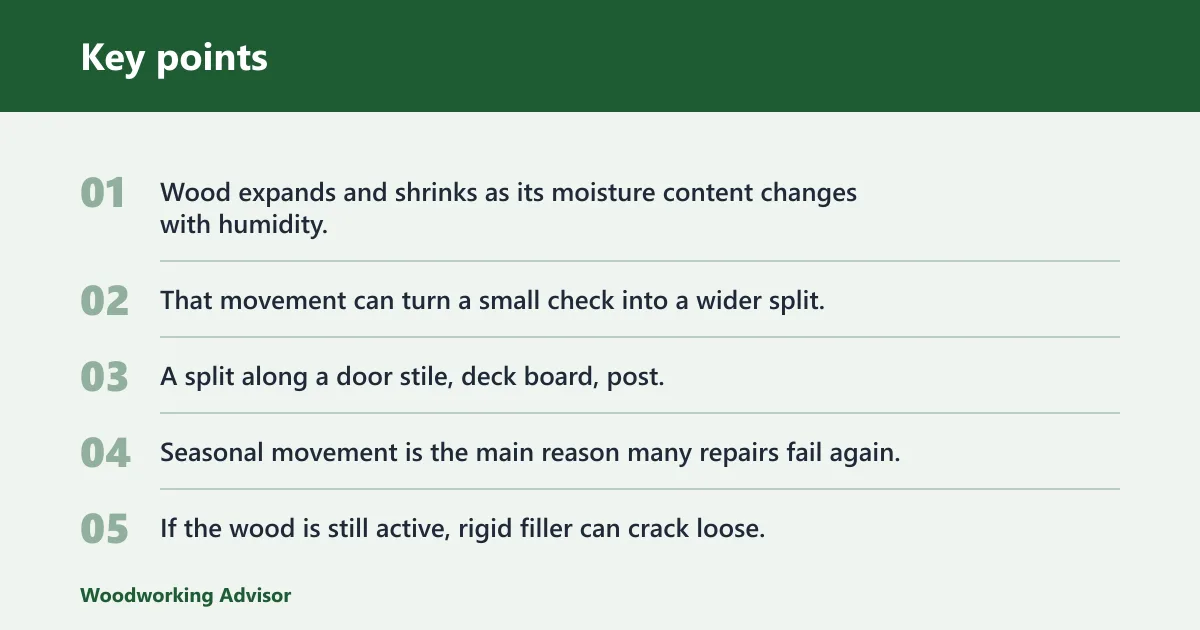


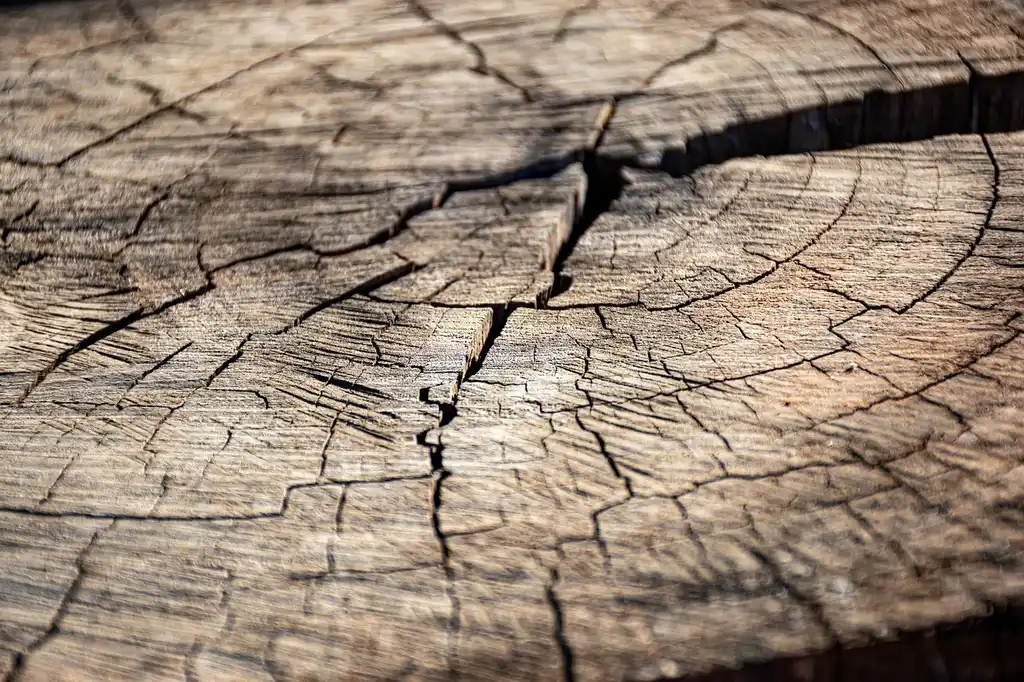
Wood expands and shrinks as its moisture content changes with humidity. That movement can turn a small check into a wider split, especially after heating season dries indoor wood or after wet weather and freezing cycles stress exterior parts.
Not every crack needs the same repair. A hairline check in trim is often cosmetic. A split along a door stile, deck board, post, or beam deserves more caution because the joint may keep opening as the wood moves.
Temperature and humidity movement
Seasonal movement is the main reason many repairs fail again. If the wood is still active, rigid filler can crack loose. A flexible exterior sealant is better for joints that must move, while epoxy is better for stable deep voids that do not need to flex.
Active cracks versus old checks
Old checks usually have dull edges and little change in shape. Active cracks may look fresh, widen in winter, or open more when the wood dries. If the crack changes size over time, treat it as a movement problem, not only a cosmetic gap.
When a crack needs repair now
Repair now if the crack collects water, catches debris, affects a painted or stained finish, or appears on a part that carries load. Surface checks in stable trim can wait longer than splits in doors, posts, beams, floors, or exterior boards.
Say your front door has a 1/16-inch crack near the latch edge. A paintable repair may be enough if the door still closes squarely. Suppose a deck board opens wider after rain and freezing weather; that crack needs a moisture-safe repair, not a brittle interior filler.
How do you tell sealing from filling?
Filling closes a visible gap and levels the surface. Sealing blocks moisture from getting into the crack and helps keep the repair from failing again. Many repairs need both: first close or fill the gap, then seal the exposed wood if the area is exterior or movement-prone.
Surface gaps and cosmetic checks
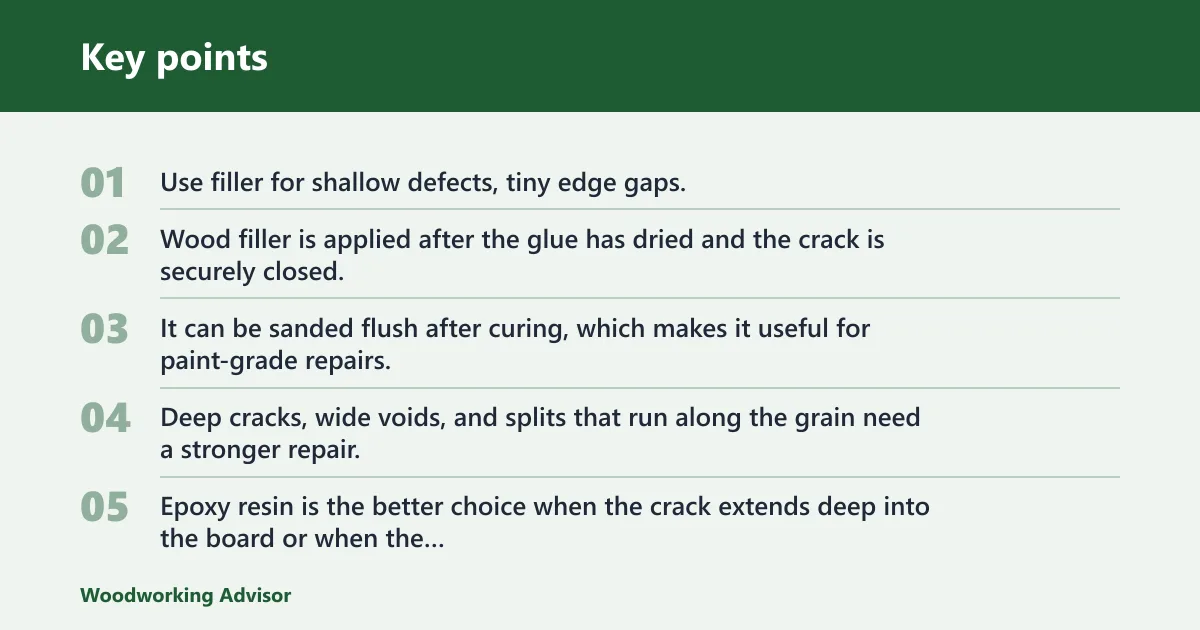
Use filler for shallow defects, tiny edge gaps, and painted surfaces where appearance matters more than movement. Wood filler is applied after the glue has dried and the crack is securely closed. It can be sanded flush after curing, which makes it useful for paint-grade repairs.
Deep voids and structural splits
Deep cracks, wide voids, and splits that run along the grain need a stronger repair. Epoxy resin is the better choice when the crack extends deep into the board or when the gap is too large for ordinary filler to bridge well.
Painted, stained, and bare wood
Painted wood gives you more freedom to use filler because color match matters less. Stained or bare wood is less forgiving. On those surfaces, a filler line or epoxy patch may show unless you match color closely or use a repair that blends into the grain.
| Crack width | Wood location | Indoor/outdoor use | Movement risk | Recommended repair method | Drying time | Finish compatibility | Do not use |
|---|---|---|---|---|---|---|---|
| Hairline | Trim | Indoor | Low | Glue the edges if they are loose, then use wood filler for the final skim | Glue fully dry; filler after cure | Paintable; stain match is limited | Do not use thick caulk as a substitute |
| 1/16 to 1/8 inch | Door stile | Indoor | Medium | Wood glue with clamp pressure, then filler on the surface | At least 24 hours before removing clamps or sanding | Paint or clear finish after prep | Do not use brittle filler alone |
| 1/8 to 1/4 inch | Floor seam | Indoor | Medium to high | Wood glue if edges can close, then compatible filler or flexible repair product for the top line | Dry completely; floor guidance often uses at least 24 hours | Paintable repair on many floor finishes; test first | Do not use a hard filler in a moving seam |
| 1/8 to 1/2 inch | Deck board | Outdoor | High | Exterior-grade epoxy or flexible sealant, depending on whether the crack is structural or only cosmetic | Surface dry; many deck sealants need 48–72 hours to cure | Use products labeled for exterior finish systems | Do not use interior filler exposed to weather |
| Wider split | Beam or post | Outdoor or semi-exposed | High | Epoxy repair plus reinforcement if the member is carrying load; replace if the split is severe | Follow product cure time; dry wood first | Often paintable after cure | Do not use sawdust and glue on a load-bearing split |
When should you use wood glue?
Use wood glue when the crack edges can be pulled back together and the goal is a strong bond, not only a cosmetic patch. It works best on tight to moderate cracks in indoor wood, trim, furniture parts, and some doors when you can clamp the piece closed.
Closing edges with clamp pressure
Clamps should hold the wood pieces tightly together while the glue dries. Pressure must be even, or the crack can shift and leave a weak line. Apply enough glue to wet the crack and the mating surfaces, and expect a small amount of squeeze-out at the joint.
After glue goes in, close the crack and wipe away squeeze-out before it hardens. If the edges are still separated, a glue line alone will not hold well.
Drying time before sanding or filling
Do not sand too soon. Give the glue full drying time before sanding or filling, and keep clamps or weights in place until the glue has cured according to its directions. That gives the bond time to reach a safer stage before you level the repair.
Where glue works and where it fails
Glue works for close-fitting cracks, clean break lines, and parts that do not flex much. It fails when the wood is wet, the crack is wide, the edges do not meet, or the joint must move with seasons. In those cases, glue alone is not enough.
A common first-timer mistake is gluing a stair tread crack that keeps opening every winter. The glue may hold for a while, but movement can break the bond if the wood is still active or the gap was too wide from the start.
When is epoxy the better choice?
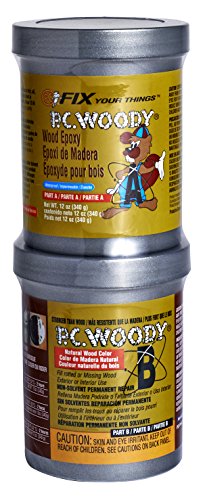
Epoxy resin is the better choice for deep or stable cracks, especially when the void is wider than filler can bridge or when the repair must resist moisture and hold shape in a rigid repair. It can be tinted or colored, and it is commonly poured or injected into wider voids.
Deep cracks and moving joints
Use epoxy when the crack runs deep into the board, when the wood is partly missing, or when the joint sees regular stress but will not keep flexing as a moving joint. It is often the safer option for exterior wood, beam checks, and larger splits that need more body than glue or filler can provide.
Tinting, coloring, and pours
Epoxy can be tinted to blend with surrounding wood, which helps on visible repairs. For deeper voids, pour or inject it so the resin reaches the full depth of the crack. If the cavity is large, build the repair in stages rather than flooding it all at once.
Indoor versus exterior limits
Epoxy can work indoors and outdoors, but the surface still needs proper prep and finish protection. On exterior wood, a topcoat or sealant matters because sunlight, standing water, and movement can shorten the life of even a good epoxy repair.
Can I fill cracks in wood with sawdust and glue?
Yes, but only for small cosmetic cracks where color match and durability are secondary. Sawdust-and-glue filler is a budget method, and it is best when the gap is shallow, the part is painted or hidden, and the crack is not expected to move much.
Best use cases for small cosmetic gaps
Use this mix for nail holes, tiny trim checks, and shallow surface flaws that will be painted. It can help on interior projects where you want a quick patch and do not need the strength of epoxy or the flexibility of an exterior sealant.
Color match limits
The color match is poor if the dust is not from the same wood. Even then, the patch can read lighter or darker after finish goes on. On stained wood, that mismatch is often obvious.
Why it is weaker than epoxy
Sawdust and glue can shrink, crack, or break loose on movement-prone joints. It is less durable than epoxy for cracks that open and close with seasons, so avoid it on doors, floors, decks, siding, posts, and beams where movement is part of the problem.
How do you seal cracks in exterior wood?
For exterior wood, seal the crack only after you know whether it is cosmetic or structural. Decks, siding, posts, and beams need moisture protection as well as a repair that tolerates winter movement. A flexible exterior sealant or an epoxy repair may be better than ordinary filler.
Decks, siding, posts, and beams
Deck cracks often need weather-resistant products because they face rain, sun, and foot traffic. Siding and posts need protection from water intrusion. Beams are different again: if a crack threatens strength, sealing alone is not enough and a structural professional should assess the member before reinforcement or replacement is attempted.
Sealant choice for moisture protection
Sealant should be compatible with paint or finish. For exterior wood, choose a product designed to block moisture intrusion and allow for some movement. If the repair will be painted, check that the sealant accepts paint cleanly.
Dry wood and moisture meter checks
Wood must be dry before repair. High moisture can cause repair failure, so check exterior wood with a moisture meter when conditions are uncertain. The wood should be fully dry before application.
Deck sealant prep usually needs the wood to be fully dry, typically 48–72 hours after washing. Apply sealant in the morning when the deck is in partial shade, keep foot traffic off for at least 24 hours, and expect full cure in 48–72 hours.
- Clean out loose debris, dust, and failed finish.
- Check whether the crack is cosmetic, deep, or structural.
- Verify the wood is dry before applying any repair product.
- Use glue and clamps for close-fitting cracks that can close fully.
- Use epoxy for deep voids, stable larger splits, or areas that need moisture resistance.
- Use filler only after glue has cured and the gap is closed.
- Sand flush with fine grit after curing when the repair calls for sanding.
- Seal exterior repairs with a compatible finish or sealant.
How do you keep cracks from reopening after repair?
Prevent reopening by matching the repair to the wood’s movement, not only to the visible gap. Dry the wood fully, choose a product that can handle the location, and seal exterior surfaces so moisture cannot keep driving expansion and shrinkage at the repair line.
Moisture control and surface prep
Remove loose fibers, old finish, dirt, and any failing filler before repairing. If the wood is damp, wait. Moisture trapped under glue, epoxy, or sealant can weaken the bond and invite future splitting.
Winter movement planning
Winter wood care means planning for seasonal shrinkage and swelling. Flexible sealant works better at exposed edges. Rigid filler is better only where movement is low. On exterior pieces, a repair that looks good in summer can fail once dry winter air pulls the boards apart.
Sanding and finish compatibility
Use sandpaper or a sanding block after the repair cures to level the area. Fine grits are the safer choice for finish prep. Some no-sand repairs are acceptable when the product is designed to self-level or when the repair will be hidden, but visible surfaces usually need light sanding.
For bathroom wood floors, use waterproof sealant, let the floor dry fully for at least 24 hours, and use fine-grit sandpaper for sanding wood floors. Those same basics matter anywhere water and movement meet.
Frequently asked questions
How do I seal cracks in wooden doors?
For wooden doors, first decide whether the crack is cosmetic or structural. Tight cracks can be glued and clamped, then filled and sanded. If the door moves with humidity or the split reaches a stressed edge, epoxy or a reinforcement repair is safer than filler alone.
What is the best way to fill large cracks in wood with epoxy?
Clean the crack, make sure the wood is dry, and use epoxy resin for deep voids or wide splits. Inject or pour it so it reaches the full depth, then let it cure fully before shaping or finishing. Large, active cracks may also need reinforcement.
How do I seal cracks in a wood floor without sanding?
Use a repair product that is meant to stay flush or a compatible sealant if the crack is minor and the floor finish allows it. For hardwood strip flooring, small seams between boards may take a flexible filler or sealant, while actual cracks in a board usually need a repair matched to the board’s movement. If the area is damaged enough to need filling, sanding is often part of a proper repair. Some no-sand fixes work only on hidden or low-traffic spots.
What should I use for cracks in wood siding or posts?
Use a moisture-resistant exterior repair. Small stable cracks may take flexible sealant; deeper splits often need epoxy resin, and a structural post crack may need reinforcement or replacement. Siding and posts face weather, so interior filler is usually the wrong choice.
How dry does wood need to be before sealing cracks?
The wood should be dry before any repair, and exterior wood is worth checking with a moisture meter. High moisture can cause failure. Fully dry wood is the safest target before application.
Sponsored / affiliate links. As an Amazon Associate I earn from qualifying purchases. I may earn additional commission from eligible campaigns.