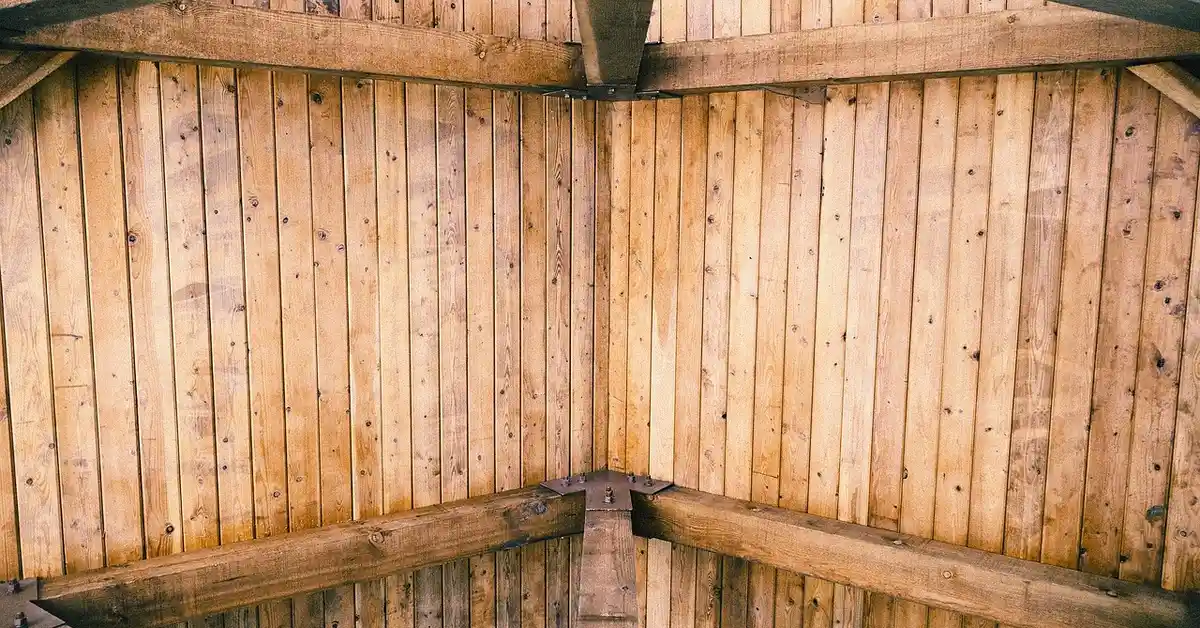
How to Seal a Wood Ceiling: 5 Steps for a Lasting Finish
Sealing a wood ceiling means cleaning and sanding the surface, then applying a polyurethane, varnish, or oil-based sealant in thin, even coats and letting it cure at 60 to 80 degrees F.
Skip prep or rush the cure and the coat peels or bubbles within a season, especially over bathrooms and kitchens. This guide covers the 5 core steps: choosing a sealant, prepping the wood, applying it, curing it, and fixing bubbles, cracks, or uneven coats.
Introduction To Sealing Wood Ceilings
Best Wood Ceiling Sealant Pick
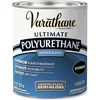
Varathane Water-Based Ultimate Polyurethane (Semi-Gloss) – $24.93
The water-based polyurethane sealant this guide points to as the top moisture-resistant option, and it dries to the touch in about 30 minutes so thin coats can go on the same day.
- Best for: ceilings that need quick recoats between thin layers
- Why we picked it: water-based polyurethane, matches this guide’s top sealant pick, fast recoat time
- Main drawback: needs 2 to 3 thin coats for full moisture protection
Compare more wood ceiling sealant options
 Option 1 Minwax Helmsman Spar Urethane (Gloss) – $34.70
|
 Option 2 General Finishes Arm-R-Seal Oil-Based Topcoat (Satin) – $45.00
|
 Option 3 Thompsons WaterSeal Clear Wood Sealer (1 Gallon) – $19.94
|
As an Amazon Associate we earn from qualifying purchases.
Sealing wood ceilings offers many benefits. It protects against moisture and pests. A good seal can enhance the wood’s natural beauty. It also prevents fading and discoloration.
Common challenges exist in sealing wood ceilings. Uneven surfaces can make sealing tricky. Choosing the right sealant is essential for effectiveness. Proper preparation is vital for the best results.
| Benefit | Challenge |
|---|---|
| Protects against moisture | Uneven surfaces |
| Enhances beauty | Choosing the right sealant |
| Prevents fading | Need for proper preparation |
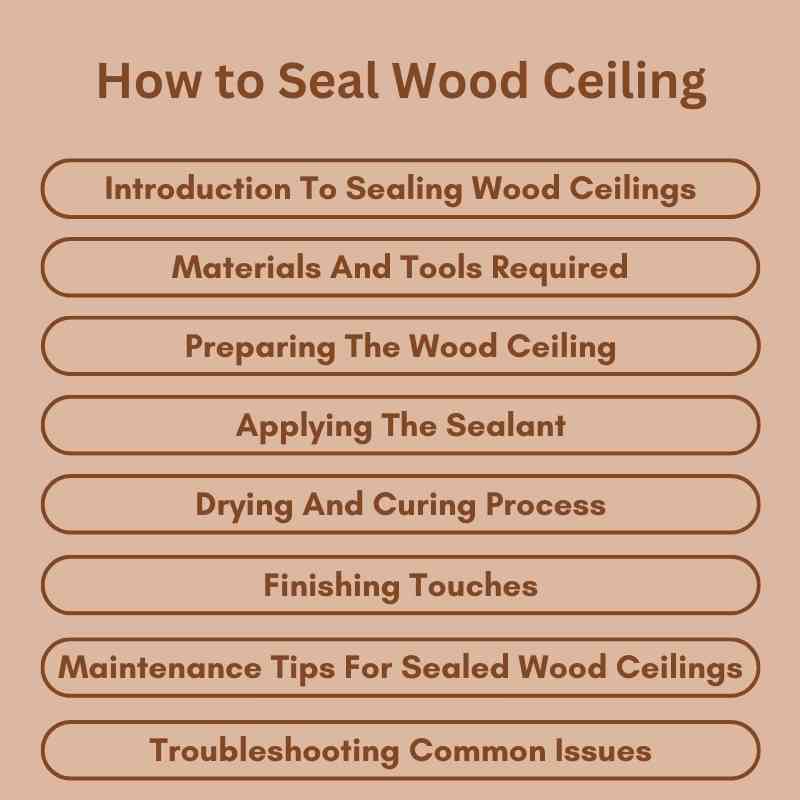
Materials And Tools Required
Choosing the right sealant for wood ceilings is crucial. Look for products that are water-resistant and durable. A polyurethane sealant is a great option. It provides a tough layer of protection against moisture.
Essential tools for the job include a paintbrush or a roller. A spray gun can also work well for large areas. Use a drop cloth to protect floors and furniture. Don’t forget to wear gloves and a mask for safety.
| Sealant Type | Features |
|---|---|
| Polyurethane | Strong, water-resistant, ideal for high-moisture areas |
| Varnish | Provides a glossy finish, enhances wood grain |
| Oil-based Sealant | Long-lasting, good for outdoor use |
Preparing The Wood Ceiling
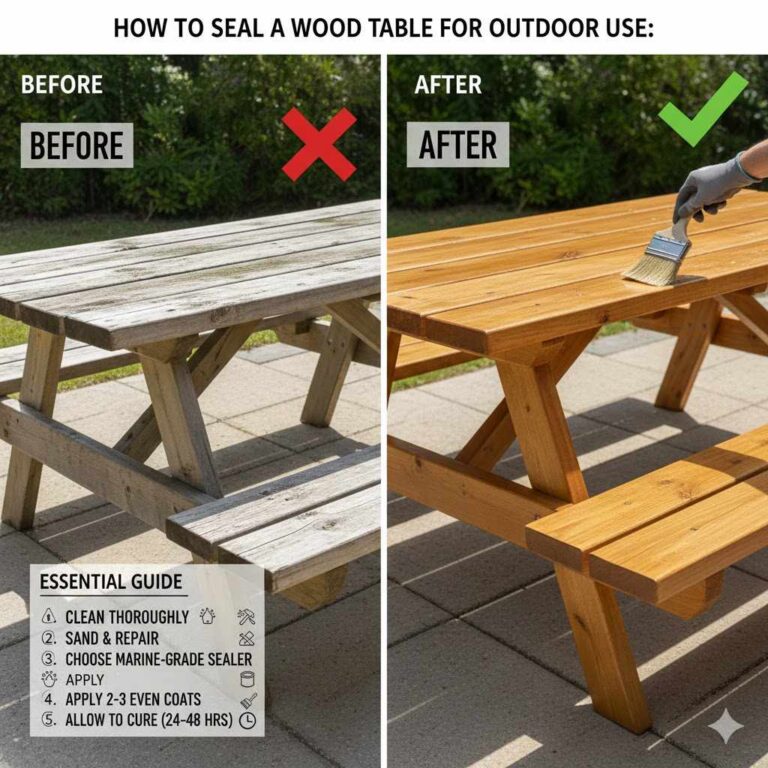
Start by removing dust and dirt from the wood ceiling. Use a soft cloth or vacuum to clean the surface well. This helps the sealant stick better.
Next, sanding is essential for a smooth finish. Use medium-grit sandpaper to gently sand the wood. This removes rough spots and prepares the surface.
Make sure to wipe away dust after sanding. A clean surface helps the sealant bond effectively. This step ensures a long-lasting and beautiful finish.
Applying The Sealant
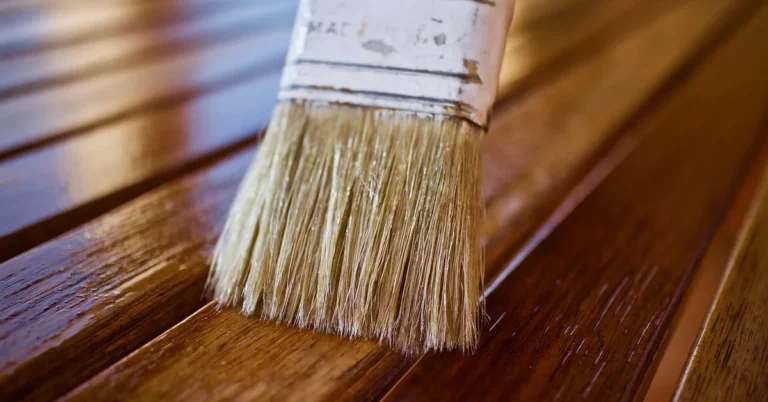
Applying sealant evenly is crucial for a great finish. Start by choosing the right brush or roller. A high-quality brush helps spread sealant smoothly. Use long strokes for better coverage.
Always work in small sections. This prevents the sealant from drying too quickly. Keep the edges wet to blend the new application with the old.
To avoid common mistakes, prepare the wood surface well. Clean it from dust and dirt. This ensures proper adhesion of the sealant.
Test the sealant on a small area first. This helps you check for color and finish. Avoid applying too much sealant at once. Thin layers work better and dry faster.
Drying And Curing Process
Proper drying and curing are essential for sealing a wood ceiling. Optimal conditions ensure the wood maintains its quality.
The best temperature for drying is between 60°F and 80°F. Humidity levels should be around 30% to 50%. Good air circulation helps the drying process.
To know if the wood is fully cured, check for consistency in color and texture. The wood should feel dry to the touch. Additionally, there should be no sticky spots. A moisture meter can also help measure the moisture content.
Finishing Touches
Properly sanding between coats is essential. It helps create a smooth surface. Use fine-grit sandpaper for the best results. Lightly sand after each coat dries. This step removes any imperfections and promotes good adhesion.
Applying a final coat adds extra durability. Choose a high-quality finish for long-lasting results. Apply this coat evenly with a brush or roller. Make sure to cover all areas thoroughly. A well-applied final coat protects against moisture and wear.
Maintenance Tips For Sealed Wood Ceilings
Regular cleaning helps keep your sealed wood ceiling in great shape. Use a soft cloth or a feather duster to remove dust. For deeper cleaning, mix mild soap with water. Avoid harsh chemicals that can damage the sealant.
Check your ceiling for any signs of wear. Look for fading or peeling areas. Reapply sealant every 3 to 5 years to maintain protection. If the ceiling feels rough, it’s time for a new coat.
Always follow the manufacturer’s instructions for the best results. Choose a sealant that matches your wood type. This ensures long-lasting protection and beauty.
Troubleshooting Common Issues
Bubbles can form when applying a sealer. They appear due to trapped air. To fix this, gently press on the bubble. Use a small tool to release the air. After that, smooth the area with a brush. Make sure to reapply the sealer if needed.
Cracks in the wood can also happen. First, clean the area well. Then, fill the crack with wood filler. Allow the filler to dry completely before sealing. This will ensure a smooth finish.
Uneven application can lead to a poor look. To fix this, sand the surface lightly. Reapply the sealer using an even stroke. Always check for drips or thick spots. A consistent layer is key to a great finish.
Eco-friendly And Safe Sealing Practices
Choosing low-VOC sealants is essential for a safe wood ceiling. These sealants release fewer volatile organic compounds. They are better for indoor air quality and health. Look for products labeled as low-VOC or zero-VOC. This choice protects your home and the environment.
Proper ventilation is crucial during the sealing process. Open windows and doors to let fresh air in. Use fans to help circulate air. Wearing a mask can also protect you from fumes. Always follow the manufacturer’s instructions for safety. This ensures a smooth and safe sealing project.

Frequently Asked Questions
How Do I Prepare Wood For Sealing?
Preparing wood for sealing involves cleaning and sanding. Start by removing dust, dirt, and old finishes. Use a fine-grit sandpaper to smooth the surface. This helps the sealant adhere better. Ensure the wood is dry before applying any sealant for optimal results.
What Is The Best Sealant For Wood Ceilings?
The best sealant for wood ceilings depends on your needs. Polyurethane is durable and water-resistant, making it ideal for high-moisture areas. For a more natural look, consider using a penetrating oil finish. Always choose a sealant that suits the wood type and desired sheen.
How Often Should I Seal My Wood Ceiling?
Sealing your wood ceiling every 3 to 5 years is generally recommended. However, this may vary based on exposure to moisture and sunlight. Inspect your ceiling regularly for signs of wear or damage. Reapply sealant sooner if you notice fading or peeling.
Can I Use A Brush To Apply Sealant?
Yes, using a brush to apply sealant is effective. It allows for even distribution and better penetration into the wood. Choose a high-quality brush designed for the type of sealant you’re using. A foam applicator can also work well for smooth finishes.
Conclusion
Sealing your wood ceiling enhances its beauty and longevity. Proper sealing protects against moisture and damage. Regular maintenance ensures your ceiling remains stunning for years. Follow the tips outlined in this guide for the best results. A well-sealed wood ceiling transforms your space and adds value to your home.
Enjoy your beautiful ceiling!
Sponsored / affiliate links. As an Amazon Associate I earn from qualifying purchases. I may earn additional commission from eligible campaigns.