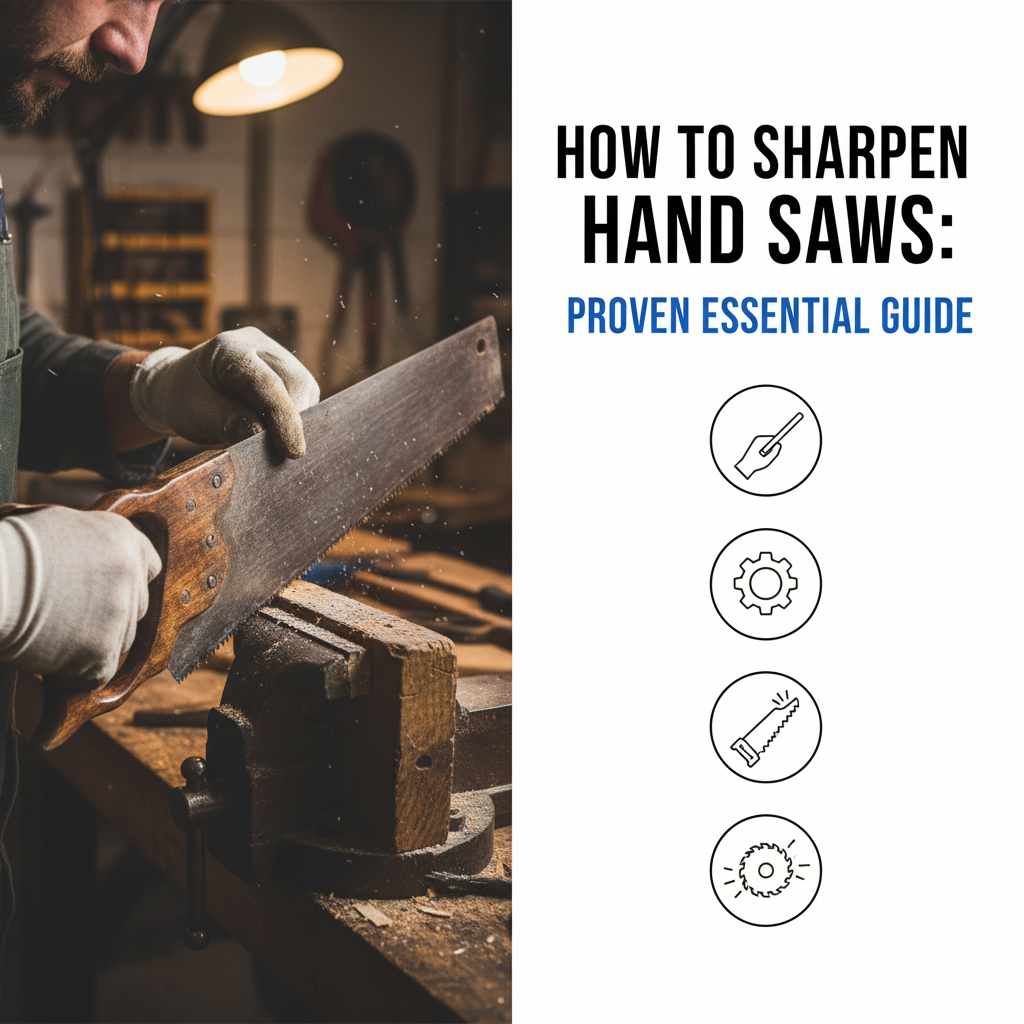
How to Sharpen Hand Saws: Proven Essential Guide
Permanently restore your hand saw’s cutting power and ease with this simple guide! Learn how to sharpen hand saws yourself, saving money and enjoying smoother, faster woodworking. We break down the process into easy steps, making it accessible for any beginner. Get ready to make those old saws sing again!
Ever grabbed a hand saw, excited to start a project, only to find it plowing through wood like a dull butter knife? It’s a common frustration for woodworkers, especially when you’re just starting out. A dull saw doesn’t just make your work harder; it’s also less safe. But don’t worry, giving your trusty hand saw a razor-sharp edge is a skill anyone can learn. We’ll guide you through it, step by step, so you can get back to enjoying the satisfaction of clean, effortless cuts.
This isn’t about complex machinery or specialized jargon. It’s about understanding the simple mechanics of your saw and using a few basic tools to bring it back to life. By the end of this guide, you’ll have the confidence and knowledge to tackle any blunt hand saw in your workshop, making your woodworking projects smoother, faster, and much more enjoyable.
Why Sharpening Your Hand Saw is Essential
Think of your hand saw like any other cutting tool – a knife, scissors, or even a chisel. When its edges are sharp, it glides through material, creating clean lines and requiring minimal effort. A dull saw, on the other hand, is a different beast entirely:
- Increased Effort: You’ll find yourself pushing much harder, leading to fatigue and making the job less enjoyable.
- Rough Cuts: Dull teeth tear rather than cut wood fibers, resulting in splintered edges and imprecise joinery.
- Reduced Safety: When a dull saw doesn’t bite into the wood properly, it can easily slip, increasing the risk of injury. A sharp saw engages predictably.
- Damaged Wood: Pushing a dull saw can splinter and crush the wood fibers, ruining your material before you’ve even finished the cut.
- Wasted Time: You’ll spend more time struggling with the saw than actually building or crafting.
Regularly sharpening your hand saws is a fundamental woodworking practice that not only improves performance but also ensures safety and longevity for your tools. It’s a skill that pays dividends in every project you undertake.

Understanding Your Hand Saw’s Anatomy
Before we dive into sharpening, let’s quickly look at the parts of a hand saw that matter for this process. Understanding these will make the sharpening steps much clearer:
A typical hand saw has teeth, each acting like a tiny chisel. When you push the saw, these teeth cut into the wood. For the saw to cut efficiently, each tooth needs to be:
- Sharp: The cutting edge of each tooth must be honed to a fine point.
- Set: The teeth are slightly bent outwards, alternating left and right. This “set” creates a kerf (the cut line) wider than the saw blade itself, preventing the blade from binding.
- Aligned: All teeth should be roughly the same height and angle.
The goal of sharpening is to restore the sharpness of these tiny teeth, ensuring they all contribute equally to the cut.
Gathering Your Sharpening Tools
You don’t need a workshop full of fancy equipment to sharpen a hand saw. Here are the essential tools you’ll need. Most of these are relatively inexpensive and will last you for many sharpenings.
Essential Tools for Saw Sharpening:
- Saw Vise: This specialized vise holds the saw blade securely and allows you to easily access the teeth. If you don’t have one, you can improvise by clamping the blade between two pieces of wood, leaving the teeth exposed. A sturdy workbench vise can also work if you protect the blade with thin wood or cardboard inserts.
- Hand File: The most crucial tool. You’ll want a file designed for sharpening saws. These are often called “mill files” or “saw files.” For most common hand saws, a 6-inch or 8-inch slim taper file is ideal. Look for one with fine or medium teeth.
- Bench Vise or Clamp: To hold your material if you’re improvising a saw vise.
- Rags: For cleaning the saw blade.
- Marker Pen (Optional): Some people like to mark the first tooth they file to keep track of their progress.
Tools for Setting Teeth (If Needed):
While sharpening primarily focuses on the cutting edge, sometimes teeth also need their “set” adjusted. This is a bit more advanced, but good to know about:
- Saw Set Pliers: A tool specifically designed to bend each tooth to the correct angle and depth. They come in various types, including ones that measure the set.
- Alternative Method: You can carefully use two flat pieces of metal and a hammer to ever-so-gently tap and bend teeth, but this requires a lot of practice and is less precise than using pliers. For beginners, it’s often best to leave setting to the pros unless the teeth are noticeably out of alignment.
The Step-by-Step Guide to Sharpening Your Hand Saw
Ready to transform your dull saw? Follow these steps carefully. Remember, patience is key. It’s better to take your time and do it right than to rush and potentially damage your saw.
Step 1: Secure and Prepare the Saw
First, you need to hold the saw firmly so that it doesn’t move while you’re filing. Clamp the saw blade in your saw vise or your improvised setup. Only expose about an inch (2-3 cm) of the teeth that you’ll be working on. This protects the rest of the blade and gives you comfortable access. Clean the blade with a rag to remove any sawdust or grime. This ensures a clean surface for filing.
Step 2: Identify the Tooth Pattern and Angle
Examine the teeth closely. You’ll notice they are angled forward relative to the direction of the cut. This is the “hook” or “rake” angle. The teeth also alternate to the left and right, which is the “set.” For typical rip saws (designed for cutting with the grain), this angle is usually around 5-10 degrees. For crosscut saws (designed for cutting across the grain), it’s often more, around 15-20 degrees. Most saw files are designed to work with standard angles, so you don’t need to be overly precise.
Most users will sharpen their saws on both the top edge and one side of each tooth. For a standard crosscut saw, you’ll sharpen the leading edge that faces you when you pull the saw, and then the trailing edge when you push. For a rip saw, you focus on the front edge. We’ll focus on the common crosscut sharpening here.
Tip: If you want to maintain the original angle, you can often find guides online or in tool catalogs specific to your saw type. For example, users of Japanese pull saws will have a different sharpening approach. For Western-style hand saws, the angle is crucial. A good reference for common saw tooth geometry can be found on resources like Rockler’s blog on saw tooth geometry.
Another aspect is the “gullet” – the space between teeth. If your saw is very dull, you might need to lightly touch up the bottom of the gullet, but for a standard sharpening, focus on the cutting edge.
Step 3: Begin Filing the Teeth
Hold the file at an angle that matches the bevel of the teeth. For crosscut saws, you’ll be filing the front edge of the tooth as it faces you. Position the file so it’s centered on the tooth, filing at about a 90-degree angle to the plane of the saw blade. This ensures you’re sharpening the cutting edge and not altering the tooth’s profile too much.
Use smooth, even strokes. File only on the forward stroke, lifting the file on the backstroke. This prevents dulling the file and creating burrs. Apply light to moderate pressure. The goal is to create a sharp edge, not to remove a lot of metal.
For a typical crosscut saw, you’ll focus on filing the front bevel of every other tooth, then flip the saw (or change your angle) to file the front bevel of the remaining teeth.
Consistency is Key: Try to make each stroke identical in pressure and length for every tooth. This ensures all teeth are sharpened uniformly. If you marked your first tooth, you know when you’ve completed a full pass.
Step 4: File the Opposite Side (If Necessary)
For a crosscut saw, you’ll now file the other side of each tooth. This means you’ll flip the saw over in the vise or adjust your filing angle to work on the teeth from the opposite side. Again, ensure the file is centered and at the correct angle to the bevel of the tooth. Use the same number of strokes with the same pressure as you did on the first side.
A common mistake is over-filing, which can lead to very thin, weak teeth. Aim for a keen edge, not a needle point. You can check for sharpness by gently running your fingernail across the edge; it should snag slightly.
Step 5: Check Your Work and Clean Up
Once you’ve filed all the teeth on both sides (or just the primary side for a rip saw), remove the saw from the vise. Inspect the teeth by holding the saw up to a light. You’re looking for a consistent shine along the entire cutting edge of each tooth. Any dull spots indicate areas that need a bit more attention. You can also feel the teeth gently with your fingernail. They should all feel equally sharp.
If you find areas that are still dull, go back and file them carefully. Once you’re satisfied, clean the blade thoroughly with a rag to remove any metal filings. A light coat of oil can help prevent rust.
Table: Saw File Types and Their Uses
Choosing the right file makes a big difference. Here’s a quick guide:
| File Type | Common Sizes | Purpose | Beginner Recommendation |
|---|---|---|---|
| Slim Taper File | 4″ to 8″ | Sharpening teeth of most Western hand saws. Excellent for maintaining tooth shape and edge. | Excellent. Go for a 6″ or 8″ with medium teeth. |
| Double Cut File | Various | Aggressively removes metal, useful for reshaping or repairing damaged teeth. | Not ideal for beginners as it removes metal quickly and can easily alter tooth geometry. |
| Single Cut File | Various | Smoother cut, good for finishing and creating a very fine edge. | Can be used, but a slim taper is more versatile for overall sharpening. |
Troubleshooting Common Saw Sharpening Issues
Even with careful steps, you might encounter a few hiccups. Here’s how to handle them:
- Uneven Sharpness: If some teeth feel sharper than others, it’s usually due to inconsistent filing pressure or angle. Go back and re-file the duller teeth, being mindful of your strokes. A marker can help you track which teeth have been filed.
- Missing Teeth or Damaged Teeth: If a tooth is broken or severely bent, you might need to remove it or file it down very short so it doesn’t catch. For significant damage, consider replacing the saw or accepting a slightly imperfect cut. Replacing individual teeth is not practical for most hand saws.
- Saw Still Cuts Poorly: This could mean the “set” of the teeth is incorrect, or the teeth might be too worn down. If the teeth aren’t bent outwards enough, the blade will bind. Over time, the teeth can become so small from repeated filing that they can’t cut effectively, and it might be time for a new saw. For help with setting, a guide on setting saw teeth from Canadian Woodworking Magazine offers helpful insights and visual aids.
- File Skipping on Teeth: Ensure the file is sharp and you are using consistent, firm pressure. The saw teeth should be clean. If the file is brand new, it might be too aggressive. Sometimes a light dusting of chalk can help prevent the file teeth from clogging.
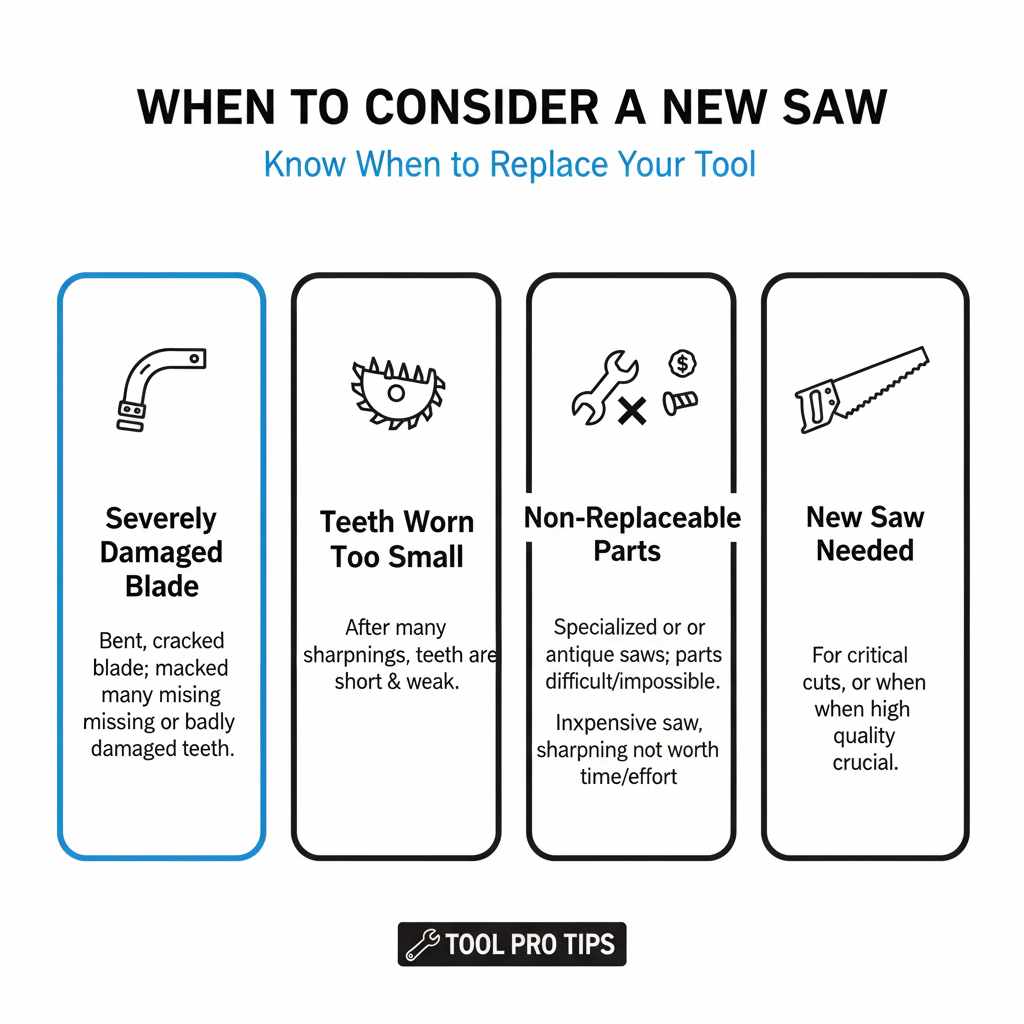
When to Consider a New Saw
While sharpening can bring an old saw back to life, there are times when a new saw is a better investment:
- Severely Damaged Blade: If the blade is bent, cracked, or has many missing or badly damaged teeth, it’s often beyond effective repair.
- Teeth Worn Too Small: After many sharpenings, the teeth can become very short and weak, losing their ability to hold a good edge. This is especially true for very fine-toothed saws.
- Non-Replaceable Parts: Some specialized or antique saws might have parts that are too difficult or impossible to service.
- Cost-Effectiveness: For very inexpensive saws or when a specific type of cut is crucial, the time and effort of sharpening might not be worth it compared to the cost of a new, high-quality saw.
However, for most solid, well-made hand saws, sharpening is a worthwhile and rewarding endeavor that extends their useful life for years.
Frequently Asked Questions (FAQ)
Q1: How often should I sharpen my hand saw?
A1: It depends on how much you use it and what you’re cutting. For occasional use, sharpening once a year might be enough. If you use your saw frequently for demanding cuts, you might need to sharpen it every few months or even more often. A good rule of thumb is to sharpen it when you notice it becoming harder to cut or when cuts start to look rough.
Q2: What’s the difference between sharpening a rip saw and a crosscut saw?
A2: The main difference is the tooth shape and angle. Rip saws have chisel-like teeth perpendicular to the blade (or with minimal hook) for efficient cutting along the grain. Crosscut saws have teeth angled like a small saw blade, designed to slice wood fibers when cutting across the grain. When sharpening, you focus on the specific bevels designed for each type.
Q3: Can I use a regular metal file to sharpen my saw?
A3: It’s best to use a file specifically designed for saws, like a slim taper file. These files have the correct tooth pattern and shape for sharpening saw teeth effectively. Regular metal files might be too coarse, too fine, or have the wrong cut for the delicate angles of saw teeth, potentially damaging them.
Q4: Do I need to sharpen every single tooth?
A4: Yes, ideally, every tooth should be sharpened to ensure the saw cuts evenly. If some teeth are significantly duller than others, you’ll end up with rough cuts and more effort. The process involves filing alternating teeth on one side, then the other, ensuring each tooth receives attention.
Q5: How do I know if I’m setting the teeth correctly?
A5: Setting teeth involves bending them slightly outward. For most wood, the kerf (the width of the cut created by the teeth) should be slightly wider than the saw blade itself. This prevents the blade from getting stuck. Too much set will create a wide, rough cut, while too little will cause binding. Using a dedicated saw set tool with a depth gauge is the most reliable way to achieve consistent set. For beginners, it’s often best to leave the setting alone unless your saw is clearly binding.
Q6: My saw has small rust spots. How do I clean them before sharpening?
A6: Light rust can often be removed with steel wool or a fine-grit abrasive pad. For tougher rust, you can use a rust remover solution or a bit of fine-grit sandpaper, being careful not to damage the teeth. After cleaning, make sure to dry the blade thoroughly and apply a light coat of mineral oil or paste wax to prevent future rust. A clean blade allows for a better sharpening job.