Skil Saw Blade Replacement: Easy Steps for Optimal Performance
To replace a Skil saw blade, first unplug the saw and use the wrench to loosen the blade bolt. Remove the old blade and install the new one, tightening the bolt securely.
Replacing a Skil saw blade is essential for maintaining cutting efficiency and safety. A dull or damaged blade can lead to poor cuts and increased strain on the motor. Regularly changing blades ensures smoother operation and enhances the quality of your work.
Different materials require specific blades, so choosing the right one is crucial. Whether you’re cutting wood, metal, or composite materials, a sharp blade makes all the difference. Understanding the replacement process can save time and prevent accidents. Follow this guide to keep your Skil saw in top condition and ready for any project.
Introduction To Skil Saw Blade Replacement
Replacing the blade on your Skil saw is crucial. A worn blade can ruin your projects. Understanding when and how to replace it boosts efficiency. This guide covers the importance and benefits of timely blade replacement.
Importance Of Timely Blade Replacement
Timely blade replacement is essential for optimal performance. Here are key reasons:
- Safety: Dull blades can cause kickback.
- Quality: Worn blades lead to rough cuts.
- Efficiency: New blades cut faster and smoother.
Ignoring blade replacement can result in more than just poor cuts. It can also damage your materials and tools.
Benefits Of A Sharp Blade
A sharp Skil saw blade offers numerous advantages:
| Benefit | Description |
|---|---|
| Clean Cuts | Sharp blades create smooth edges on wood. |
| Reduced Effort | Sharp blades require less force to cut. |
| Longevity | New blades last longer and perform better. |
| Less Dust | Sharp blades produce less sawdust. |
Using a sharp blade enhances your overall woodworking experience. It saves time and improves the final product.
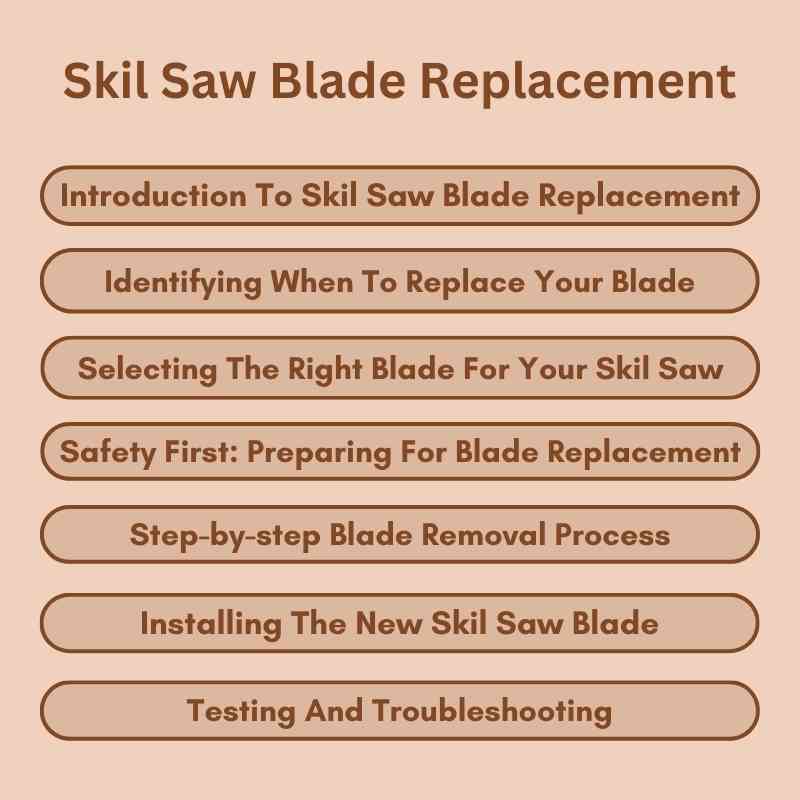
Identifying When To Replace Your Blade
Knowing when to replace your Skil saw blade is crucial for effective cutting. A sharp blade ensures clean cuts and safer operation. Recognizing signs of wear can save time and materials.
Signs Of A Dull Blade
A dull blade can cause frustration and poor results. Here are key signs to watch for:
- Burn Marks: If you see burn marks on your material, the blade is dull.
- Uneven Cuts: Jagged or splintered edges indicate blade wear.
- Increased Resistance: If you feel more effort is needed to cut, check the blade.
- Noisy Operation: Unusual sounds can suggest a dull or damaged blade.
Assessing Blade Wear And Tear
Regularly inspect your saw blade for wear. Follow these steps:
- Unplug the saw for safety.
- Remove the blade carefully.
- Check for visible damage, like cracks or chips.
- Examine the teeth; they should be sharp and intact.
Use a table to evaluate wear:
| Condition | Action |
|---|---|
| Teeth are chipped | Replace blade immediately |
| Teeth are dull | Consider sharpening or replacing |
| No visible damage | Continue using blade, but monitor performance |
Regular maintenance of your Skil saw blade leads to better performance. Replace blades at the first sign of wear.
Selecting The Right Blade For Your Skil Saw
Choosing the correct blade for your Skil Saw is crucial. The right blade enhances performance and safety. Different tasks require specific blades. Understanding your options leads to better results.
Blade Types And Their Uses
Different blades serve various purposes. Here’s a quick guide:
| Blade Type | Use |
|---|---|
| Circular Blades | Ideal for cutting wood and plywood. |
| Combo Blades | Versatile for ripping and crosscutting. |
| Metal Cutting Blades | Designed for cutting metal sheets and pipes. |
| Diamond Blades | Great for cutting tile, concrete, or masonry. |
Compatibility With Your Skil Saw Model
Ensure the blade matches your Skil Saw model. Check the following:
- Blade Diameter: Common sizes are 7-1/4 inches or 10 inches.
- Arbor Size: Most Skil Saws use a 5/8 inch arbor.
- Teeth Count: More teeth mean finer cuts; fewer teeth mean faster cuts.
Always refer to your Skil Saw manual. This ensures you select a compatible blade. Using the wrong blade can damage your saw.
Safety First: Preparing For Blade Replacement
Blade replacement on a Skil saw requires careful preparation. Safety should always be the top priority. Follow these steps to ensure a safe working environment.
Essential Safety Gear
Wearing the right safety gear protects you from potential injuries. Here’s a list of essential gear:
- Safety Goggles: Protect your eyes from flying debris.
- Hearing Protection: Use earplugs or earmuffs to prevent hearing loss.
- Dust Mask: Avoid inhaling sawdust and particles.
- Gloves: Use cut-resistant gloves for hand protection.
- Steel-Toed Boots: Protect your feet from heavy equipment.
Securing The Skil Saw
Securing the Skil saw is crucial for safe blade replacement. Follow these steps:
- Unplug the saw from the power source.
- Place the saw on a stable surface.
- Ensure the area is clear of obstructions.
- Use clamps to secure the saw if needed.
Always check that the saw is stable before proceeding. Ensure that no one is nearby while you work.
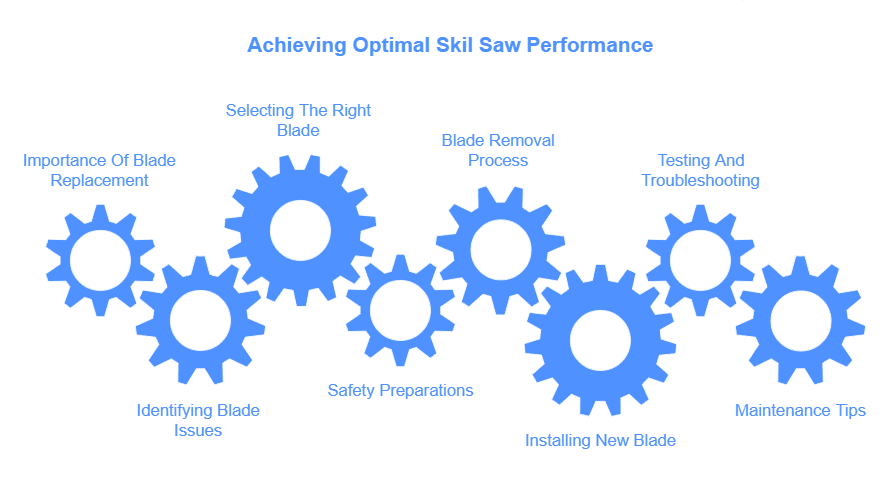
Step-by-step Blade Removal Process
Replacing a Skil saw blade is simple. Follow these steps for safe and effective blade removal. Always wear safety gear before starting. Ensure the saw is unplugged to avoid accidents.
Unlocking The Blade
First, locate the blade lock button. Press this button to secure the blade. This prevents any movement while removing it. Next, use the wrench that came with your saw.
- Find the nut that holds the blade in place.
- Turn the nut counterclockwise with the wrench.
- Keep pressure on the lock button as you turn.
Once the nut is loose, remove it completely. Ensure you keep the nut in a safe place. You will need it for the new blade.
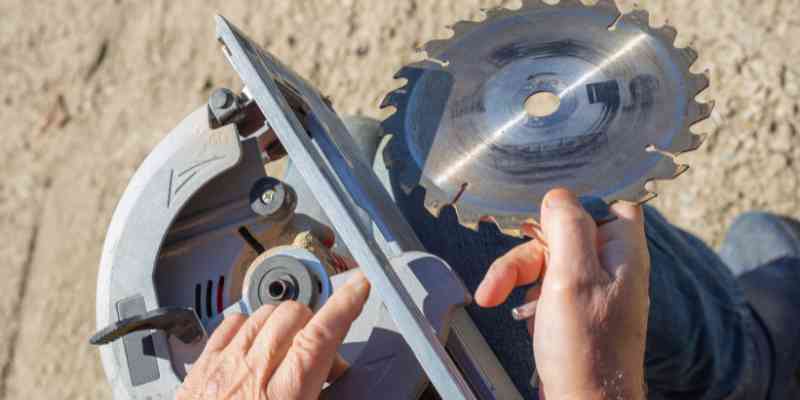
Removing The Old Blade
With the nut removed, it’s time to take off the blade. Hold the blade with one hand. Carefully pull the blade off the spindle.
- Check the blade for any damage.
- Dispose of the old blade properly.
- Clean the spindle for better performance.
Now, your Skil saw is ready for a new blade. Follow these steps carefully for a smooth replacement.
Installing The New Skil Saw Blade
Replacing a Skil saw blade is simple. Proper installation ensures safety and efficiency. Follow these steps for a smooth process.
Aligning The Blade Properly
Correct alignment is crucial. Misalignment can lead to uneven cuts. Here’s how to do it:
- First, turn off the saw and unplug it.
- Remove the old blade carefully.
- Inspect the blade mounting area.
- Place the new blade on the arbor.
- Ensure the teeth face the right direction.
Check the alignment with the saw’s guard. Adjust if necessary. Use a straight edge for accuracy.
Securing The New Blade
After aligning, secure the blade tightly. This prevents it from wobbling during use.
- Use the arbor nut to fasten the blade.
- Tighten it by turning clockwise.
- Use a wrench for extra grip, if needed.
Double-check the tightness before plugging in the saw. A loose blade can cause accidents.
Now, your Skil saw blade is installed correctly. Enjoy safe and precise cuts!
Testing And Troubleshooting
Testing and troubleshooting your Skil Saw after blade replacement is vital. Proper tests ensure the saw operates safely and effectively.
Performing A Test Cut
Before tackling major projects, always perform a test cut. This step helps check if the new blade is functioning correctly.
- Choose a scrap piece of wood.
- Secure the wood on a stable surface.
- Make sure to wear safety gear.
- Turn on the saw and make a slow, steady cut.
Observe the following during your test cut:
| Observation | What It Means |
|---|---|
| Blade binding | Blade may be installed incorrectly or dull. |
| Uneven cut | Blade alignment may need adjustment. |
| Excessive vibration | Check for loose screws or improper installation. |
| Burn marks on wood | Blade speed may be too slow or dull. |
Adjustments After Installation
After installing a new blade, adjustments might be necessary. Small tweaks can enhance performance.
- Check the blade alignment. Ensure it is parallel to the base.
- Adjust the depth of the cut. It should only be slightly deeper than the material.
- Tighten all screws. Loose screws can affect stability.
- Inspect the guard. Make sure it moves freely.
These adjustments help ensure safety and efficiency. Regular checks can prevent problems during use.
Maintenance Tips For Prolonged Blade Life
Maintaining your Skil saw blade ensures better performance and longevity. Regular care protects your investment and enhances cutting precision.
Regular Cleaning
Keeping your saw blade clean is crucial. Dust and debris can affect its efficiency.
- Use a brush to remove wood chips and sawdust.
- Soak the blade in a cleaning solution if it’s heavily soiled.
- Wipe with a cloth after cleaning to avoid moisture buildup.
Cleaning your blade regularly prevents buildup. This extends its lifespan significantly.
Proper Storage Practices
How you store your blade can impact its condition. Follow these tips for best results:
- Store in a dry place to prevent rust.
- Use blade guards to protect edges from damage.
- Keep blades flat to avoid warping.
Proper storage keeps blades sharp and ready for use. It also reduces the risk of accidents.
| Storage Method | Benefits |
|---|---|
| Dry Environment | Prevents rust and corrosion |
| Using Guards | Protects from physical damage |
| Flat Storage | Prevents warping and bending |
Implementing these maintenance tips will enhance your Skil saw blade’s performance. Regular cleaning and proper storage are key to a longer blade life.
Conclusion: Enhancing Your Cutting Experience
Replacing your Skil saw blade can greatly improve your cutting tasks. A sharp, well-maintained blade makes every cut smoother and more efficient. Follow these steps to keep your tools in top shape.
Recap Of Key Steps
Here are the main steps for replacing your Skil saw blade:
- Unplug the saw for safety.
- Remove the old blade by loosening the arbor nut.
- Install the new blade with the teeth facing the right direction.
- Tighten the arbor nut securely.
- Plug in the saw and test the blade.
Encouragement For Routine Maintenance
Regular maintenance keeps your Skil saw performing well. Here are some simple tips:
- Check the blade for wear after every use.
- Clean the blade to remove sawdust and resin.
- Inspect the saw for any loose parts.
- Store the saw in a dry place to prevent rust.
Routine checks can extend the life of your tools. Enjoy smoother cuts and safer projects.
Frequently Asked Questions
How Do I Know When To Replace My Skil Saw Blade?
You should replace your Skil saw blade when it shows signs of wear, such as dullness or visible damage. A dull blade can lead to poor cuts and increased strain on the motor. Regularly inspect your blade for nicks, chips, or excessive rust to ensure optimal performance.
What Type Of Blade Do I Need For My Skil Saw?
The type of blade you need depends on the material you’re cutting. For wood, use a carbide-tipped blade with a higher tooth count for smoother cuts. For metal or masonry, select a specialized blade designed for those materials. Always refer to your saw’s manual for specific recommendations.
Can I Use Any Blade On My Skil Saw?
Not all blades are compatible with every Skil saw. Ensure that the blade’s size and arbor hole match your saw’s specifications. Using the wrong blade can lead to poor performance or damage to the saw. Always consult your user manual for the correct blade type and size.
How Do I Safely Replace My Skil Saw Blade?
To safely replace your Skil saw blade, first unplug the saw. Use the blade wrench to loosen the arbor nut and remove the old blade. Install the new blade, ensuring it’s securely fastened, and reattach the arbor nut. Finally, double-check the alignment before plugging in your saw again.
Conclusion
Replacing your Skil saw blade is essential for optimal performance. Regular maintenance keeps your projects efficient and precise. Remember to choose the right blade for your material. Always prioritize safety during the replacement process. With these tips, you’ll ensure your saw remains a reliable tool for all your cutting needs.
Happy woodworking!