How to Use Wipe-On Poly the Right Way (No Brush Marks)
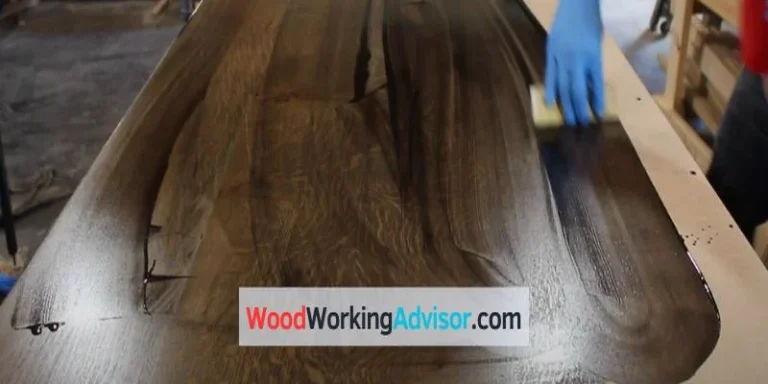
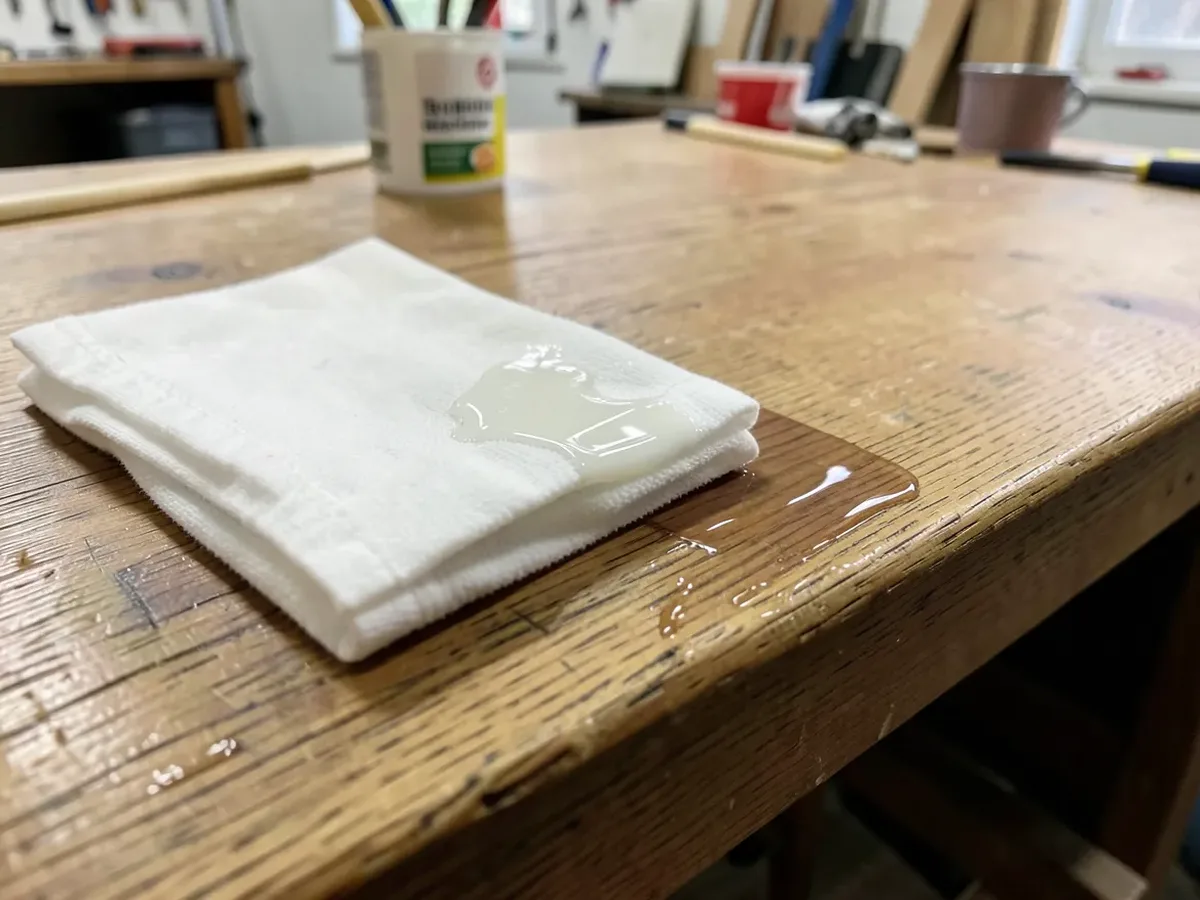
Wipe-on poly goes on with a folded, lint-free cloth, not a brush — you soak the cloth, wring it out until it’s damp rather than dripping, and wipe it onto the wood in the direction of the grain the same way you’d apply a stain. The whole appeal of the product is that it’s just regular oil-based (or water-based) polyurethane thinned enough to flow off a rag instead of a brush, which trades a slower build for the near-total elimination of brush marks, drips, and bubbles.
Prep the Surface First, Because Wipe-On Poly Won’t Hide Mistakes
For Scuffing Between Coats
 |
#0000 Super Fine Steel Wool Pads, 12-Pack – $4.98 A quick pass with grade 0000 between coats knocks down dust nibs and gives the next coat something to grip, without leaving visible scratch marks the way sandpaper can on a thin wiped coat.
|
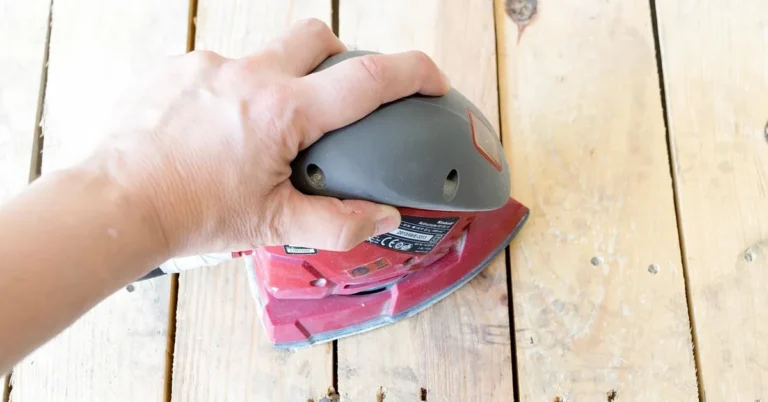
Because a wiped coat is thinner than a brushed one, it telegraphs surface flaws more than a heavier finish would. Sand up through the grits — 120 to knock down mill marks or old finish, then 150, then 220 — always following the direction of the grain, never across it. Vacuum the dust out of the pores before wiping with a tack cloth; a shop vac gets into corners and profiles a tack cloth alone will just push dust around in.
Skip the water-and-detergent wash some guides recommend before an oil-based finish — introducing water to bare wood right before an oil-based topcoat can raise the grain and reintroduce moisture you just sanded flat. A tack cloth or a slightly damp (not wet) cloth handles dust removal without that risk.
Applying the Coats
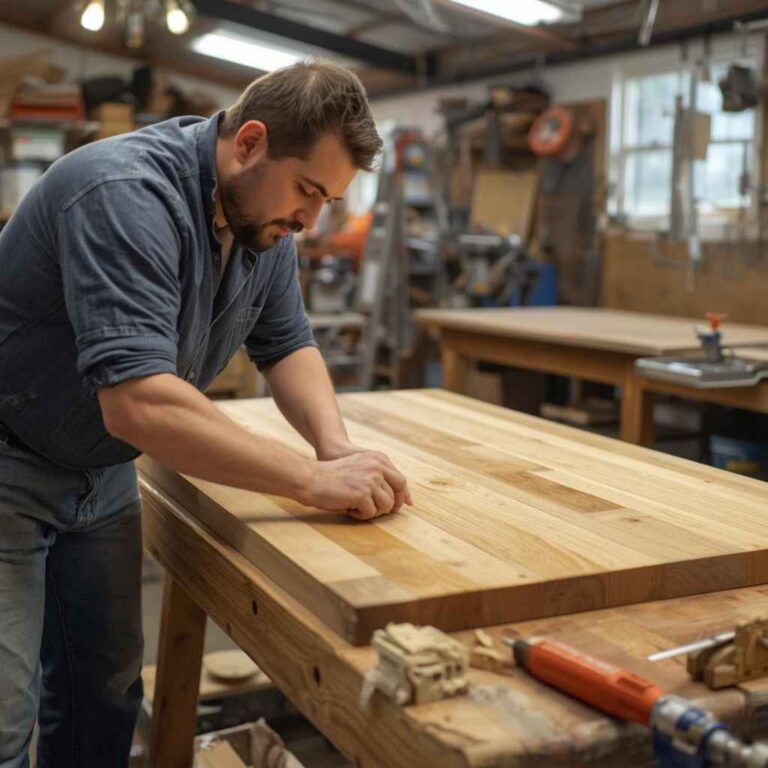
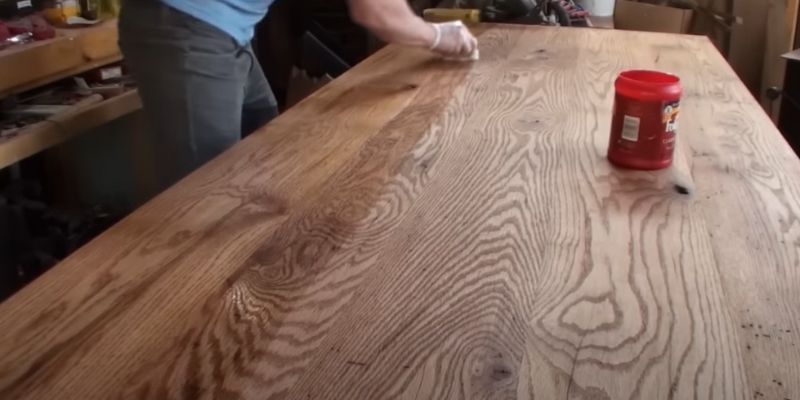
Fold a lint-free cotton or microfiber cloth into a pad, saturate it, and wring it just short of dripping. Wipe with the grain in long, overlapping strokes, working a section at a time rather than the whole piece at once so you can keep a wet edge. Don’t go back over an area that’s started to tack up — that’s how wiped finishes pick up drag marks, and unlike a brushed coat there’s very little extra material on the surface to smooth them back out.
Let each coat dry fully before the next — check the can, but 2-4 hours is typical for oil-based wipe-on poly at room temperature, faster for water-based (see our full wipe-on poly drying times guide for the sanding and tack tests that confirm it, rather than guessing off the clock). Between coats, knock down any raised grain or dust nibs with a light pass of 0000 steel wool or 320-grit sandpaper, then vacuum and tack-cloth again before recoating. Most projects need 3-4 coats to build real film thickness and protection, since each wiped coat deposits noticeably less material than a brushed one.
Does Gloss Level Depend on the Wood Species? No.
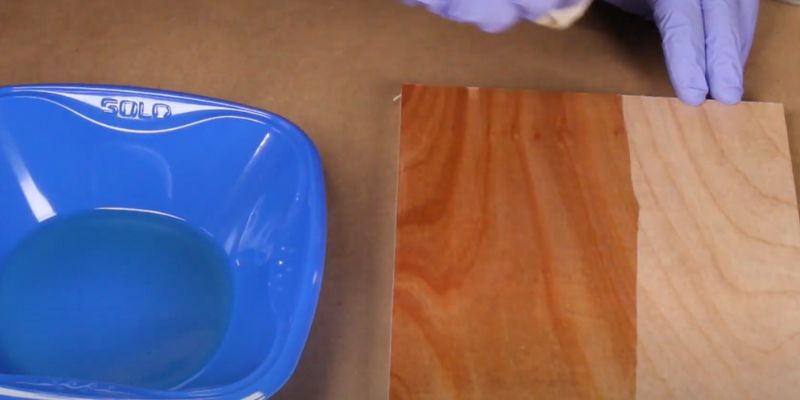
You’ll see charts online pairing specific woods with specific sheens (oak with gloss, maple with satin, and so on) — that’s not a real technical rule. Gloss level is purely a look-and-feel choice, and it has nothing to do with how well a particular wood species accepts the finish. What actually varies by species is porosity: open-grained woods like oak and mahogany drink in more of the first coat and may need an extra one to build the same film thickness that a tighter-grained wood like maple or cherry reaches faster. Pick satin or matte if you want the wood’s natural texture to read through; pick semi-gloss or gloss if you want more shine and a slightly more protective, denser-feeling surface. Either works on any species.
Rubbing Out the Final Coat
Once the last coat has cured (give it the full cure time on the can, not just the recoat window, before buffing), a light rub with 0000 steel wool or a fine polishing compound knocks down any texture and brings the sheen to a consistent, hand-rubbed look. Work with the grain in light, even pressure, then wipe away the residue with a clean cloth. This step is optional on a satin or matte finish but makes a real visible difference on gloss.
Keeping the Finish Looking Right
Dust with a dry, soft cloth for routine care, and use a mild detergent solution (not a household spray cleaner with ammonia or vinegar, both of which can dull a poly finish over time) for anything that needs more than dusting. Dry the surface fully after cleaning; standing water left on any polyurethane finish, wiped-on or brushed, can eventually cloud or lift it at the edges. A worn or scuffed finish can usually be revived with one more wiped-on coat rather than stripping back to bare wood, as long as the existing finish is clean and free of wax or oil residue first.
Bottom Line
Wipe-on poly trades speed for control: thinner coats, more of them, almost no risk of brush marks or drips. Sand and dust thoroughly, wipe with the grain in a wet edge, scuff lightly between coats, and expect 3-4 coats to get real protection. Pick a sheen based on the look you want, not the species you’re finishing — that part is personal preference, not a technical requirement.
Sponsored / affiliate links. As an Amazon Associate I earn from qualifying purchases. I may earn additional commission from eligible campaigns.