How to Winterize Doors
Winterize doors by first sorting the problem into one of three causes: air leakage, moisture intrusion, or seasonal wood movement. Fixing the wrong cause wastes time, leaves drafts in place, and can lead to swollen parts, damaged finishes, or failed seals. This guide shows you how to diagnose each issue and winterize the correct door component before cold weather arrives.
Winter door checklist


| Symptom | Likely failure point | Fastest fix | Replace vs. repair decision |
|---|---|---|---|
| Cold air at the latch side | Side weatherstripping or frame gap | Check fit, then replace cracked or gapped side seals | Repair if the seal is the problem; replace if the frame is warped or rotted |
| Light visible under the closed door | Threshold seal or exterior door sweep | Adjust the threshold hardware if adjustable, or replace the sweep | Repair if the bottom edge is sound; replace if the sweep is crumbling or torn |
| Water at the frame after rain or thaw | Caulked joints, sill, or frame rot | Reseal sound joints and clear drainage paths | Repair if the wood is firm; replace if soft wood or rot is present |
| Door rubs only in cold weather | Seasonal wood movement | Confirm hinge tightness and hardware alignment before changing seals | Repair if swelling is seasonal; replace if the door has a permanent bow |
| Front door feels drafty at top corners | Top seal or perimeter gap | Check top weatherstripping and caulkable joints | Repair if seals are flattened; replace if the frame is out of square |
| French doors leak at the meeting stile | Astragal or latch alignment | Adjust alignment, then replace worn meeting seals | Repair if the leaves are sound; replace hardware if the latch will not hold alignment |
| Patio or sliding door sticks and leaks | Rollers, track, or bottom seal | Clean the track, inspect rollers, and replace the bottom seal if needed | Repair if rollers and seals are serviceable; replace if the panel is warped |
| Garage door leaks at the lower edge | Bottom seal | Check the lower edge for damage and replace the seal if light shows through | Repair if the seal is worn; call a pro if springs or door balance are involved |
What you’ll need
- Flashlight for the light test around door edges
- Paper strip for a simple pull test
- Smoke source for a second draft check when another person is not available
- Silicone-based lubricant for hinges and moving hardware in cold weather
- Caulk for sound perimeter joints
- Replacement weatherstripping matched to the door type and profile
- Replacement sweep or threshold parts that fit the bottom edge style
- Screwdriver, utility knife, tape measure, and pry tool
- Cleaning cloth and mild cleaner for tracks and seals
How do you tell what is failing?
Start with the symptom, not the hardware. Light at the edges points to air leakage, staining or soft wood points to moisture intrusion, and rubbing or sticking points to seasonal movement or worn hardware. If the door closes but still leaks, the fix is usually seal-related, not a full replacement.
Air leakage signs
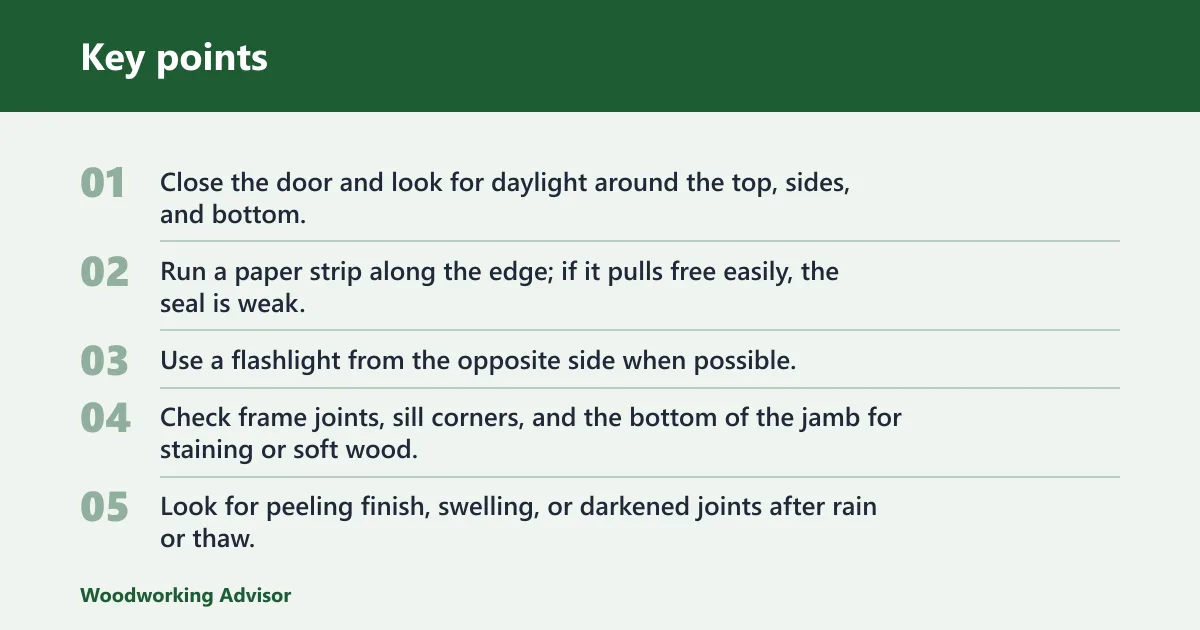
- Close the door and look for daylight around the top, sides, and bottom.
- Run a paper strip along the edge; if it pulls free easily, the seal is weak.
- Use a flashlight from the opposite side when possible; light around the door edge means air is getting through.
Moisture signs
- Check frame joints, sill corners, and the bottom of the jamb for staining or soft wood.
- Look for peeling finish, swelling, or darkened joints after rain or thaw.
- Repair caulkable joints only if the wood is still firm; rot needs replacement parts or a pro.
Movement signs
- Open and close the door slowly to find rubbing points.
- Check hinges, latch alignment, and lock strike position before changing seals.
- If the door only binds in cold weather, seasonal wood movement is more likely than a failed weatherstrip.
Suppose a painted wood front door drags at the top latch corner after the first cold snap. That often points to wood movement or hinge shift, not a bad bottom seal. In that case, fix the alignment first, then recheck the seal fit.
Inspect the door before the first freeze
Walk the door from top to bottom and outside to inside. Check the top, sides, and bottom for visible gaps, then inspect the frame for warped sections, loose trim, and rot. This is the best time to catch brittle seals and freezing hardware before they fail in cold weather.
Inspect the frame and trim
- Look at perimeter gaps where the jamb meets the wall and trim.
- Check for caulkable joints that have pulled away or cracked.
- Press suspect wood with a screwdriver tip; soft wood means the repair has to go deeper than caulk.
Inspect the hardware
- Open and close the door several times to find squeak or stiffness.
- Check hinges, latches, and closers for rust or binding.
- Lubricate hinges and moving parts before freezing temperatures arrive.
Which weatherstripping needs replacement?
Match the strip to the door type before you buy anything. Weatherstripping should be checked for cracks, tears, or gaps before winter. Replace torn, brittle, or compressed material rather than patching it, because cold weather makes weak material fail faster.
Bottom, side, and top seals
- Inspect the bottom seal first; that is where drafts and pests usually get in.
- Check side seals for flattened spots and gaps where the slab contacts the jamb.
- Check the top seal for compression set, cracks, or loose attachment.
Fit-critical details to measure first
- Measure the existing profile before buying replacements.
- For kerf-style weatherstripping, confirm the kerf width and insertion style.
- For adhesive or screw-on strips, note the door type and the contact surface, then match the part to that layout.
A common first-timer mistake is buying a generic strip because it “looks close.” On a narrow aluminum patio door, the wrong profile can keep the panel from closing fully, while the correct profile seals without extra force.
How should you handle thresholds and sweeps?
Use the daylight test under the closed door first. If you can see light under the bottom edge, the threshold seal may not be sealing properly. A threshold seal closes the gap under the door, blocks drafts and critters, and works with the sweep rather than replacing it.
Set the threshold correctly
- Check whether the threshold is adjustable or fixed.
- If it is adjustable, follow the hardware design and the owner’s manual instead of guessing at a fixed turn or fraction.
- Stop when the door closes without scraping and the gap is closed evenly.
Choose the right sweep
- Inspect the bottom edge for wear, crumbling, or missing material.
- Match the sweep style to the door bottom: flat, beveled, or uneven.
- Replace the sweep when light shows through at the bottom edge.
How do you winterize special door types?
Different doors fail in different places. Front doors often leak at the frame, French doors leak at the meeting stile, patio and sliding doors often lose seal performance at the track or rollers, and garage doors usually fail at the bottom seal or through neglected hardware. Treat each style separately.
Front and double doors
Front doors and double doors need balanced seals on both sides. Check the astragal on double doors, then test each leaf separately so one loose side does not hide the real leak. If one leaf closes tighter than the other, adjust alignment before replacing all the seals.
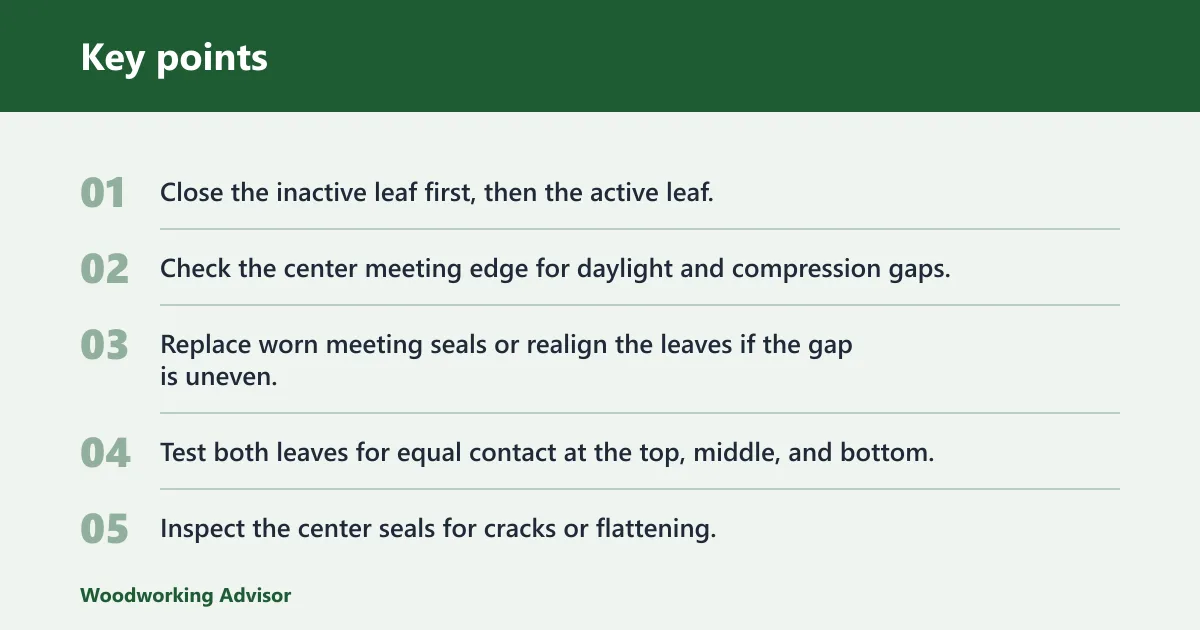
- Close the inactive leaf first, then the active leaf.
- Check the center meeting edge for daylight and compression gaps.
- Replace worn meeting seals or realign the leaves if the gap is uneven.
French doors
French doors usually leak where the two leaves meet, especially if the latch does not pull them together tightly. Check the meeting rails and latch alignment first. If the seals are fine but the gap remains, the issue is often alignment rather than weatherstripping.
- Test both leaves for equal contact at the top, middle, and bottom.
- Inspect the center seals for cracks or flattening.
- Correct latch alignment before replacing the perimeter strip.
Patio and sliding doors
Patio and sliding doors need clean tracks, sound rollers, and a bottom seal that still meets the threshold. Some insulation kits exist for these doors, but they must not interfere with operation, drainage, or manufacturer guidance. If a kit blocks movement or water paths, do not install it.
- Clean the track and remove grit before judging the rollers.
- Check for roller stiffness, then lubricate only the moving parts allowed by the manufacturer.
- Replace the seal or roller assembly if the panel still drags after cleaning.
Garage doors
Garage doors need a different approach. Check the bottom seal at the lower edge for damage, and clean the tracks rather than lubricating them unless the owner’s manual says otherwise. Silicone-based lubricant is recommended for springs in cold weather, and rollers should also be lubricated to prevent cold-weather stiffness.
- Inspect the bottom seal for gaps, cracks, and flattened spots.
- Clean the tracks, then check the rollers for free movement.
- Leave spring adjustment to a pro; spring handling is not a homeowner task.
What should you lubricate and what should you leave alone?
Use silicone-based lubricant on hinges and moving hardware where allowed. It is cold-weather safe and helps prevent squeak or stiffness. Keep lubricant off garage tracks unless the manual calls for it, because some tracks perform better when kept clean. Do not touch garage door springs beyond basic visual inspection.
Safe DIY maintenance
- Wipe hinge pins, latches, rollers, and locks clean first.
- Apply silicone-based lubricant sparingly to moving parts only.
- Cycle the door and recheck for stiffness or binding.
Leave these alone
- Do not adjust garage springs.
- Do not lubricate garage tracks unless the manufacturer says to.
- Do not force a door that binds; fix the cause first.
Common mistakes
- Buying the wrong weatherstripping profile, kerf size, or sweep style
- Replacing seals before checking for warped wood or rot
- Using insulation products that interfere with door operation or drainage
- Calling a draft a seal problem when it is really a hinge or alignment issue
- Lubricating garage tracks instead of cleaning them
- Handling garage springs instead of leaving them to a pro
Say your garage door closes with a visible sliver of light at the bottom but the side seals look fine. The fastest fix is usually the bottom seal, not a full weatherstrip overhaul. If the door still leaks after that, then check balance and track alignment.
Frequently asked questions
How to winterize doors and windows
Start with the largest leaks first: door bottom seals, window sash gaps, then frame joints. Use a flashlight or paper strip to find air movement, replace cracked weatherstripping, and seal sound joints with caulk. If wood is soft or warped, repair the substrate before adding new seals.
How to winterize door frames
Inspect the perimeter for cracks, loose trim, and caulk failure. Recaulk only clean, dry joints, then check the frame for rot or warping. If the frame is out of square, the seal may never compress evenly, so alignment or frame repair comes before any new weatherstripping.
How to winterize french doors
Check the center meeting rails, latch pull, and the perimeter seals on both leaves. French doors often leak at the meeting stile, so adjust alignment first, then replace flattened or torn seals. If one leaf sits proud of the other, correct the hardware before buying new material.
How to winterize patio doors
Clean the track, check rollers for stiffness, and inspect the bottom seal for wear. Sliding doors often fail because debris keeps the panel from closing fully. Use insulation only if it does not block movement or drainage, and follow the manufacturer’s guidance for that specific door.
How to winterize garage doors
Inspect the lower-edge seal first, since garage door bottom seals are specifically checked for damage at the door’s lower edge. Clean the tracks, lubricate rollers if allowed, and use silicone-based lubricant on springs only where appropriate for cold weather maintenance. Do not adjust springs yourself.
How to winterize front door
Check the top, side, and bottom seals, then test the threshold for daylight under the closed door. A front door usually needs only the failed part replaced if the slab and frame are sound. If the wood is swelling or warped, fix that before changing seals.
How to winterize an exterior door
Inspect the frame, sweep, and threshold first, then move to the weatherstripping profile. Exterior doors need the correct fit, not a generic strip. Replace torn or brittle seals, and use a flashlight or paper test to confirm the leak is gone after the repair.
Sponsored / affiliate links. As an Amazon Associate I earn from qualifying purchases. I may earn additional commission from eligible campaigns.