Ideas for Cedar Wood: Genius Projects
Here are genius project ideas for cedar wood: easily build beautiful, durable, and aromatic cedar outdoor furniture, planters, trim, and decor that enhance your home and garden. These beginner-friendly projects highlight cedar’s natural beauty and resistance to rot and insects, making your DIY endeavors rewarding and long-lasting.
Hey there, aspiring woodworkers! Md Meraj here, your friendly guide to all things DIY. Ever looked at a beautiful cedar plank and wondered, “What amazing thing can I make with this?” Cedar wood is a fantastic choice for beginners because it’s beautiful, smells great, and is naturally tough, resisting rot and bugs. This means your projects can brave the outdoors without fuss. But sometimes, knowing where to start can feel a bit overwhelming. Don’t sweat it! We’re going to break down some brilliant ideas for cedar wood projects that are not only achievable for beginners but will also make your home and garden look absolutely stunning. Get ready to build something you’ll be proud of!
Why Cedar Wood is a DIY Dream
Cedar wood isn’t just pretty; it comes with some seriously helpful traits for anyone starting out. Its natural oils make it resistant to decay and insects, meaning your outdoor projects will stand the test of time and weather much better than with other woods. Plus, it’s relatively lightweight and easy to cut and shape, which is a big plus when you’re still getting the hang of your tools. And that amazing, fresh scent? It’s just a bonus!
Let’s look at what makes cedar so special:
- Natural Durability: Cedar contains natural oils that protect it from rot, decay, and insect infestation. This makes it perfect for outdoor projects where moisture and pests are common concerns. For more on wood durability, check out this guide from the US Forest Products Laboratory.
- Aromatic Qualities: The distinct, pleasant scent of cedar is a bonus. It’s not only nice to be around but also naturally repels moths, a reason it’s often used in closets and chests.
- Workability: Cedar is relatively soft and lightweight, making it easier to cut, sand, and assemble compared to harder woods. This is a huge advantage for beginner woodworkers.
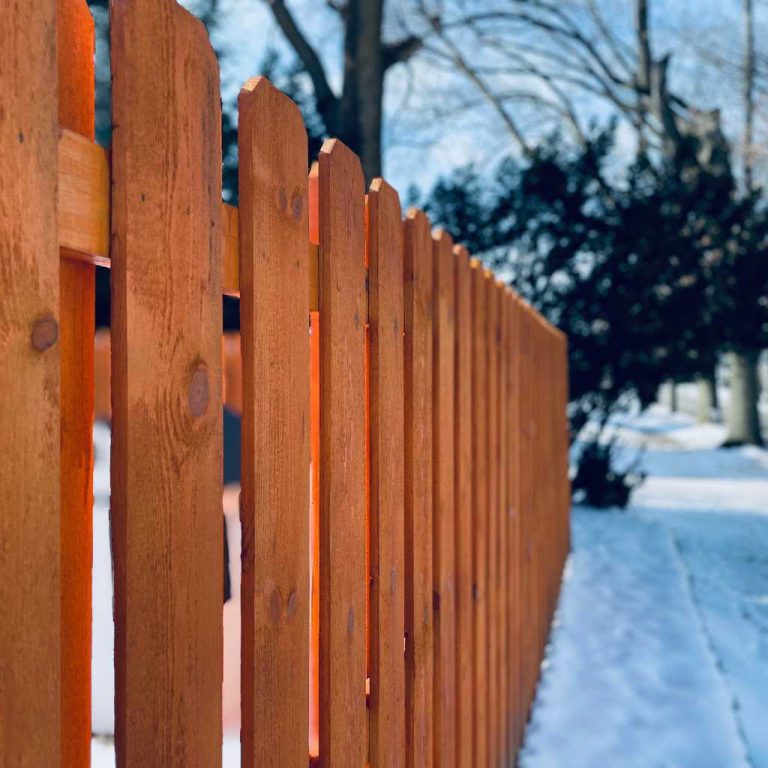
- Appearance: With its rich color and straight grain, cedar offers a beautiful natural look that often requires minimal finishing, though sealing can further protect it from UV rays and prolong its color.
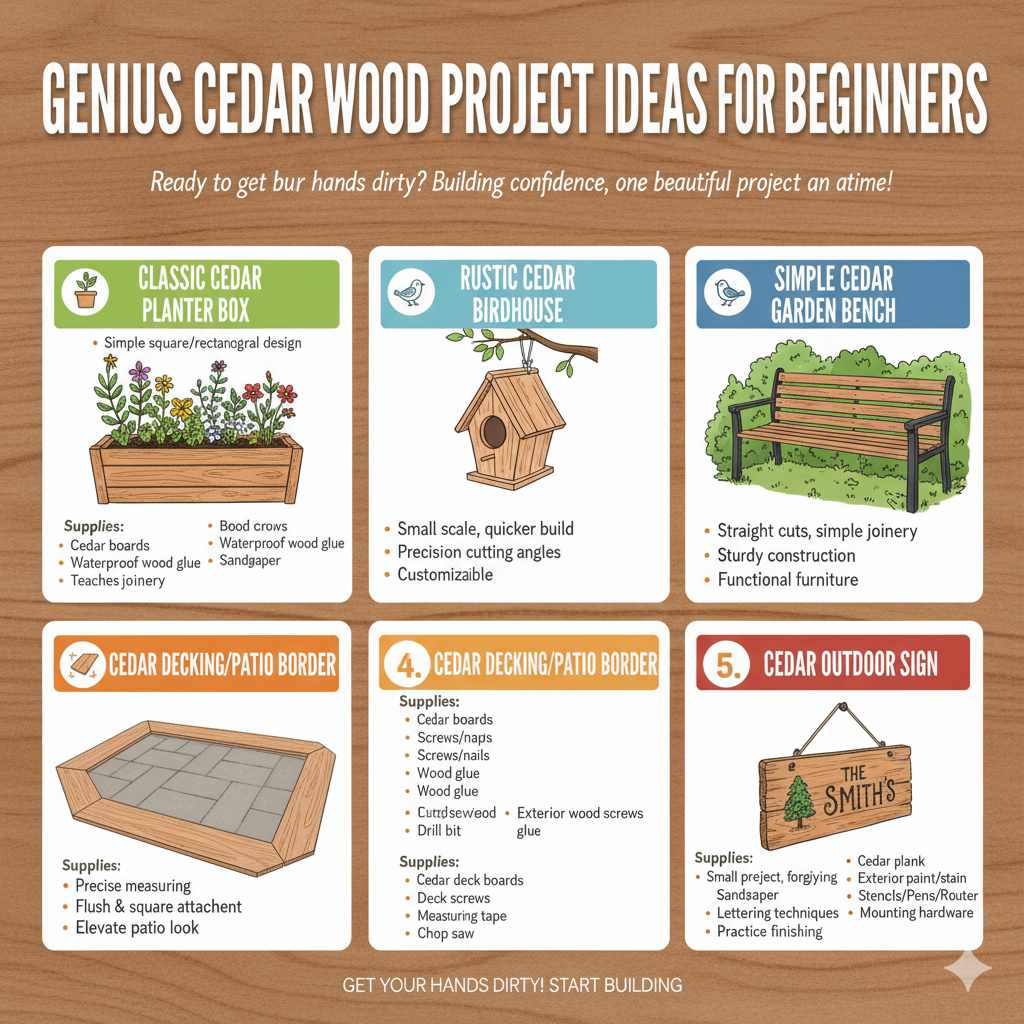
Genius Cedar Wood Project Ideas for Beginners
Ready to get your hands dirty? Here are some fantastic projects that showcase cedar’s best qualities and are perfect for building confidence:
1. Classic Cedar Planter Box
A cedar planter box is a quintessential beginner project. It’s practical, looks great on a patio or balcony, and is incredibly rewarding to build. You can grow herbs, flowers, or even vegetables in them!
Why it’s great for beginners:
- Simple square or rectangular design.
- Requires basic cuts and assembly.
- Teaches fundamental joinery techniques.
What you’ll need (typical supplies):
- Cedar boards (e.g., 1×6 or 1×8)
- Wood screws (exterior grade)
- Wood glue (waterproof)
- Sandpaper
- Optional: Cedar 4×4 posts for corner supports
Basic Steps:
- Cut your cedar boards to the desired length for the sides and ends of your planter.
- Assemble the sides and ends using wood glue and screws. If using corner posts, screw the sides into the posts.
- Ensure the box is square.
- Sand any rough edges smooth.
- Consider adding a simple liner (like landscape fabric) inside to help retain soil and protect the wood from constant moisture.
2. Rustic Cedar Birdhouse
Attract feathered friends to your yard with a charming cedar birdhouse. This project is small, manageable, and adds a delightful touch of nature to your garden. Cedar’s natural properties also help keep the inhabitants safe and cozy.
Why it’s great for beginners:
- Small scale means less material and a quicker build.
- Teaches precision cutting for small angles.
- Fun to customize with paint or natural finishes.
What you’ll need:
- Cedar fence pickets or scraps
- Wood screws or nails
- Wood glue
- Sandpaper
- Drill bit for entrance hole
Basic Steps:
- Cut pieces for the base, front, back, sides, and roof. Many simple birdhouse plans are available online that provide exact dimensions.
- Drill an appropriately sized entrance hole in the front piece. The size depends on the birds you want to attract. For example, a 1 1/8 inch hole is good for wrens.
- Assemble the walls and base, using glue and fasteners.
- Attach the roof pieces, often with a slight overhang to protect from rain.
- Sand all edges and remove any sawdust.
- Mount it securely on a post or hang it from a tree.
3. Simple Cedar Garden Bench
Imagine relaxing in your garden on a beautiful bench you built yourself! A basic cedar bench is a fantastic introduction to building slightly larger outdoor furniture. Its durability means it will be a favorite spot for years to come.
Why it’s great for beginners:
- Straight cuts and simple joinery.
- Teaches sturdy construction techniques.
- A functional piece of furniture you can use immediately.
What you’ll need:
- Cedar 2x4s and 2x6s
- Exterior wood screws
- Wood glue (waterproof)
- Sandpaper
Basic Steps:
- Cut pieces for the legs, seat supports, and seat slats.
- Assemble two leg frames first. These typically consist of two legs connected by a cross-brace.
- Attach the seat supports between the two leg frames.
- Attach the seat slats on top of the seat supports, spacing them slightly apart for drainage.
- Sand everything smooth. Ensure all screws are countersunk for a clean look and to prevent snags.
4. Cedar Decking/Patio Border
If you have an existing deck or patio, adding a cedar border can instantly elevate its look. This is an excellent project for learning how to create clean, straight lines and a professional finish.
Why it’s great for beginners:
- Focuses on precise measuring and cutting.
- Teaches how to attach boards flush and square.
- Can be adapted to various patio or deck shapes.
What you’ll need:
- Cedar deck boards or 1×6/1×8 cedar lumber
- Deck screws (exterior grade)
- Measuring tape
- Chop saw or circular saw for accurate cuts
Basic Steps:
- Measure the perimeter of your deck or patio area where the border will go.
- Cut your cedar boards to length. For corners, you can do a simple butt joint or a mitered (45-degree) cut for a more finished look.
- Lay out the first board, ensuring it’s straight and flush with the edge.
- Secure the board using deck screws, driving them through the board into the underlying structure or joists.
- Continue adding boards, maintaining a consistent line and spacing.
- Sand any rough edges.
5. Cedar Outdoor Sign
A custom cedar sign for your house number, garden gate, or even a family name is a wonderful way to personalize your space. It’s versatile and allows for creative expression.
Why it’s great for beginners:
- Relatively small project, forgiving of minor mistakes.
- Teaches basic lettering techniques (painting or carving).
- Can be a great way to practice finishing techniques.
What you’ll need:
- Cedar plank (e.g., 1×8 or 1×10)
- Sandpaper
- Exterior paint or stain (optional)
- Tools for lettering: stencil, paint pens, stencil brush, or a router if you’re feeling adventurous.
- Mounting hardware.
Basic Steps:
- Cut your cedar plank to the desired size.
- Sand the surface smooth and clean.
- Plan your lettering layout. You can draw it directly, use a stencil, or transfer a design.
- Apply your paint, stain, or carving. If painting, use thin, even coats and allow drying time between.
- Once dry, apply a clear, weatherproof sealant to protect the design and wood.
- Attach appropriate mounting hardware to the back.
Cedar Project Planning Essentials
Before you dive into building, a little planning goes a long way. Thinking about these details will make your projects smoother and more enjoyable.
Choosing the Right Cedar Type
There are several types of cedar, each with slightly different characteristics:
| Wood Type | Key Characteristics for DIY | Best For |
|---|---|---|
| Western Red Cedar | Lightweight, excellent rot and insect resistance, stable, beautiful red-brown color. | Outdoor furniture, decks, fences, siding. |
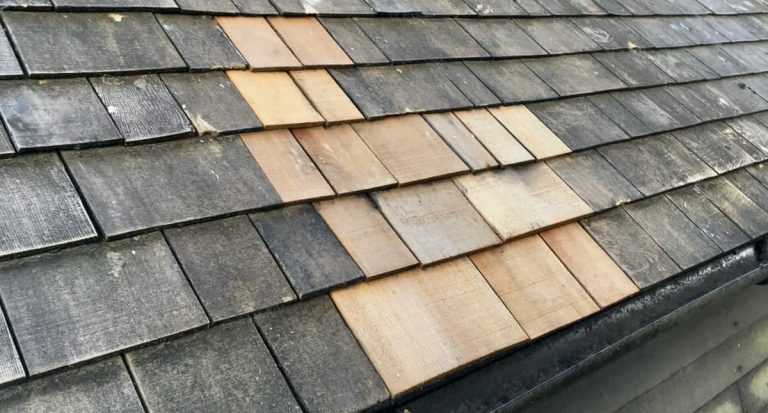
| Eastern White Cedar | Very lightweight, resistant to decay, good for detailed work. | Shingles, small decorative items, outdoor trim. |
| Aromatic Red Cedar | Strong, pleasant scent, good insect repellent, tends to be more brittle. | Closet lining, chests, small decorative boxes. |
For most outdoor DIY projects accessible to beginners, Western Red Cedar is a top choice due to its balance of durability, workability, and aesthetic appeal. You can often find cedar lumber at local lumber yards or home improvement stores.
Essential Tools for Cedar Projects
You don’t need a workshop full of fancy tools to start. Here’s a basic set that will get you going:
- Measuring Tape: For accurate measurements.
- Pencil: To mark your cuts.
- Saw: A hand saw is basic, but a circular saw or miter saw will give you straighter, cleaner cuts, especially for multiple pieces.
- Drill/Driver: Essential for pre-drilling holes (to prevent splitting cedar) and driving screws.
- Screwdriver Bits: To match your screw heads.
- Sandpaper: Grits like 80, 120, and 180 are useful for smoothing.
- Safety Glasses: Always protect your eyes!
- Work Gloves: To protect your hands.
Safety First!
Woodworking is fun, but safety is paramount. Always wear safety glasses when cutting or sanding. Ensure your work area is well-lit and free of clutter. If using power tools, read their manuals and understand how they operate before you start. For detailed safety guidelines, the Occupational Safety and Health Administration (OSHA) offers valuable resources.
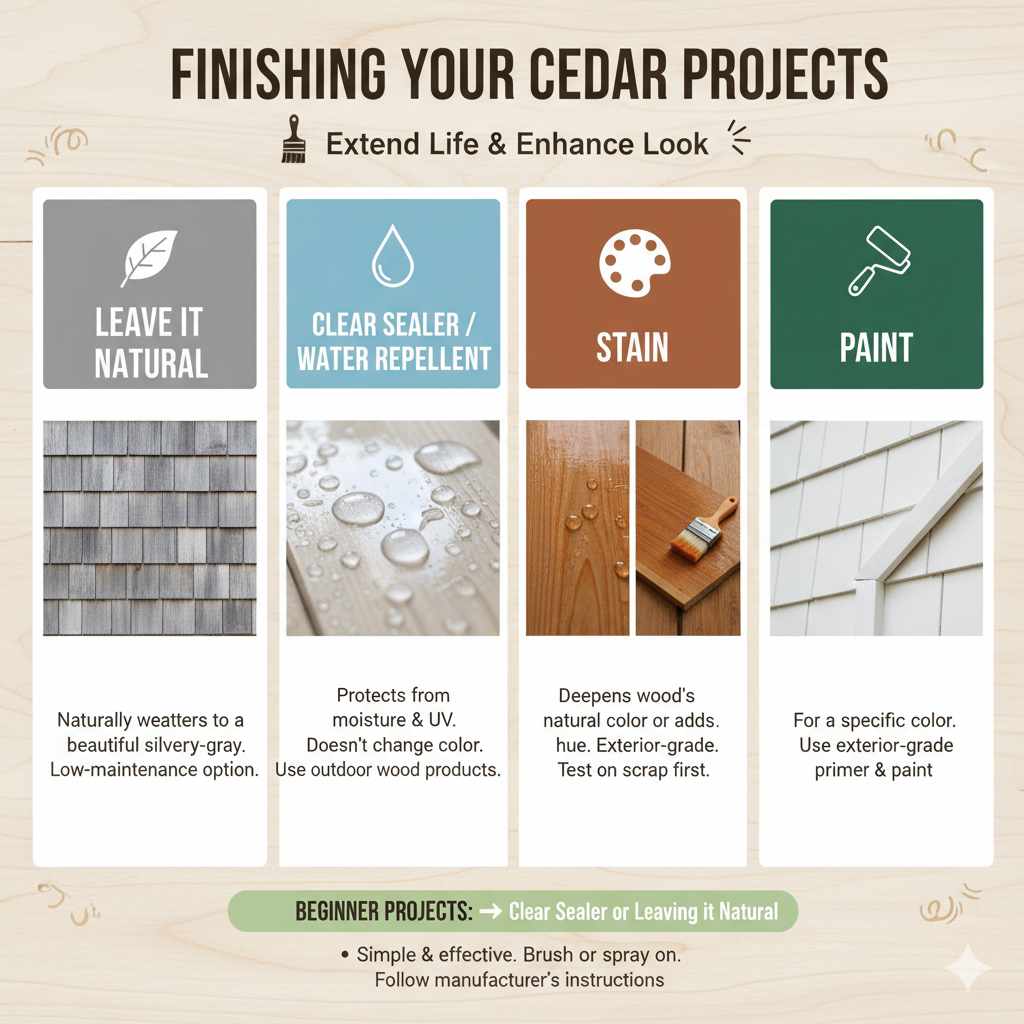
Finishing Your Cedar Projects
Cedar’s natural beauty is often enough, but a little finish can extend its life and enhance its look. For outdoor projects, consider these options:
- Leave it Natural: Cedar will naturally weather to a beautiful silvery-gray. This is a perfectly acceptable and low-maintenance option.
- Clear Sealer/Water Repellent: This protects the wood from moisture and UV damage without significantly changing its color. Look for products specifically designed for outdoor wood.
- Stain: If you want to deepen the wood’s natural color or add a slightly different hue, an exterior-grade stain is a good choice. Test it on a scrap piece first.
- Paint: While less common for showcasing cedar’s grain, painting is an option if you prefer a specific color. Use an exterior-grade primer and paint.
For most beginner projects, a clear sealer or leaving it natural is the simplest and most effective way to go. Applying a finish is often as simple as brushing or spraying it on and letting it dry. Always follow the manufacturer’s instructions for the best results.
Common Beginner Cedar Wood Questions (FAQ)
Can I screw cedar wood directly into the ground?
It’s generally not recommended to place cedar directly into the ground for extended periods, even though it’s rot-resistant. Moisture in the soil will still break it down over time. It’s better to use ground contact rated posts or place your cedar projects on a gravel base.
Do I need to pre-drill holes in cedar?
Yes, it’s highly recommended. Cedar is softer and its wood fibers can split easily when a screw is driven directly. Pre-drilling a pilot hole slightly smaller than your screw shank will make driving screws much easier and prevent splitting.
What’s the difference between cedar fence pickets and cedar deck boards?
Cedar fence pickets are typically thinner and less expensive, often seasoned (dried) but not always. Deck boards are usually thicker (like 5/4 or 1 1/2 inch) and designed to withstand more weight and weather exposure. Both can be used for projects, depending on the required strength and budget.
How long will cedar projects last outdoors?
With proper construction and minimal maintenance (like an occasional cleaning or resealing), cedar projects can last anywhere from 15 to 30 years or even longer, depending on the specific cedar type and the severity of your climate.
Is cedar easy to cut?
Yes, cedar is considered one of the easier woods to cut. It’s relatively soft and lightweight, which means your saws won’t have to work too hard, and it’s less likely to splinter during cuts compared to denser hardwoods.
Do I need to seal cedar if I’m leaving it to weather naturally?
No, you don’t need to seal it if your goal is to let it weather to a silvery-gray. Cedar’s natural oils provide protection. However, sealing with a water-repellent product can help maintain its original reddish-brown hue for longer by protecting it from UV rays.
Conclusion
See? Working with cedar wood is truly a rewarding experience for any DIYer. From eye-catching planters that breathe life into your garden to sturdy benches perfect for enjoying a quiet afternoon, the possibilities are vast and achievable. By understanding cedar’s natural strengths and following some simple woodworking practices, you can build beautiful, durable, and aromatic projects that you’ll be proud to show off. So grab some cedar, your tools, and let’s get building! Remember to always prioritize safety, measure twice, and enjoy the process. Happy crafting!