Sliding Dual-Bevel Miter Saw: What It Is and Which to Buy (2026)
A sliding dual-bevel miter saw combines two separate upgrades in one tool: sliding rails that let the blade travel forward and back for wider crosscuts, and a head that tilts left and right so you never have to flip the board for a compound angle. Neither feature is complicated on its own, but buying guides often blur the two together, which makes it hard to tell what you’re actually paying for over a basic compound saw.
This guide breaks the two features apart, covers a clearance trade-off between saw designs that most articles skip entirely, and walks through setup, technique, and maintenance so the saw actually delivers the accuracy it’s built for.
What Makes a Miter Saw “Sliding” and “Dual-Bevel”
Best 12-Inch Rail-Style Sliding Dual-Bevel Pick
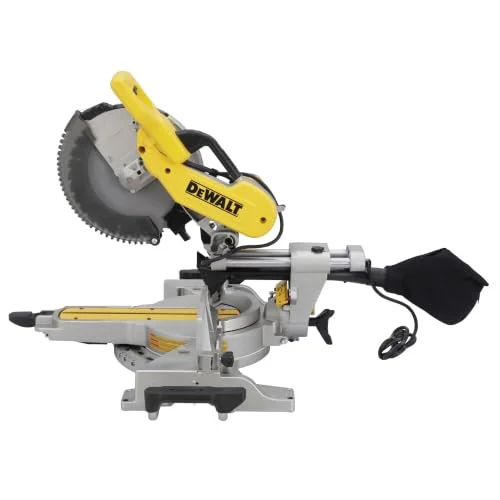 |
DEWALT DWS779 12″ Sliding Compound Miter Saw – $393 The rail-style dual-bevel slider this guide uses as its clearance-and-capacity benchmark above.
|
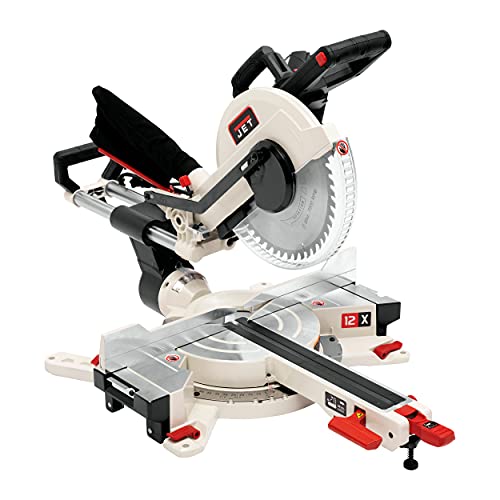
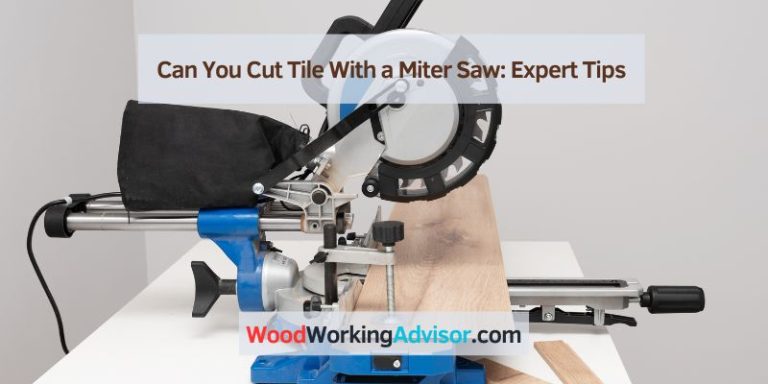
A standard compound miter saw pivots straight down onto the workpiece, which limits crosscut width to roughly the blade’s diameter minus the arbor and guard. Add sliding rails – two horizontal bars (or an articulating glide arm on some Bosch models) that let the whole cutting head travel toward and away from the fence – and that same 12-inch blade can crosscut a board 14 to 16 inches wide at 90°, because the blade is pulled through the cut instead of just dropped into it.
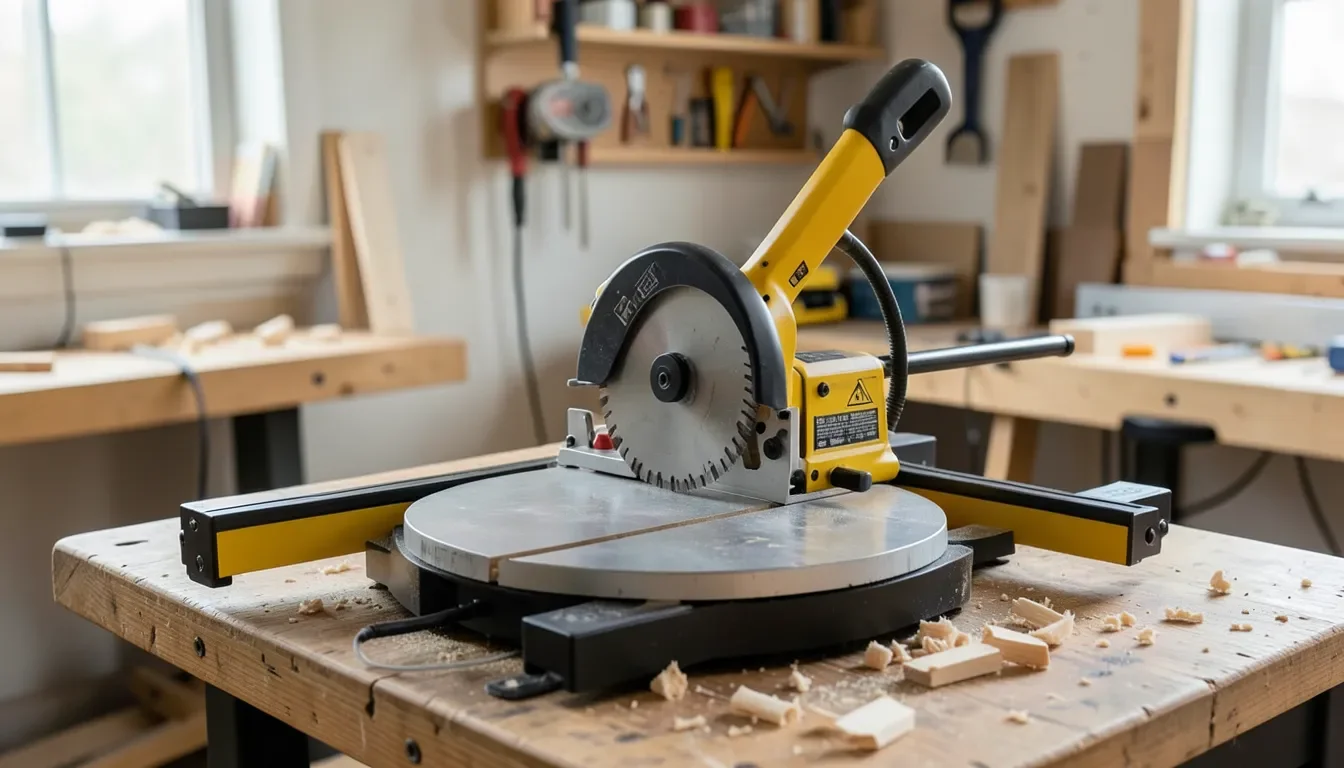
Dual bevel is a separate spec. A single-bevel saw only tilts one direction, so cutting matching left and right angles – crown molding corners, picture frames, angled shelf brackets – means flipping the board over and re-marking it, which is where most bevel-cut errors happen. A dual-bevel head tilts both ways, typically around 45–49° in each direction on 12-inch models like the DeWalt DWS779, so the workpiece stays clamped in the same position for both cuts.
Put together, sliding and dual bevel solve two different problems – board width and angle symmetry – and a saw only needs both if your projects regularly hit both limits. A lot of trim carpenters get by fine on a non-sliding dual bevel saw; a lot of furniture builders need the slide but rarely touch the left bevel. Knowing which limitation you actually run into saves you from paying for a feature you won’t use.
The Clearance Trade-Off Most Buying Guides Skip
Here’s the gap in most roundups: they compare crosscut capacity and bevel range but never mention that sliding saws come in two different mechanical designs, and one of them needs a lot more room behind your workbench than the other.
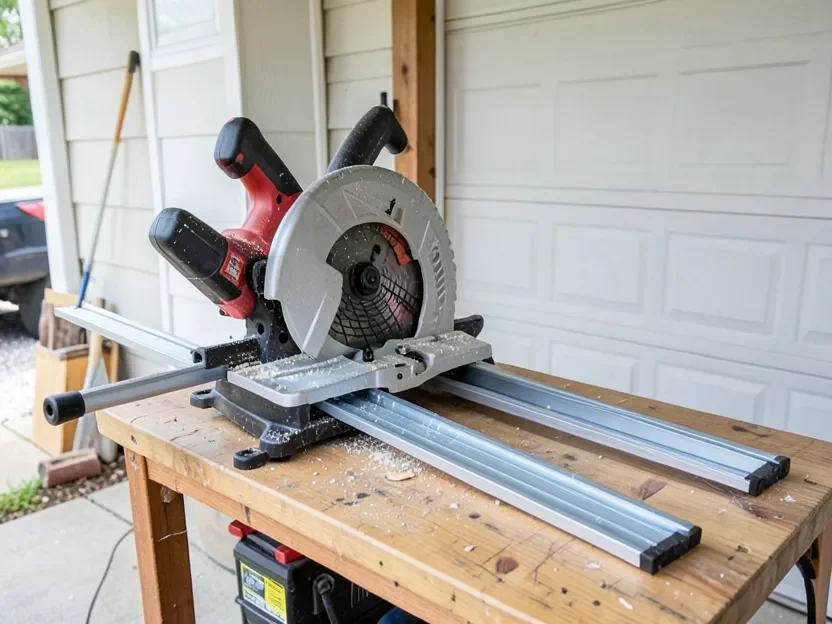
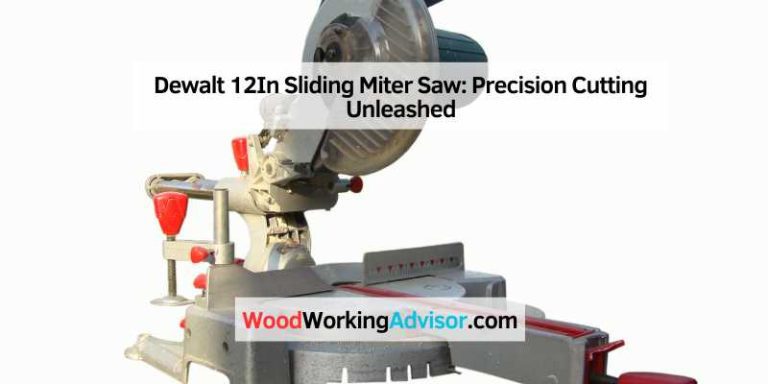
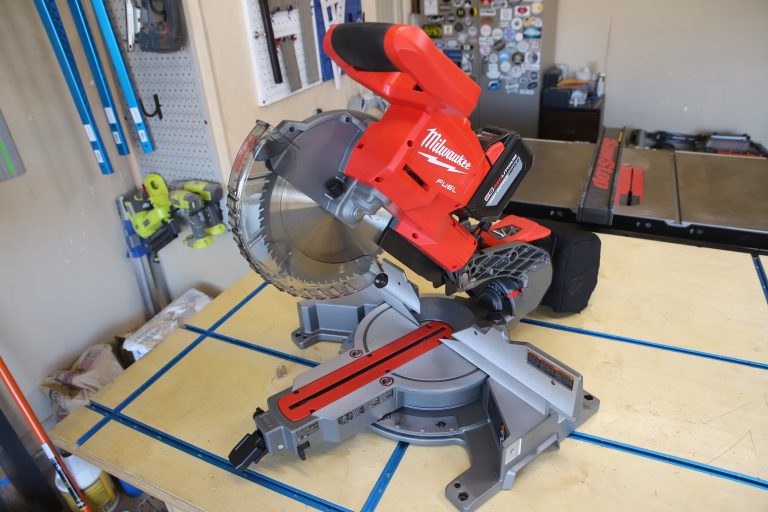
Most sliding saws – DeWalt, Makita, Milwaukee – use telescoping steel rails that physically extend out the back of the saw every time you pull the head through a full-width cut. Push the saw’s base up against a wall or a pegboard and those rails will hit it mid-cut. As a rough rule, plan on 12 to 20 inches of open space behind a rail-style 12-inch slider, depending on the model’s stroke length – check the specific saw’s spec sheet for its exact rail travel before you build a permanent bench around it.
Bosch’s Glide series is the exception: instead of rails, it uses an articulating arm tucked inside the saw’s own footprint, so the head slides forward on a fixed pivot rather than extending backward. That means a Glide saw can sit flush against a wall with almost no rear clearance, at the cost of usually being heavier and pricier than a comparable rail saw. If your shop is a one-car garage or a bench pushed against a wall, that single spec matters more than the extra inch or two of crosscut capacity most reviews focus on.
Setting Up for Precision Cuts

The miter and bevel scales stamped on the saw are a starting point, not a guarantee. Before any project where the fit actually matters – picture frames, crown molding, cabinet face frames – check the saw’s angle setting against a digital angle gauge or a machinist’s protractor rather than trusting the detent stops alone. It’s common for a saw’s 0° and 45° stops to be off by half a degree or more out of the box, which is invisible on a single cut but compounds fast across four mitered corners.
Lock the miter angle and the bevel lock lever fully before cutting – a bevel lock that’s only snug, not tight, lets the head creep under blade pressure and shows up as a slightly rounded-over cut face. Run a test cut on scrap at the exact settings you’ll use on the real material, check it against a square or the mating piece, and adjust before committing to the good stock. This is the step that gets skipped when someone’s in a hurry, and it’s the one that actually prevents wasted material.
Cutting Technique and Consistency
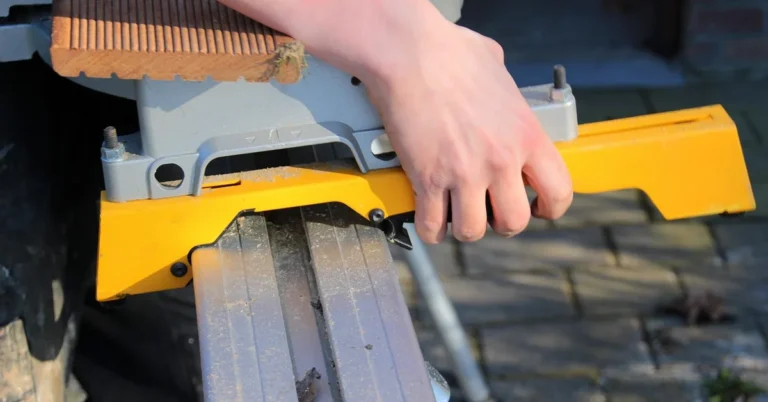
Clamp the workpiece or hold it firmly against the fence for every cut – a board that shifts mid-slide is the single most common cause of a blown-out or off-angle cut on a sliding saw, because the blade is moving through the material for longer than on a straight chop cut. For a bevel cut specifically, keep the offcut on the side away from the tilt so it can’t bind between the blade and the fence as the head comes down.
Pull the saw toward you to full extension first, then plunge down and push the blade through the material in one steady motion – don’t reverse direction mid-cut. A dull or gummed-up blade fights the material and tends to grab, so if cuts start tearing out or the saw seems to labor, that’s usually the blade, not the saw. For trim and crown molding, an 80- to 100-tooth blade leaves a cleaner edge than the 40- to 60-tooth blade most saws ship with, which is built for faster, rougher framing cuts.
Safety Essentials
Keep both hands outside the blade’s full range of travel – on a sliding saw that range extends much further forward than people expect coming from a standard chop saw, since the head travels toward you before it drops. Let the blade reach full speed before it contacts the material, and let it stop spinning completely before lifting it back up; pulling up on a coasting blade is a common way stock gets kicked back.
Wear safety glasses and hearing protection every time – miter saws commonly run in the 100–110 dB range at the operator’s ear, well past the 85 dB threshold where hearing damage starts with repeated exposure. A dust mask is worth it too, especially with MDF or treated lumber. None of this is optional gear for “just a quick cut” – most miter saw injuries happen on cuts the operator considered routine.
Maintenance and Blade Care
Dust accumulates fastest around the sliding rails and the bevel pivot, and packed sawdust in either one adds friction that throws off cut accuracy long before it causes a visible problem. Wipe the rails down and add a light coat of dry PTFE lubricant every few sessions – avoid heavy grease, which just collects more dust. Clear the blade guard and dust chute of buildup regularly so the guard moves freely instead of dragging.
Replace the blade once cuts start tearing out consistently rather than waiting for it to look visibly dull – carbide teeth lose their edge well before they show obvious wear. Match the replacement to the saw’s arbor size and rated RPM, and follow the manufacturer’s blade-change procedure for torque and blade orientation; installing a blade backward is a rare but real mistake that shows up immediately as a rough, burning cut.
Choosing the Right Model for Your Shop
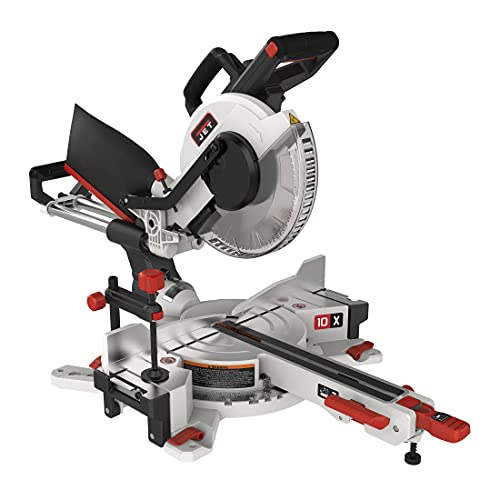
Blade size is the first real decision: a 10-inch sliding dual-bevel saw is lighter, cheaper, and plenty for trim, furniture, and most DIY framing, while a 12-inch model adds crosscut width and bevel capacity for wider stock and deeper crown molding – at a real cost in weight and price. If you’re mainly cutting baseboard, casing, and furniture parts, the 10-inch size isn’t a compromise; it’s usually the better fit.
For a 12-inch rail-style option, the DeWalt DWS779 is a common benchmark: 15-amp motor, dual bevel to 49° each direction, miter to 60° right and 50° left, and roughly 16-inch crosscut capacity at 90°. If bench space against a wall is the constraint rather than budget, a Bosch Glide model trades some of that price advantage for near-zero rear clearance. Either way, confirm the specific saw’s stated rail travel or footprint against your actual bench dimensions before buying – that’s the spec every buying guide skips, and it’s the one that determines whether the saw actually fits where you plan to put it.
Frequently Asked Questions
What is a sliding dual-bevel miter saw?
It’s a miter saw that combines two separate features: sliding rails (or a glide arm) that let the blade travel forward and back for wider crosscuts, and a head that tilts both left and right for compound angle cuts without flipping the workpiece.
Do I need a 10-inch or 12-inch dual-bevel slider?
A 10-inch saw covers most trim, furniture, and general DIY work at a lower price and weight. Step up to 12 inches only if you regularly cut wide crown molding or dimensional lumber near the saw’s crosscut limit – the extra capacity isn’t useful if you never approach it.
How much clearance does a sliding miter saw need behind it?
Rail-style sliders (DeWalt, Makita, Milwaukee) typically need 12 to 20 inches of open space behind the saw for the rails to extend on a full-width cut – check the specific model’s rail travel spec. Bosch’s Glide series uses an articulating arm instead of rails and can sit almost flush against a wall.
Is dual bevel worth the extra cost over single bevel?
If you regularly cut symmetric angles – crown molding, picture frames, angled brackets – dual bevel saves real time by removing the flip-and-remark step, and it removes a common source of mismatched-angle errors. If most of your cuts are simple crosscuts, a single-bevel saw does the job for less money.
What’s a typical crosscut capacity for a 12-inch sliding dual-bevel saw?
Most 12-inch rail-style sliders crosscut roughly 14 to 16 inches wide at 90°, dropping to around 10 to 11 inches at a 45° miter. Exact figures vary by model, so check the saw’s own spec sheet if you’re cutting near that limit.
Sponsored / affiliate links. As an Amazon Associate I earn from qualifying purchases. I may earn additional commission from eligible campaigns.