How to Paint Pressure Treated Plywood Without It Peeling
Pressure treated plywood needs a different approach than regular wood because the chemicals used to protect it also fight the paint’s ability to stick. This guide covers exactly how to test, prep, and paint pressure treated plywood so the finish actually lasts, plus the mistakes that most often cause paint to peel within a year.
What Is Painting Pressure Treated Plywood?
Best Primer for Painting Treated Plywood
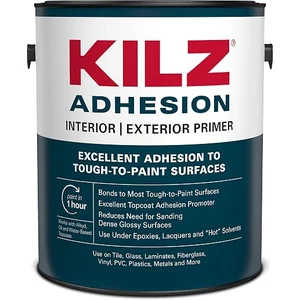 |
KILZ Adhesion Primer (Interior/Exterior, 1 Gal) – $73.44 Skipping primer is the single most common reason paint peels off treated plywood within months — this bonding primer is built for exactly this kind of tricky surface.
|
Pressure treated plywood is wood treated with chemicals to resist bugs and rot. It’s great for outdoor projects like signs or furniture. Painting it adds color and protection. But it’s tricky because the wood is often wet from treatment. If you paint too soon, the paint peels within weeks, since it can’t bond to a still-wet surface underneath.
Why Paint Pressure Treated Plywood?
Painting makes plywood look better and last longer, since a good exterior paint protects the surface against sun and rain damage while adding whatever color fits the project. It also hides the greenish or brownish tint that copper-based preservatives leave behind.
How to Know If Your Plywood Is Ready
Treated plywood is often wet when you buy it. Wet wood doesn’t hold paint well. Here is a simple test to check whether it’s ready:
- Drop water on the wood. If it beads up, the wood is too wet. If it soaks in, it’s ready to paint.
- Wait if needed. Fresh plywood may need 1-3 months to dry. Store it in a dry, airy place.
Painting wet plywood is the single most common cause of bubbling and early peeling. Don’t rush this step. For faster drying, look for Kiln-Dried-After-Treatment (KDAT) plywood at the lumber yard – it costs more but is ready to paint much sooner than standard treated stock.
Step-by-Step Guide to Painting Pressure Treated Plywood
Here’s how I paint pressure treated plywood for great results. Follow these steps for a smooth, colorful finish.
Step 1: Gather Your Supplies
You only need a handful of simple tools and materials to keep the project affordable.
| Item | Purpose | Recommendation |
|---|---|---|
| Paint | Adds color | Exterior latex or oil-based paint |
| Primer | Helps paint stick | Oil-based primer for treated wood |
| Brush/Roller | Applies paint | 2-inch brush or small foam roller |
| Sandpaper | Smooths wood | 120-grit sandpaper |
| Cleaner | Removes dirt | TSP or oxygen bleach |
Visual Idea: A diagram showing a brush, roller, and paint can setup would help beginners.
Step 2: Clean the Plywood
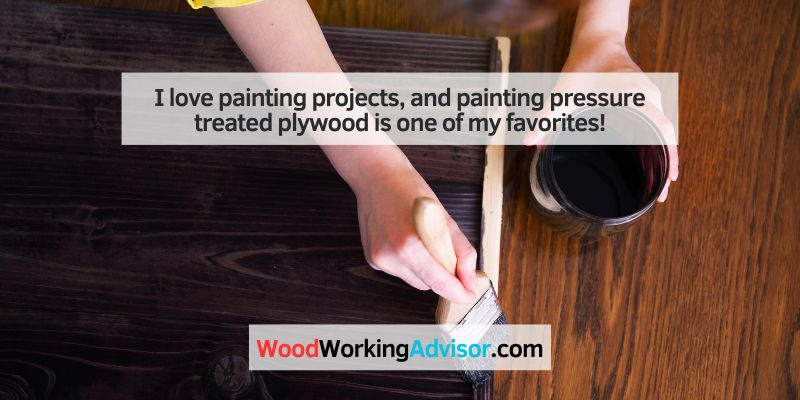
Dirty plywood ruins paint jobs, so cleaning first matters. A simple, effective mix is one gallon of water, one quart of rubbing alcohol, and one quart of oxygen bleach, scrubbed on with a brush, rinsed off, and left to dry for a full day. Skipping this step is a common reason paint fails to stick well.
Step 3: Sand
Sand the plywood lightly with 120-grit sandpaper to smooth the surface and help the paint stick better, working gently to avoid damaging the wood, then wipe off the dust with a damp cloth.
Step 4: Apply Primer
Primer is key for treated plywood. An oil-based primer is the better choice here because it seals in the wood’s residual preservative chemicals rather than reacting with them. Brush or roll it on evenly and let it dry for 4-6 hours; skipping this step is one of the most common reasons paint cracks and peels within a year.
Step 5: Paint Your Plywood
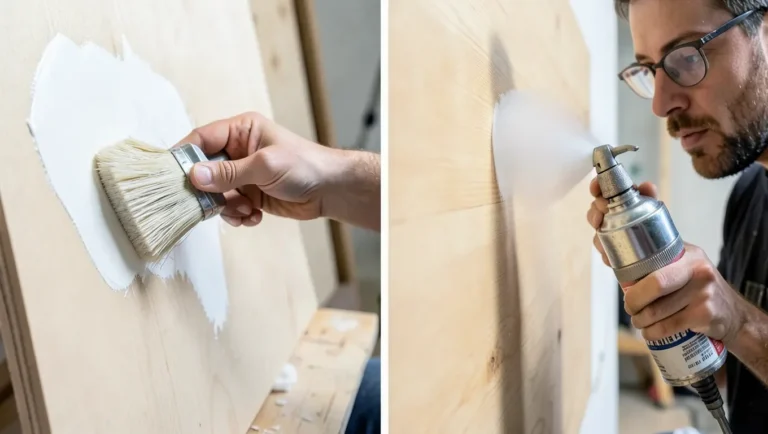
Use exterior latex or oil-based paint, applied as two thin coats with a brush or roller and roughly 2-3 hours of drying time between coats, since thick coats tend to drip and look messy. Two thin coats hold up far better outdoors than one thick coat on a garden box or similar project.
Step 6: Seal (Optional)
A clear sealant adds extra protection on top of the paint. A water-based sealer works well for outdoor projects and helps keep the color bright longer; apply it only after the paint has fully dried, about 24 hours.
Visual Idea: A step-by-step flowchart of cleaning, sanding, priming, and painting would be clear for kids.
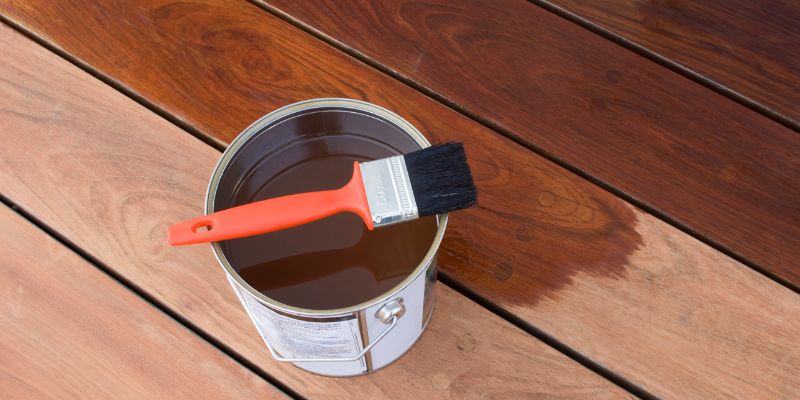
Benefits of Painting Pressure Treated Plywood
- Looks great: bright colors make an otherwise plain plywood project stand out.
- Lasts longer: a good paint film protects the surface against weather damage that would otherwise shorten its life.
- Hides flaws: paint covers the greenish preservative tint and minor rough spots that staining would leave visible.
A properly primed and painted plywood surface should hold its color and stay sealed against moisture for several years before it needs a fresh coat.
Drawbacks to Consider
- Drying time: freshly treated plywood can take weeks or even months to dry enough to paint safely.
- Peeling risk: skip the primer and there is a real chance the paint will not bond well to the surface.
- Cost: a quality primer and paint combination adds meaningfully to the total project budget.
Staining is an alternative. It soaks into the wood better than paint does, but it offers fewer color options and typically fades faster than a painted finish, so it needs more frequent reapplication.
My Top Tips for Success
Here are my favorite tricks to make your project easy and awesome:
- Test for dryness first: the water-drop test only takes a minute and prevents most peeling problems later.
- Use thin coats: a thick coat is far more likely to drip, sag, and dry unevenly than two thin ones.
- Work in the shade: direct sun dries paint too fast and tends to leave visible brush streaks.
- Clean tools right away: dried paint is much harder to remove from brushes and rollers than wet paint.
Rushing any of these steps is the most common reason a paint job on treated plywood fails early. Take your time.
Common Mistakes to Avoid
- Painting wet wood: this is the top cause of peeling, so always run the water-drop test before starting.
- Skipping primer: paint applied without it often fails to bond properly to treated wood.
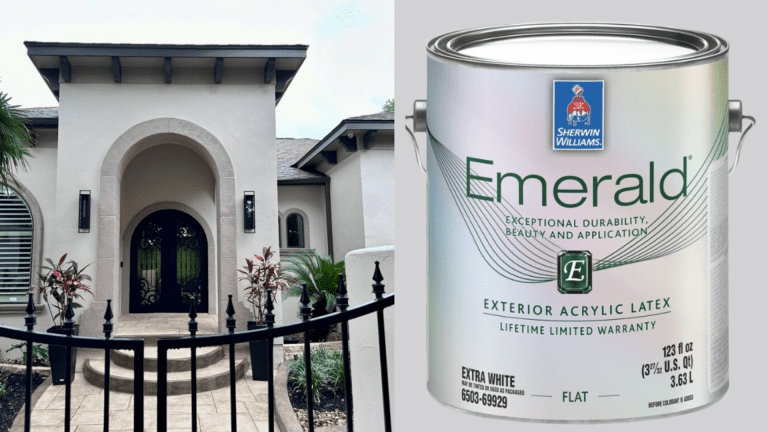
- Using indoor paint outdoors: it is not built for UV exposure and will fade quickly.
Indoor paint isn’t formulated to handle UV exposure and temperature swings, so it will fade and chalk within a single season outdoors.
Comparing Paint Types
| Paint Type | Pros | Cons | Cost (1 Gallon) |
|---|---|---|---|
| Latex | Easy to clean, many colors | May peel if not primed | $30-$50 |
| Oil-Based | Very durable, great adhesion | Hard to clean, fumes | $40-$60 |
Caption: Latex is beginner-friendly, but oil-based lasts longer on treated plywood.
Safety Tips for Painting
Painting outdoors needs a few basic precautions: work in a well-ventilated area, wear gloves to avoid skin contact with wet paint and treatment chemicals, lay a tarp underneath to protect grass or flooring, and choose low-VOC paint to cut down on fumes.
Visual Idea: A simple sketch of a safe painting setup (ventilation, tarp, gloves) would help kids understand.
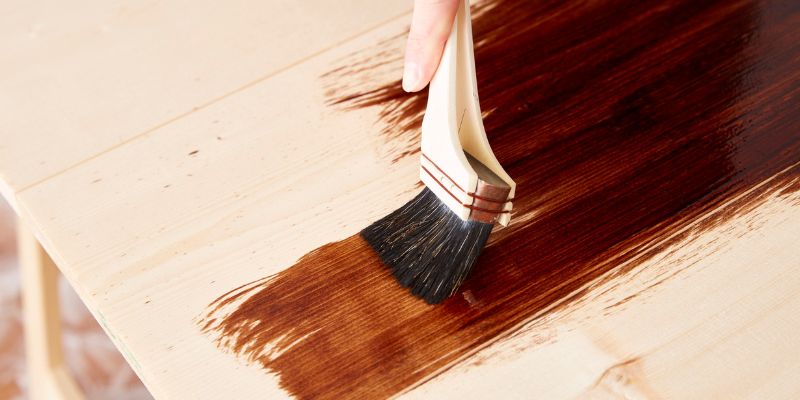
Fun Project Ideas
Try these easy projects to practice painting pressure treated plywood:
- Garden sign: a small painted sign is an easy, low-cost way to practice the full prep-and-paint process.
- Outdoor bench: a bright painted bench makes a durable, functional seat for a patio or yard.
- Birdhouse: a painted plywood birdhouse holds up to weather far better than an unfinished one.
A painted birdhouse also lasts noticeably longer outdoors than an unfinished one.
Cost-Saving Ideas
- Buy in bulk: a full gallon can costs less per ounce than smaller containers.
- Use leftover paint: mixing partial cans from past projects can create a unique color at no extra cost.
- Watch for sales: hardware stores regularly discount paint, especially mis-tinted or clearance cans.
Watching for clearance or mis-tint paint at hardware stores is an easy way to cut project cost without sacrificing quality.
Comparing Prep Methods
| Method | Time | Effectiveness | Cost |
|---|---|---|---|
| TSP Cleaner | 1 hour | Great for mold | $5-$10 |
| Oxygen Bleach | 1 hour | Eco-friendly, good for stains | $8-$15 |
| Pressure Washer | 30 minutes | Fast, thorough | $50-$100 (rental) |
Caption: Oxygen bleach is safe and works well for most projects.
Conclusion
Painting pressure treated plywood is fun and easy with the right steps. Clean, sand, prime, and paint for a bright, long-lasting finish. Test the wood for dryness to avoid peeling. Use my tips to save time and money. Try a simple project like a garden sign to start. With the wood properly dried, primed, and painted in thin coats, a treated-plywood project should hold up outdoors for years with minimal touch-up.
Frequently Asked Questions
Can I paint pressure treated plywood right away?
No, you should wait. Fresh plywood is often wet from treatment. Test it with water drops: if they bead up, wait 1-3 months and store it in a dry, well-ventilated place before painting. KDAT (Kiln-Dried-After-Treatment) plywood can be painted much sooner since it has already been dried after the treatment process.
What’s the best paint for pressure treated plywood?
Exterior latex or oil-based paint both work well. Latex is easier to clean up and typically holds color longer without yellowing; oil-based paint bonds slightly better on tricky surfaces but has stronger fumes. Whichever you choose, always prime first with a primer rated for treated wood.
Do I need to prime pressure treated plywood?
Yes, primer is a must. It helps paint stick and stops peeling. An oil-based or bonding primer formulated for treated wood gives the most reliable results. Skipping primer is one of the most common reasons paint fails on treated plywood within months. Prime evenly and let it dry fully before painting.
Can I stain instead of painting?
Yes, staining is a solid alternative. It soaks into the wood better than paint and shows off more of the surface texture, but it offers fewer color choices, does not hide surface flaws as well, and typically needs reapplication sooner than a painted finish.
How do I clean pressure treated plywood?
Use a mix of water, rubbing alcohol, and oxygen bleach, scrub with a stiff brush, then rinse thoroughly and let it dry for a full day before priming. For stubborn mildew or stains, a dedicated TSP cleaner works well too.
Is painting pressure treated plywood safe?
Yes, if you take basic precautions: work in a well-ventilated area, wear gloves to limit skin contact with wet paint and treatment chemicals, and use a tarp to protect grass or flooring underneath. Low-VOC paints also cut down on fumes.
How long does the paint last?
With proper prep, a painted finish on treated plywood can last 5-8 years outdoors. Using a quality bonding primer and at least two coats of exterior paint makes the biggest difference in longevity. Reapplying a clear sealant every few years adds extra protection against moisture.
Sponsored / affiliate links. As an Amazon Associate I earn from qualifying purchases. I may earn additional commission from eligible campaigns.