Radial Arm Saw Table Plans: Dimensions, Safety Setup & Steps
A radial arm saw table is a 36-inch-high, 30 x 96-inch bench built from eight 2x4s and one sheet of 3/4-inch plywood, topped with a replaceable MDF surface. Below is the full cut list, the assembly order, and the radial-arm-specific safety setup (feed direction, guarding, carriage stop) that a generic workbench plan leaves out.
Quick Answer
Build the frame from eight 8-foot 2x4s (four 35-1/4 inch legs, 96-inch rails), top it with a 30 x 96 inch strip of 3/4-inch plywood plus a replaceable 3/4-inch MDF surface, and bolt the saw down through its own mounting holes. When ripping, lock the carriage and feed the board against the blade’s rotation, as OSHA’s radial saw rule requires.
What Is a Radial Arm Saw Table?
| Best Negative-Hook Blade Pick | |
 |
Oshlun SBW-100060N 10-Inch 60-Tooth Negative Hook ATB Blade
|
As an Amazon Associate we earn from qualifying purchases.
A radial arm saw table is the flat bench that carries the saw and supports the lumber you cut with it. Unlike a table saw, the blade comes down from above on a carriage, so the surface under the blade gets cut into over time. That is why a good table has a flat structural top, a replaceable sacrificial surface, a square fence, and infeed and outfeed support. For a comparison of the two tools, see our radial arm saw vs miter saw guide.
Why You Need Plans for a Radial Arm Saw Table
Radial arm saws are less common than table saws, so good up-to-date plans are harder to find. A plan matters here for two reasons: the saw is heavy and sits on one side of the table, so a wobbly frame shows up as inaccurate crosscuts, and the saw has a feed-direction hazard that the table layout needs to account for (more on that in the safety section).
Finished Size and Cut List
This plan builds one bench, 96 inches long, 30 inches deep and 36 inches tall to the top surface. The legs sit inside the corners of the top frame, so every 2×4 in the list is cut square from stock with no angled cuts. The numbers below add up to eight 8-foot 2x4s with scrap left over.
| Part | Qty | Size | Notes |
|---|---|---|---|
| Top long rails (2×4 on edge) | 2 | 96 in | Full length of the table |
| Top cross rails (2×4 on edge) | 4 | 27 in | Two at the ends, two spaced about 32 in apart between them |
| Legs (2×4) | 4 | 35-1/4 in | 36 in height minus 3/4 in plywood top |
| Lower long stretchers (2×4) | 2 | 90 in | Set about 8 in off the floor, between the legs |
| Lower end stretchers (2×4) | 2 | 20 in | Between the legs, same height as the long stretchers |
| Plywood top, 3/4 in | 1 | 30 x 96 in | Rip one 4×8 sheet; the 18 in offcut is good for a lower shelf or fence blocks |
| MDF replaceable surface, 3/4 in | 1 | Sized to your saw | Check your saw manual for the column base size and bolt pattern before cutting |
| Fence (3/4 in x 3-1/2 in board) | 1 | 96 in | Screwed to the rear edge of the MDF, checked square to the blade path |
Tools and Materials Needed
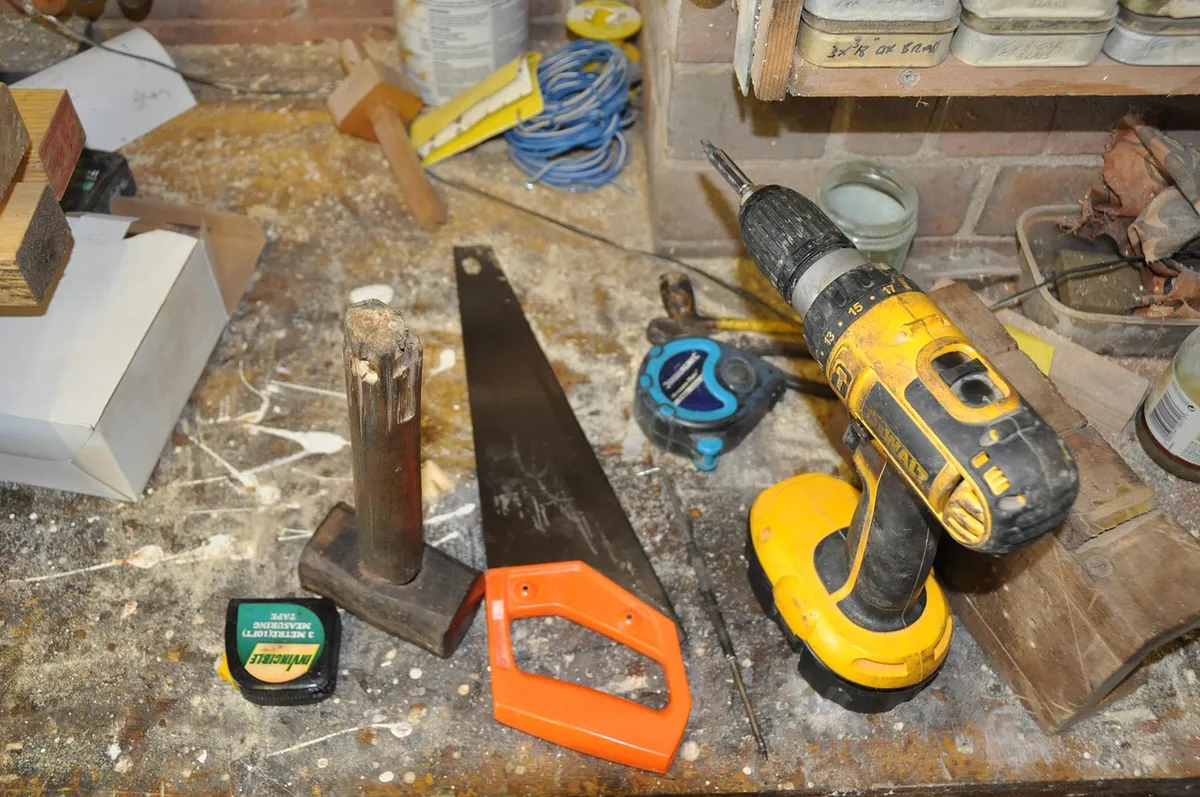
- Tools: Drill/driver, tape measure, combination square, 4-foot level, circular saw or miter saw for the 2×4 cuts, clamps.
- Lumber and sheet goods: eight 8-foot 2x4s, one 4×8 sheet of 3/4-inch plywood, a 3/4-inch MDF panel for the replaceable surface, and a 3/4 x 3-1/2 inch board for the fence.
- Fasteners: 3-inch construction screws for the frame, 1-5/8 or 2-inch screws for the plywood top, wood glue, and bolts with washers sized to your saw’s mounting holes.
Step-by-Step Building Instructions
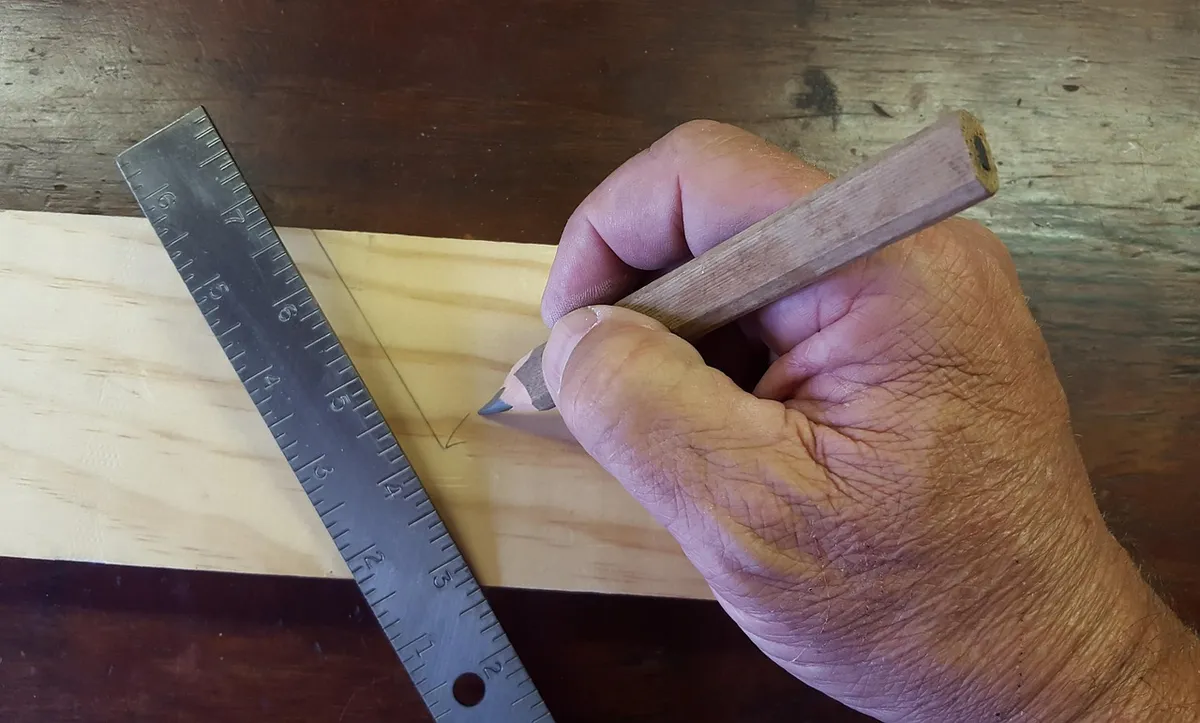
- Cut the parts: Cut the 2x4s to the lengths in the table above. Cut the four legs together at the same setting so they match exactly.
- Build the top frame: Lay the two 96-inch rails on edge and fit the four 27-inch cross rails between them, one at each end and two spaced evenly between. Glue and drive two 3-inch screws through the rail into each cross rail end. Check that the diagonals match before the glue sets.
- Attach the legs: Fit one leg into each inside corner, flush with the top edge of the rails, and fasten with glue plus three 3-inch screws through each rail face.
- Add the lower stretchers: Fit the two 90-inch stretchers and two 20-inch stretchers between the legs about 8 inches off the floor to stop the frame racking sideways.
- Fit the plywood top: Lay the 30 x 96 inch plywood on the frame, keep it flush at the edges, and screw it down every 8 to 10 inches into the rails.
- Install the MDF surface and fence: Screw the MDF surface on with countersunk screws kept well away from the blade path, then fasten the fence along the rear edge and check it square.
- Mount the saw: Bolt the saw to the table through its own mounting holes so it cannot shift, then confirm the arm is square to the fence before the first cut.
Table Height, Infeed and Outfeed Support
This plan uses a 36-inch top because it matches a common workbench height, so the table can share outfeed support with other shop surfaces. If you are noticeably shorter or taller, adjust the leg length only: subtract 3/4 inch for the plywood from your target height. Whatever height you choose, make the infeed and outfeed supports exactly the same height as the main top. A step of even a quarter inch will catch long boards.
For stock longer than the table, extend support on both sides of the cut with roller stands or a second bench set to the same height. For a full shop layout, our guide to setting up a woodworking shop covers where the saw and its long-stock support fit in the room.
Sacrificial Surface and Dust Collection
The MDF surface directly under the blade is there to be cut into, which keeps the blade from scoring the structural plywood. When the kerfs multiply enough to snag stock, replace the MDF and use the old piece as a template for the new one so the bolt holes line up. Cut two or three spares at once so the swap takes minutes.
For dust, build a simple box behind the blade with a port sized for a standard shop vac hose. A radial arm saw throws chips forward and down, so a rear box catches only part of it. Keep the area around the table swept so chips do not build up around the fence.
Radial Arm Saw Safety: Feed Direction, Guarding and Carriage Stop
A radial arm saw can pull itself toward the operator if the blade is fed the wrong way or the carriage is moved too fast. The table plan has to support the saw’s safety features, so these are the points to build in and check. The guarding items below come from OSHA’s radial saw rule, 29 CFR 1910.213(h), and the OSHA Machine Guarding eTool for radial saws.
- Upper hood: OSHA requires the upper half of the blade, down to the end of the arbor, to be fully enclosed by a hood, with a self-adjusting guard on the lower half that follows the thickness of the stock. Never remove either to fit the saw onto your table.
- Ripping: Lock the carriage in place and feed the board by hand against the direction of blade rotation. OSHA states that stock must be fed against the rotation when ripping or ploughing, and requires non-kickback fingers (dogs) on both sides of the blade for ripping. A spreader keeps the cut from closing on the blade.
- Rotation label: The direction of blade rotation must be marked on the hood, and a label near the arbor reads “Danger: Do Not Rip or Plough From This End.” Do not mount the saw so that you would have to stand at that end.
- Carriage stop and return: An adjustable stop that limits forward travel is required, and the head must return to the column when released, with the front of the unit set slightly higher than the rear. Many manuals adjust this on the arm, not by shimming the table legs, so check yours.
- Travel limits: OSHA also calls for limit chains or another effective means to keep the saw from travelling past the edge of the table.
- Blade choice: A negative hook-angle blade is a common recommendation for crosscutting on a radial arm saw because a positive-hook blade bites more aggressively. Check your saw manual for its recommended blade.
Common Myth: “Pull the Saw Through a Rip Cut Like a Crosscut”
Pulling the carriage through the cut is the right way to crosscut. For a rip, it is the wrong method: the carriage stays locked and the board is fed against the rotation. This is the one habit the table design cannot fix, so put a reminder label on the fence. The same applies to keeping your hands out of the blade path: use clamps or T-track hold-downs to secure stock rather than reaching close to the blade.
Alternative Table Designs
| Design | Size | Best For |
|---|---|---|
| Standard bench | 30 x 96 in | Full 8-foot stock, general crosscutting |
| Short bench | 30 x 48 in | Small shops, shorter stock with roller stands |
| Wing extensions | Add 24 to 36 in per side | Long boards and sheet goods with support at the same height |
| Mobile base | Same footprint | Shops that need to move the saw; lock every caster before each cut |
Common Mistakes to Avoid
- Mismatched support height: Outfeed or infeed support that is even slightly off causes stock to tip.
- Thin plywood top: Anything under 3/4 inch flexes and throws off cut accuracy.
- Loose or crooked fence: Screw it down tight and check it square before every session.
- Not bolting the saw down: A saw that shifts under load is a hazard in itself.
- Skipping the guard checks: Confirm the hood, lower guard, anti-kickback fingers and carriage stop are in place before the first cut.
Related Shop Builds
If you are working through the shop, a few related projects pair well with this table: practice square cuts on a simple plywood box, and use offcuts from the plywood sheet for a DIY wooden shoe rack.
Frequently Asked Questions
How Tall Should a Radial Arm Saw Table Be?
This plan uses 36 inches to the top surface, similar to a standard workbench. Adjust only the leg length for your height (subtract 3/4 inch for the plywood top), and keep infeed and outfeed supports at exactly the same height as the main top.
What Materials Are Best for a Radial Arm Saw Table?
Use 2x4s for the frame, 3/4-inch plywood for the structural top, and a replaceable 3/4-inch MDF surface under the blade. Eight 8-foot 2x4s and one 4×8 plywood sheet cover the plan above.
Which Way Should I Feed Wood When Ripping on a Radial Arm Saw?
Lock the carriage and feed the board by hand against the direction of blade rotation. OSHA states that material must be fed against the rotation when ripping, and requires non-kickback fingers on both sides of the blade for ripping.
How Often Should I Replace the Sacrificial Surface?
Replace it when the kerfs get deep enough that stock can snag in them. Trace the old piece as a template so bolt holes on the replacement line up right away.
Does OSHA Require a Guard on a Radial Arm Saw?
Yes. OSHA 1910.213(h) requires an upper hood enclosing the top of the blade down to the end of the arbor, a self-adjusting lower guard, non-kickback fingers for ripping, an adjustable forward-travel stop, and a rotation-direction marking on the hood.
Can I Build a Smaller Table for a Small Shop?
Yes. A 30 x 48 inch version uses the same frame method with shorter rails, and roller stands can carry longer stock. Keep the same top height.
Do I Need to Bolt the Saw to the Table?
Yes. Secure it through its own mounting holes so it cannot shift under load, and follow your saw manual for the bolt pattern and hardware.
Conclusion
A radial arm saw table is a one-weekend build once the sizes are fixed: a 30 x 96 x 36 inch frame from eight 2x4s, a 3/4-inch plywood top, a replaceable MDF surface, and a saw that is bolted down with its guards, stop and rotation label intact. For general reference on shop safety and finishing, see Fine Woodworking. This plan has not been tested by our team; review your saw manual and local safety rules before building.
Sponsored / affiliate links. As an Amazon Associate I earn from qualifying purchases. I may earn additional commission from eligible campaigns.