Replacing Engineered Hardwood Floor Planks: Easy Steps to Restore Beauty
Are you noticing damaged or worn-out planks in your engineered hardwood floor? Replacing those boards might seem tricky, but it doesn’t have to be a headache.
Imagine restoring your floor’s beauty without spending a fortune or calling in expensive help. You’ll discover simple, step-by-step tips to replace your engineered hardwood floor planks quickly and effectively. Keep reading, and you’ll gain the confidence to fix your floor like a pro—making your home look fresh and inviting again.
Tools And Materials Needed
Best Plank Replacement Kit Pick
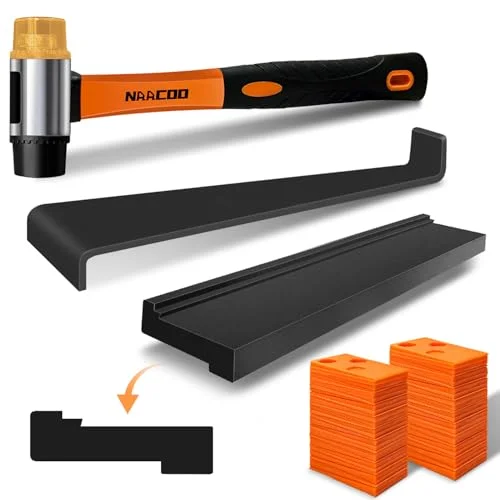
NAACOO 4-in-1 Universal Flooring Installation Kit
Tapping block, pull bar, spacers, and rubber mallet in one kit — covers the fitting and seating steps for click-lock or glue-down replacement planks.
- Best for: seating new planks tightly against existing rows without marring the finish
- Why we picked it: the pull bar reaches tight spots near walls where a mallet alone can’t work
- Main drawback: the included spacers are generic — measure your own expansion gap rather than trusting them blindly
Compare more plank-replacement essentials
 Option 1 Pinless Moisture Meter
|
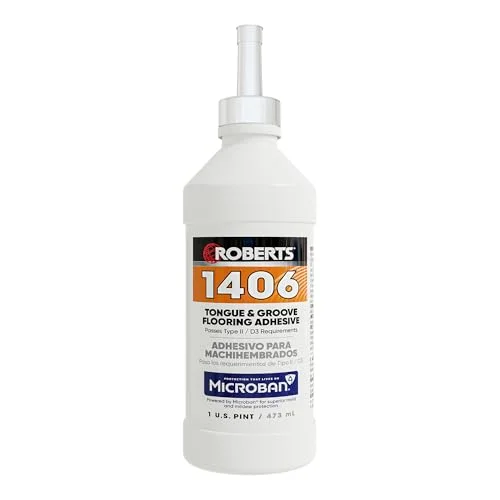 Option 2 Roberts Tongue & Groove Flooring Adhesive
|
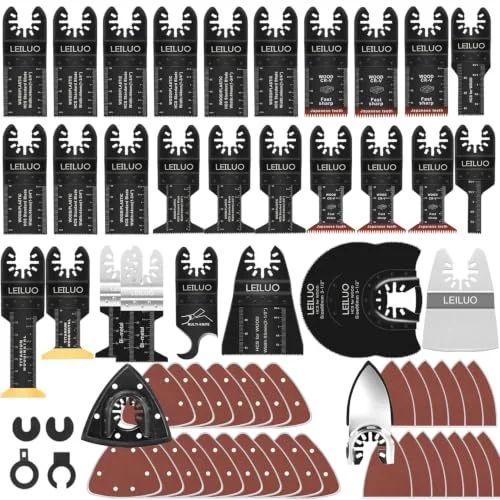 Option 3 Oscillating Multi-Tool Blade Set
|
As an Amazon Associate we earn from qualifying purchases.
Replacing engineered hardwood floor planks needs specific tools and materials. These help make the job easier and ensure the floor looks good afterward.
Using the right tools saves time and prevents damage to the floor or surrounding areas. The materials must match the existing flooring for a smooth finish.
Tools Required For Removing Old Planks
Start with a pry bar to lift the damaged plank gently. Use a hammer to tap the pry bar under the plank edges carefully.
A circular saw or oscillating multi-tool helps cut the damaged planks. This makes removal faster and cleaner. Gloves protect your hands during this process.
Materials Needed For New Plank Installation
New engineered hardwood planks that match the existing floor are essential. Purchase extra planks to cover mistakes or future repairs.
Wood glue or adhesive designed for hardwood floors ensures planks stay in place. Use wood filler to fill small gaps or nail holes.
Additional Tools For A Perfect Finish
A rubber mallet helps tap new planks without damaging them. A tape measure ensures planks fit perfectly in the space.
Use spacers to keep the correct gap between planks and walls. A sanding block smooths any rough edges before sealing or finishing.
Identifying Damaged Planks
Identifying damaged planks is the first step in replacing engineered hardwood floor planks. Spotting problems early helps keep your floor looking great. It also prevents further damage to the surrounding planks.
Damaged planks often show signs that are easy to see. You can check for these signs by closely examining your floor. This makes the repair process smoother and faster.
Visible Cracks And Splits
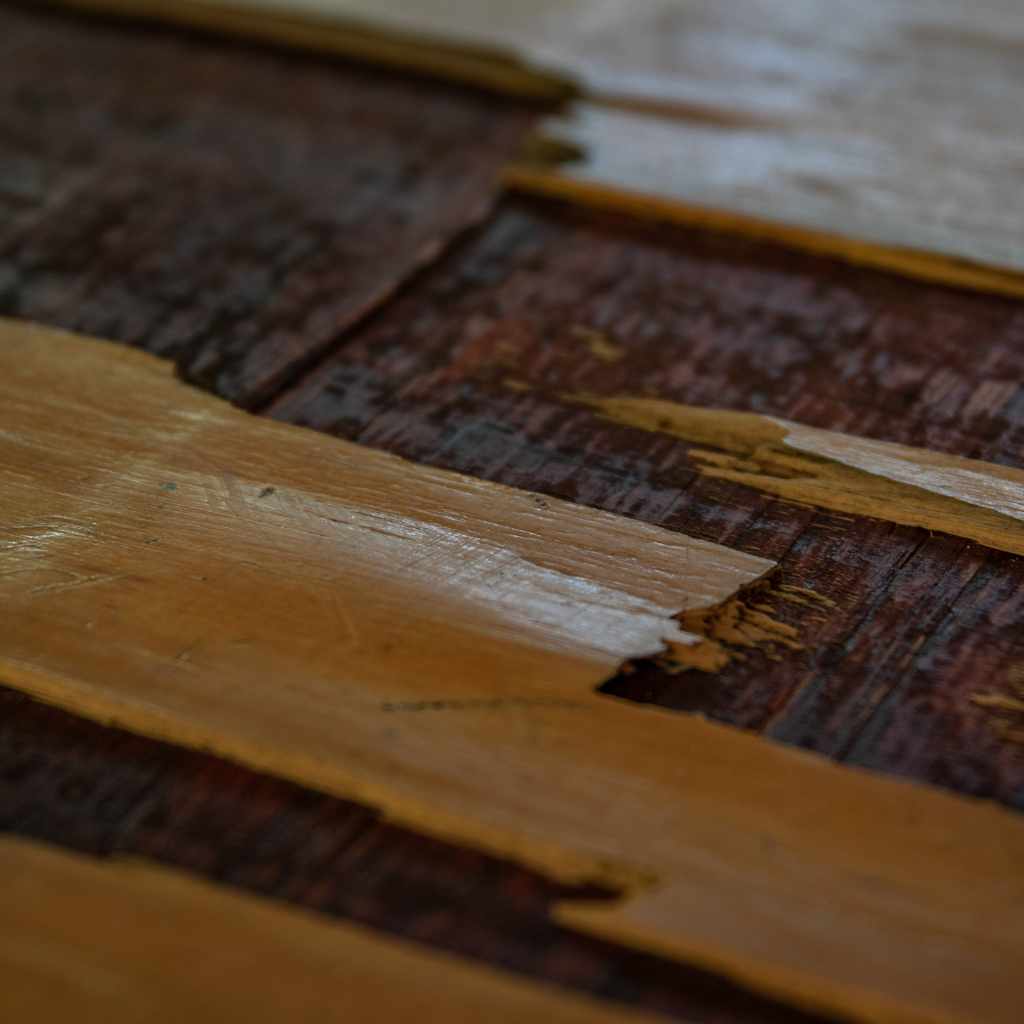
Look for cracks or splits on the surface of the planks. These can weaken the wood and cause more damage over time. Cracks may appear as thin lines or larger gaps.
Splits often run along the grain of the wood. They may cause the plank to feel rough or uneven underfoot.
Water Stains And Warping
Water stains appear as dark or discolored spots on the planks. These spots indicate moisture damage. Warping causes the plank to bend or cup up.
Warped planks do not lie flat and may create gaps. This can cause tripping hazards and damage nearby planks.
Loose Or Squeaky Planks
Walk on the floor and listen for squeaks or creaks. Loose planks often move when stepped on. This movement signals a problem with the plank’s fit or attachment.
Loose planks can let dirt and moisture get underneath. This worsens damage and leads to more repairs.
Surface Wear And Finish Damage
Check for worn or peeling finishes on the planks. A damaged finish exposes the wood to dirt and moisture. This can cause stains and weaken the plank.
Worn surfaces may look dull or scratched. These signs show the plank needs attention before more serious damage occurs.
Removing The Damaged Planks
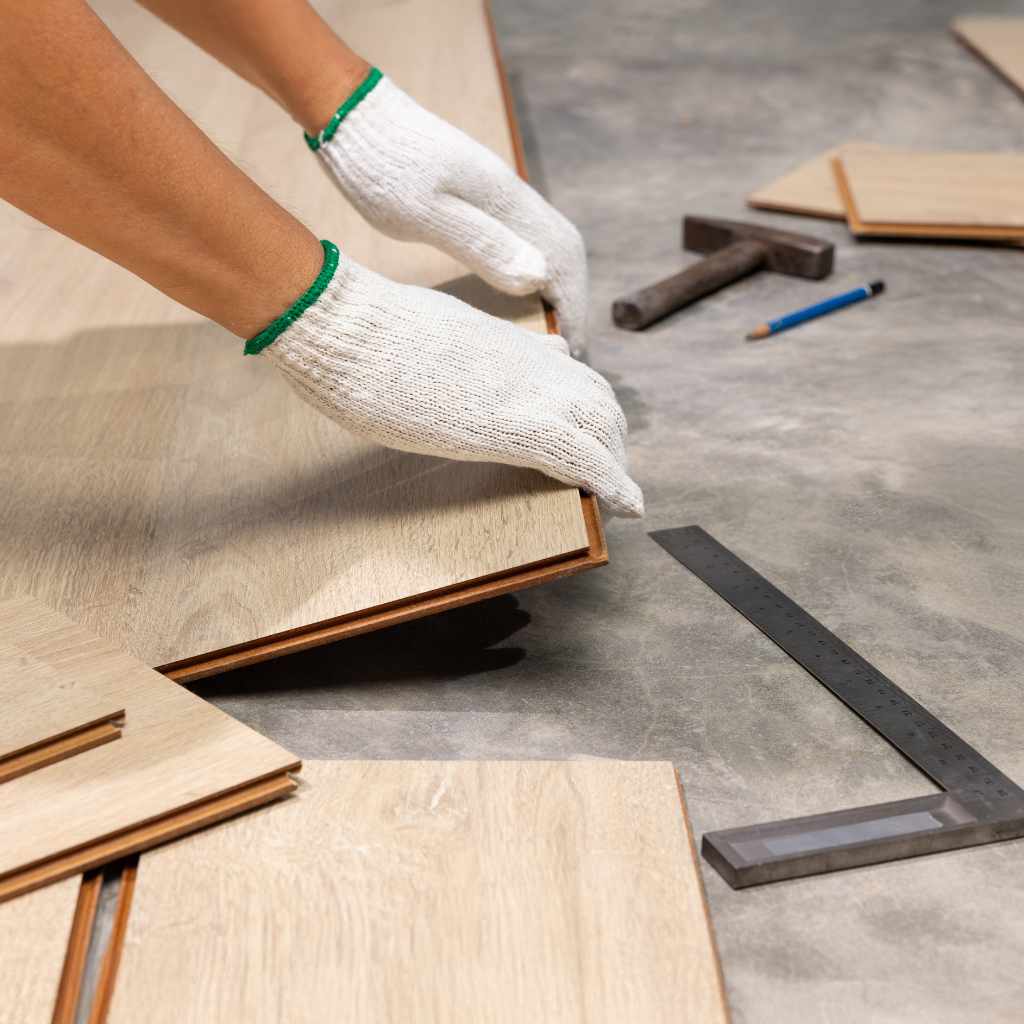
Removing the damaged planks is the first step in fixing your engineered hardwood floor. This process requires care to avoid harming the surrounding boards. Taking your time makes the job easier and ensures a better finish.
Gathering Necessary Tools
Start by collecting the right tools. You will need a hammer, chisel, utility knife, pry bar, and safety goggles. Having these ready helps speed up the work and keeps it safe.
Scoring Around The Damaged Plank
Use the utility knife to score the edges of the damaged plank. Cut through the finish and the top layer of wood carefully. This step prevents damage to nearby planks during removal.
Removing The Plank Surface
Tap the chisel gently with the hammer to lift the plank surface. Work slowly from the center out to the edges. Removing the top layer first makes pulling out the whole plank easier.
Extracting The Remaining Wood
Slide the pry bar under the loosened plank. Lift the plank slowly to avoid breaking adjacent boards. Remove all pieces of the damaged plank, including small fragments.
Cleaning The Subfloor
Clear away any glue, nails, or debris from the subfloor. A clean surface helps the new plank fit tightly. Use a scraper or sandpaper for best results.
Preparing The Subfloor
Preparing the subfloor is a key step before replacing engineered hardwood floor planks. A clean and even subfloor ensures the new planks lay flat and last longer. Taking time to prepare the subfloor prevents problems like squeaking, buckling, or gaps later.
Start by removing old adhesives and debris. A smooth surface helps the new planks stick well and fit tightly. Uneven spots can cause the floor to feel unstable and may damage the wood over time.
Cleaning The Subfloor
Clear all dust, dirt, and leftover glue from the subfloor. Use a broom or vacuum to remove loose particles. For sticky spots, scrape gently with a putty knife. A clean surface improves adhesion and prevents bumps.
Checking For Moisture
Test the subfloor for moisture before installing new planks. Use a moisture meter or place plastic sheets on the floor for 24 hours. If moisture builds up, fix the source first. Moisture can warp the wood and ruin your floor.
Leveling The Subfloor
Look for dips or high spots on the subfloor. Use a level tool to check its flatness. Sand down high areas and fill low spots with a leveling compound. A flat subfloor provides a solid base for the new planks.
Repairing Damages
Inspect the subfloor for cracks or loose boards. Secure loose parts with screws or nails. Fill cracks with wood filler and let it dry. Repairing damages avoids future floor problems and keeps the surface stable.
Cutting Replacement Planks
Cutting replacement planks for engineered hardwood flooring needs care and precision. Accurate cuts ensure the new planks fit perfectly into the existing floor. This step helps maintain the floor’s seamless look and structural integrity.
Using the right tools and measuring carefully makes cutting easier. Avoid mistakes by double-checking measurements before cutting. Clean, straight cuts help the planks lock tightly in place.
Choosing The Right Tools
Select a fine-toothed saw or a flooring saw for best results. These tools reduce splintering and provide smooth edges. A miter saw or circular saw with a sharp blade works well. Avoid dull blades that can damage the wood.
Measuring For Precision
Measure the gap where the plank will fit. Mark the plank clearly with a pencil. Measure twice before making any cuts. Precise measurements prevent wasting material and save time.
Making Straight Cuts
Use a straight edge or guide to keep cuts even. Hold the plank firmly to avoid slipping. Cut slowly and steadily to maintain control. Straight cuts ensure a tight fit with existing flooring.
Handling Irregular Cuts
Some spaces require angled or irregular cuts. Use a template to trace the shape on the plank. Cut carefully along the lines to match the floor’s contours. Properly shaped planks blend naturally with the rest of the floor.
The step homeowners skip most often is acclimating the new plank before installing it — I’ve seen a “perfect” repair open up a visible gap two weeks later because the replacement plank was installed straight out of a cold garage. Give it the same two to three days indoors as the rest of the box, even if it’s just one plank.
Installing New Planks
Installing new engineered hardwood floor planks takes care and precision. Proper installation ensures the floor looks great and lasts long. Follow clear steps to place each plank securely and evenly.
Start by cleaning the subfloor thoroughly. Remove dust, dirt, and any nails or debris. The surface must be flat and dry. Use a level to check for bumps or dips. Fix any uneven spots with a floor patch. A smooth base supports strong plank adhesion.
Acclimating The Planks
Let the new planks sit in the room for two to three days. This helps them adjust to the room’s temperature and humidity. Proper acclimation reduces the risk of warping or gaps later. Lay the boxes flat and open them slightly for air flow.
Laying The First Row
Place the first row of planks along the longest wall. Use spacers to keep a small gap from the wall. This gap allows the wood to expand and contract. Align each plank tightly with the next. Check for straightness often using a chalk line or straight edge.
Clicking Or Gluing Planks
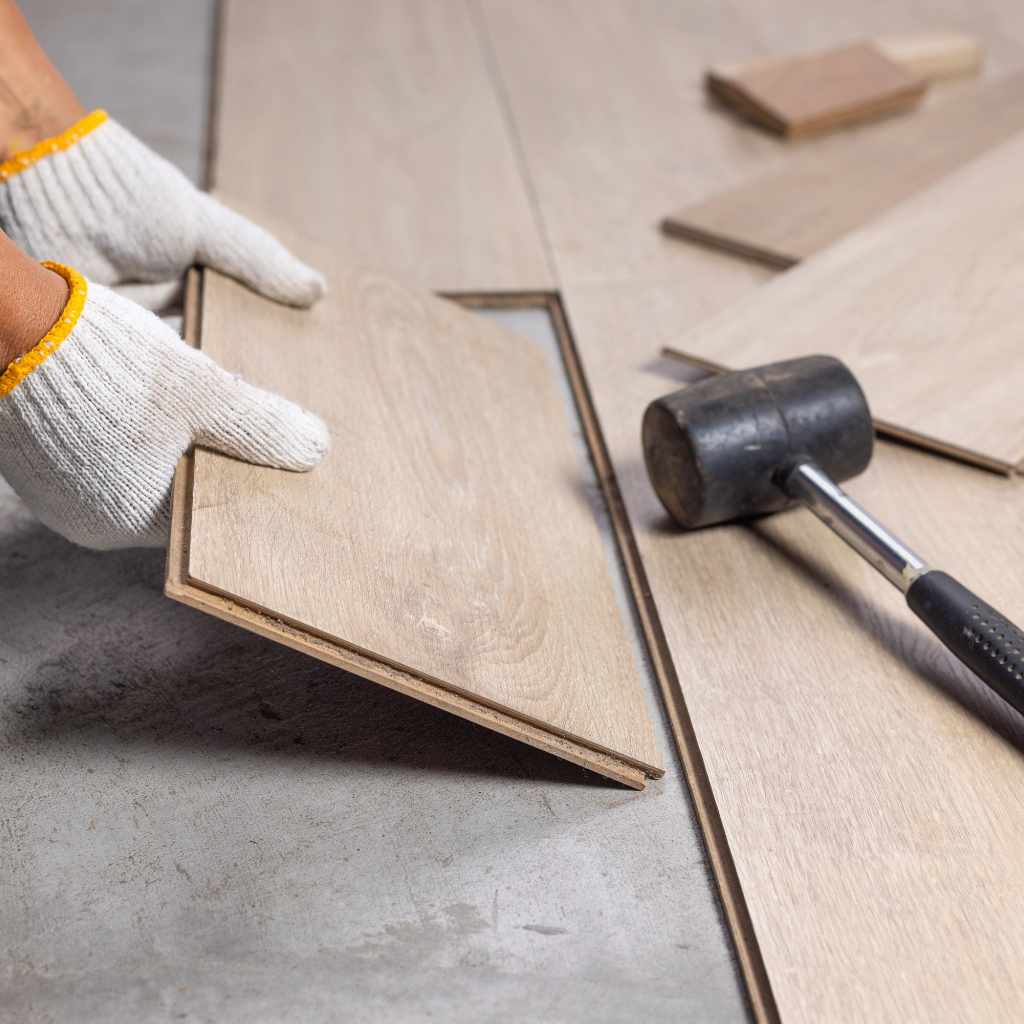
For click-lock planks, angle and snap each piece into place. Press down firmly to secure the joint. For glue-down planks, spread adhesive with a trowel evenly. Press each plank into the glue. Wipe away any excess glue quickly. Work in small sections to prevent drying.
Cutting Planks To Fit
Measure gaps carefully near walls and corners. Use a saw to cut planks to the right size. Always cut with the finished side up for clean edges. Fit the cut plank snugly into place. Leave the expansion gap as needed around edges.
Remove spacers after installing all planks. Install baseboards or molding to cover expansion gaps. Clean the floor surface with a soft broom or vacuum. Avoid wet mopping until the floor fully settles. Regular care keeps your new floor beautiful.
Finishing Touches
Finishing touches give your engineered hardwood floor a perfect look. This step protects the wood and improves its beauty. Proper finishing also makes the floor last longer. Small efforts now save big repairs later.
Sanding And Sealing
Sanding smooths the surface of the new planks. It removes rough spots and blends edges. Use fine-grit sandpaper for a soft finish. Sand lightly to avoid damage.
Sealing locks in moisture and prevents stains. Choose a sealant made for engineered hardwood. Apply thin, even coats with a brush or roller. Let each coat dry fully before adding another. Sealing enhances the wood’s natural shine.
Cleaning And Maintenance Tips
Keep floors clean to protect the finish. Sweep or vacuum regularly to remove dust and dirt. Use a damp mop with a wood floor cleaner. Avoid soaking the floor with water.
Place mats at doors to reduce dirt and moisture. Use furniture pads to prevent scratches. Clean spills quickly to avoid stains. Regular care keeps your floor looking fresh and new.
Frequently Asked Questions
How Do You Remove Damaged Engineered Hardwood Planks?
Start by loosening the damaged plank with a putty knife. Carefully lift it without harming surrounding boards. Clean the subfloor thoroughly before installing a replacement plank to ensure a smooth, durable finish.
Can I Replace Planks Without Sanding The Entire Floor?
Yes, you can replace individual planks without sanding the whole floor. Just ensure the new plank matches the finish and color of the existing floor for a seamless look.
What Tools Are Needed To Replace Hardwood Floor Planks?
You’ll need a putty knife, hammer, pry bar, replacement planks, adhesive, and a tapping block. These tools help safely remove and install engineered hardwood floor planks efficiently.
How To Match Replacement Planks With Existing Flooring?
Match the wood species, grain pattern, and finish color. Bring a sample plank to the store for accurate color matching. This ensures the replacement blends well with your current flooring.
Conclusion
Replacing engineered hardwood floor planks can keep your floor looking fresh. Choose the right tools and materials for a smooth repair. Take your time to avoid mistakes and damage. Small repairs save money and extend your floor’s life. A well-done replacement blends seamlessly with the rest.
Enjoy a beautiful, sturdy floor that lasts longer. Remember, careful work makes a big difference. Try it yourself or get help if needed. Your floor will thank you.
Sponsored / affiliate links. As an Amazon Associate I earn from qualifying purchases. I may earn additional commission from eligible campaigns.