Construction Adhesive in Cold Weather
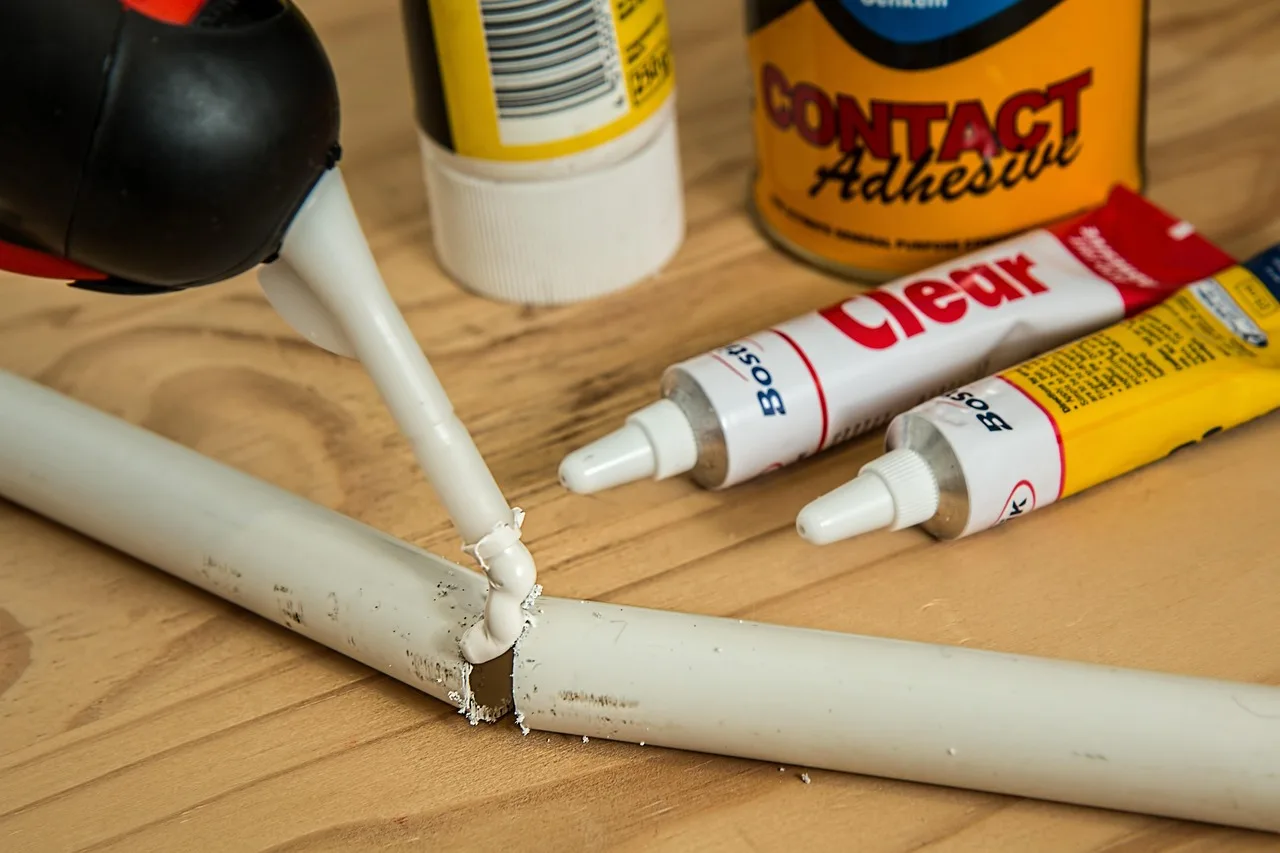
Construction adhesive can be used in cold weather only if the label allows it. Many formulas need about 40°F to 50°F for application, and full cure may need somewhat warmer conditions. Ignore those limits and you risk weak bonds, slow cure, squeeze-out that won’t wet the surfaces, and failed repairs. This guide explains application temperature versus cure temperature, then gives a winter decision workflow for safe use, pre-warming, or delaying.
Can construction adhesive be used in cold weather?


Yes, sometimes. The first pass/fail check is the label or Technical Data Sheet, because application temperature and cure temperature are not the same thing. A product may go on in cold weather, yet still cure slowly, lose initial tack, or need longer clamping before it reaches useful strength.
That distinction matters. Application temperature tells you whether the adhesive can be placed and tooled. Cure temperature tells you whether the chemistry can progress at a practical rate after application. A winter job can be acceptable only when both the product limits and the jobsite conditions line up.
When cold is acceptable
Cold is acceptable when the TDS gives a minimum application temperature that matches your actual substrate temperature, the surfaces are dry and frost-free, and you can hold the parts long enough for the adhesive to grab. Some low-temperature formulas are built for that use, including products positioned as all-weather or winter-grade.
LePage says surfaces must be clean and dry before adhesive use, and it recommends removing frost, ice, snow, and visible condensation. It also advises adequate clamping or fastening in cold weather and scheduling work during the warmest part of the day.
When cold is not acceptable
Delay the job if the surface carries frost, ice, snow, or visible condensation. Delay also makes sense when the substrate is much colder than the air, because the part itself can act like a heat sink and pull energy out of the adhesive line. That can leave you with poor wet-out and a bond that looks placed correctly but never fully develops.
Do not treat a “will cure eventually” claim as permission to ignore the application limit. A product may cure in cold weather, but that does not mean it should be applied outside its stated range. Cure time and set time stretch apart as temperatures fall.
Why cold changes bond performance
Cold changes construction adhesive in three main ways: it thickens, it grabs less at first, and it cures more slowly. Cold weather is often described as causing Reduced initial tack and Extended adhesive cure time. That means parts can slide more easily at the start, then take longer to reach functional strength.
Leech notes that many adhesives can take several days or even weeks at 30°F. It also warns that cold adhesives become thicker in the cold and may not properly wet out the substrate. Wet-out is the adhesive’s ability to spread and contact the surface fully. Without it, the bond line is weaker from the start.
Open time and skinning in winter
Open time can behave strangely in the cold. The bead may seem usable longer because everything is slower, yet the surface can still skin over before the parts make full contact. That creates a false sense of working time. You should treat the adhesive as ready only if the parts can be joined, pressed, and held within the product’s stated window.
Cold also changes how fast you can work. A bead that flows poorly takes longer to place neatly, especially on vertical or overhead joints. The job can slow down enough that you lose the clamp window before the bond line is seated.
Cold-weather failure risks
Winter failures often start at the bond line, not in the can or cartridge. Condensation, frost, and hidden moisture are the common causes. If the surface film is wrong, the adhesive bonds to water or ice instead of the base material, and the joint may fail after temperature swings or light loading.
Condensation on cold surfaces
Surface condensation can form when temperatures fluctuate, especially when a cold substrate warms faster than the surrounding air. That moisture is easy to miss. It prevents wet-out and creates hidden moisture risks under the adhesive, even when the surface looks dry from a few feet away.
A common first-timer mistake is to check only the air temperature. A plywood panel at 28°F can still be too cold even if the air is 40°F, because the panel itself is what the adhesive must bond to.
Frost, ice, and snow at the bond line
Frost, ice, and snow must be fully removed. They block adhesion at the interface, which means the adhesive never contacts the material directly. That is one of the most common winter failure sources because the problem can hide in pores, corners, and rough edges.
The same source says the surface must be free of frost, ice, or snow. That is a hard stop, not a preference. If you cannot remove all frozen moisture, do not bond.
Material temperature and heat-sink effects
Material temperature matters as much as air temperature. Cold substrates act as heat sinks, pull warmth out of the bead, and reduce flow and wet-out. Warm parts improve spread, contact, and the chance that the adhesive reaches initial grab before the joint shifts.
Wood-to-wood joints often fail by slipping before tack develops. Wood-to-concrete can fail when the concrete slab stays cold enough to chill the bead immediately. Foam may deform if clamping pressure is uneven, and metal can pull heat away fast enough that a short clamp window is not enough.
How to prep surfaces for winter bonding
Prep starts with temperature, not with the tube. Check the substrate temperature first, then inspect for frost, ice, snow, standing water, and visible condensation. If any of those are present, the bond line is not ready. Clean, dry surfaces give the adhesive a chance to wet out and hold.
- Measure substrate temperature, not only air temperature.
- Compare that reading to the minimum application temperature on the TDS.
- Remove frost, ice, snow, and any visible condensation.
- Wipe away standing moisture and let the surface dry fully.
- Warm the materials if the job allows it.
- Plan clamping or fastening before the bead is applied.
If a substrate is cold to the touch, assume it will slow the adhesive down until proven otherwise. Keep the parts indoors or under cover when possible. Leech advises keeping cartridges between climate-controlled temperatures before use, which helps the bead flow more predictably and reduces the force needed to dispense it.
Say your project is a small wood shelf cleat on a basement wall in late winter. The air is 45°F, but the concrete is colder and damp from overnight temperature swing. If you apply adhesive anyway, the bead may look fine at first and still fail to wet the concrete fully.
Which construction adhesive works in cold weather?
Low-temperature construction adhesives are the better fit when winter work cannot wait. Look for all-weather or winter-grade positioning, high initial grab, moisture tolerance, and broad temperature swing performance. Even then, the TDS controls the final call. A product that works in cold may still need longer clamp time and a warmer substrate than a warm-weather job.
Water-based vs solvent-based behavior
Water-based and solvent-based adhesives behave differently in the cold. Water-based formulas can slow sharply as temperature falls, and moisture in the bond line can be a problem. Solvent-based formulas may retain more flow in cooler conditions, but they still need the substrate, air, and cure window to fit the label.
Do not assume one chemistry is always better. The right choice depends on the substrate pair, the temperature swing, and whether the surface is porous or nonporous. For example, foam-to-wood may need different handling than metal-to-masonry because the surfaces draw heat and moisture differently.
What to verify on the TDS before buying
Look for three items on the TDS: minimum application temperature, cure time at low temperature, and recommended clamping time. Those three numbers tell you whether the job is safe, merely possible, or likely to stall. If the sheet does not state them clearly, assume the product is not meant for winter use.
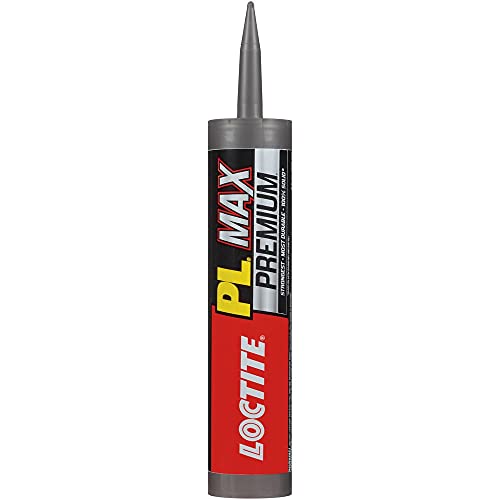
One practical clue is a low-temperature claim such as LePage PL Premium Max, which can be applied at as low as -12°C. Even then, the remaining questions still matter: what is the substrate temperature, how long is the cure at that temperature, and how much clamp support is needed?
Construction adhesive checklist
Use this setup before you open the cartridge. It keeps application temperature separate from cure temperature and makes the decision easier on site. If any step fails, delay or pre-warm instead of forcing the bond.
| Substrate temperature | Ambient temperature | Recommended action |
|---|---|---|
| At or above the TDS minimum | At or above the TDS minimum | Apply |
| At or above the TDS minimum | Below the TDS minimum but stable | Apply only if the product allows it; use clamps and check cure time |
| Below the TDS minimum | Any temperature | Pre-warm the substrate, then recheck |
| Cold, damp, or near dew point | Fluctuating | Delay |
| Frosted, iced, or snow-covered | Any temperature | Delay |
Notes: Frost, ice, snow, and visible condensation are no-go conditions. Hidden moisture can still weaken the bond after the surface appears dry. Expect clamp time to increase in cold weather, and use mechanical fasteners more often when the parts need support until functional strength develops.
Picture a foam panel going onto framed wall sheathing in a garage shop during a cold snap. The panel is dry, but the sheathing is cold enough to chill the adhesive line. If you can pre-warm the panel and the wall area, clamp the panel, and keep the joint within the product window, the job is much more realistic than forcing an unheated install.
Decision table for winter jobs
| Substrate temperature | Ambient temperature | Recommended action | Frost/condensation risk and clamping time |
|---|---|---|---|
| 45°F or warmer | 45°F or warmer | Apply | Low risk if surfaces are clean and dry; clamp per TDS, then verify hold before release |
| 40°F to 44°F | 40°F to 44°F | Apply only if the TDS allows cold application | Moderate risk of slower tack and longer cure; use longer clamp time than a warm-weather job |
| Below 40°F | Above 40°F | Pre-warm | Cold substrate acts as a heat sink; clamp time usually increases, and wet-out may be weak without warming |
| Any temperature with visible moisture | Any temperature | Delay | Condensation, frost, ice, or snow can block adhesion; remove all moisture before bonding |
| At TDS minimum after warming | Near or below freezing overnight | Apply with caution | Check dew point and recheck surfaces right before application; keep clamps in place until functional strength starts |
Frequently asked questions
How long does construction adhesive take to set in cold weather?
It varies by formula, substrate, and temperature, so the TDS is the only reliable guide. In cold conditions, some adhesives may take several days or even weeks at 30°F. The set may feel slower even when the bead is already skinned over, so do not unload too early.
What temperature is too cold for construction adhesive?
The too-cold point is the product’s minimum application temperature, not a universal number. Many products list a range around 40°F to 50°F, while some winter-grade formulas may go lower. If the substrate is below the stated limit, delay or pre-warm instead of guessing.
Do you need to warm construction adhesive before using it?
Often, yes. Keeping cartridges between climate-controlled temperatures before use helps the adhesive dispense more evenly in cold weather. Warming the substrate matters too, because a cold part can act as a heat sink and reduce wet-out even if the adhesive itself flows well.
How do you prep surfaces for construction adhesive in winter?
Check substrate temperature, then remove frost, ice, snow, visible condensation, and standing moisture. The surface should be clean and dry before bonding. If the material is still cold enough to chill the bead quickly, warm it first or delay the job until conditions improve.
Sponsored / affiliate links. As an Amazon Associate I earn from qualifying purchases. I may earn additional commission from eligible campaigns.