What Grit Sandpaper for Wood Furniture Before Painting (100-220)
What grit sandpaper should you use on wood furniture before painting? Go 100-120 grit to strip and level, 150-180 grit to smooth, then finish at 220 grit right before primer – and stop there.
That last part trips up a lot of DIYers. It feels logical that “finer is better,” so people keep sanding up to 320 or 400 grit thinking it will make the paint job look smoother. For a stain or clear topcoat, that’s true. For paint, it backfires – paint needs a bit of surface texture (painters call it “tooth”) to physically grip onto, and sanding much past 220-320 grit burnishes the wood smooth enough that paint has nothing to hold on to, so it beads up, feels thin, and lets go sooner.
Below is the exact grit progression to use, why 220 is the stopping point for paint (not 320+), and where people usually get this backwards.
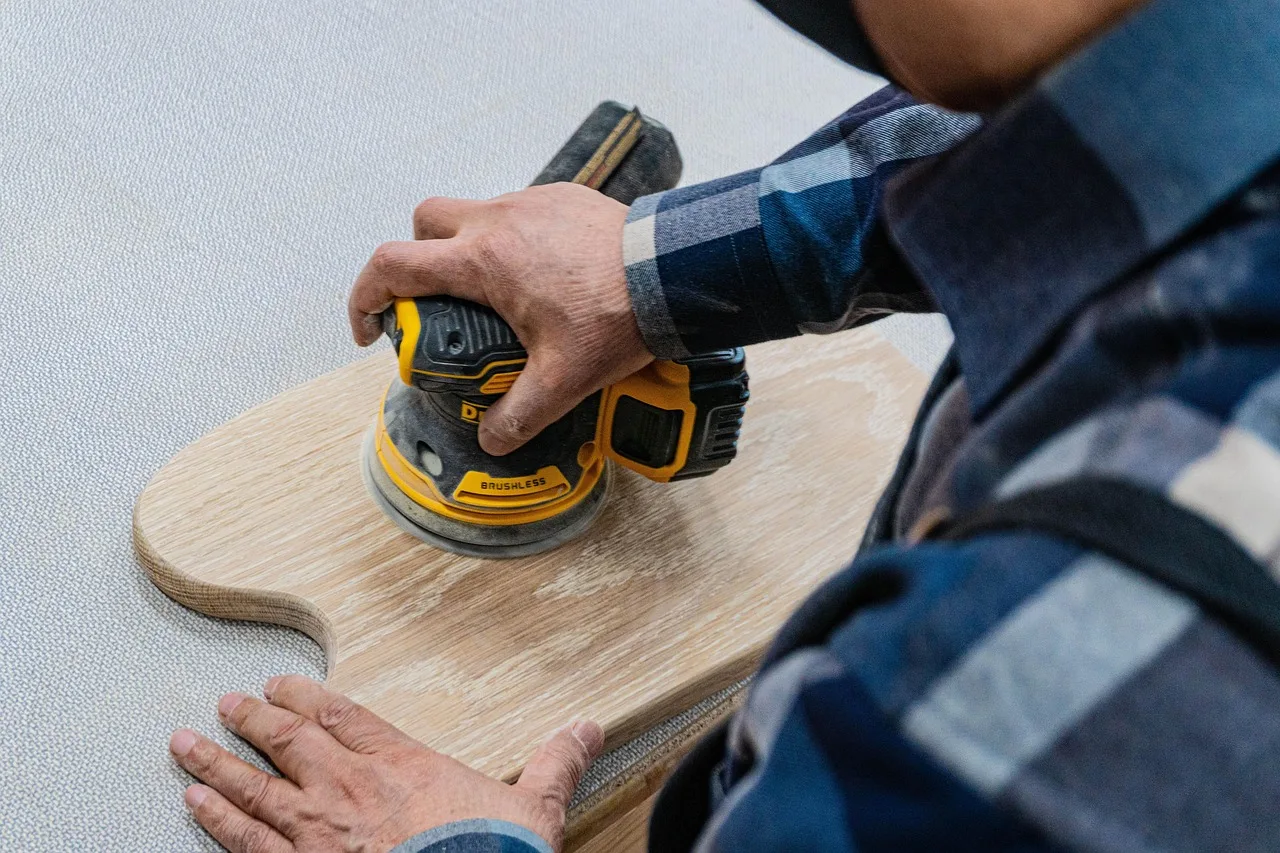
Progressing through grit stages levels the wood before the first coat of primer goes on.
Grit Progression For Painting Wood Furniture
Sandpaper & Tools We Recommend For This Job
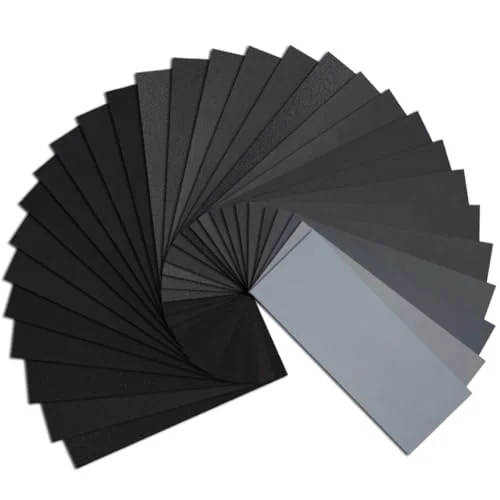
Atosun 45-Pc Wet/Dry Sandpaper Assortment (120-5000 Grit)
One pack covers the entire 100-220 progression for pre-paint prep, plus the 320+ sheets you’ll want for between-coat scuff-sanding. Waterproof backing means it works for wet-sanding too.
Check Price On Amazon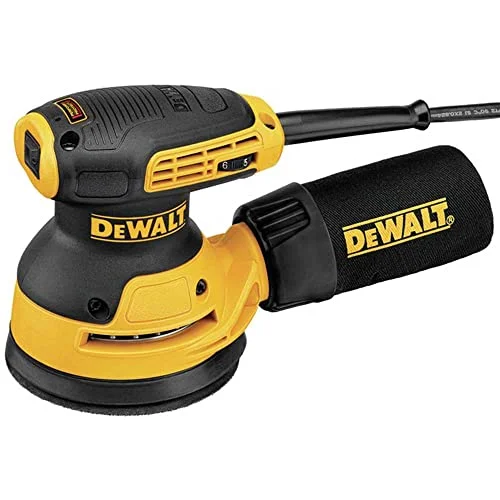
DEWALT 5″ Random Orbit Sander (DWE6423)
Speeds up the 100-120 and 150-180 stages on tabletops and large panels without leaving swirl marks.
Check Price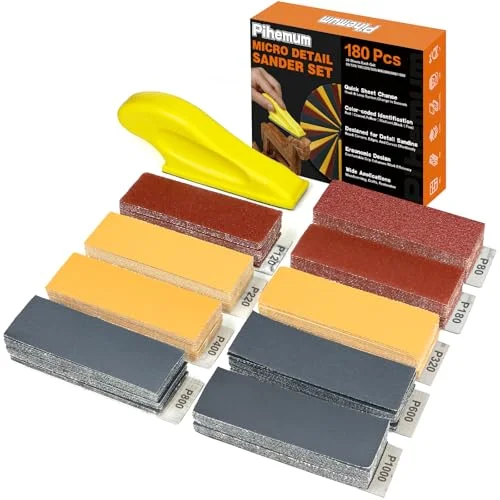
Mini Detail Sanding Kit With Block (80-1000 Grit)
Gets into carved edges, legs, and corners a random orbit sander can’t reach, with color-coded grits so you don’t lose track of the stage you’re on.
Check Price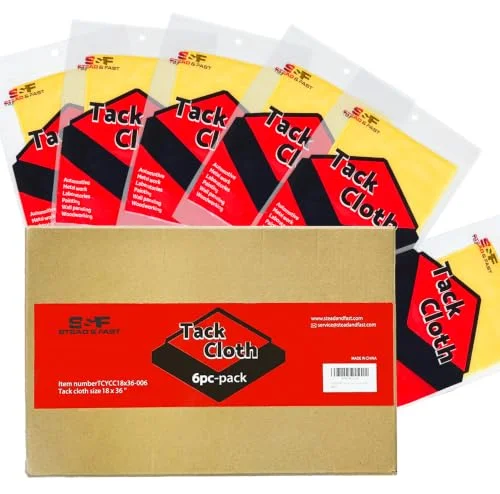
S&F Stead & Fast Painter’s Tack Cloth
A dry rag just moves dust around. A tack cloth lifts the fine 220-grit dust out of the grain so primer bonds to bare wood, not dust.
Check PriceAs an Amazon Associate we earn from qualifying purchases.
Work through these stages in order – skipping a stage just means the next grit has to work twice as hard to erase the scratches left by the one before it.
| Stage | Grit | What It Does |
|---|---|---|
| 1. Strip & level | 100-120 | Removes old finish, paint, or varnish and knocks down any unevenness in the wood. |
| 2. Smooth | 150-180 | Erases the 100-120 grit scratches and evens out the surface. |
| 3. Final pass before primer | 220 | Leaves just enough texture (“tooth”) for primer and paint to grip – this is the stopping point. |
| Between coats (scuff-sand) | 220-320 | Knocks off dust nibs and de-glosses each dried coat so the next one bonds – not used on bare wood. |
Going finer than 220-320 grit on bare wood is a mistake for paint prep specifically. That range is where stain and clear-coat finishing continues on to 320-400+ grit for a glass-smooth look, since those finishes soak into the wood rather than needing to mechanically bite into it. Paint is the opposite: it sits on top of the surface, so it needs that slight roughness from 220 grit to lock on. Over-sanding closes off that texture and is a common reason painted furniture peels or chips soon after the job looked finished.
Choosing The Right Grit
Fine gritsandpaper is very smooth. It’s used for delicate work. Coarse gritis rougher. It’s perfect for removing old paint. Both have their special uses. It’s important to choose the right one. The wood’s surface will feel different with each grit. Smooth wood needs fine grit. Rough wood benefits from coarse grit. Always match grit to the wood’s needs. This ensures a good finish.
Different woods need different grits. Hardwoods like oak are tough. They can handle coarse grit. Softwoods like pine are gentle. They work well with fine grit. Pay attention to the wood type. This guides your sandpaper choice. Each wood has its unique texture. The right grit makes sanding easier. This also helps the paint stick well. Choose wisely for the best results.
Preparing Wood Surface
Start by removing all dust from the wood. Use a soft cloth for better results. Dust can ruin the painting process. Clean the surface thoroughly. Ensure no dirt is left behind. This helps in getting a smooth finish. Clean the furniture with a damp cloth. Dust should be completely removed. Take your time for this step.
Examine the wood for any imperfections. Cracks or holes need fixing. Use wood filler to repair them. Let the filler dry. Smooth the surface with sandpaper. Choose a grit suitable for wood. Usually, medium grit works well. Sand the surface evenly. This ensures paint adheres properly. Check for more imperfections. Repeat if needed.
Sanding Techniques
Sanding wood can be done by hand or with power tools. Hand sanding gives more control over the sanding process. It is best for small areas. Sanding with power tools is faster and good for large surfaces. But it can be too strong for delicate work. You should choose what fits your needs best.
Sanding blocks help you hold sandpaper better. They make sanding easier on the hands. Using a block keeps the sandpaper flat. This helps achieve a smooth finish. Always wrap the sandpaper around the block for best results.
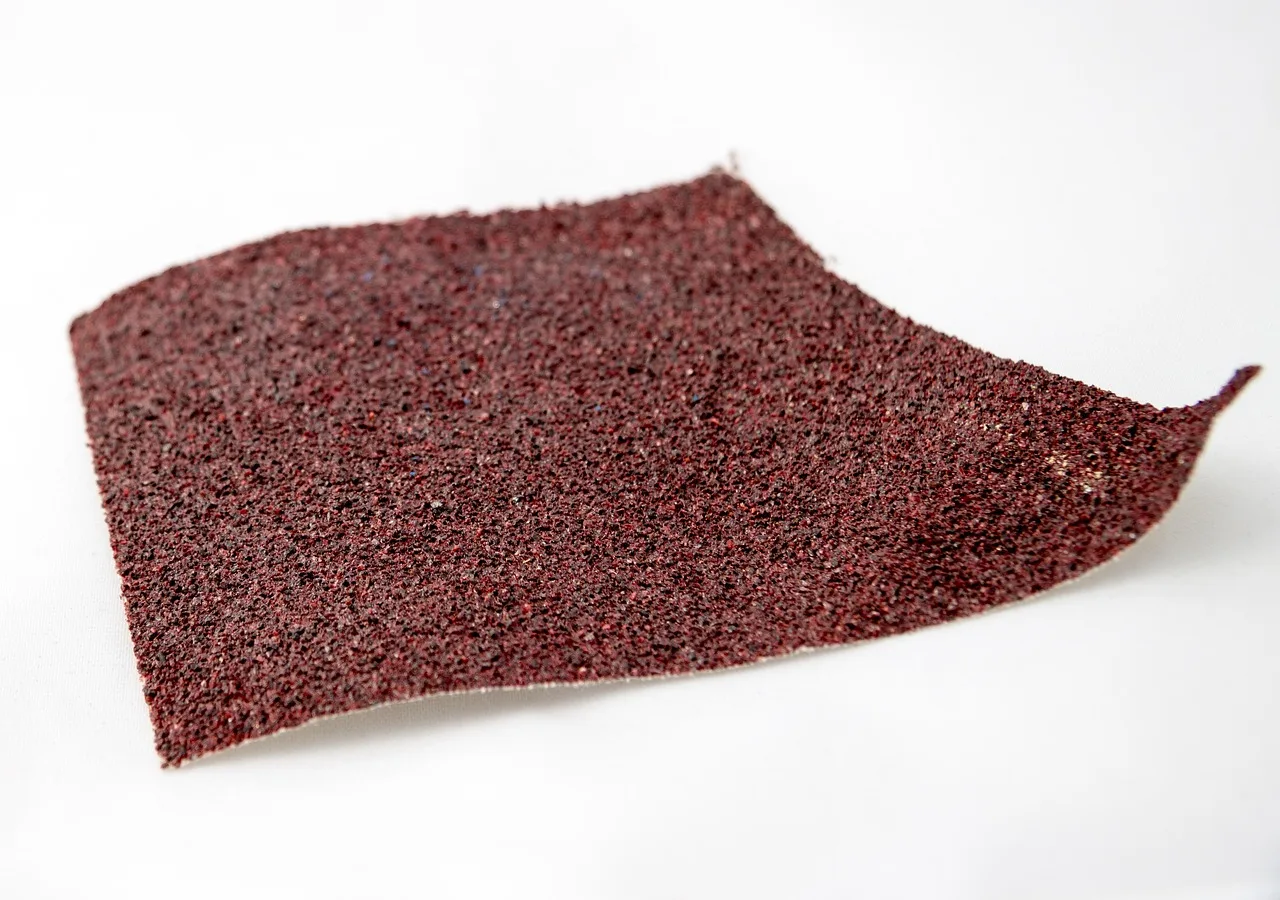
A final hand pass with 220-grit removes dust nibs without over-smoothing the surface.
Applying Primer
Primingwood furniture helps the paint stick better. It creates a smooth surface. This makes painting easier. Primer hides old colors and stains. It prepares the furniture for painting.
Priming prevents the paint from peeling. It makes the furniture last longer. The paint looks more even. Primer saves time and money. It reduces the number of paint coats needed.
Benefits Of Priming
Priming gives wood furniture a fresh start. It blocks stains and odors. Primer helps the paint hold on tight. It stops the wood from soaking up too much paint.
Using a primer can change the look of furniture. It can make colors appear brighter. Primer improves the overall finish. It ensures the paint looks good.
Choosing The Right Primer
Different primers work for different woods. Oil-based primer works well on old wood. Water-based primer is good for new furniture. Choose a primer that suits your needs. Read the label carefully.
Some primers dry fast. Others take more time. Pick one that fits your schedule. Test the primer on a small area first. Make sure it works before painting everything.
Painting Tips
Choose a paint that suits your wood furniture. Oil-based paints are strong and last long. Water-based paints dry fast and have less smell. Each type has special uses. Oil paints are good for outdoor items. Water paints are better indoors. Always read labels on paint cans. This helps pick the right one.
Start with a thin coat of primer. Let it dry well. This helps paint stick better. Apply a thin coat of paint next. Wait for it to dry. Then, add more layers if needed. Sand lightly between coats with fine sandpaper. This makes each layer smooth. Finish with a clear coat for shine. This also protects the paint. Your furniture will look bright and new.
Common Mistakes To Avoid
Choosing the right grit sandpaper is crucial for wood furniture before painting. The most common mistake isn’t using too coarse a grit – it’s the opposite: sanding bare wood past 220 grit (up to 320 or 400) because “smoother must be better.” For paint, it isn’t. Paint needs the slight tooth that 220 grit leaves behind to grip the wood; sand it smoother than that and the paint has a harder time bonding, which shows up later as peeling or chipping. Save the finer 320+ grits for scuff-sanding between coats of paint, or for wood that will only be stained or clear-coated.
Skipping Sanding
Sandingis a must before painting wood furniture. It helps paint stick better. Skipping this step can lead to uneven surfaces. Paint may chip or peel off easily. Use grit sandpaperfor smooth surfaces. Start with coarse grit, then use finer grit. This ensures the wood is ready for paint. Prefer to skip sanding altogether? See what paint to use on wood furniture without sanding.
Ignoring Drying Times
Paint needs time to dry properly. Rushing can ruin the finish. Waitingis key for a smooth look. Each coat needs to dry fully. Follow the instructions on the paint can. They tell you how long to wait. Patience leads to a nice, smooth result.
Frequently Asked Questions
What Grit Sandpaper Is Best For Wood Furniture Before Painting?
Start with 100-120 grit to strip old finish and level the wood, move to 150-180 grit to smooth it out, then finish with 220 grit right before primer. That progression gives paint enough surface texture to grip while leaving no visible scratches under the finish.
Should You Sand Finer Than 220 Grit Before Painting?
No – for paint prep, 220 grit is the finish line, not the halfway point. Sanding bare wood to 320 or 400 grit burnishes the surface too smooth for paint to grip, which can lead to peeling. Save 320+ grit for staining, clear coats, or scuff-sanding between painted coats.
Can I Paint Without Sanding Wood Furniture?
Sanding is crucial for paint adhesion on wood furniture. It removes old finishes and roughens surfaces. Without sanding, paint may peel or chip over time. To ensure a long-lasting paint job, always sand your furniture, starting with a coarser grit and finishing at 220 grit.
What Grit Should You Use Between Coats Of Paint?
Use 220-320 grit for scuff-sanding between dried coats of paint or primer. This is a different step from bare-wood prep – you’re just knocking off dust nibs and dulling the sheen so the next coat bonds, not removing material.
Why Is Sanding Crucial Before Painting Furniture?
Sanding ensures paint adheres properly by creating a smooth, clean surface with enough texture for the paint to grip. It removes old finishes and imperfections. Proper sanding prevents peeling and chipping, giving your painted furniture a professional and durable finish.
Conclusion
Choosing the right grit sandpaper is key for furniture painting: 100-120 grit to strip and level, 150-180 to smooth, and 220 grit as your final pass before primer. Resist the urge to keep going finer – past 220-320 grit, bare wood gets too smooth for paint to grip, which is the opposite of what you want.
Save the 320+ grits for staining, clear coats, and scuff-sanding between painted coats. Wipe away dust with a tack cloth before you prime, and your paint job will bond properly and last. Ready for painting? Your furniture will look great!
Sponsored / affiliate links. As an Amazon Associate I earn from qualifying purchases. I may earn additional commission from eligible campaigns.