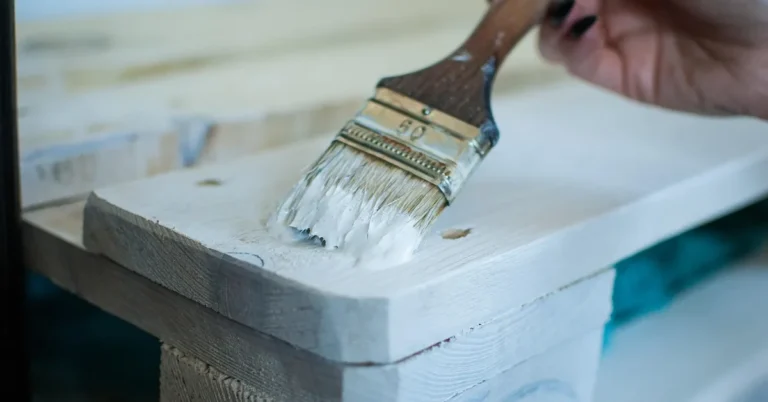
What Is Painter’s Putty Used For? A Straightforward Guide
Painters putty is a vital tool for any painting project. It fills small holes and cracks, creating a smooth surface.
Whether you’re a professional painter or a DIY enthusiast, painters putty can make a big difference. It helps prepare walls, woodwork, and other surfaces before painting. The putty is easy to apply and sand, ensuring a flawless finish. By using painters putty, you can fix imperfections and extend the life of your paint job.
Below: exactly when to reach for painter’s putty instead of caulk or spackle, how to apply and sand it, and how long to let it dry before you paint over it.
Introduction To Painters Putty
Best Painter’s Putty for Wood Trim
 |
DAP Painter’s Putty '53' 16 oz – $8.89 This is the actual product this guide is about — a smooth, paintable putty for filling small gaps in wood trim before painting.
|
Painter’s putty is a linseed-oil-and-calcium-carbonate compound that stays soft and workable far longer than spackle or wood filler — it skins over in 30-60 minutes but can still be dented with a fingernail days later, and it never fully hardens into a rock-solid patch the way a two-part wood filler does. That softness is the point, not a flaw: it lets the putty flex slightly with wood movement in a nail hole or a window glazing joint instead of cracking out the way a rigid filler eventually would. Traditionally sold as a white or gray-tinted compound, it’s built specifically as a pre-paint filler for wood trim, sash windows, and glazing — not a general-purpose wall repair product, even though it can be pressed into service for small nail holes on drywall in a pinch.
Types Of Painters Putty
Oil-based (linseed oil) putty is the classic formula and the one most trim carpenters and window glaziers actually mean when they say “painter’s putty.” Its long open time — it can be tooled and reshaped for a while after application — makes it forgiving for glazing a window pane or filling a nail hole on exterior trim exposed to temperature swings, and it holds up in outdoor weather better than water-based alternatives because the cured oil is naturally water-resistant. The tradeoff is a genuinely long full-cure time and a mild linseed-oil odor while it’s setting.
Latex-based (acrylic) putty swaps the oil binder for a water-based one, which means soap-and-water cleanup instead of mineral spirits, a faster skin-over time, and a lower odor — better suited to interior trim and quick drywall nail-hole patches. It stays somewhat flexible once cured, which helps it resist cracking on wood that expands and contracts seasonally, though it’s generally considered less weather-durable than oil-based putty for anything mounted outside.
Surface Preparation
Putty won’t bond to a surface that’s dusty, greasy, or damp — oil and moisture both interfere with the linseed oil’s ability to key into the wood grain, which shows up later as the patch popping loose or shrinking away from the edges of the hole. Wipe the area with a damp cloth to lift dust and grime, then let it dry fully before touching it with putty; a surface that feels dry to the touch can still be holding enough residual moisture in the top few wood fibers to weaken the bond.
Knock down any splintered or rough wood around the hole with 100-120 grit sandpaper first, since putty pressed over torn fiber won’t sit flush and will telegraph the roughness through once painted. There’s no need to sand a fine finish at this stage — that comes after the putty cures — just enough to give the putty a clean, even edge to key into.
Application Methods
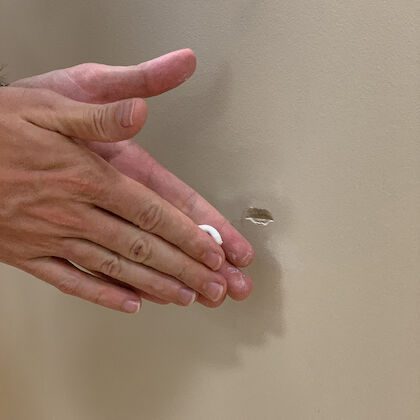
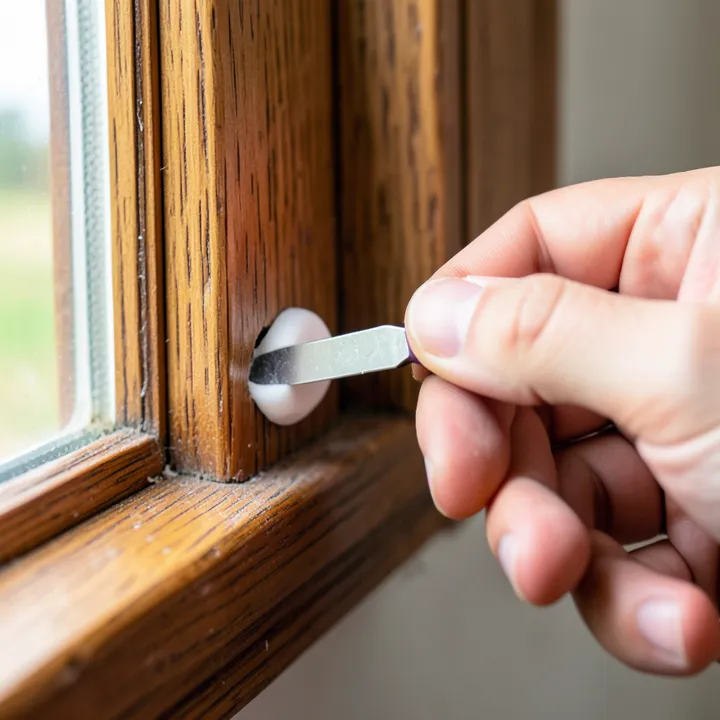
A flexible putty knife (1-1.5″ works well for small holes; a wider blade helps feather the edges flush on a larger patch) is really the only tool this job requires beyond the surface prep from the last step. Roll a pea-sized amount between your fingers first to warm it slightly and even out its consistency — putty straight from a cold can can be stiffer and harder to press fully into a hole without leaving a void underneath.
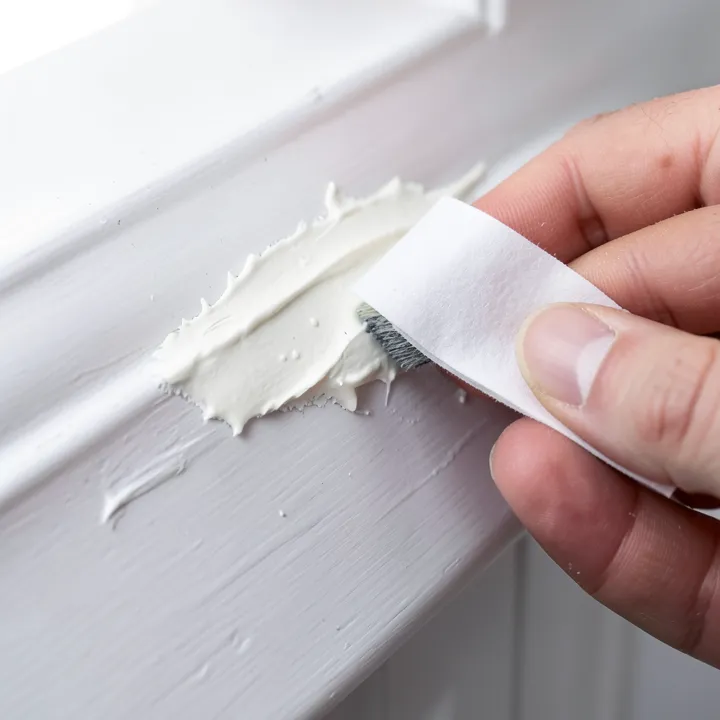
Press the putty into the hole firmly enough to force out trapped air (a void under the surface will eventually show as a dimple once the putty shrinks slightly during cure), then draw the knife across the patch at a low angle to scrape it flush with the surrounding wood rather than leaving it proud. Let it cure fully before sanding — sanding a patch that’s still soft just smears it instead of leveling it — then a light pass with fine sandpaper and a wipe-down leaves the surface ready for primer.
Common Uses
The single most common job for painter’s putty is finish nail holes in wood trim — baseboard, casing, crown molding — after the trim is installed and before it’s painted. A dab pressed in and struck flush with a putty knife disappears completely under paint, which is why it’s the standard finishing step trim carpenters use rather than wood filler for this specific job.
It’s also the traditional glazing compound for setting glass into a wood window sash: rolled into a rope and pressed around the pane’s edge, then beveled with a putty knife to shed water away from the glass. For general wall cracks and dents, spackle or joint compound is usually the better tool — painter’s putty’s slow, never-fully-hard cure makes it a poor match for larger wall repairs where a rigid, sandable patch is what you actually want.
Drying And Curing
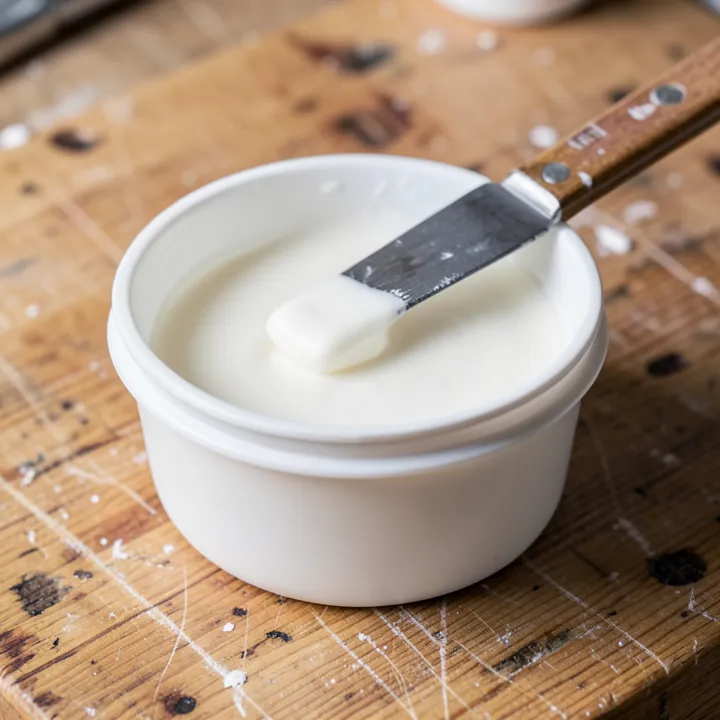
Painter’s putty skins over within an hour or so, but that surface film is misleading — the linseed oil underneath keeps oxidizing and hardening for days to weeks, and the exact timeline swings a lot with temperature and humidity. Warm, dry, well-ventilated conditions (70°F+ with airflow) can get a small patch paint-ready in 24-48 hours; cold or humid conditions can stretch that out considerably, since the oil needs oxygen exposure to cure and both cold and high humidity slow that reaction.
This is the key difference from spackle or wood filler, which harden through evaporation or a chemical set and reach near-final hardness in hours: painter’s putty never fully hardens to the same degree, it just becomes firm enough to sand and paint. Pressing a fingernail into a patch that still gives noticeably is the simplest test that it needs more time before you move to sanding and paint.
Painting Over Putty
Priming isn’t optional over painter’s putty — the oil in uncured or partially cured putty can bleed straight through latex paint applied directly over it, leaving a visible yellow-brown halo around the patch weeks later even after the paint looks fine on day one. An oil-based or dedicated stain-blocking primer seals that oil in and gives the topcoat a uniform surface to bond to.
Both latex and oil-based paints will adhere fine over a properly primed putty patch, so the paint choice comes down to matching whatever’s already on the rest of the trim rather than anything specific to the putty itself.
Maintenance Tips
A putty patch fails for one of two reasons almost every time: it wasn’t pressed into a clean, dry hole, or it was applied too thick in one shot. A thick blob of putty cures unevenly — the outer skin hardens while the core stays soft for much longer, and that mismatch is what eventually cracks the surface. Filling deeper holes in two thin passes, letting the first partially cure before adding the second, avoids that problem entirely.
Once painted, a putty patch is protected from moisture and UV, which is most of what makes it fail over time, so a coat of paint is genuinely part of the repair’s longevity, not just cosmetics. It’s still worth a glance every year or two on exterior trim and window glazing specifically, since those see the most temperature cycling and sun exposure of anywhere putty gets used.
When a repair does need redoing, scrape out all the old, loosened putty rather than putting new putty over it — old putty that’s lost its bond won’t give the new patch anything solid to key into, and you’ll just be repeating the same failure. Clean and dry the hole again as if starting fresh.
A half-used tub of painter’s putty keeps for a long time if the lid is sealed tightly between uses (a layer of plastic wrap pressed directly onto the surface before closing the lid helps prevent it skinning over in the can), which makes it worth keeping on hand for trim touch-ups rather than buying a fresh tub each time.
Troubleshooting
Most putty problems trace back to one of four causes: too thick an application (cracks as it cures unevenly), sanding before it’s actually cured (smears instead of leveling and can pull the patch loose), skipping surface cleaning (weak bond, early failure), or using the wrong type for the job — oil-based on fast-turnaround interior drywall work, for instance, just means an unnecessarily long wait before you can paint. Matching the putty type to where it’s going and giving it the cure time it actually needs, not the time you’d like it to take, solves nearly every complaint people have with it.
Frequently Asked Questions
What Is Painters Putty?
Painters putty is a compound used to fill small holes, cracks, and imperfections in surfaces before painting. It provides a smooth finish.
How Do You Apply Painters Putty?
Apply painters putty using a putty knife. Press it into the hole or crack, then smooth the surface.
Can Painters Putty Be Used On Wood?
Yes, painters putty is commonly used on wood surfaces. It fills gaps and holes, creating a smooth finish.
Is Painters Putty The Same As Spackle?
No, painters putty and spackle are different. Putty is oil-based and more flexible, while spackle is water-based and dries harder.
Conclusion
Painter’s putty earns its place in a trim carpenter’s kit for one specific reason: it stays flexible enough to move with wood without cracking, which is exactly what a rigid wood filler or spackle can’t do in a nail hole or glazing joint that sees seasonal expansion. Match oil-based putty to exterior and glazing work, latex to interior touch-ups, give it the cure time the conditions actually call for, and prime before painting to block oil bleed-through.
Sponsored / affiliate links. As an Amazon Associate I earn from qualifying purchases. I may earn additional commission from eligible campaigns.