Wood Beams in a House: Cracking and Checking
A crack in an interior wood beam is often normal checking if it is shallow, dry, and stays within the wood; treat it as a moisture or structural problem if it widens, feels damp, or runs through critical supports. Missing the difference can hide rot or load-bearing damage until repairs get far more expensive. This guide shows how to tell seasonal checking from active moisture trouble or a structural split, and what to do next.
How drying warps wood from outside


Wood beams crack because wood loses moisture and shrinks at different rates from the outside in. The outer fibers dry first, so they move before the center does. In many timbers, those surface cracks are called checks, and they are part of normal drying rather than a defect by themselves.
How drying causes shrinkage and checking
Wood is hygroscopic, so it can absorb, hold, and release water. As moisture leaves a beam, the outside shrinks before the core. That uneven movement opens surface cracks first. Checks often start on the exterior face and almost always stop at the heart of the timber.
Timber air dries about one inch per year. A 12×12 timber would take about six years to dry to the center. That slow drying is why large interior beams can keep showing new checks long after installation.
Most timber frames are built from green (wet) wood, so some checking is expected as the beam acclimates. The same principle applies to solid-sawn lumber, glulam, LVL, and timber, although the pattern and amount of movement can differ by product.
Why winter air makes cracks more noticeable
Heating season can make checks stand out more clearly. Indoor air gets drier, furnace heat pulls moisture from wood, and the surface of a beam can shrink faster than the core. A check that looked minor in summer may appear longer or wider in winter, even if it is still a seasonal surface crack.
This is also why the same beam can look calmer after a humid spell and more open in a dry month. Movement is tied to moisture content and to equilibrium moisture content, which changes with the air around the beam.
Which beam species move more?
Species, grain pattern, and beam size all affect movement. Dense oak can react differently from pine, and a beam cut with straight grain usually behaves differently from one with more irregular grain. Thick timber members change slowly through the center than thin boards, so a surface check on a large beam does not automatically mean the whole member is failing.
Douglas Fir timber is a common example in timber-frame work. Because it is often used in large structural sizes, a 12×12 member can show checks for years while still carrying load normally, provided the crack remains shallow and dry.
Checking or a structural split?
Checking usually starts at the surface and stays there. A structural split goes all the way through the member, or keeps opening where the beam must carry load. If the crack crosses a support point, separates the beam, or changes shape over time, treat it as a structural concern until proven otherwise.
Surface checks versus through-splits
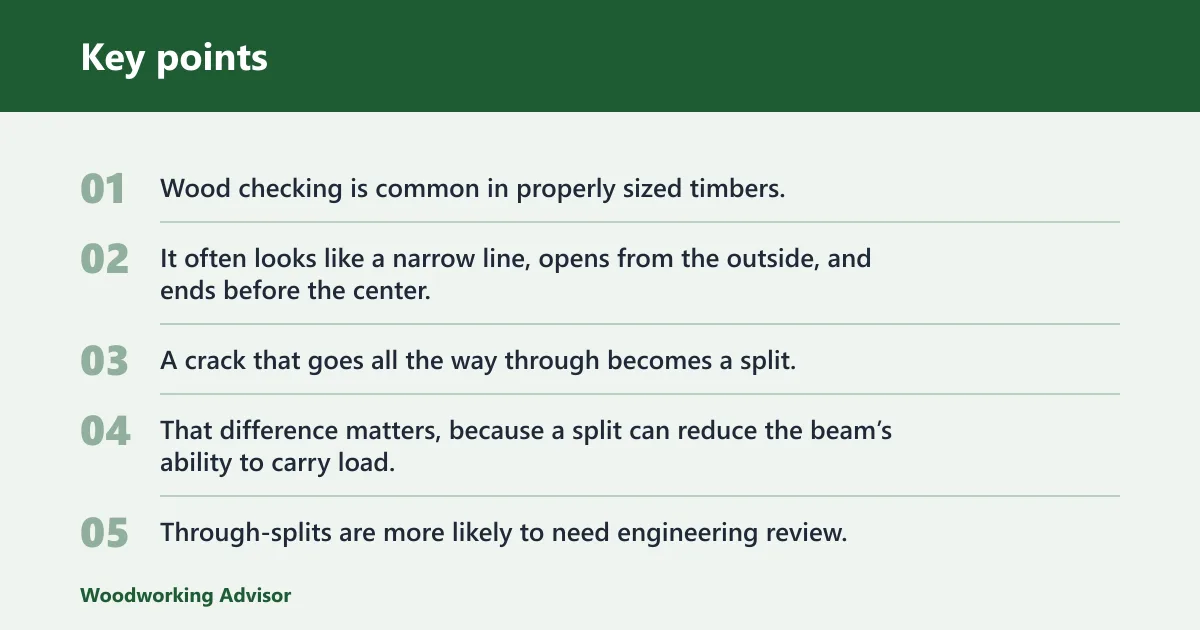
Wood checking is common in properly sized timbers. It often looks like a narrow line, opens from the outside, and ends before the center. A crack that goes all the way through becomes a split. That difference matters, because a split can reduce the beam’s ability to carry load.
Shallow checks are often cosmetic. Through-splits are more likely to need engineering review, especially if the beam is a primary structural wood beam rather than a decorative cover.
What cracks near supports can mean
Cracks near posts, bearing walls, joints, or hanger connections should get extra attention. Those areas carry concentrated stress. A line that starts near a support, grows longer, or opens at the edge of a connection is more concerning than a similar-looking check in the middle of a long span.
Suppose a ceiling beam has a hairline check at midspan that has stayed the same for two heating seasons. That is usually less urgent than a split that appears beside a post and now shows a visible offset between the two sides of the wood.
When width, depth, and movement matter
Crack depth matters more than crack appearance alone. If you can see daylight, probe into the opening deeply, or notice the crack widening, the condition is no longer simple checking. Movement over time is one of the clearest warning signs, especially on a load-bearing member.
A common first-timer mistake is to judge a beam crack only by how thin it looks, even when it runs from a knot to the edge of the timber. Long end checks can still be cosmetic if they stay shallow, while a shorter crack near a support may deserve a call to a structural engineer.
Beam crack triage table
Use the table below to sort the most common interior beam conditions before you choose a repair. Start with location, then check moisture, then decide whether you can monitor, seal for appearance, or bring in an engineer.
| Symptom | Likely cause | Urgency | Next step |
|---|---|---|---|
| Shallow surface checks on the face of a dry beam | Normal drying and seasonal shrinkage | Low | Monitor, measure if needed, and seal only if the look bothers you |
| Long end checks that stay on the outer surface | Moisture loss at the end grain and uneven shrinkage | Low to moderate | Mark the ends, watch for widening, and measure moisture content |
| Cracks near supports, posts, or connectors | Stress concentration, movement, or hidden damage | High | Stop cosmetic repair and call a structural engineer if the beam carries load |
| Through-splits or a visible gap from one face to the other | Full-depth splitting, overload, or advanced drying stress | High | Do not fill first; document the crack and get structural review |
How moisture drives beam movement
Moisture content drives shrinkage, and shrinkage drives checking. Wood changes size as it gains or loses water, but the final size depends on the air around it. Indoor humidity, seasonal weather, and regional climate all affect whether a beam stays stable or keeps moving.
Moisture content and equilibrium moisture content
Moisture content is the amount of water in the wood. Equilibrium moisture content, or EMC, is the level wood reaches when it matches the surrounding air. EMC differs indoors and outdoors, and it varies by region and season, so the same beam can behave differently in July than it does in January.
In Denver, outdoor EMC in July is 9.4%. In New Orleans, outdoor EMC in July is 15.3%. Those differences help explain why the same species can crack more in a dry climate or during a dry heating season.
The majority of the U.S. has an 8% average moisture content. That is one reason interior beams may settle after the first dry season, then show less new movement later if the indoor environment stays steady.
What a moisture meter can and cannot tell you
A moisture meter helps you measure wood moisture content before you decide on a repair. Surface meters work better on thin boards than on thick timbers. On large structural members, a shallow reading may miss a wetter center, so it should not be the only piece of evidence.
Professional moisture meters use electromagnetic scanning. That deeper scan can help assess a thick beam, but it still does not replace a structural evaluation when the crack is near a support or looks like a split.
Start by checking whether the beam is decorative or structural, then document the crack and look for movement. Measure the opening, note the location, and compare both ends of the crack. If the beam supports load and the crack is deep, damp, or changing, stop and escalate.
Measure the crack and mark changes
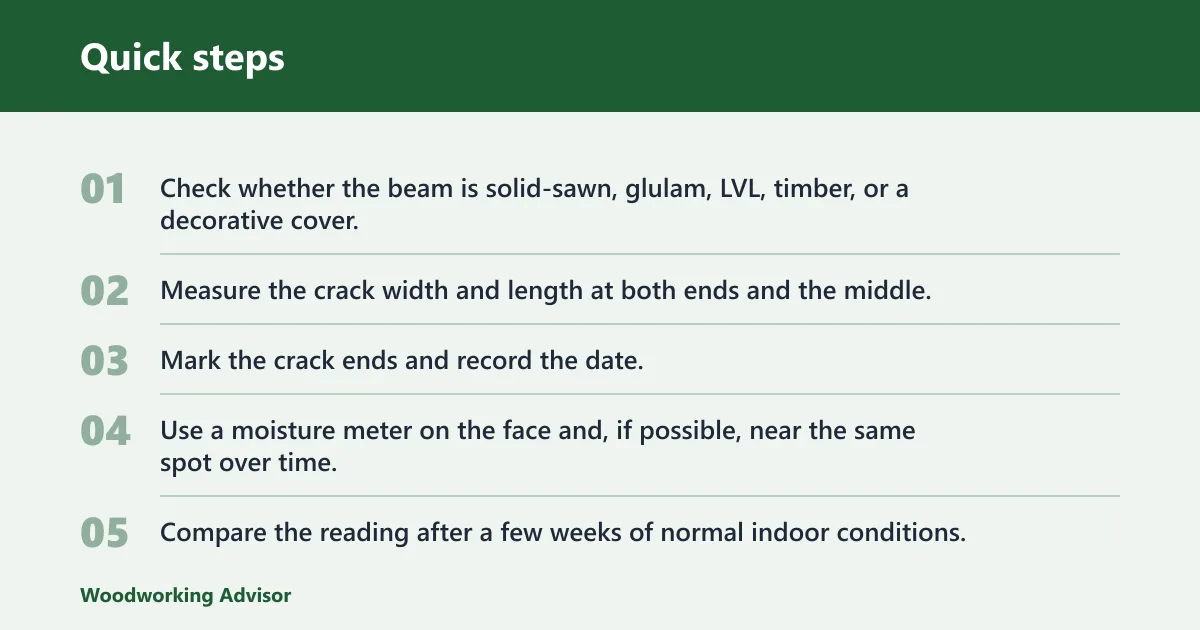
Use a ruler or feeler gauge to note the crack width at several points. Mark the ends lightly with pencil and date the mark so you can see whether the crack length changes. If the opening grows after a dry spell or after the heating system runs more often, moisture movement may be active.
- Check whether the beam is solid-sawn, glulam, LVL, timber, or a decorative cover.
- Measure the crack width and length at both ends and the middle.
- Mark the crack ends and record the date.
- Use a moisture meter on the face and, if possible, near the same spot over time.
- Compare the reading after a few weeks of normal indoor conditions.
Check for sag, separation, and nearby damage
Look beyond the crack itself. Sagging, separation at a joint, creaking, new drywall cracks below the beam, or doors that suddenly stick can point to load movement. Those signs matter more than a cosmetic surface line on its own.
Say your exposed beam has a shallow center check in January, but the line stops short of the ends and the beam stays straight. That is usually a monitoring case. If the same beam then opens beside a post and the gap grows, the situation changes.
Some ceiling beams are decorative and may be solid wood or faux wood. Others are structural and carry floor or roof load. If the beam hides inside drywall or a boxed-out ceiling, find the support pattern by checking where it lands, where joists frame into it, and whether the ends sit on posts or bearing walls.
How can you tell if a wall has wood beams inside? Look for consistent joist spacing, change points in trim, bearing walls below, and fastener patterns in the ceiling or wall surface. A stud finder can help locate framing, but a concealed beam is confirmed by structure, not by a single electronic reading.
Repair options for cracked beams
Repair should match the crack, not the fear. Cosmetic filler works for shallow checks that are dry and stable. Epoxy belongs in specific repair plans for sound, dry cracks that have already been evaluated. Sistering or replacement is safer when the beam is structural, splitting, or uncertain.
When cosmetic filler is enough
Use filler only after you know the crack is a shallow check. It can improve appearance, keep dust out, and reduce the look of an open surface line. It should not be used to hide a through-split, a damp crack, or damage near a support.
When epoxy makes sense
Epoxy can be part of a repair for a stable, dry crack that does not threaten load capacity. It is not the first move for an unknown beam crack. If the beam may still be moving, or if moisture is present, epoxy can trap the wrong condition inside the wood.
Should you seal checks in wood beams? Seal them for appearance if the crack is dry, shallow, and clearly a check. Do not seal first if the crack is near a support, feels damp, or seems to run through the member. In those cases, the next step is diagnosis, not finish work.
When sistering or replacement is the safer call
Sistering adds a new member alongside the damaged one to share load. Replacement removes the damaged beam and installs a new structural member. Those options are more appropriate when the beam is truly structural and the crack is a split, widening, or tied to uncertain capacity.
How do you repair a cracked wood beam? First confirm whether it is a check or a split, then measure moisture, then decide whether the fix is cosmetic, reinforcement, or replacement. For load-bearing beams, a structural engineer should guide the repair whenever depth, span capacity, or support conditions are unclear.
Frequently asked questions
Why are my wood beams cracking?
Wood beams crack because wood loses moisture and shrinks at different rates from the outside in. That creates surface checks, especially in large timbers and during dry heating months. If the crack is shallow and dry, it is often part of normal movement.
Is checking in wood beams normal?
Yes, checking is common in interior timber and can be normal in properly sized structural members. The key is whether the crack stays on the surface and stops before the heart of the timber. A through-split, damp crack, or crack near a support needs more scrutiny.
When is a cracked beam structural damage?
A crack is more likely structural damage when it goes all the way through, widens over time, sits near a support, or comes with sag, separation, or nearby damage. If the beam carries load and the crack depth is uncertain, a structural engineer should review it.
How do I repair a cracked wood beam?
Repair starts with diagnosis. Shallow checks may only need monitoring or cosmetic filler. Dry, stable cracks may be a candidate for epoxy. Structural splits, cracks near supports, or uncertain load-bearing capacity call for sistering, reinforcement, or replacement after engineering review.
What moisture level causes wood beams to crack?
There is no single moisture number that causes every beam to crack. Cracking depends on species, size, climate, and how fast the wood loses moisture. A moisture meter helps you compare readings over time, which is more useful than one isolated number.
How can I tell if a wall has wood beams inside?
Look for framing clues such as consistent spacing, bearing walls below, trim changes, and fastener lines that follow structure rather than decoration. A stud finder can help locate members, but hidden beams are confirmed by the building layout. If a wall may be load-bearing, treat it cautiously.
Sponsored / affiliate links. As an Amazon Associate I earn from qualifying purchases. I may earn additional commission from eligible campaigns.