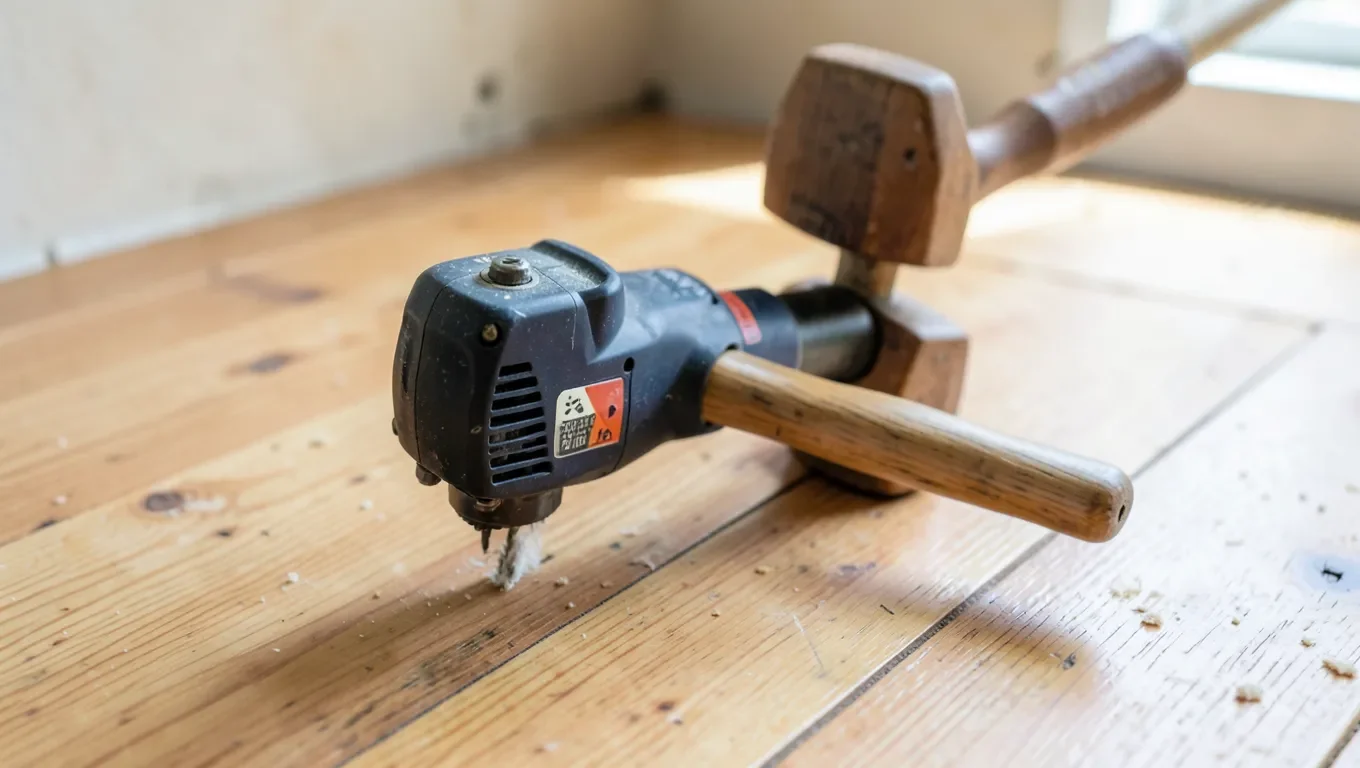
Wood Floor Nailer Guide: Pneumatic vs. Manual, Cleats vs. Staples
A wood floor nailer drives fasteners through the tongue of a hardwood board at an angle, so the head sits hidden inside the next plank. Most run on compressed air at 70-115 PSI, though the number that actually matters day-to-day is CFM — a typical flooring nailer needs 2-4 CFM, well within what a standard 6-gallon pancake compressor supplies. The choice that trips people up isn’t air pressure, though; it’s picking between cleats and staples, and matching gauge to your flooring’s actual thickness.
Cleats vs. Staples: Which One Your Flooring Actually Needs
Best for Thin Engineered Flooring
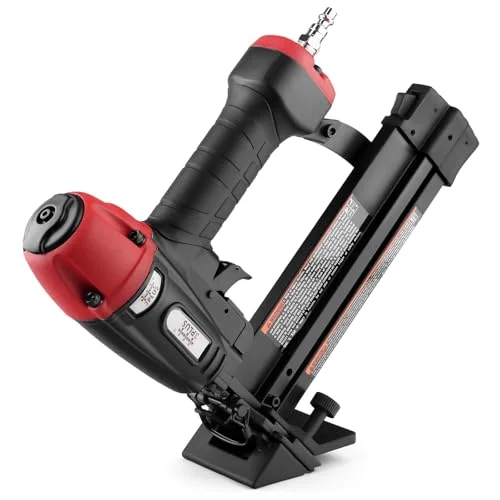 |
3PLUS 4-in-1 Flooring Nailer/Stapler – $76.88 Runs both 18-gauge L-cleats and narrow-crown staples from the same tool, and its low-profile base handles engineered flooring as thin as 3/8″ that many full-size cleat nailers can’t.
|
Cleats are L-shaped fasteners that let a board expand and contract slightly with humidity — the standard choice for solid hardwood, and the reason most professional installers default to a cleat nailer for it. Staples are U-shaped with two prongs and hold tighter, which is exactly what engineered flooring needs since its plywood-based core moves less than solid wood and benefits from the stronger, more rigid hold. Using staples on solid hardwood can restrict the natural movement enough to cause cupping over a season of humidity swings; using cleats on some engineered products can leave too much play. Check what the flooring manufacturer specifies before picking a tool — it’s usually printed right on the box.
Pneumatic vs. Manual (Mallet) Nailers
A pneumatic flooring nailer fires the fastener with a trigger pull backed by air pressure — fast, consistent, and the standard for anyone doing more than one room. A manual, or mallet-style, nailer uses the same base and plunger mechanism but you strike a plate with a rubber mallet to drive the fastener; it’s slower and more physically tiring across a full room, but costs less and needs no compressor at all if the model is spring-loaded rather than air-assisted. For a single small room or an occasional DIY job, manual is a reasonable trade of speed for cost. For anything larger, the time saved with pneumatic pays for the compressor rental within a day.
Matching Gauge and Cleat Length to Your Flooring Thickness
Standard 3/4″ solid hardwood typically takes 16-gauge L-cleats around 2″ long, driven through the tongue at roughly a 45-degree angle so the cleat crosses into the board’s core without punching through the top. Thinner engineered flooring (3/8″–1/2″) needs a nailer designed for that reduced thickness — a full-size flooring nailer’s base plate is often too tall to angle the shot correctly on thin stock, which is where a lower-profile 4-in-1 tool like the one above earns its keep. Always confirm your flooring manufacturer’s specified fastener gauge and length before buying cleats or staples in bulk; using an undersized cleat is a common cause of squeaky floors months after installation.
Prepping the Subfloor and Layout Before the First Nail
A flooring nailer only performs as well as the subfloor underneath it. Sweep the subfloor clean of debris and check for squeaks or loose spots before laying a single board — a nailer can’t fix a subfloor problem, it just fastens flooring on top of one. Snap a chalk line for your first row and dry-lay a few boards across the room first to check how the last row will land; adjusting your starting point by half an inch can be the difference between a full-width final row and an awkward sliver cut.
Leave a 1/2″ expansion gap along every wall the flooring meets — solid hardwood in particular needs room to expand with seasonal humidity, and a nailer driven too close to a wall with no gap is a common cause of buckling months later. Standard baseboard or shoe molding covers this gap once the floor is done, so it costs you nothing in appearance and prevents a real structural problem.
Setting Air Pressure Correctly
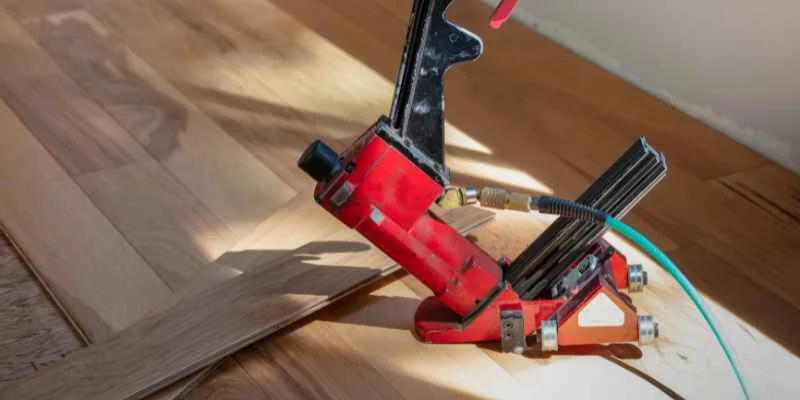
Start around 80 PSI on scrap flooring, not your actual installation. Drive a test fastener and check the head: flush with the tongue’s surface is correct. If the cleat head sits proud (not fully seated), increase pressure in 5 PSI increments; if it’s driven below flush and denting the wood, drop pressure the same way. Every compressor and hose length changes actual line pressure slightly, so this test-and-adjust step matters even if you’ve used the same nailer before on a different job site.
Blind-Nailing the First Rows by Hand
A flooring nailer’s base plate needs room to sit flat against the board being fastened, which means the first 2-3 rows against a starting wall usually can’t be reached with the nailer itself — there’s no room for the tool’s body between the board and the wall. Face-nail these rows by hand instead, pre-drilling to avoid splitting, then set the nail heads below the surface with a nail set so they can be filled and covered by trim. Once you’re 3-4 rows in, there’s enough clearance to switch to the nailer for the rest of the room.
The same clearance problem applies to the last row on the opposite wall — face-nail that row by hand too, for the same reason. This is normal, not a sign you’re doing something wrong; every flooring nailer, regardless of brand or price, has this same start-and-end limitation built into its base plate design.
Common Nailer Problems and What They Usually Mean
- Fastener not seating flush: air pressure too low, or the cleat gauge is too thick for the flooring thickness
- Board splitting at the tongue: pressure too high, or the nailer is angled too steep instead of the recommended ~45 degrees
- Nailer jamming mid-room: usually a bent cleat from the magazine, or debris in the drive channel — clear it before forcing another shot
- Inconsistent depth across a room: a drop in compressor output as the tank empties faster than the motor refills it — check your compressor’s duty cycle against the nailer’s CFM draw
Nail Spacing Along Each Board’s Length
Most flooring manufacturers specify a fastener every 6-8 inches along a board’s length, plus one within 2 inches of each end — check your specific product’s installation instructions since spacing varies slightly by plank width and thickness. Wider boards (5″ and up) generally need tighter spacing than narrow 2-1/4″ strip flooring to prevent cupping between fasteners. Skipping the end-of-board fasteners to save time is the single most common shortcut that causes a board end to lift or squeak later, since that’s the point with the least support from neighboring boards.
Randomize end joints as you go rather than nailing straight through a repeating pattern — most manufacturers require a minimum stagger, often 6-8 inches between end joints on adjacent rows, both for appearance and because lining up too many end joints in one area concentrates stress on a narrow band of the floor. Dry-racking several rows of boards before nailing any of them down makes it much easier to spot a bad stagger pattern while it’s still easy to swap boards around.
Frequently Asked Questions
What PSI does a wood floor nailer need?
Most pneumatic flooring nailers run between 70 and 115 PSI, with 80-90 PSI as a common starting point. Test on scrap flooring and adjust until the fastener head sits flush.
Should I use cleats or staples for hardwood flooring?
Cleats are the standard choice for solid hardwood because their L-shape allows the board to expand and contract with humidity. Staples hold tighter and suit engineered flooring, whose plywood core moves less. Check your flooring manufacturer’s fastener recommendation first.
Can I use a regular flooring nailer on engineered hardwood?
Only if the flooring is thick enough for the nailer’s base plate to angle the shot correctly — usually 1/2″ or more. Thinner engineered flooring (down to 3/8″) needs a nailer specifically designed for reduced thickness, like a low-profile 4-in-1 model.
How much air compressor CFM do I need for a flooring nailer?
Most flooring nailers need 2-4 CFM, which a standard 6-gallon pancake compressor easily supplies. Larger jobs benefit from a compressor with a higher duty cycle so tank pressure doesn’t drop mid-room.
How close to the wall can I use a flooring nailer?
Most flooring nailers need 2-3 rows of clearance from a starting wall before the base plate has room to sit flat. Face-nail the first few rows and the last row by hand instead.
How far apart should flooring nails be spaced?
Most manufacturers specify a fastener every 6-8 inches along a board’s length, plus one within 2 inches of each end. Check your specific flooring’s installation instructions for exact spacing.
Conclusion
Pick cleats or staples based on what your flooring manufacturer specifies, not personal preference — that decision affects long-term board movement more than any other choice you’ll make. From there, pneumatic is worth it for anything beyond a single small room, and a 4-in-1 tool is the practical choice if you’re working with engineered flooring thinner than 1/2″.
Sponsored / affiliate links. As an Amazon Associate I earn from qualifying purchases. I may earn additional commission from eligible campaigns.