Wood Glue Not Sticking to Old Finish: What to Do Now
Wood glue will not stick to old finish; scrape or sand back to bare wood on every glue face. If you cannot reach bare wood, switch to epoxy or a mechanical repair. Glue over lacquer, varnish, shellac, or wax, and that joint will fail again, often taking good wood with it. This guide shows how I identify the finish, expose sound wood, and choose a repair that holds under real furniture stress.
This guide is part of our Wood glue essentials: types, uses, and cure times series.
What you’ll need before you start
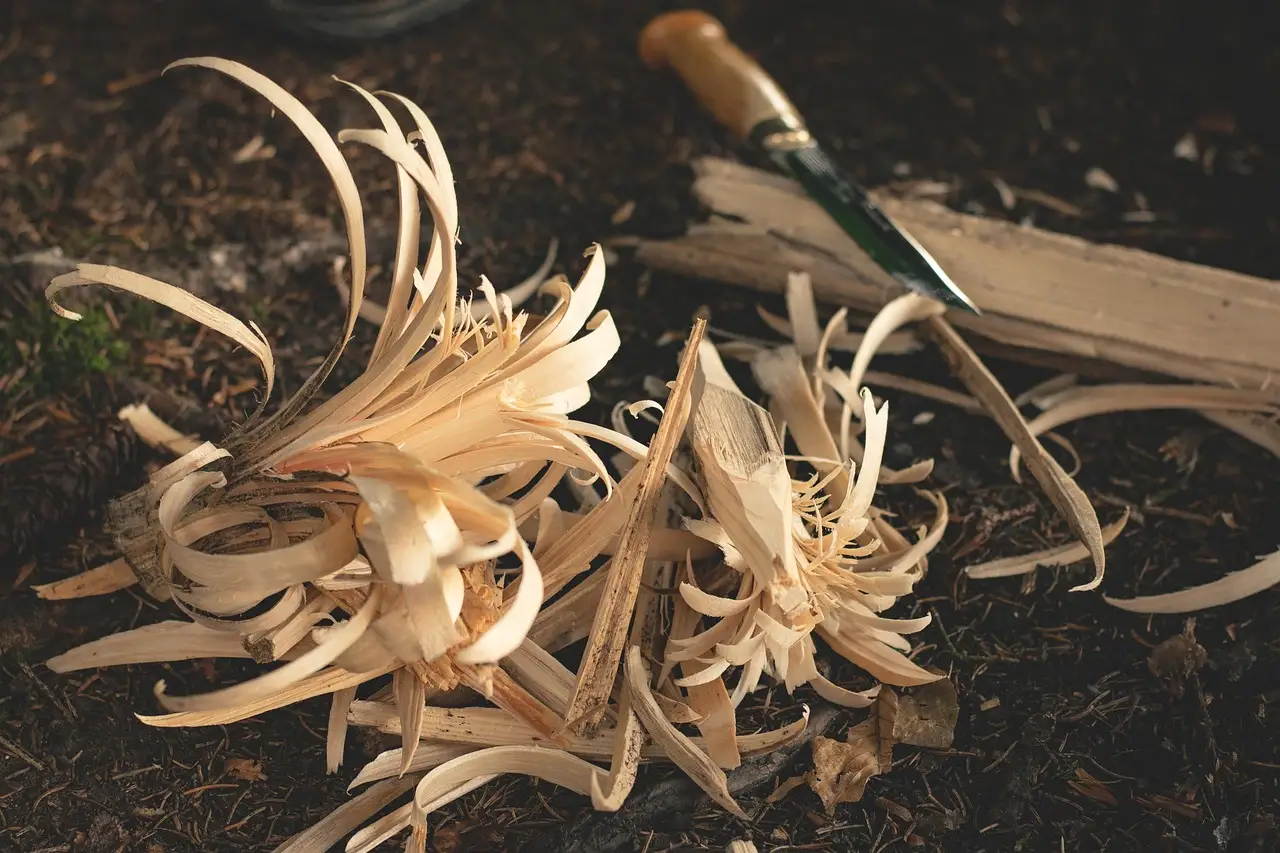

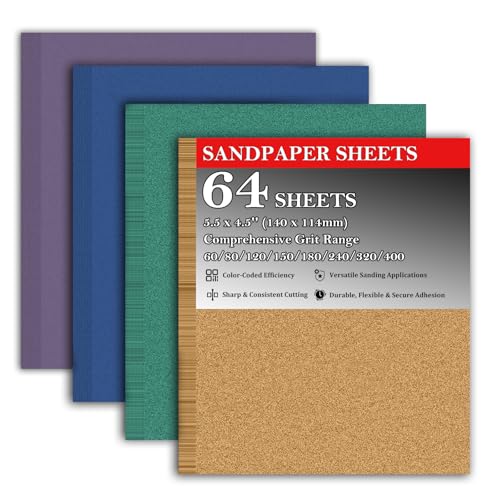

- Sharp scraper, cabinet scraper, or paint scraper with a fine edge
- Sandpaper in roughly 80, 120, 150, and 180 grit
- Rags, dust brush, and vacuum
- Solvent for cleanup and degreasing, plus a clean container
- PVA wood glue or aliphatic resin glue for bare wood
- Two-part epoxy can be a useful choice for gaps, weak fits, or imperfect surfaces.
- Clamps sized for the joint, plus cauls if the shape needs support
- Protective glasses, gloves, and a respirator for dust
- Wedges, mallet, or joint-opening tools for disassembly
Why wood glue will not stick to old finish
Old finish can keep glue from reaching the fibers it needs to grab. Finishes like varnish, lacquer, polyurethane, paint, and shellac can leave a sealed film, so PVA wood glue may sit on top instead of soaking into bare wood. On a stressed joint, especially a chair joint, that weak surface bond usually fails again.
Which finishes fail most often
Polyurethane and varnish are common troublemakers because they can stay intact under the crack line. Lacquer and shellac can also look dry and sound solid while still sealing the wood. Paint is the easiest to spot, but it still blocks glue if it remains on the bond face.
Why chair joints fail first
Chair joints often see racking force when someone sits, shifts, or leans. That movement opens a joint like a wedge and peels any glue that never reached bare fibers. A loose chair joint usually needs full disassembly, not a dab of glue at the visible crack.
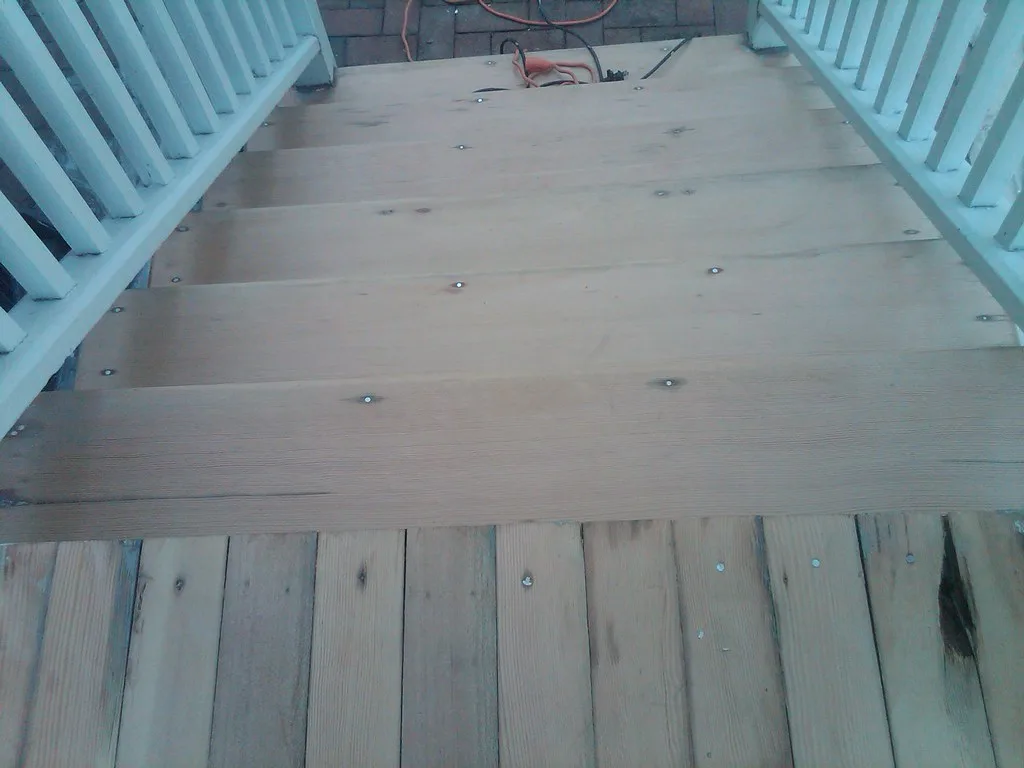
How do you tell which finish is on the furniture?
Use field signs and a small test spot before you decide how much to remove. If the finish is uncertain, treat it as sealed until proven otherwise. Wood glue on a mystery surface is a gamble, and furniture repair rewards certainty.
Quick finish clues and a simple test
| Finish type | Field sign | Quick test | Repair note |
|---|---|---|---|
| Varnish | Hard, clear, often amber | Scrape a hidden spot; it comes off in flakes or chips | Remove to bare wood before gluing |
| Lacquer | Thin, glossy, can dull with age | Solvent-softens in a hidden test spot | Do not trust it as a glue face |
| Polyurethane | Tough, plastic-like film | Resists light abrasion and stays on the surface | Scrape or sand through it fully |
| Shellac | Warm sheen, older furniture, flakes or melts with solvent | Tacky with alcohol in a hidden spot | Remove completely at the joint |
| Paint | Opaque coating | Chips or powders when cut | Strip to wood at the bond line |
Check for wax, polish, and grime
After scraping, wipe the area with solvent and a clean rag. If the rag picks up slick residue, the joint needs more cleanup before glue goes on. Wax, polish, oil, and silicone contamination can make even clean-looking wood act sealed.
Step 1: Open the joint and inspect the failure
- Separate the joint until the full bond line is visible.
- Mark the loose part and the fixed part so alignment is clear.
- Look for crushed fibers, a split tenon, or a worn mortise.
- Decide whether the part can be reglued or must be rebuilt.
What tells you it needs more than glue
If the tenon is loose in the mortise, the shoulders are crushed, or the mating faces no longer meet, glue alone will not restore strength. A chair joint in that condition usually needs repair of the wood itself, not just adhesive on the old finish.
Step 2: Remove finish to bare wood
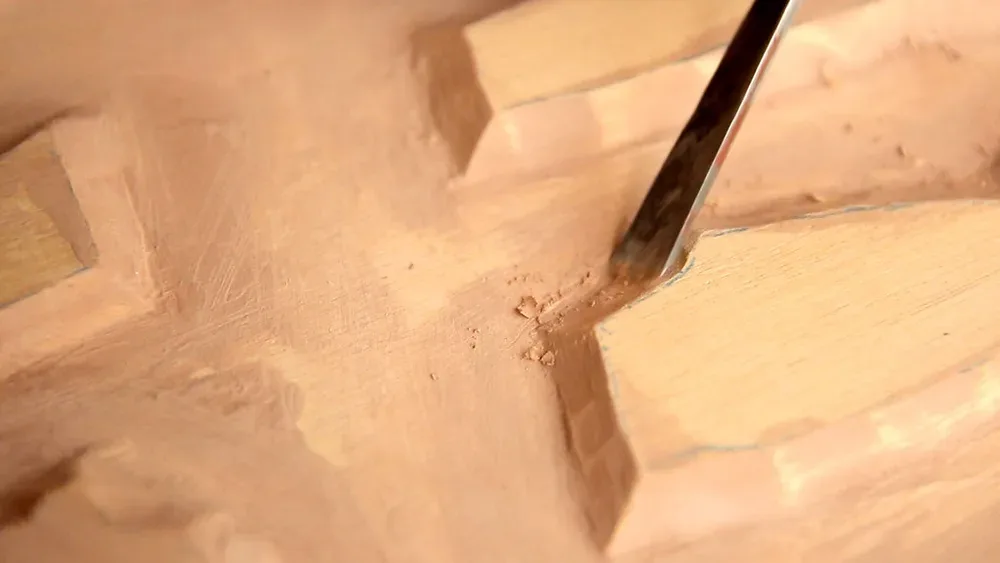
- Use a scraper first where edges must stay crisp.
- Switch to 80 or 120 grit where the scraper cannot reach.
- Move to 150 or 180 grit mainly to feather the edge, not to polish the bond face.
- Stop when fresh fibers are exposed and the surface looks matte, not shiny.
How much finish to remove
Remove finish from every surface that will receive glue, plus a small margin around the joint so squeeze-out does not bridge onto any remaining sealed film. On a stressed repair, do not leave glossy islands behind. If the paper starts polishing instead of cutting, switch back to a scraper.
Step 3: Choose the right adhesive and clamp plan
- Use PVA wood glue or aliphatic resin only on clean, bare wood.
- Use epoxy if the fit is poor, the gap is uneven, or the surface cannot be made perfect.
- Apply glue to both mating faces, then assemble fully before clamping.
- Use clamps to pull the joint together with steady, even pressure, not brute force.
- Wipe squeeze-out before it hardens, but do not starve the joint.
When epoxy is the better choice
Epoxy is the backup for imperfect repairs. It usually tolerates small gaps better than standard wood glue and may help with a joint that cannot be fitted perfectly after cleanup. It is still not a cure for rotten wood, badly worn parts, or a joint that needs rebuilding.
Failure-case repair checklist for finished furniture joints
| Step | Pass condition | Fail condition | Action |
|---|---|---|---|
| Finish ID | Known varnish, lacquer, polyurethane, shellac, or paint | Unknown or mixed coating | Test on a hidden spot before opening the joint |
| Adhesion test | Scraper reaches wood and exposes fibers | Surface stays glossy or rubbery | Remove more finish; do not glue yet |
| Removal method | Scraper works without gouging | Only sandpaper is available in a tight area | Use scraper first, sand only as backup |
| Bare-wood exposure depth | Fresh, matte fibers on every bond face | Any sealed patch remains | Keep removing until bare wood is continuous |
| Glue selection | PVA or aliphatic resin on bare wood | Gap, worn fit, or mixed surfaces | Switch to epoxy or rebuild |
| Clamp strategy | Even pressure across the full joint | Clamps close a dirty or still-sealed joint | Clean more, then reclamp |
| Red flags | No split or crushed parts | Split tenon, crushed mortise, or severe wear | Disassemble and rebuild the joint |
Common mistakes
- Gluing over seal coat, wax, or polish.
- Using 180 grit alone and calling it prep.
- Clamping before the finish is fully removed.
- Using too much clamp force and squeezing out the bond line.
- Trying to save a badly worn chair joint with glue alone.
If that didn’t work, try this next
If the joint still moves after regluing, open it again and inspect the fit. If the faces are clean but still loose, shift to epoxy or add a mechanical repair. If the wood is split, crushed, or badly worn, stop relying on adhesive and rebuild the joint.
What if the old finish is shellac, varnish, or paint?
Remove it to bare wood at the bond line. Shellac can look thin and harmless, but it still seals the fibers. Varnish and paint are even more obvious barriers. If the coating is thick, a scraper is usually safer than aggressive sanding near visible edges.
Frequently asked questions
Why won’t wood glue stick to old finish?
Because the finish blocks glue from reaching the fibers. PVA wood glue needs porous bare wood, not a sealed film. If the joint stays shiny after cleanup, keep removing finish before clamping.
Do I need to sand off varnish before gluing wood?
Yes, but sanding is only part of the job. Use 80 to 180 grit as needed, then stop when bare wood is exposed. If sanding just polishes the surface, switch to a scraper.
Can I glue wood to painted or lacquered wood?
Not for a structural joint. Paint and lacquer block adhesion, so glue on top is weak. Strip the contact area to bare wood first, or choose epoxy if the repair cannot be made cleanly.
What is the best way to repair a loose chair joint over finish?
Disassemble the joint, remove finish from all mating faces, clean off wax or oil, and reglue with PVA on bare wood. If the fit is poor or the parts are worn, use epoxy or rebuild the joint.
Should I use epoxy instead of wood glue on finished wood?
Use epoxy when the fit is imperfect, the gap is uneven, or full bare-wood contact is hard to get. For clean, tight bare-wood joints, PVA or aliphatic resin is the better choice.
How much finish do I need to remove before regluing wood?
Remove every trace from every bond face. Fresh wood fibers must be exposed across the full joint, not just at the edge. If any glossy patch remains, the repair still depends on finish, not wood.
Sponsored / affiliate links. As an Amazon Associate I earn from qualifying purchases. I may earn additional commission from eligible campaigns.