Wood Glue Joint Failed: How to Tell Why and Reglue It
A wood glue joint failed because the fit was poor, the surface was dirty, the wood moved, or the adhesive was wrong. If the parts still meet cleanly and only the bond let go, re-clamp or inject glue. If the joint is crushed, dirty, or misfit, take it apart or rebuild it. Miss the failure mode and you can trap a weak repair, stain the wood, or split the piece wider under clamp pressure. This guide shows how to read the failure, test the joint, and choose between re-clamping, injecting glue, disassembling, or rebuilding with a different adhesive.
This guide is part of our Wood glue essentials: types, uses, and cure times series.
How can you tell if the joint actually failed?


Read the break pattern first
Start with the broken faces, not the bottle. A clean line of separation often suggests adhesive failure, with one side bare wood and the other side sometimes showing cured glue. Torn fibers on both sides often mean the bond held and the wood failed first, which is generally a good sign.
Glue starvation looks different. The seam may be thin, shiny, or hollow, with little squeeze-out and weak contact along part of the joint. I’ve seen this happen when there was too little glue, too much clamp pressure, or a joint that did not fit tightly enough.
Use a quick moisture check before you touch the repair
Check moisture content before any reglue attempt. Matching readings cut movement after the repair, and a difference of more than 2 to 3 percentage points can matter. If one part is still wetter than the other, the repair can look fine at clamp-out and fail later as the wood moves.
Temperature matters too. Standard PVA glues at 70°F have roughly 15 to 20 minutes of open time, and at 60°F open time can increase to about 30 minutes. That changes whether a repair can be done in place or needs full disassembly and fresh surfaces.
What the failure pattern says about the cause
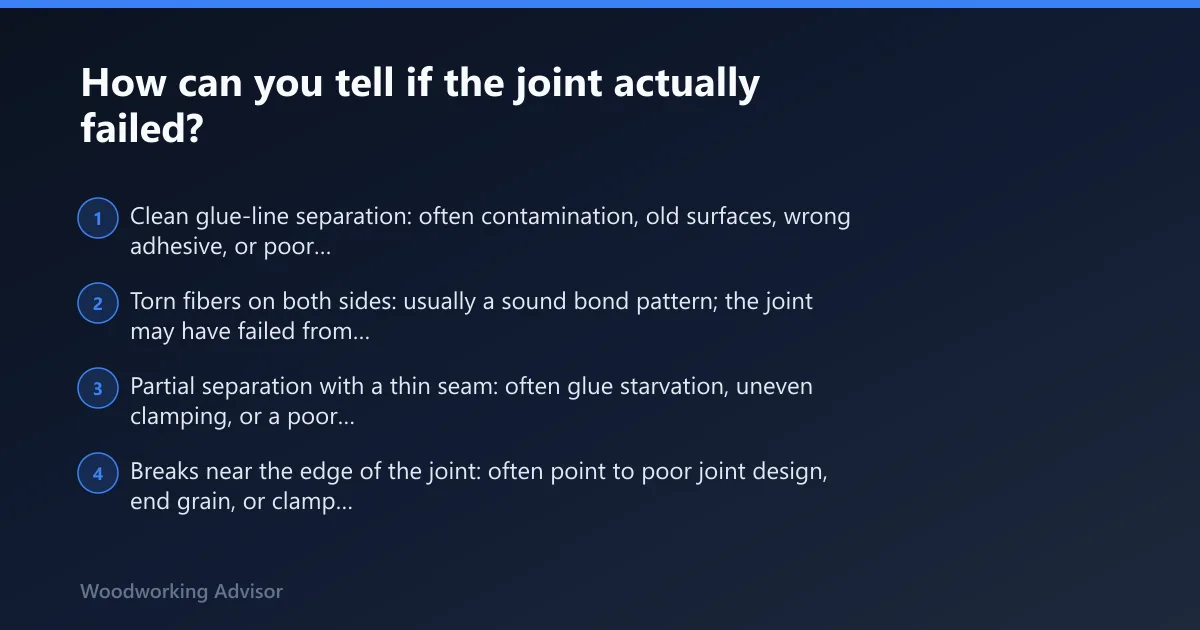
- Clean glue-line separation: often contamination, old surfaces, wrong adhesive, or poor prep.
- Torn fibers on both sides: usually a sound bond pattern; the joint may have failed from wood movement or overload.
- Partial separation with a thin seam: often glue starvation, uneven clamping, or a poor fit.
- Breaks near the edge of the joint: often point to poor joint design, end grain, or clamp pressure that closed the seam unevenly.
According to Wood Joints Coming Apart After Glue Up Fixes – Classic Custom… — Polyurethane glue may require a full 24 hours because it expands as it sets.
Why did the glue joint fail after drying?
A joint can fail after drying because the bond formed on a bad surface, under the wrong timing, or under movement it could not survive. Drying does not fix contamination, burnished wood, poor fit, or a glue line that was starved by clamp pressure. It only hides the problem for a while.
Contamination and old glue
Dust, oil, wax, and old glue block fresh adhesive from wetting the wood. I have seen old squeeze-out cause plenty of repeat failures, because it leaves a slick patch that looks clean but will not bond well. If the break line is clean and one face is bare while the other carries glue, contamination is high on the list.
Mill glaze and burnished surfaces
Planers and jointers can leave a burnished surface that looks smooth but resists glue penetration. A 120-grit scuff is recommended to break mill glaze. On end grain, one source says to sand lightly and leave it for a full day before gluing. That delay lets the fibers settle before the repair.
Open time, cure time, and delayed movement
Open time matters on every repair, especially when the assembly is awkward or large. PVA glues usually need 30 minutes to an hour at room temperature. Polyurethane glue may require a full 24 hours because it expands as it sets. If the joint is moved before cure is complete, it can fail weeks later even after a neat glue-up.
Which repair path fits the damage?
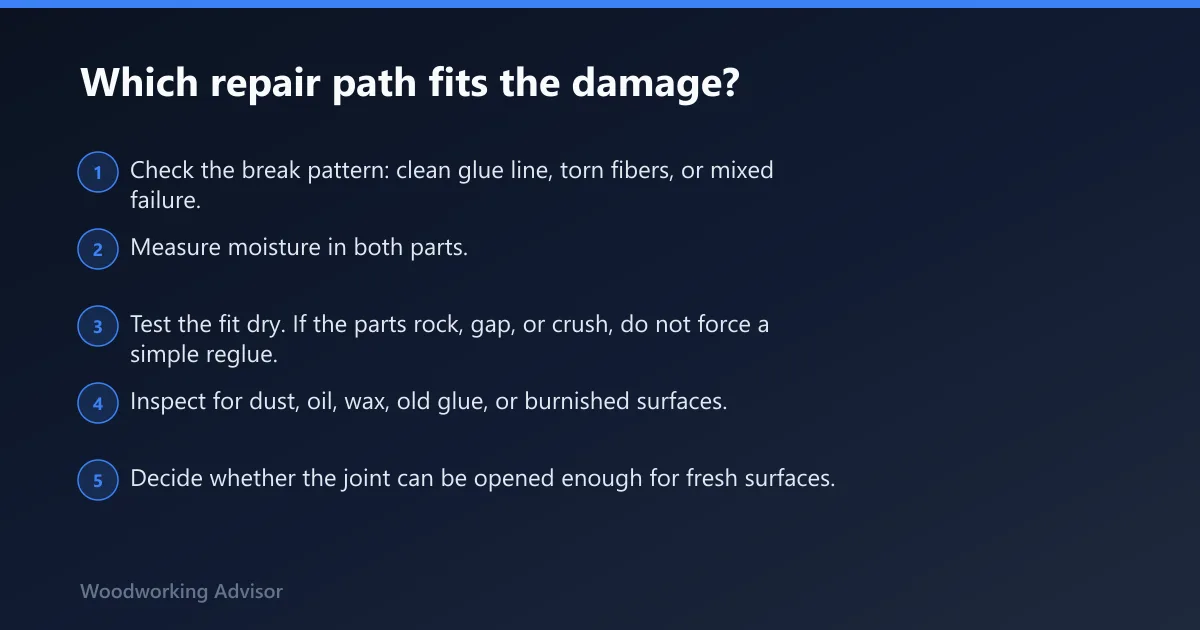
The right repair path depends on whether the parts still meet cleanly, whether the break is local or spread out, and whether the surface is contaminated or crushed. A small, clean separation may accept in-place reglue. Dirty, swollen, or badly fitted parts usually need partial disassembly or a full remake.
Decision checklist
- Check the break pattern: clean glue line, torn fibers, or mixed failure.
- Measure moisture in both parts.
- Test the fit dry. If the parts rock, gap, or crush, do not force a simple reglue.
- Inspect for dust, oil, wax, old glue, or burnished surfaces.
- Decide whether the joint can be opened enough for fresh surfaces.
- Choose the adhesive that fits the wood and the joint geometry.
- Run a scrap test before touching the visible repair.
Symptom-to-action matrix
| Symptom | Likely cause | Repair path |
|---|---|---|
| Clean break, parts still fit tightly | Adhesive failure or light movement | In-place reglue or glue injection |
| One face bare, one face with glue | Contamination, old surface, poor prep | Partial disassembly and fresh mating surfaces |
| Thin, hollow, or shiny seam | Glue starvation or excessive clamp pressure | Open the joint, rebuild the fit, reglue |
| Crushed fibers, misfit, rocking parts | Poor joint design or overclamping | Full joint remake or redesign |
| Failure after a week or more | Movement, moisture shift, delayed cure | Check moisture, then rebuild with a better adhesive if needed |
In-place reglue, partial disassembly, or full remake
Use in-place reglue only when the joint still closes fully and the damaged area is limited. Partial disassembly fits parts that can be opened enough to expose fresh wood without damaging the piece. A full remake is the better call when the joint is crushed, badly fitted, or repeated repair would leave weak wood behind.
When should you use a different adhesive?
Use a different adhesive when the wood, the joint shape, or the service load makes the original glue a poor match. PVA wood glue works best on clean long-grain joints. Polyurethane suits some dense or oily woods and some outdoor work. Epoxy is often the safer repair adhesive for problem species, gaps, and structural fixes.
PVA wood glue
PVA is the common yellow or white glue. It is a strong choice for clean long-grain joints, but it is limited on oily woods and big gaps. If the failed joint was well fit and the problem was poor prep or timing, PVA is often the right repair adhesive after the surfaces are cleaned and refit.
Polyurethane glue
Polyurethane glue reacts with moisture and expands slightly while curing. That makes it useful on some dense or oily woods and on certain outdoor repairs where PVA struggles. It is not a cure for sloppy fit, though. Expansion can hide a poor seam while leaving the joint weak inside.
Epoxy
Epoxy is the better choice when the wood is troublesome, the joint has small gaps, or the repair needs more working time. Pot life varies by formulation, so the clock matters. Epoxy is often the safer path for structural repairs where a clean PVA-style bond is unlikely to hold.
How much clamp pressure is enough?
Clamp pressure should close the joint without forcing the adhesive out of the seam. Too little pressure leaves open seams and weak contact. Too much pressure starves the joint, especially on tight-fitting parts. Even pressure matters more than brute force, and clamp count and spacing control that pressure spread.
Signs of too little pressure
- Visible gaps after clamp-up
- Uneven squeeze-out
- Parts that shift under hand pressure
- Dry spots where glue never reached the contact area
Signs of too much pressure
- Thin, dry seam with little squeeze-out
- Glue squeezed into beads far from the joint
- Crushed fibers at the edge
- Part of the joint looks bonded while another part looks starved
Clamp spacing and even pressure
On a four-foot panel, one source recommends at least four clamps distributed evenly. Clamps spaced every 6 to 8 inches are used on a face glue-up. The point is not maximum force. It is steady pressure across the whole length, especially on edge joints and panels that can bow or skate under load.
How do you know if the wood surfaces are contaminated or burnished?
Contamination and burnishing often show up before the glue ever cures. A contaminated surface can look clean but feel slick, dusty, or waxy. A burnished surface may look shiny from the planer or jointer and resist wetting. Both can produce a joint that breaks cleanly at the glue line.
Simple shop checks
- Wipe the surface with a clean dry rag and see if dust keeps returning.
- Look for oily darkening, waxy patches, or old squeeze-out.
- Check whether glue beads up instead of spreading.
- Lightly scuff a test area and compare how the glue wets the wood.
What to do before reglueing
Scrape off old glue, then re-machine or scuff the surface. A 120-grit scuff is a practical reset for burnished faces. For end grain, light sanding followed by a full day wait is one accepted approach before gluing. If the joint still looks shiny or dusty after prep, do not trust it yet.
What does glue starvation look like in a failed joint?
Glue starvation shows up as a seam that looks too clean, too thin, or oddly dry where the adhesive should have pooled enough to wet both sides. It often comes from too much clamp pressure or a poorly fitted joint. The bond may hold in spots, then pop under normal use.
Common signs in the shop
Look for a hollow seam, little squeeze-out, and crushed fibers at the edges. In panel work, a starved joint may telegraph as a faint line after finishing. In chair work, it may fail at one shoulder while another stays intact because the pressure was uneven across the part.
How long should you wait before removing clamps?
Clamp time should match the adhesive and the shop conditions, not a fixed habit. PVA glues usually need 30 minutes to an hour at room temperature. Polyurethane glue may require a full 24 hours because it expands as it sets. Removing clamps too early can let the joint creep or open.
Why early clamp removal causes delayed failure
A joint can look solid when the clamps come off and still be weak inside. If the load shifts while the glue is still green, the bond line can crack later. This is common in chairs, edge joints, and panel assemblies where one twisted part keeps moving after the visible squeeze-out is gone.
Why do joints fail weeks later after a successful glue-up?
Week-later failures usually point to movement, moisture shift, or a bond that never fully matched the wood and adhesive. The joint may have been clean at clamp-out, then opened as the parts moved. A good-looking repair can still fail if the moisture content was off or the adhesive choice was poor.
Where this happens most often
Chairs take repeated stress and racking. Panels move across the grain. Edge joints can open if one board is wetter than the other. End grain repairs are harder still. In all four cases, the failure may not be in the glue itself but in the fit, the wood movement, or the joint design.
Use the scrap-test sequence before committing
- Prepare a scrap with the same species and surface condition.
- Clean, scuff, or remachine it the same way as the repair.
- Apply the chosen adhesive and clamp with the same spacing and pressure.
- Let it cure fully.
- Break the scrap and read the failure pattern before touching the real joint.
Frequently asked questions
How can I tell if my wood glue joint actually failed?
Check the break line first. A clean separation at the glue line points to adhesive failure, while torn fibers on both sides usually mean the wood failed before the glue did. If the seam is thin, hollow, or uneven, suspect glue starvation, poor fit, or clamp error.
Why did my wood glue joint fail after drying?
Drying does not repair a bad bond. Post-cure failure usually traces to contamination, burnished wood, movement, wrong adhesive, or moisture mismatch. If the joint looked fine at clamp-out but failed later, recheck the wood condition and fit instead of simply adding more glue.
Is a clean break at the glue line adhesive failure or bad clamping?
It can be either, but the surface clues matter. A clean break with one bare face and one face carrying glue often points to adhesive failure from contamination or poor prep. If the joint is also starved, crushed, or gapped, clamping pressure or fit likely contributed too.
Can I reglue a joint without taking the whole piece apart?
Yes, but only when the parts still close tightly and the damaged area is limited. In-place reglue or glue injection works best on clean, well-fitting long-grain joints. If the joint is dirty, misfit, or crushed, partial disassembly or a full remake is the safer route.
When should I use epoxy instead of wood glue for a repair?
Use epoxy when the wood is troublesome, the repair needs more working time, or the joint has small gaps that PVA should not be trusted to fill. Epoxy is often the better choice for problem species, structural fixes, and repairs where a perfect glue line is hard to restore.
How much clamp pressure is too much for wood glue?
Too much pressure is enough to squeeze the joint dry, leave a hollow seam, or crush the fibers at the edges. The goal is to close the joint, not force every bit of adhesive out. Even clamp spacing matters as much as force, especially on longer assemblies.
Sponsored / affiliate links. As an Amazon Associate I earn from qualifying purchases. I may earn additional commission from eligible campaigns.