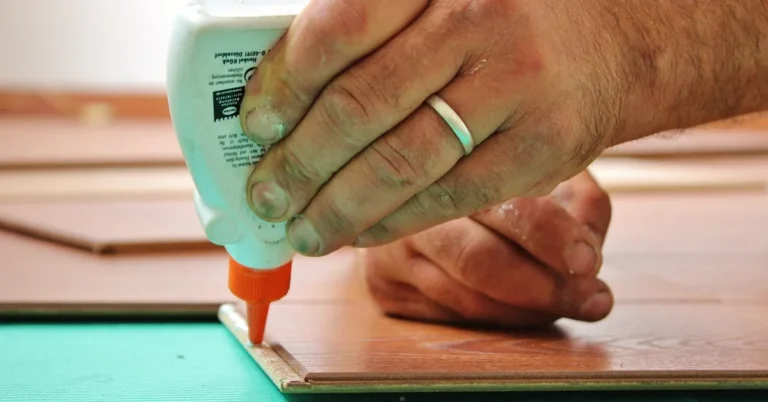
How to Glue Wood Corners So They Stay Square and Tight
Clamp the corner lightly. Check both diagonals on frame work, or set a combination square against the inside corner. Tap the joint true, then tighten in small steps; if it moves, back off and reset before the glue grabs. Skip that order and a frame dries racked, with gaps that fight finish and make assembly harder to fit. This guide gives a repeatable clamp-and-check routine for mitered frames, box corners, and simple butt joints so glued corners stay square while curing.
What you’ll need


- PVA wood glue, also sold as white glue or carpenter’s glue
- Corner clamps for right-angle assembly
- Combination square
- Bar clamps for side pressure and hold-down pressure
- Cauls or scrap blocks to spread clamp force
- Clean rag or paper towels
- Small brush or glue spreader
- Masking tape for dry layout marks, if needed
Why square corner glue-ups fail
How pressure twists a corner out of square
Clamp force does not always travel straight. A hard squeeze on one side can pull the joint into a parallelogram, especially when one board slides easier than the other. The fix is plain: add pressure in small steps and check movement after each change.
Why bowed stock and uneven clamping cause drift
Bowed boards and uneven clamp faces create a pivot point. The corner may look right before full pressure, then shift as the clamp closes the gap. Flat reference faces, cauls, and light first pressure cut that movement and keep the joint from creeping while the glue is still slick.
What joint types are most sensitive
Miter joints can be especially sensitive because the long bevels give limited mechanical help during glue-up. Butt joints are more forgiving, but they still rack under uneven clamping. Frame corners with short grain on one side need careful control too, because the parts can skate before the glue bites.
How do you glue wood corners so they stay square?
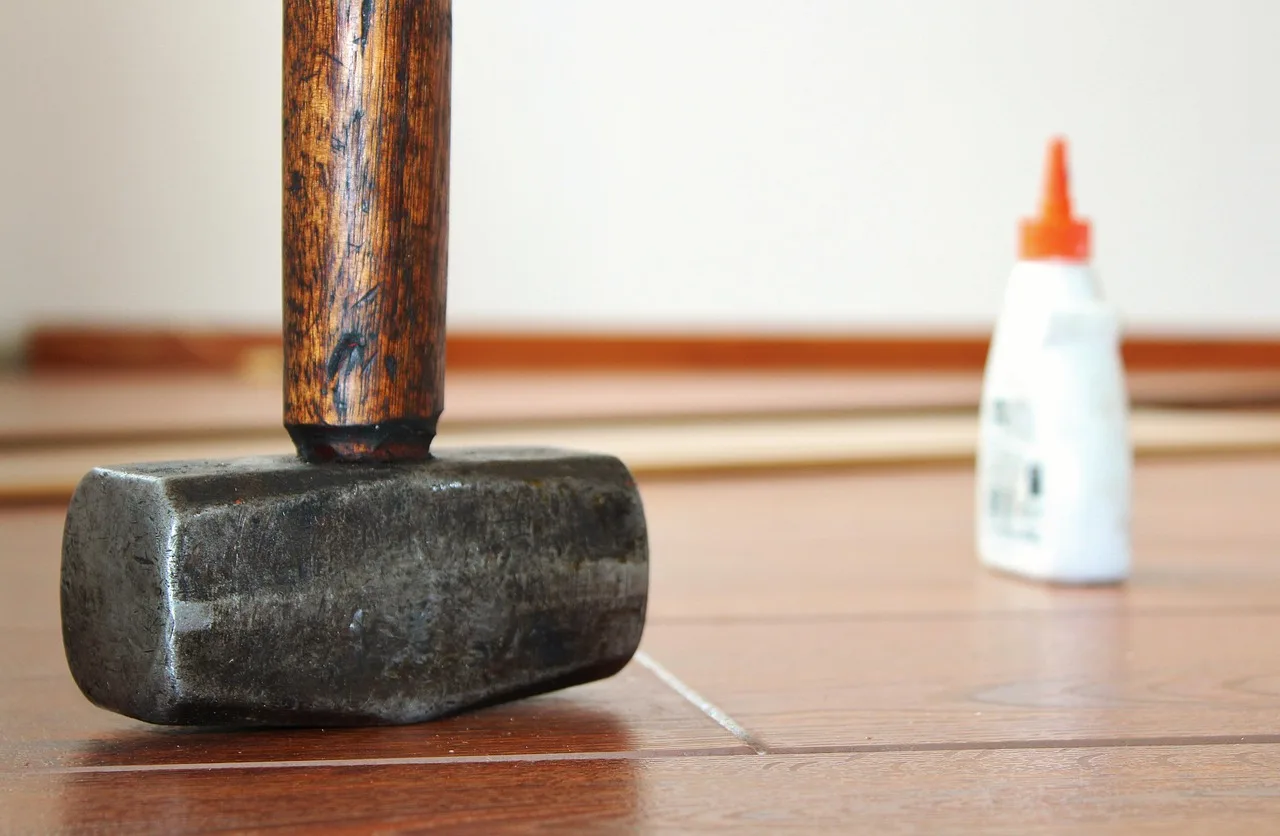
Dry-fit the corner, apply glue evenly to porous mating surfaces, bring the parts together with light pressure, then verify the corner before tightening fully. Use a combination square and a diagonal check, since one helps check for square and the other can help spot drift that is easy to miss.
Dry-fit and mark reference faces
Mark the show faces and the registration faces before glue goes on. That keeps the parts oriented the same way during assembly. A dry fit also shows whether the stock is bowed, whether the miter closes cleanly, and where a clamp will try to pull the corner off line.
Apply glue evenly
PVA wood glue works best on porous wood surfaces, and it is also used on paper and other porous materials. It will not bond metal, glass, or plastic. Spread a thin, even coat on both mating surfaces so the joint wets out without flooding the corner, which helps prevent skating and squeeze-out buildup.
Bring the corner together with light pressure first
Set the corner in the clamp or corner clamp just enough to close the joint. Do not chase final tightness yet. This first stage is where the parts can still be nudged into line with a mallet tap or a fingertip push on the long member.
Check square before full clamp pressure
Place the combination square on the inside or outside corner and make sure the legs seat cleanly. Then measure both diagonals on frame-like assemblies, or compare the opposing corners on a box. If the numbers do not match, the corner is racked and needs correction before tightening.
Tighten in small increments and watch the diagonals
Increase clamp pressure a little at a time. After each turn, recheck the square and the diagonals. This is where many corners go bad: the second clamp or final squeeze pulls the assembly half a degree out, and the error stays hidden until the project is dry-fitted into place.
Clean squeeze-out before the glue skins over
Wipe or scrape squeeze-out while it is still soft enough to remove without wrenching the joint. Wait too long and the cleanup can require extra force, which risks shifting the corner. With PVA, a damp rag works well while the glue is wet; keep the cloth light and controlled.
What clamp is best for keeping a corner square while glue dries?
A corner clamp is a quick way to hold two boards at a right angle, and it can help keep the corner square during drying. For longer frames or parts that want to twist, bar clamps with scrap blocks often control drift better because they spread pressure over a wider area.
When a corner clamp is the fastest choice
Use a corner clamp for small boxes, cabinet face frames, and tight mitered assemblies where both legs need simple 90-degree support. It reduces the need to juggle multiple clamps, and it keeps the parts captured while the first checks and taps are made.
When bar clamps and scrap blocks control twist better
Use bar clamps when the boards are long, bowed, or likely to slide. Add scrap blocks or cauls so the clamp jaws do not dent the wood and so the pressure lands near the joint line. That wider pressure footprint helps keep the corner from rotating under load.
How to use clamps without crushing the joint
Snug the joint, do not crush it. Excess clamp pressure can squeeze out too much glue and make the parts skate, especially on miter joints. Aim for firm contact across the mating faces, then stop as soon as the square and diagonals hold steady.
Corner-glue-up checklist and clamp sequence
| Stage | What to do | What to check | Typical timing |
|---|---|---|---|
| Pre-clamp | Dry-fit, mark faces, choose glue, set clamps and cauls | Parts lie flat; miter or butt faces close cleanly | Before glue is opened |
| Tack and clamp | Apply glue, bring the corner home lightly, seat the clamp | Joint closes without sliding | Immediately after glue spread |
| Square check | Check with a combination square and compare diagonals | Corner reads 90 degrees; diagonals match | Before full pressure |
| Adjust pressure points | Back off the clamp that pulls the corner out, then retighten evenly | No drift when pressure increases | While glue is still wet |
| Final cleanup | Remove squeeze-out with a damp rag or scraper | Joint stays in line during wipe-down | Before glue skins over |
- Dry-fit the parts and mark the reference faces.
- Choose PVA glue for tight porous wood joints, or a moisture-cure adhesive when the geometry and gap call for it.
- Spread glue evenly on both mating surfaces.
- Bring the corner together with light clamp pressure.
- Check the corner with a combination square.
- Measure both diagonals on frame-like assemblies.
- Tighten clamps in small increments and recheck after each turn.
- Adjust the clamp that is pulling the corner off square.
- Clean squeeze-out before the glue skins over.
- Leave the assembly clamped until the glue has set per the label.
What type of wood glue is best for corner joints?
PVA wood glue is the usual choice for tight corner joints on wood because it bonds porous materials well and gives a clean glue line. Wood glue is often called white glue or carpenter’s glue, and it is more correctly known as polyvinyl acetate, or PVA adhesive.
When PVA is the better fit
Use PVA on clean, close-fitting wood-to-wood corners, including most butt joints and many miter joints. Clamps are usually needed for full holding power in wood glue joints, and PVA is water-soluble when wet, so alignment and cleanup are easy if handled early.
When waterproof PVA matters
Some wood glue formulations are waterproof when dry. That matters for assemblies that may see moisture, but the joint still needs good fit and clamp support during cure. Waterproof after cure does not mean forgiving during clamp-up, and it does not fix a poor corner layout.
When polyurethane glue enters the picture
Polyurethane glue can bond wood, stone, metal, plastic, and other materials. It forms a flexible, waterproof bond, needs moisture to cure, expands as it dries, and often foams out of the joint. That makes it better for some gaps than for neat, square corner work.
Why does my glued corner keep opening up or shifting?
The usual causes are too much glue, too little clamp control, or an assembly that took too long to close. A gap-friendly adhesive will not stop a corner from drifting if the parts skate under pressure. Uneven clamp force and bowed stock can also push the corner out after it looked right.
Too much glue and too little control
Excess glue acts like lubricant during clamp-up. The parts can move before the adhesive starts to grab. Apply only enough glue to wet the surfaces, then use the square and diagonal checks before final tightening so the clamp force works on alignment, not on correction.
Open time that runs out before assembly
Once the glue starts to skin, the parts resist sliding together cleanly. Prepare the clamps first, keep the layout simple, and assemble in one pass. If a corner needs more than a quick correction, clean it off and restart rather than forcing a half-set joint into place.
Mismatch between glue type and joint gap
Use PVA for tight, porous wood joints. Use polyurethane only when the joint geometry and substrate call for a moisture-cure adhesive that can tolerate some gap and movement. A wide miter gap needs better cutting, not more glue.
Common mistakes
Most failed corners come from the same few errors: skipping the dry fit, tightening one clamp too soon, or cleaning too aggressively while the joint is still moving. Fix the setup first, then the glue line usually follows.
Skipping the dry fit
A dry fit shows whether the corner closes, whether the parts sit flat, and where the clamp wants to push. Without it, the first clue is often a racked assembly after the glue is already on and the open time is running out.
Using polyurethane glue where a neat PVA joint is better
Polyurethane glue is useful in some mixed-material jobs, but its expansion can create foam-out and pressure that shift a corner. For clean wood corners with tight mating faces, PVA is usually the safer choice because it stays more predictable during clamp-up.
Overtightening one clamp
A single over-tightened clamp can drag the work sideways. Spread the pressure with cauls or a second clamp, then alternate small turns until the square holds. If the diagonal measurement changes after tightening, back off and reset before proceeding.
Cleaning squeeze-out too late or too aggressively
Late cleanup invites extra force and messy scraping. Early cleanup is gentler, but the rag or scraper still needs a light touch. Wipe parallel to the joint, not across it, so the corner stays where the clamps put it.
Prevention
Keep one square, one diagonal check, and one clamp sequence for every corner glue-up. Repeating the same order makes drift easier to spot and easier to stop.
How long should I clamp a glued wood corner?
Clamp the corner until the glue has set enough that the parts no longer slide under light pressure. The exact time depends on the adhesive label, temperature, wood species, and joint size, so follow the product directions and resist the urge to release early.
If that didn’t work, try this next
- Leave the corner clamped longer, following the glue label for set time and cure time.
- Check whether the stock is bowed or the clamp pressure is uneven, then reset with cauls or scrap blocks.
- Switch to a more suitable joint layout if the miter gap is too open for a clean PVA assembly.
Can I glue a mitered wood corner without clamps?
For a clean miter, no clamp usually means more risk of creep, slip, and an open seam. Small parts may stay put for a moment, but PVA joints need clamping for full holding power, and miter joints are sensitive enough that even a short slide can spoil the fit.
If that didn’t work, try this next
- Use a corner clamp or painter’s tape only as a temporary hold while the real clamps go on.
- Add a bar clamp across scrap blocks to stop the miters from sliding apart.
- Recut the miter if the joint still opens, because adhesive cannot fix a poor angle.
Frequently asked questions
Do I need to use a square when gluing wood corners?
Yes. A combination square checks 90-degree alignment before and during clamp-up, and it catches drift that clamps can hide. Use it after the corner is lightly seated, then again after each tightening step so a small error does not become a crooked assembly.
How do I clean up squeeze-out without moving the joint?
Wait only until the glue is still soft, then wipe lightly with a damp rag or trim it with a scraper that rides along the surface. Do not press into the corner, and do not wait until full cure unless you want to risk shifting the alignment.
Should I use polyurethane glue for wood corners?
Use it only when you need a moisture-cure adhesive that tolerates more gap and mixed materials. Polyurethane glue expands as it dries and often foams out of the joint, so it is usually a poorer choice than PVA for a neat corner that must stay square.
Sponsored / affiliate links. As an Amazon Associate I earn from qualifying purchases. I may earn additional commission from eligible campaigns.