Wood Glue Not Drying: 7 Common Causes and Fast Fixes
Wood glue stays wet for a few predictable reasons: the joint is too cold, the glue went on too thick, the joint is starved, the surface is dirty, or the clamp setup is wrong. At around room temperature with moderate pressure, many PVA glues may need roughly half an hour to an hour before they stop feeling tacky. Leave it alone and the joint can creep, fail, or need a full tear-out. This guide sorts the cause by symptom, glue type, and shop conditions, then points to the fastest fix.
What you’ll need
- Heat source such as a shop heater, heat lamp, or hair dryer on low
- Thermometer for the shop and the joint area
- Scraper, chisel, or putty knife
- 120–150 grit sandpaper
- Clean rags and a dry brush or vacuum
- Fresh clamps and cauls
- The glue bottle, mix cup, or product instructions
- Gloves for polyurethane or epoxy
- Solvent or cleanup method approved for the adhesive in use
According to Wood Glue: The Best Wood Glue and How to Glue Wood Together — Wood glue can be thinned by adding up to 5 percent water. (source)
Wood glue not drying: what the symptom is telling you
Tacky glue usually points to one problem. Soft rubbery glue points to another. A white glue line can mean the joint was starved, while creep or movement usually means the bond cured under stress or with the wrong adhesive.
Tacky after 24 hours
This usually means the adhesive is cold, contaminated, overapplied, or mixed wrong. It can also happen when the wrong glue was chosen for the substrate, especially on prefinished stock, oily woods, or end grain.
Rubbery but soft
That often fits a joint that is partway cured but held in poor conditions. Low temperature slows PVA curing, and high humidity can keep the glue line soft longer than expected.
White glue line or starved joint
A dry-looking line does not always mean success. It can mean the joint got clamped too hard, too little glue remained in the seam, or the surfaces were too dry, rough, or poorly fitted for a good bond.
Dry glue, weak bond, or joint creep
Dry adhesive and failed adhesion are different. The glue can be fully cured and still not hold if there was finish, wax, dust, or too little raw wood-to-wood contact.
What you’ll need before you troubleshoot
Start with the glue type and the surface. I sort failures there first on my own bench. Most problems can be narrowed down before a clamp is touched, and that keeps a repair from turning into a bigger tear-out.
Check the glue category
PVA wood glue is a common indoor choice and is often used on raw wood-to-wood joinery. Water-resistant wood glue suits projects that get wet occasionally. Waterproof wood glue is better for exterior and wet work, but yellow exterior glue is not for continuous submersion. Polyurethane glue bonds metal and some plastics. Liquid hide glue can allow up to 30 minutes of assembly time. Epoxy is the right call when gaps need filling.
Check the shop and joint conditions
Most PVA glues perform best between 50°F and 80°F. Open time shrinks when heat, humidity, or a big glue-up lets the surface skin over before assembly. If the bottle was frozen, expired, or contaminated, the cure can fail even when the clamp schedule is correct.
How long should wood glue take to dry?
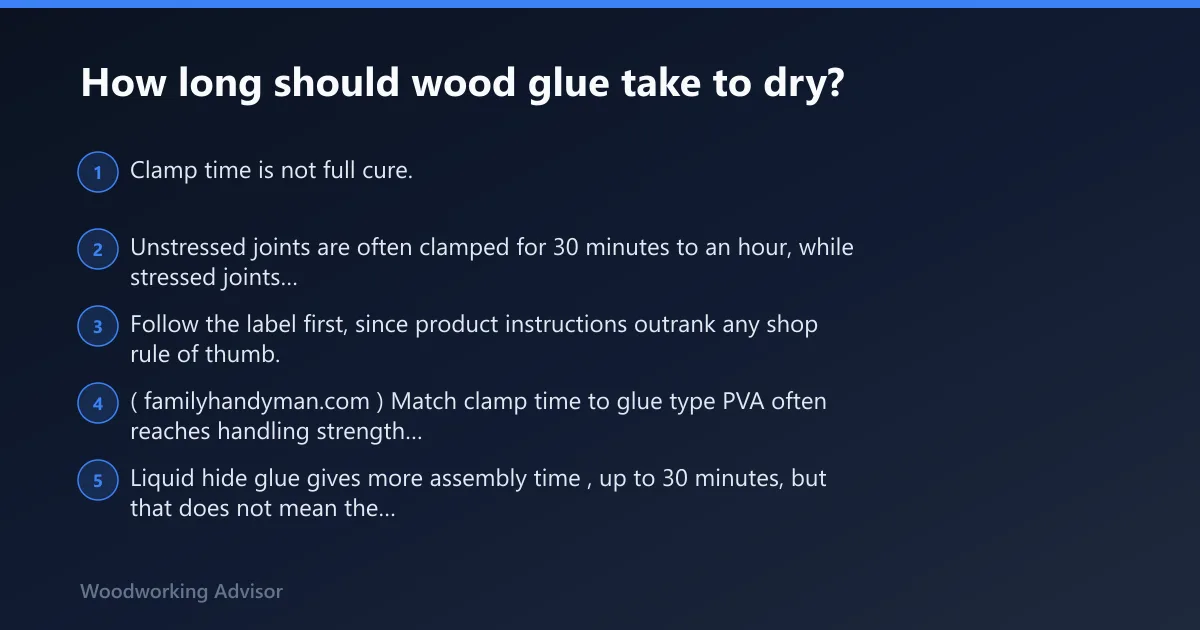
Clamp time is not full cure. Unstressed joints are often clamped for 30 minutes to an hour, while stressed joints should not be stressed for at least 24 hours. Follow the label first, since product instructions outrank any shop rule of thumb. (familyhandyman.com)
Match clamp time to glue type
PVA often reaches handling strength faster than polyurethane or epoxy, but a joint can still be weak if it is moved too soon. Liquid hide glue gives more assembly time, up to 30 minutes, but that does not mean the joint is ready for stress.
Use open time before the glue skins over
Open time is the working window before the glue starts to skin. Large or complex glue-ups can close that window fast, especially in warm or dry air. Assemble in sequence, not at a leisurely pace.
Adjust for temperature and humidity
Cold slows curing. Warmth speeds it up, but too much heat can shorten the working window and make assembly harder. High humidity can also change how fast the glue line behaves, especially with PVA.
| Glue type | Best use case | Typical clamp window | Best note |
|---|---|---|---|
| PVA wood glue | Raw wood-to-wood joinery | 30 minutes to 1 hour for unstressed joints | Use on clean, bare wood |
| Water-resistant wood glue | Projects that get wet occasionally | Follow product label | Not for continuous submersion |
| Waterproof wood glue | Exterior and wet projects | Follow product label | PVA or polyurethane formulas exist |
| Polyurethane glue | Mixed materials and wet resistance | Follow product label | Messy; wear gloves |
| Liquid hide glue | Furniture repair | Up to 30 minutes assembly time | Long curing time after clamp-up |
| Epoxy | Gap filling and difficult joints | Follow product label | Best when wood fit is poor |
Why is my wood glue still tacky after 24 hours?
After 24 hours, tacky glue usually points to temperature, the wrong adhesive for the job, too much glue, a bad two-part mix, or contamination on the wood. If the joint is still sticky rather than merely cool, the adhesive itself may never fully cure.
Check shop temperature first
If the glue line sat below the recommended range, warm the room to a stable working temperature and give it more time. For most PVA glues, 50°F to 80°F is the useful band.
Confirm bare wood-to-wood contact
Finish, varnish, wax, dust, and oily surfaces block adhesion. Regular wood glue is best for raw wood-to-wood joinery. If the parts were prefinished, the bond was fighting the coating instead of the wood.
Inspect the bottle and mix ratio
If the glue is old, frozen, or contaminated, replace it. For epoxy, recheck the resin-to-hardener ratio. For liquid hide glue, discard anything that smells off, strings strangely, or behaves unlike fresh adhesive.
Step-by-step fix: diagnose the joint and choose the next move
- Press the glue line lightly with a scrap stick and decide whether it is wet, soft, or cured.
- Measure the shop and joint temperature, then warm the area if it is below the glue’s working range.
- Scrape away finish, wax, loose glue, and dust, then scuff raw wood with 120–150 grit sandpaper.
- Check fit and clamping pressure; use enough pressure to close the joint, not squeeze it dry.
- Choose the next move: reclamp, warm, replace the adhesive, or break the joint apart and start over.
How do I fix a wood glue joint that won’t cure?
Warm the joint when the glue is still soft and the problem is cold air. Reclamp when the glue is curing but the parts moved. Clean out the joint and reglue when contamination, finish, or starved glue ruined the bond. Start over when the glue is expired, frozen, mixed wrong, or the surfaces were never suitable.
When to warm the joint
Use gentle heat and keep it moving. Do not cook the joint. The goal is to bring the wood and glue into the glue’s useful temperature range, not to force dry the surface and trap uncured material inside.
When to reclamp and wait
If the glue is setting but the joint shifted, correct alignment and hold it steady. Unstressed joints often need 30 minutes to 1 hour of clamp time, while stressed joints should stay unstressed for at least 24 hours.
When to clean out and reglue
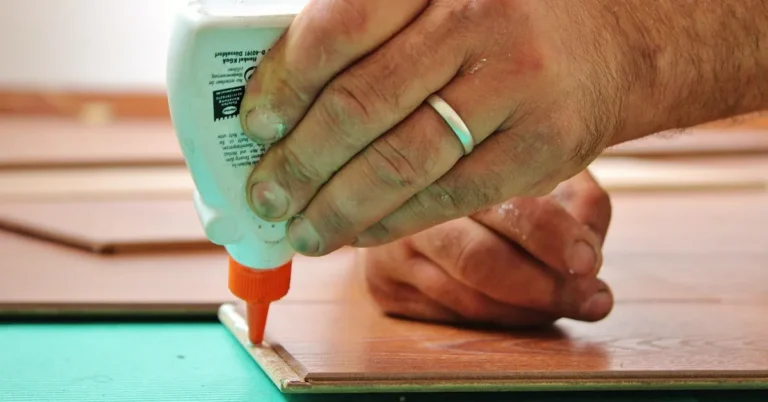
If the seam was contaminated by finish, varnish, wax, or oil, scrape to bare wood and reapply the right adhesive. Thin, even glue works better than a heavy bead.
When to start over
If epoxy ratios were wrong, polyurethane was applied to a poor fit, or the bottle was bad, the fastest fix is often a full reset. A failed chemistry step rarely improves inside the joint.
Troubleshooting matrix: symptom, likely cause, fastest fix
| Symptom | Likely cause | Immediate fix | Next action |
|---|---|---|---|
| Tacky glue after 24 hours | Cold shop, contaminated surface, old glue, bad mix | Warm the joint and inspect the bottle | Replace glue if it still stays sticky |
| Soft, rubbery joint | Open time exceeded or humidity and temperature slowed cure | Leave clamped and warm the area | Reclamp only if parts moved |
| Weak bond on prefinished wood | Finish blocked adhesion | Scrape to bare wood and reglued | Start over if the coating is widespread |
| Gooey joint in cold weather | PVA below working temperature | Raise shop temperature to the glue’s range | Wait longer before stressing the joint |
| Dry-looking joint that failed | Starved joint, poor fit, or too much clamp pressure | Break the joint and inspect the surfaces | Rebuild with better fit or epoxy for gaps |
Common mistakes that stop wood glue from setting
The most common mistake is treating every failure as a drying problem. A joint can be fully dry and still be a bad bond. Too much glue, clamping too hard, gluing over finish, or using the wrong adhesive for wet exposure all create different fixes.
- Apply a thin, even layer instead of flooding the seam.
- Clamp firmly, but stop when the joint closes and squeeze-out appears.
- Use waterproof or exterior glue for wet work, not interior PVA.
- Strip finish, varnish, wax, and dust before gluing.
- Replace expired, frozen, or suspicious glue before the next glue-up.
Prevention
Dry-fit every joint, keep the shop within the glue’s recommended temperature range, and test the bottle on scrap after adhesive has been stored through a cold period. That small check prevents many failed glue-ups.
What is the best glue for outdoor wood projects?
For outdoor work, choose waterproof wood glue or epoxy when the joint may see moisture. Yellow exterior glue is not for continuous submersion, so it fits occasional wet exposure, not underwater service. Epoxy is the better choice when gaps or mixed materials are part of the job.
Match glue to exposure
If the piece will get damp now and then, water-resistant wood glue may be enough. If it lives outside, use waterproof glue. If the joint must bridge gaps, epoxy usually gives the most reliable fill.
Frequently asked questions
What makes wood glue not dry properly?
Cold air, finish, wax, dust, oily wood, too much glue, poor fit, expired adhesive, or a bad epoxy mix are common reasons. A dry-looking seam can still be a bad bond if the glue never reached bare wood.
Can cold temperature keep wood glue from drying?
Yes. Most PVA glues perform best between 50°F and 80°F, and colder conditions slow the cure enough to leave the line tacky or soft. Warm the shop, not the joint face alone, and keep the assembly clamped while it returns to range.
Does too much glue make it dry slower?
Yes, excess glue can slow cleanup, trap moisture, and create a sloppy joint that behaves poorly under clamp pressure. Use a thin, even layer. If squeeze-out is heavy, the joint likely had more adhesive than it needed.
Can prefinished wood be glued successfully?
Only after the finish is removed to bare wood at the bond area. Glue will not bond well to varnish, lacquer, wax, or many factory coatings. Scrape and sand to raw wood, then test the fit before applying adhesive.
Sponsored / affiliate links. As an Amazon Associate I earn from qualifying purchases. I may earn additional commission from eligible campaigns.