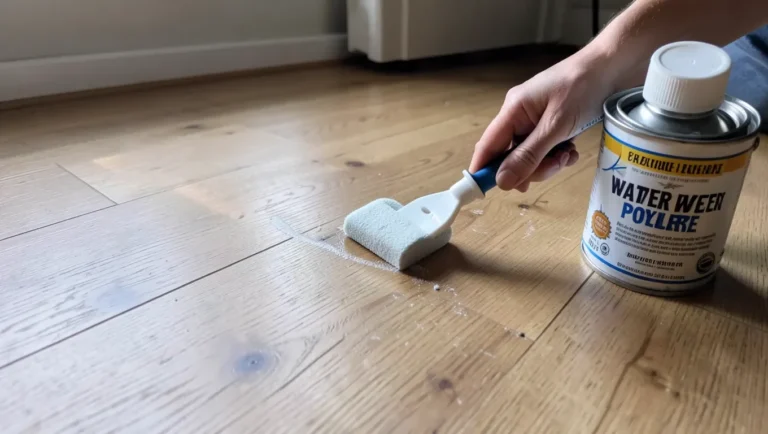
What Temp to Apply Polyurethane? 65–75°F Is the Sweet Spot
Polyurethane cures best between 65°F and 75°F with relative humidity under 60% — General Finishes puts the sweet spot at 70°F and 50% humidity. Apply below 55°F and the finish stays tacky or develops a dimpled defect called orange peel; go above 90°F and it can flash-dry into bubbles and brush marks. This guide covers the exact temperature and humidity range, how oil-based and water-based polyurethane react differently to cold and heat, and how to fix a cloudy or blushed finish.
Introduction To Polyurethane Finishes
Best Workshop Temp & Humidity Pick
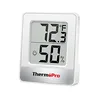
ThermoPro TP49 Digital Hygrometer & Thermometer
Reads both temperature and humidity in one glance, so you can confirm your shop is actually in the 65-75°F / 40-60% window before you open the can.
- Best for: Checking both numbers this article depends on before you start
- Why we picked it: Cheap, accurate enough for finishing work, no setup required
- Main drawback: Basic display, no logging of readings over time
Compare more temperature & humidity control options
 Option 1 Minwax Fast-Drying Polyurethane, Clear Satin
|
 Option 2 Comfort Zone Garage Space Heater, 7,500W
|
 Option 3 Protmex HT607 Temperature Humidity Meter
|
As an Amazon Associate we earn from qualifying purchases.
Polyurethane finishes are popular for protecting wood surfaces. They provide a tough, durable layer that resists scratches and water damage. Many people use them for furniture, floors, and cabinetry as part of a broader wood finishing plan. Understanding how to apply polyurethane correctly — starting with the room itself — is essential for achieving the best results.
Basics Of Polyurethane
Polyurethane is a type of synthetic resin. It comes in two main forms:
- Oil-based: This type dries slowly. It offers a warm, amber tone.
- Water-based: This dries quickly. It remains clear and is easier to clean up.
Both types provide excellent protection. They enhance the natural beauty of wood. Each has unique properties that suit different projects.
Importance Of Proper Application
Proper application of polyurethane is crucial. This ensures a smooth and even finish. Follow these steps for best results:
- Choose the right temperature. Ideal application temperature is between 65°F and 75°F — the workable range extends to about 60–85°F depending on the product.
- Ensure humidity levels are low. High humidity can affect drying time.
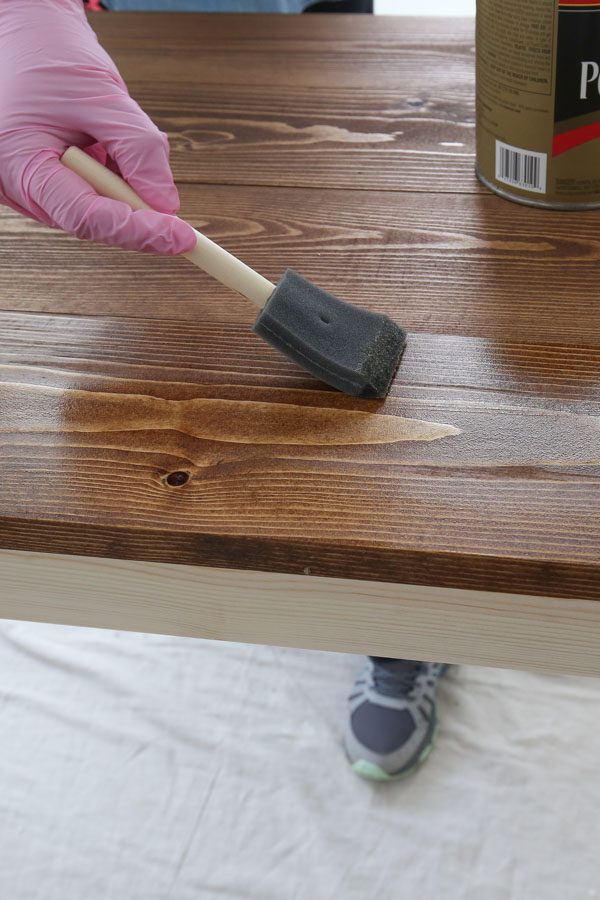
- Use high-quality brushes or applicators. This helps avoid bubbles and streaks.
Applying polyurethane under the right conditions is key. This prevents issues like bubbling or uneven drying. Always read the manufacturer’s instructions for best practices.
Ideal Temperature For Applying Polyurethane
Applying polyurethane at the right temperature is crucial for the best results. It affects drying time, finish quality, and adhesion. Understanding the ideal conditions can lead to a perfect finish.
Optimal Temperature Range
The ideal temperature range for applying polyurethane is 65°F to 75°F (18°C to 24°C), with a workable window extending to about 85°F for oil-based formulas. Here’s a quick reference:
| Temperature Range | Effect on Polyurethane |
|---|---|
| Below 60°F | Slower drying, poor flow-out, increased risk of runs and orange peel. |
| 65°F – 75°F | Optimal drying and curing – the ideal finish window. |
| Above 90°F | Flash-drying; risk of bubbles, brush marks and an uneven finish. |
Effects Of Temperature On Polyurethane
Temperature significantly influences polyurethane performance. Here are key effects:
- Drying Time: High temperatures speed up drying. Low temperatures slow it down.
- Flow and Leveling: Warm conditions help polyurethane level out. Cold conditions can cause it to be lumpy.
- Adhesion: Proper temperatures enhance adhesion to surfaces. Extreme temperatures can lead to peeling.
For the best results, always check the weather. Avoid applying polyurethane in extreme temperatures.
📊 Ideal conditions are 70°F and 50% humidity, and a space below 55°F is definitely too cold for finishing. — Source: General Finishes, wood finish manufacturer FAQ
“Our easy rule of thumb is: if it is cold enough to wear a sweater, it is too cold to apply a water-based finish.”
Oil-Based Vs. Water-Based: Do They Need Different Temperatures?
Yes — water-based polyurethane is more sensitive to both ends of the range. Oil-based formulas can still be applied down to about 60°F because they cure through slower oxidation rather than water evaporation. Water-based poly below that range often develops small dimples called orange peel as it skins over before it can level out. On the hot, humid side, water-based finishes are also the ones most likely to blush (turn milky white) because trapped moisture can’t escape as fast as the surface dries. If you’re deciding which type to use in the first place, see our full polyurethane oil vs. water-based comparison for cure time, durability, and cleanup differences beyond temperature.
Humidity’s Role In Polyurethane Application
Humidity significantly impacts the application of polyurethane. Understanding how it affects the process can lead to better results. High humidity can cause issues with drying and curing. Low humidity may also pose challenges. Knowing the right conditions ensures a smooth finish.
Understanding Humidity Levels
Humidity is the amount of moisture in the air. It affects how polyurethane dries and adheres. Here’s a quick guide to humidity levels:
| Humidity Level | Effect on Polyurethane |
|---|---|
| Low (0-30%) | Fast drying, may cause cracks |
| Moderate (30-60%) | Ideal for application and drying |
| High (60%+) | Slower drying, risk of bubbles |
Optimal humidity for applying polyurethane is between 30% and 60%. This range promotes proper curing and adhesion.
Mitigating Humidity Issues
High humidity can lead to several problems. Here are some tips to mitigate these issues:
- Use a dehumidifier: Lower moisture levels in the room.
- Choose the right time: Apply on dry days.
- Ventilate: Open windows to improve air circulation.
For low humidity, consider these actions:
- Use a slower-drying product: Look for formulas designed for low humidity.
- Apply in thin coats: This helps prevent cracks.
- Keep the area warm: Heat can help with curing.
By managing humidity levels, you ensure a successful polyurethane application.
Temperature & Humidity Effects At A Glance
| Condition | What Happens | Best For |
|---|---|---|
| Below 55°F | Poor flow-out, tackiness, orange peel dimpling on water-based finish | Not recommended — warm the room first |
| 65–75°F, 40–60% humidity | Smooth flow-out, predictable dry and cure times | Any polyurethane project |
| Above 90°F | Flash-drying, bubbles, visible brush marks | Avoid — wait for cooler part of the day |
| Humidity above 70–75% | Trapped moisture causes blushing — a milky, cloudy finish | Run a dehumidifier or fan first |
What Is Blushing, And How Do You Fix A Cloudy Finish?
Blushing is the milky, cloudy haze that forms when moisture gets trapped under a polyurethane finish instead of evaporating — it happens most often on water-based topcoats applied above 75% relative humidity. If it happens to you, let the piece dry completely first; the haze sometimes clears on its own. If it doesn’t, lightly sand with 180-grit sandpaper until the dullness is gone, run a dehumidifier or fan to drop the humidity, and recoat once conditions are back in the 65-75°F / 40-60% range. For a full walkthrough with photos, see our guide on how to fix a cloudy polyurethane finish.
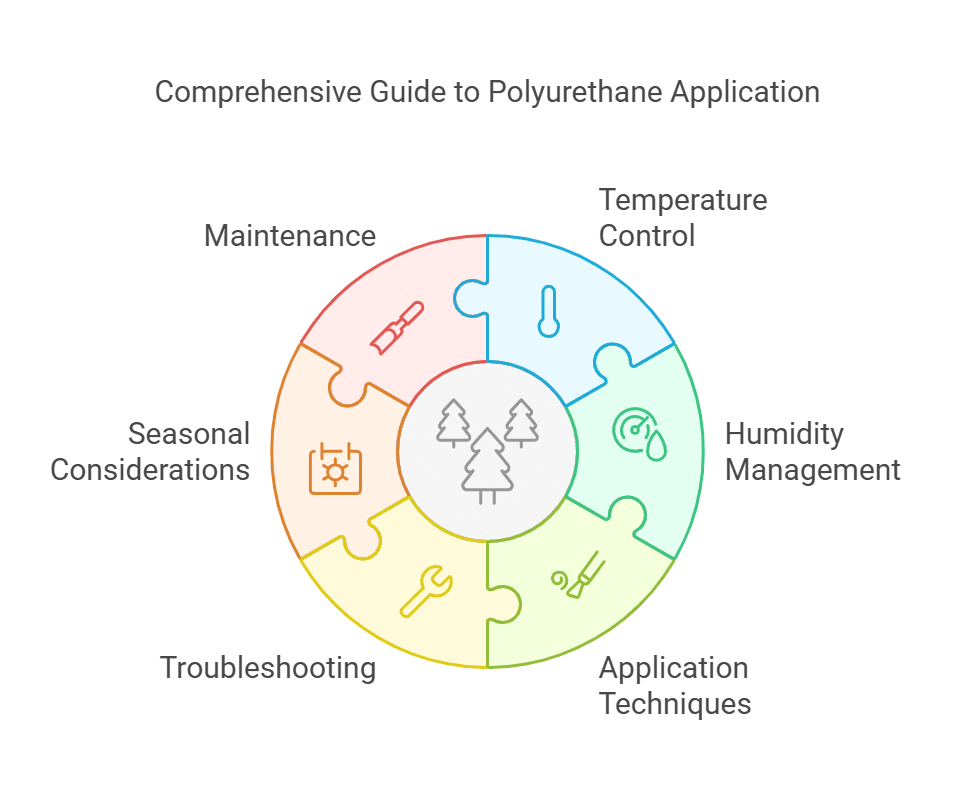
Preparing The Environment For Application
Getting the environment right is crucial for applying polyurethane. Proper temperature and humidity levels enhance the finish quality. Follow these steps to prepare your space effectively.
Temperature And Humidity Control
Maintaining the right temperature and humidity is key. The ideal conditions are:
| Condition | Ideal Range |
|---|---|
| Temperature | 65°F to 75°F (18°C to 24°C) |
| Humidity | 40% to 60% |
Extreme temperatures can affect drying times. High humidity leads to bubbles in the finish. Use a thermometer and hygrometer to monitor conditions.
Preparing The Surface
Surface preparation is vital for a smooth application. Follow these steps:
- Clean: Remove dust, dirt, and grease.
- Sand: Smooth the surface with fine-grit sandpaper.
- Remove Dust: Wipe off sanding residue with a damp cloth.
- Dry: Ensure the surface is completely dry before applying.
Properly prepared surfaces allow for better adhesion. This results in a longer-lasting finish. Follow these steps closely for the best results.
Speeding Up Or Slowing Down Cure Time With Additives
If your shop runs cool, a water-based accelerator additive speeds up water evaporation so the finish doesn’t sit tacky as long. In hot, dry climates, an extender additive does the opposite — it slows drying so the finish has time to level before it skins over. Warming the can itself in a container of hot water for about five minutes before use also helps, since a cold can straight from an unheated garage thickens the finish even if the room is warm enough. This guide focuses on temperature and humidity; if you’re also timing polyurethane around a stain coat underneath, see how long to wait before applying polyurethane after staining, since stain dry time is affected by the same conditions.
⚠️ Warning: Applying oil-based finishes near an open flame or combustible heater is dangerous — mineral spirit fumes mixing with a kerosene or propane heater create an unsafe environment. Use electric heat only when finishing with oil-based polyurethane. — Source: General Finishes
Application Techniques For Different Conditions
Understanding the right application techniques is crucial for achieving a perfect finish with polyurethane. Different temperatures and conditions require specific approaches. This section will guide you through adjusting your technique based on temperature, and provide essential tools and tips for a smooth application.
Adjusting Technique By Temperature
Temperature affects how polyurethane dries and adheres. Here’s how to adjust your technique:
| Temperature Range | Recommended Technique |
|---|---|
| Below 60°F (15°C) | Use a slow-drying oil-based formula. Apply thin coats; expect longer dry times. |
| 65°F – 75°F (18°C – 24°C) | Standard application. Normal dry and recoat times apply. |
| Above 85°F (29°C) | Work in smaller sections – water-based finishes can flash-dry and show brush marks. |
Always check the manufacturer’s instructions for specific temperature guidelines. This ensures the best results.
Tools And Tips For A Smooth Finish
Using the right tools can make a big difference. Here are some tips for a smooth finish:
- Brush: Use a high-quality, synthetic brush.
- Roller: For large areas, use a smooth roller.
- Sanding: Lightly sand between coats for better adhesion.
- Temperature Control: Keep the area warm and well-ventilated.
Follow these steps for a flawless application:
- Prepare the surface by cleaning and sanding.
- Choose the right temperature and technique.
- Apply the first coat evenly.
- Allow proper drying time.
- Sand lightly before applying the next coat.
These simple techniques ensure a smooth, durable finish with polyurethane.
Troubleshooting Common Issues
Applying polyurethane can lead to various problems. Understanding these issues helps achieve a smooth finish. Below are common problems and their solutions.
Bubbles And Brush Marks
Bubbles and brush marks can ruin your finish. They often appear due to incorrect application techniques. Here are some reasons and solutions:
- Fast Application: Applying too quickly creates bubbles.
- Wrong Brush: Use a high-quality brush or foam applicator.
- Humidity: High humidity can cause bubbles. Aim for 50% humidity.
To fix bubbles:
- Wait for the finish to dry.
- Sand the area lightly.
- Reapply a thin coat.
Tackiness And Drying Problems
Some finishes may feel tacky or take too long to dry. This can be frustrating. Common causes include:
- High Humidity: Excess moisture slows drying time.
- Low Temperature: Cold temperatures can prevent proper curing.
- Thick Coats: Applying too much polyurethane can cause tackiness.
To resolve tackiness:
- Check room temperature (ideal: 65-75°F).
- Ensure good air circulation.
- Consider using a thinner coat next time.
By knowing how to troubleshoot, you can achieve a perfect finish every time.
Seasonal Considerations For Polyurethane Application
Applying polyurethane requires attention to seasonal changes. Different temperatures and humidity levels affect how the finish cures. Understanding these factors helps achieve the best results.
Summer And Winter Differences
Summer and winter bring unique challenges because ambient shop temperature rarely sits at the 65-75°F ideal on its own — here’s how typical seasonal conditions compare and how to adjust:
| Season | Temperature (°F) | Humidity Level | Application Tips |
|---|---|---|---|
| Summer | 70-90 | 30-70% |
|
| Winter | 50-70 | 20-50% |
|
Adjustments For Spring And Fall
Spring and fall also require specific adjustments:
- Spring:
- Watch for rain and moisture.
- Temperature can fluctuate, so check often.
- Use a dehumidifier if necessary.
- Fall:
- Cooler temperatures may slow drying.
- Check humidity levels regularly.
- Plan for unpredictable weather changes.
Paying attention to these seasonal factors ensures a smooth application. Proper conditions lead to a durable and beautiful finish.
Maintaining The Finish Over Time
To keep your polyurethane finish looking great, regular care is essential. Proper maintenance extends the life of the finish. Knowing how to care for it ensures it stays vibrant and durable.
Long-term Care Tips
- Clean Regularly: Dust surfaces often to prevent buildup.
- Avoid Harsh Chemicals: Use mild cleaners for safe cleaning.
- Use Soft Cloths: Avoid abrasive materials that can scratch.
- Control Humidity: Maintain a stable humidity level indoors.
- Protect from Sunlight: Use curtains to block direct sunlight.
When To Reapply Polyurethane
Reapplying polyurethane helps maintain its protective layer. Look for signs that indicate it’s time to reapply:
- Visible Wear: Noticeable scratches or dullness appear.
- Water Damage: Water beads less on the surface.
- Fading Color: The original color looks washed out.
- Frequent Cleaning: You need to clean more often.
Reapply every 3 to 5 years, depending on use. High-traffic areas may need more frequent attention.
Frequently Asked Questions
What Is The Ideal Temperature For Applying Polyurethane?
The ideal temperature for applying polyurethane ranges from 65°F to 75°F (18°C to 24°C). This temperature ensures proper drying and curing. Temperatures below 55°F (13°C) can slow the process and cause poor flow-out, while above 90°F (32°C) may lead to bubbles or uneven finishes.
Can I Apply Polyurethane In Cold Weather?
Applying polyurethane in cold weather is not recommended. Low temperatures can cause the finish to become tacky and take longer to dry. If you must apply it in colder conditions, use a space heater to maintain an optimal temperature range.
Does Humidity Affect Polyurethane Application?
Yes, humidity significantly impacts polyurethane application. Aim for 40-60% relative humidity for the smoothest results. Above roughly 70-75%, moisture gets trapped under the finish and causes blushing, a milky, cloudy haze, especially on water-based polyurethane. A dehumidifier or fan brings humid air back into range.
How Long Does Polyurethane Take To Cure?
Polyurethane typically takes 24 to 48 hours to dry, depending on temperature and humidity. Full curing can take up to 30 days. It’s essential to avoid heavy use during this period to achieve the best durability and finish.
What Is The Minimum Temperature To Apply Polyurethane?
Most oil-based polyurethanes have a functional floor around 60°F, and manufacturers such as Minwax generally recommend staying above 50°F. Below that, the finish stays tacky, drying stretches out for days, and water-based formulas are especially prone to orange peel, a dimpled surface defect. If your shop runs colder, warm the room first rather than trying to force the finish to cure in the cold.
Does The Polyurethane Can Itself Need To Be At Room Temperature?
Yes. A cold can straight from an unheated garage thickens the finish and throws off flow-out even if the room itself is warm enough. Bring the can indoors a few hours before use, or set it in a container of warm water for about five minutes, so the product and the room are at the same temperature when you apply it.
Conclusion
Understanding the right temperature for applying polyurethane is crucial for achieving the best finish. Aim for a controlled environment between 65°F and 75°F. This ensures optimal drying and adhesion. Following these guidelines will help you avoid common pitfalls and enhance your project’s overall quality.
Happy finishing!
Sponsored / affiliate links. As an Amazon Associate I earn from qualifying purchases. I may earn additional commission from eligible campaigns.