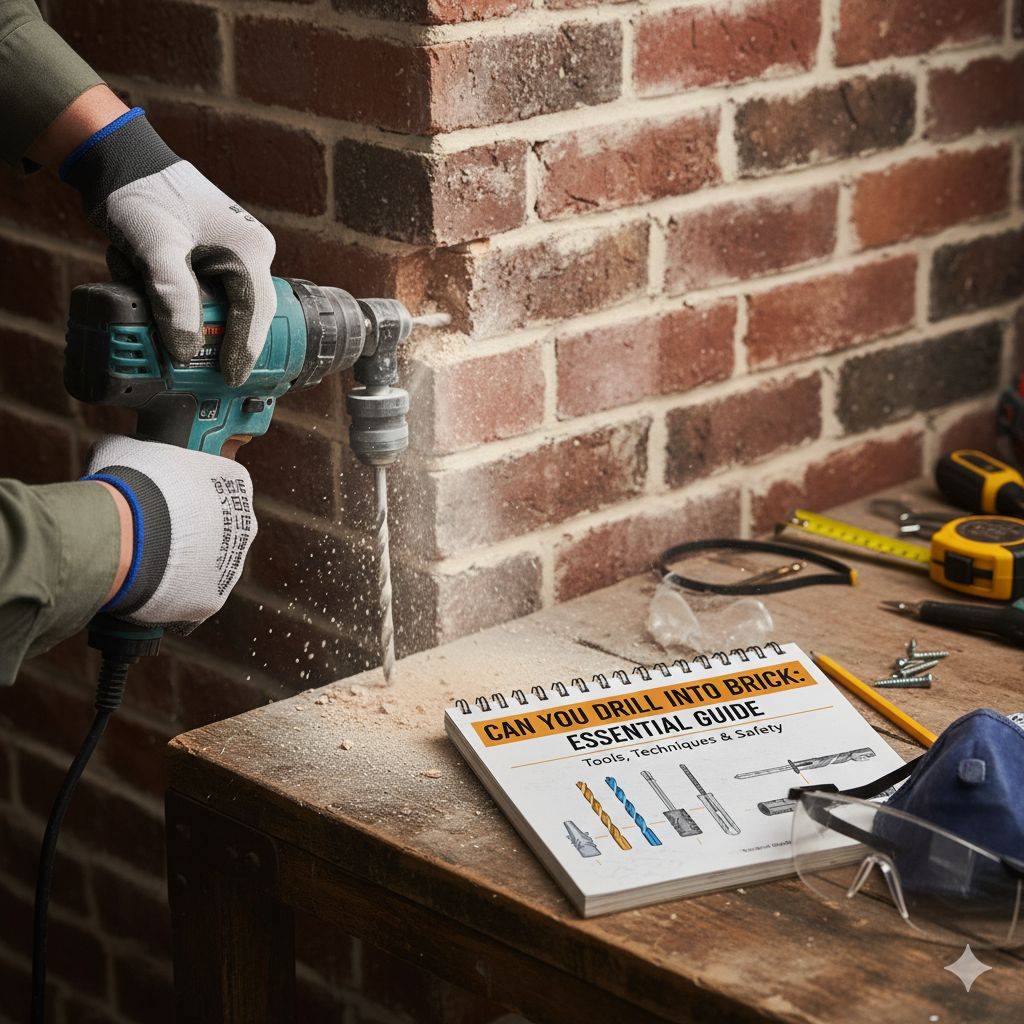
Can You Drill Into Brick: Essential Guide
Yes, you absolutely can drill into brick! With the right drill bit, technique, and a little patience, you can easily create holes in brick for hanging shelves, mounting fixtures, or starting projects. This guide will show you how, safely and effectively.
Ever found yourself staring at a sturdy brick wall, wondering if it’s possible to hang that new shelf or picture frame? You’re not alone! The thought of drilling into something as tough as brick can seem daunting, and it’s easy to worry about damaging your wall or your drill. But guess what? With the right tools and a few simple steps, drilling into brick is totally achievable for any DIYer. I’m here to guide you through it, step-by-step, so you can tackle your projects with confidence. We’ll cover everything from choosing the correct drill bit to making those clean, secure holes.
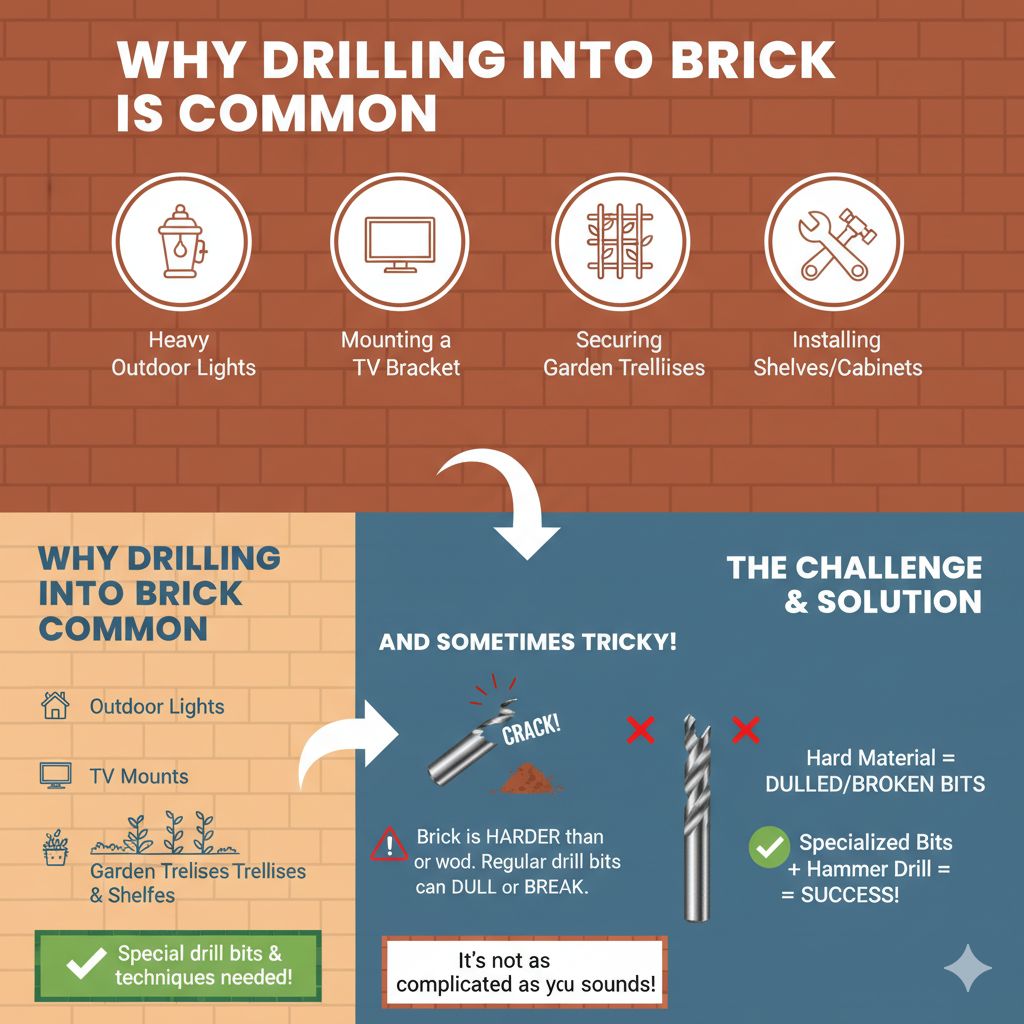
Why Drilling into Brick is Common (and Sometimes Tricky!)
Brick is a fantastic building material. It’s strong, durable, and looks great. Many homes, garden features, and even interior accent walls are made of brick. This means we often need to attach things to it. Think about:
- Hanging heavy outdoor lights on a brick porch.
- Mounting a TV bracket on a brick fireplace.
- Securing garden trellises to a brick wall.
- Installing shelves or cabinets in a brick-built garage or workshop.
The challenge is that brick is much harder than drywall or wood. Regular drill bits can get dulled or even broken when trying to go through it. That’s where special drill bits and techniques come in. Don’t worry, it’s not as complicated as it sounds!
What You’ll Need: Essential Tools and Supplies
Before we start drilling, let’s gather our gear. Having the right tools makes all the difference and ensures a smoother, safer job.
The Drill
This is your primary tool. For drilling into brick, you generally have two main options:
- Corded Hammer Drill: This is your best bet. A hammer drill has a mode that delivers rapid hammering blows along with rotation. This pounding action helps to break up the brick as it drills, making the job much faster and easier. They offer more power than most cordless drills.
- Cordless Hammer Drill (or Impact Drill with Hammer Function): Many modern cordless drills have a hammer function. While they might not be as powerful as a corded model for prolonged heavy-duty drilling, they are incredibly convenient and sufficient for most DIY tasks in brick. Make sure it has the hammer setting!
- Standard Drill: If you only have a standard drill (without a hammer function), you can drill into softer brick or mortar with a masonry bit, but it will be much slower, more tiring, and harder work. It’s not ideal for harder bricks or larger holes.
The Drill Bits
This is crucial! You must use masonry drill bits. These bits are specifically designed for hard materials like brick, stone, and concrete.
- Masonry Drill Bits: These bits have a hardened tip, often made of carbide, shaped like a chisel or spearhead. This tip is what does the actual breaking of the brick material. They come in various sizes, so choose the one appropriate for the anchor or screw you plan to use.
- Carbide-Tipped Masonry Bits: This is the most common and effective type for DIYers. Look for bits specifically labeled for brick, stone, or masonry.
Tip: Always buy drill bits that are the right size for the anchor or screw you intend to use. If the hole is too big, your anchor won’t hold; if it’s too small, you won’t get the anchor in. Anchor packaging usually indicates the required drill bit size.
Other Helpful Items
- Safety Glasses: Absolutely non-negotiable! Brick dust and chips can fly.
- Dust Mask: Brick dust isn’t good to breathe in.
- Work Gloves: Protect your hands.
- Pencil or Marker: To mark your drilling spot.
- Measuring Tape: For accurate placement.
- Level: To ensure your holes are straight.
- Vacuum Cleaner: To clean up dust as you go or afterwards.
- Masking Tape or Painter’s Tape: Can help prevent the bit from “walking” on smooth surfaces and can also catch some dust.
- Hammer (Optional): For tapping in anchors.
- Anchor or Screw: The reason you’re drilling the hole in the first place!
Choosing the Right Drill Bit Size
The size of your drill bit directly depends on what you intend to secure in the brick.
Typically, you’ll be using screws or wall anchors. The packaging for these fasteners will clearly state the recommended drill bit diameter for creating the hole.
Example: If you’re using a 1/4-inch (6mm) plastic anchor, the packaging might recommend drilling a 1/4-inch (6mm) hole. If you were using a heavier-duty toggle bolt, it might require a larger hole, say 1/2-inch (12mm).
It’s always best to check the anchor or screw packaging. If there’s any doubt, having a small range of common masonry bit sizes (e.g., 3/16″, 1/4″, 3/8″) is a good idea for a DIY toolkit.
Step-by-Step: How to Drill Into Brick Safely and Effectively
Now that you’re equipped, let’s walk through the process. It’s all about preparation and a steady hand.
Step 1: Mark Your Spot
Decide exactly where you want your hole. Use a measuring tape and pencil to mark the precise spot. If you’re hanging something that needs to be level, like a shelf, use a level to guide your mark.
For extra precision, you can stick a small piece of masking tape over the spot. This gives the drill bit something to grip and can help prevent it from slipping (or “walking”) across the brick surface as you start drilling, especially if the brick is smooth.
Step 2: Select and Insert Your Masonry Bit
Choose the correct size masonry drill bit based on your anchor or screw. Ensure it’s securely tightened in your drill’s chuck. For hammer drills, check that the hammer function is engaged and the rotation is set for drilling (usually indicated by a drill bit symbol, not a hammer symbol alone).
Important Note on Hammer Drill Settings:
- Drill Mode (Symbol: Drill Bit): This is for standard drilling in wood, metal, or plastic.
- Hammer Drill Mode (Symbol: Hammer or Hammer with Drill Bit): This mode adds the percussive action needed for brick, stone, and concrete.
- Hammer Mode Only (Symbol: Hammer): This mode is for using a demolition hammer or chisel bit, not for drilling holes.
Make sure your hammer drill is set to the appropriate hammer drill mode.
Step 3: Start Drilling – Slowly and Steadily
Place the tip of the masonry bit precisely on your marked spot. Start the drill at a slow speed. Gently apply pressure. Let the drill bit do the work.
Once the bit has started to bite into the brick and created a small indentation, you can gradually increase the drill speed. Maintain steady, consistent pressure. Don’t force the drill; if it feels like you’re struggling, ease up and let the hammer action (if you’re using a hammer drill) do its job.
Step 4: Drill to the Required Depth
Most anchors require a specific depth. Check the length of your anchor or screw. If your drill bit has depth markings, you can use that. Alternatively, you can wrap a bit of colored tape around the drill bit to mark your desired depth.
As you drill, you’ll notice dust accumulating. Periodically pull the drill bit out slightly, while still rotating, to clear the dust from the hole. This prevents the bit from overheating and allows it to cut more effectively. You can also use the vacuum cleaner to suck out dust.
For deeper holes, you might need to drill in stages, pulling the bit out to clear dust more frequently. It’s also recommended to let the drill cool down periodically if you’re drilling many holes or very deep ones.
Step 5: Clean Out the Hole
Once you’ve reached the desired depth, turn off the hammer function and the drill. Carefully remove the drill bit. Use a vacuum cleaner or a stiff brush (or even a can of compressed air) to thoroughly clean out all the dust from the hole. A clean hole is essential for your anchor to grip properly.
Step 6: Insert the Anchor or Fastener
Now, insert your anchor (if you’re using one) into the clean hole. Tap it gently with a hammer if needed to seat it flush with the brick surface. If you’re screwing directly into the brick for a lighter load, you can often skip the anchor and drive a suitable masonry screw. Ensure the screw is specifically designed for masonry.
Step 7: Secure Your Item
With the anchor in place or the pilot hole ready for a direct screw, you can now mount your shelf, bracket, or whatever you intended to hang. Follow the instructions for your specific fastener or mounting hardware.
Drilling into Brick vs. Mortar
Brick walls consist of bricks and the mortar that binds them together. You might find yourself drilling into one, the other, or a combination.
Drilling into Brick: This is generally harder. Bricks are fired clay and are very dense and hard. You’ll definitely need a hammer drill and a masonry bit. Be prepared for it to take a bit more time and effort.
Drilling into Mortar: Mortar tends to be softer than the brick itself. While you can drill into mortar, it may crumble more easily. The key here is to use a steadier hand and potentially a slightly lower speed to avoid excessive crumbling. Sometimes, if you’re aiming for a lighter load, drilling directly into the mortar joint can be sufficient. However, for most structural applications, drilling into the brick itself (or spanning across the mortar to get good bite into the brick) is usually preferred for strength.
When to Choose Where:
- Bricks: If you need maximum strength and durability for heavier items.
- Mortar: For lighter loads or if you’re trying to avoid the hardness of the brick. Be aware that mortar can be more prone to crumbling.
- Combination: Often, you’ll drill partly through brick and partly through mortar.
A good principle is to aim for the strongest part of the wall. For securing something, drilling into a brick is usually the most robust option. For guidance on what kind of loads brick can support, consult resources from organizations like the Brick Development Association, which offers technical advice on building materials.
Common Mistakes to Avoid
Even with the right tools, a few common pitfalls can make the job frustrating. Let’s steer clear of them!
- Using the Wrong Drill Bit: Trying to drill brick with a wood or metal bit will likely damage the bit and won’t make much progress. Always use a masonry bit.
- Not Using a Hammer Drill: While possible with a standard drill and masonry bit, it’s significantly harder and slower. A hammer drill makes a huge difference.
- Drilling Too Fast Initially: Starting too fast can cause the bit to slip and wander, creating an unsightly mark and making it hard to start the hole where you want it.
- Applying Too Much Force: Let the drill and the hammer action do the work. Forcing it can overheat the drill bit, damage the drill, or even break the bit.
- Not Clearing Dust: Dust buildup can seize the hole, overheat the bit, and slow down the drilling process. Clear it out regularly.
- Choosing the Wrong Anchor Size: An anchor that’s too big won’t fit; one that’s too small won’t hold securely. Always match the anchor to the correct drill bit size.
- Ignoring Safety Gear: Brick dust and flying debris can cause serious injury. Always wear safety glasses and a dust mask.
Troubleshooting Common Issues
What if something goes wrong? Don’t worry, there are usually fixes.
- Bit is Slipping/Wandering: Make sure you’re starting the drill at a slow speed. Apply firm, steady pressure. If the surface is very smooth, try the masking tape trick.
- Drill Bit Gets Stuck: Try reversing the drill direction slightly to loosen it, then try drilling again. If it’s really stuck, you might need to carefully work it free with pliers or by gently tapping with a hammer (be careful not to break the bit or damage the brick).
- Hole is Not Deep Enough: Pull the bit out, clear dust, and continue drilling. Double-check your depth measurement.
- Hole is Too Big: This is tricky. You might need a larger anchor that fits the oversized hole, or you might have to fill the hole (e.g., with epoxy putty designed for masonry) and re-drill a new hole nearby.
- Drill Bit Overheating: This usually happens if you’re drilling too fast, applying too much pressure, or not clearing dust. Let the bit and drill cool down. Drill in shorter bursts and clear dust more frequently. For very demanding jobs, consider using a water-cooled masonry drill bit system, though this is usually for professional use.
What NOT to Drill Into
While brick is generally drillable, there are some things to be mindful of:
- Structural Load-Bearing Elements: Be absolutely sure you understand what you are drilling into. If you are unsure about the wall’s structural integrity or if it’s a critical load-bearing element, consult a professional builder or structural engineer. Drilling into the wrong spot can compromise safety.
- Walls with Hidden Utilities: Always be aware of potential electrical wiring or plumbing pipes within walls. While less common in solid brick walls than in stud partitions, it’s not impossible, especially in older homes where renovations might have occurred. If unsure, consider using a stud finder that can detect live wires and pipes.
- Very Old, Crumbling Brickwork: If the brick or mortar is severely degraded, trying to drill could cause significant damage. For such situations, you might need professional assessment or different fixing methods.
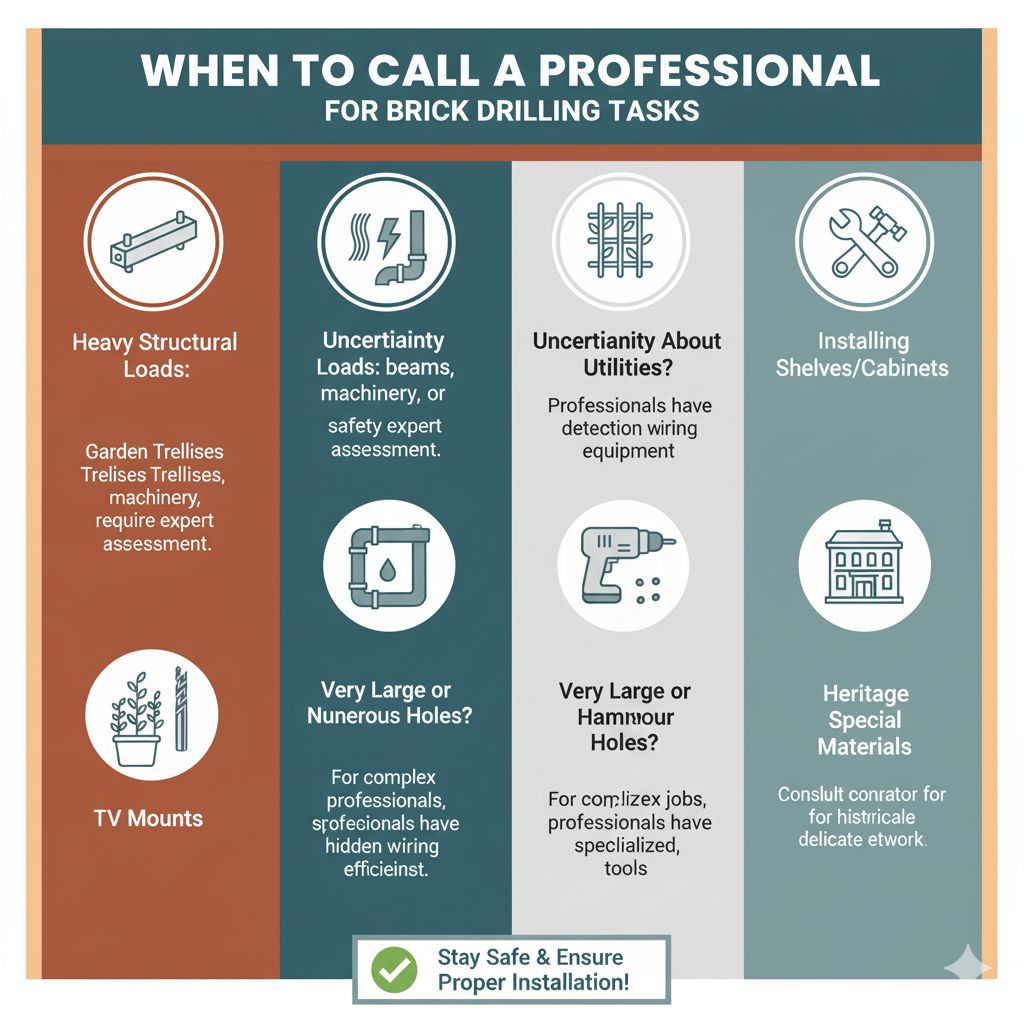
When to Call a Professional
While most brick drilling tasks are DIY-friendly, there are times when it’s best to call in an expert:
- Heavy Structural Loads: If you need to mount something exceptionally heavy and critical (like a large structural beam, a heavy piece of machinery, or a substantial safety railing), it’s wise to have a professional assess the wall and advise on the best fixing methods.
- Uncertainty About Utilities: If you suspect there might be electrical wiring or plumbing behind the brick and you can’t confirm its location, a professional with the right detection equipment is your safest bet.
- Very Large or Numerous Holes: For complex installations requiring many large diameter holes, professionals have specialized, more powerful equipment that can do the job more efficiently and safely.
- Heritage or Special Materials: If you are working with historical brickwork or delicate, unique materials, a professional conservator or experienced builder can advise on the least invasive and most appropriate methods.
Frequently Asked Questions (FAQ)
Q1: Can I use my regular drill to drill into brick?
A1: While you can attempt it with a standard drill and a masonry bit, it will be very slow, difficult, and tiring. A hammer drill is highly recommended for drilling into brick as its hammering action helps break up the material.
Q2: What’s the difference between a masonry bit and a regular drill bit?
A2: Masonry bits have a special hardened tip, often made of carbide, designed to chip away at hard materials like brick, stone, and concrete. Regular drill bits (for wood or metal) are not designed for this and will likely dull or break.
Q3: How deep do I need to drill?
A3: The depth depends on the anchor or screw you are using. Always check the packaging of your fastener, as it will specify the recommended drill bit diameter and depth needed for a secure hold.