Can You Put Two Coats of Stain on Wood? Yes, But Here’s the Catch
Yes, you can put two coats of stain on wood, and for most projects it’s actually the right call. Wood only absorbs so much pigment before it hits a saturation point, though, so the real skill isn’t “more coats equals darker” – it’s knowing when the wood has taken all the color it’s going to take, and stopping before a third coat starts sitting on top of the surface instead of soaking into it.
Below is exactly how to apply a second coat without blotching, how long to actually wait between coats (the can’s label is a minimum, not a guarantee), and why a lot of “just add a third coat for more color” advice you’ll find online causes more problems than it solves.
Why Wood Has a Stain “Saturation Point”
Best for Preventing Blotchy Stain
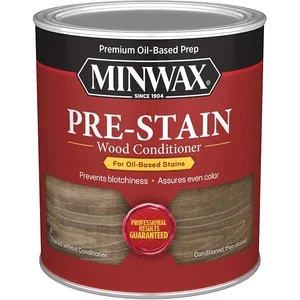 |
Minwax Pre-Stain Wood Conditioner – $13.99 Since blotching is the #1 risk when applying a first or second coat on pine, birch, or maple, this is the product that actually prevents it.
|
Stain isn’t paint. Paint builds a film on top of the wood, so each coat genuinely adds a new layer. Pigmented oil-based stain works differently: it’s carried into the wood’s open pores by a solvent (usually mineral spirits), the solvent evaporates, and the pigment gets left behind trapped in the grain. Once those pores are full, there’s nowhere left for a new coat’s pigment to go.
That’s why a first coat usually makes the biggest visual jump, a second coat deepens it further but by a smaller amount, and a third coat on the same spot often does almost nothing except leave a tacky film of unabsorbed pigment sitting on the surface. On an open-pored wood like oak or ash, you’ll typically see real benefit through two coats. On a tight-grained wood like maple or cherry, the wood can max out after a single coat, and a second coat mostly just evens out any spots the first coat missed rather than adding real depth.
How To Tell When You’ve Hit It
Wipe on the coat, give it the manufacturer’s working time (usually 5–15 minutes), then wipe off the excess. If the rag comes away with almost no color transfer and the surface looks glossy/wet rather than matte once it flashes off, the wood has taken all it’s going to take – stop there. If the rag is still picking up a lot of pigment and the dried surface looks dull and uneven, the wood can usually take one more coat.
Prepping the Wood Before a Second Coat
Good prep is what makes two coats look intentional instead of blotchy. Three things matter before stain ever touches the wood:
- Sand with the grain, not across it. Start at 120-grit for most hardwoods (150–180 for softer, more porous woods like pine), and always finish in the direction of the grain – cross-grain scratches show up as pale streaks once stain hits them.
- Use a pre-stain conditioner on blotch-prone species. Pine, birch, alder, maple, and cherry all absorb stain unevenly because of how their grain is structured. A conditioner partially seals the wood first so the stain goes in more uniformly. Oak, walnut, and ash are open-grained enough that most people skip this step.
- Clean off all sanding dust with a vacuum and then a tack cloth. Dust trapped under the first coat telegraphs through as light specks, and it gets worse-looking once a second coat locks it in.
Applying the Second Coat: Step by Step
Once the first coat has dried fully, here’s the sequence that avoids the two most common second-coat mistakes (blotching and a gummy, never-cures finish):
- Wait for a true dry, not just a “dry to the touch” surface. Oil-based stains need roughly 24 hours at 70°F/50% humidity before a second coat; cooler or more humid conditions can push that to 48 hours. Water-based stains dry faster on the surface (often 4–6 hours) but still need that full window before you layer more color on, or the fresh coat can lift and streak the one underneath.
- Do a very light scuff-sand with 220-grit between coats, with the grain only. This isn’t about removing color – it’s about knocking down the tiny raised wood fibers (“grain raise”) that the first coat’s moisture pulled up, so the second coat goes on smooth instead of fuzzy.
- Wipe away all sanding dust again before opening the second can.
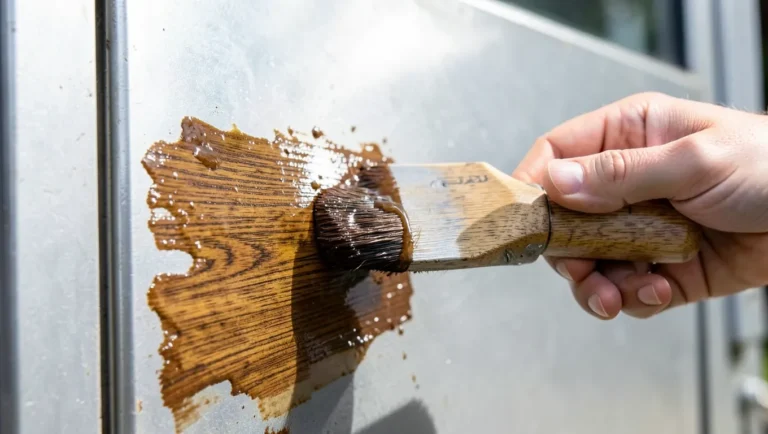
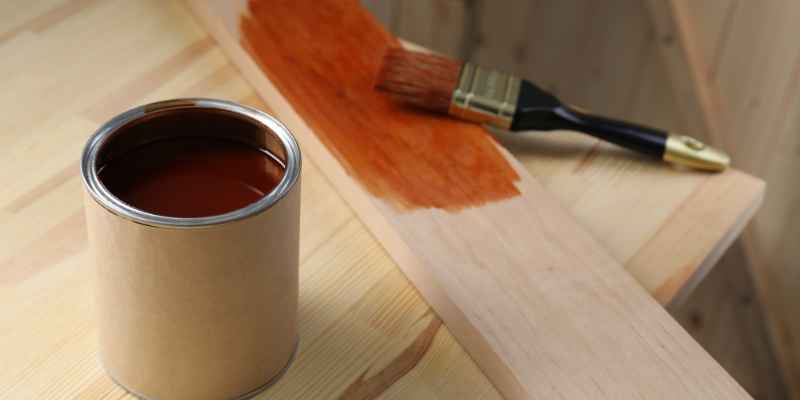
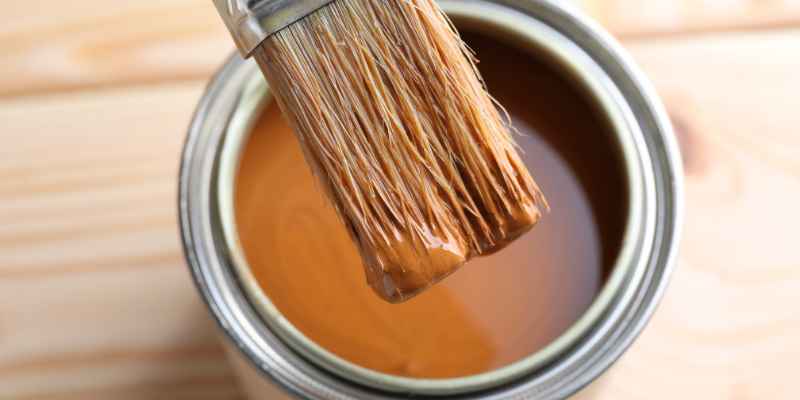
- Apply the second coat the same way as the first – brush, rag, or foam applicator, working with the grain, in manageable sections so you’re not trying to wipe off excess on one end while the other end is already tacky.
- Wipe off excess within the working-time window on the can. Any stain left standing in puddles or thick pools will stay soft and tacky under a topcoat, sometimes for weeks.
When a Third Coat Actually Hurts
This is the part most “just keep adding coats for a darker color” articles skip. Once the wood’s pores are saturated, a third coat of pigmented oil-based stain has nowhere to penetrate, so it dries as a thin, poorly-bonded film sitting on top of the second coat instead of in the wood. Two things commonly go wrong from there:
- The finish stays tacky or soft long after it should have cured, because that surface-sitting pigment layer is thicker than what the solvent can fully evaporate out of in a normal timeframe.
- A polyurethane or varnish topcoat won’t bond well to that loose pigment layer, so you end up with a topcoat that peels or flakes in sheets months later – a problem that traces straight back to an over-stained surface, not a bad topcoat.
If you want a genuinely darker result once the wood is saturated, a gel stain or a tinted wiping varnish applied as a true additional finish coat (not another penetrating stain coat) will build color on the surface in a controlled, bondable way. That’s a different product doing a different job, not “coat number three” of the same stain.
Stain Absorption by Wood Species
| Wood | Typical result |
| Red/white oak | Open, porous grain – takes 2 coats well, minimal blotch risk |
| Pine, birch, alder | Blotch-prone – use a pre-stain conditioner before coat 1 |
| Maple, cherry | Very tight grain – often saturates after 1 coat; 2nd coat mainly evens tone |
| Walnut, ash | Naturally darker/open grain – a 2nd coat deepens color noticeably |
Sealing the Stained Wood
Once you’re happy with the color and the final coat has cured for the full time on the label (not just overnight), seal it. Polyurethane (oil-based for warmth and durability, water-based for a clearer, faster-drying finish), varnish, or lacquer all work – the right pick depends on how much abrasion and moisture the piece will see. Apply thin coats, let each one dry completely, and scuff-sand lightly between coats with 320-grit for the best adhesion.
Maintaining a Double-Stained Finish
- Dust with a soft, lint-free cloth – abrasive pads will cut through a topcoat faster than the stain underneath.
- Keep harsh ammonia-based cleaners off it; they can dull or strip a poly topcoat over time.
- Wipe up spills right away, especially on a piece that only got a wipe-on oil finish rather than a full poly topcoat.
- Use coasters and placemats under hot or wet items regardless of how many coats of stain and topcoat are underneath – stain and finish protect against everyday wear, not sustained heat or standing water.
Frequently Asked Questions
Will 2 coats of stain make it darker?
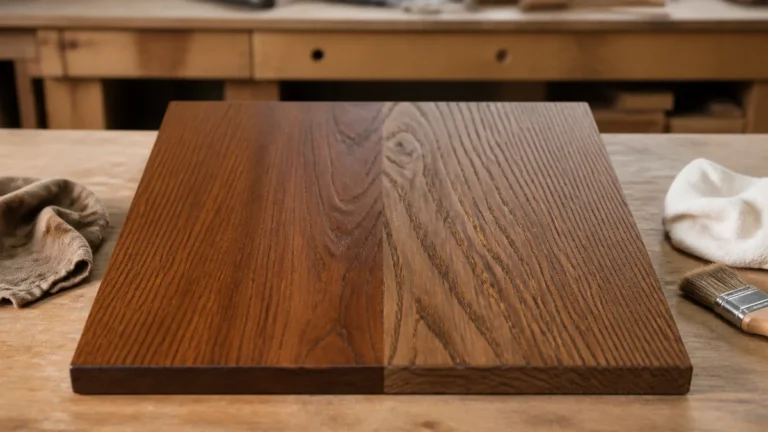
Usually yes, though how much darker depends on the wood. Open-pored woods like oak or walnut show a clear jump from a second coat; tight-grained woods like maple or cherry often saturate after one coat, so a second coat mostly evens out the color rather than deepening it.
How soon can you put a second coat of stain on wood?
For oil-based stain, wait a full 24 hours at around 70°F and 50% humidity – longer (up to 48 hours) in cooler or more humid conditions. Water-based stains are often re-coatable in 4–6 hours, but check the can, since formulas vary by brand.
What happens if you apply a second coat of stain too soon?
The new coat’s solvent can re-soften the first coat before it’s fully cured, which lifts pigment unevenly and leaves streaks, cloudy patches, or a surface that stays tacky far longer than normal. Always wait for the full cure window on the can, not just until it feels dry to the touch.
Can you do three or more coats of wood stain?
You can apply a third coat, but once the wood is saturated (usually after 1–2 coats) that extra stain sits on the surface instead of penetrating, which can leave a tacky film and cause a polyurethane topcoat to bond poorly. If you want more depth after two coats, a gel stain or tinted wiping varnish is a better tool for building surface color than another coat of the same penetrating stain.
Bottom Line
Two coats of stain is standard practice and usually the sweet spot for color depth on most wood species. Prep matters more than coat count: sand with the grain, condition blotch-prone woods first, let each coat fully cure, and stop adding coats once the wood stops absorbing pigment. That’s the difference between a rich, even finish and a tacky one that never quite cures right.
Sponsored / affiliate links. As an Amazon Associate I earn from qualifying purchases. I may earn additional commission from eligible campaigns.