Can You Paint Over Wood Stain? A Proven, Essential Guide
Yes, you can absolutely paint over wood stain! The key to a beautiful, long-lasting finish is proper preparation. You must clean the surface thoroughly, scuff sand it to create grip, and apply a high-quality, stain-blocking primer before painting. This simple process prevents the old stain from bleeding through and ensures your new paint adheres perfectly.
Hello, fellow makers! I’m Md Meraj, and today we’re tackling one of the most common questions I get in the workshop: Can you paint over that old, stained wood furniture or trim? Maybe you have a dark, dated bookshelf or honey-oak kitchen cabinets you’re tired of looking at. You want a fresh, modern look, but the thought of stripping all that old stain is daunting.
Well, I have some great news for you. You don’t have to strip it! Giving stained wood a new life with paint is one of the most rewarding DIY projects you can do. It completely transforms a piece and brightens up a room. With the right steps, you can achieve a professional-looking finish that is smooth, durable, and beautiful. This guide will walk you through everything, step-by-step. Let’s build your confidence and get this project done right.
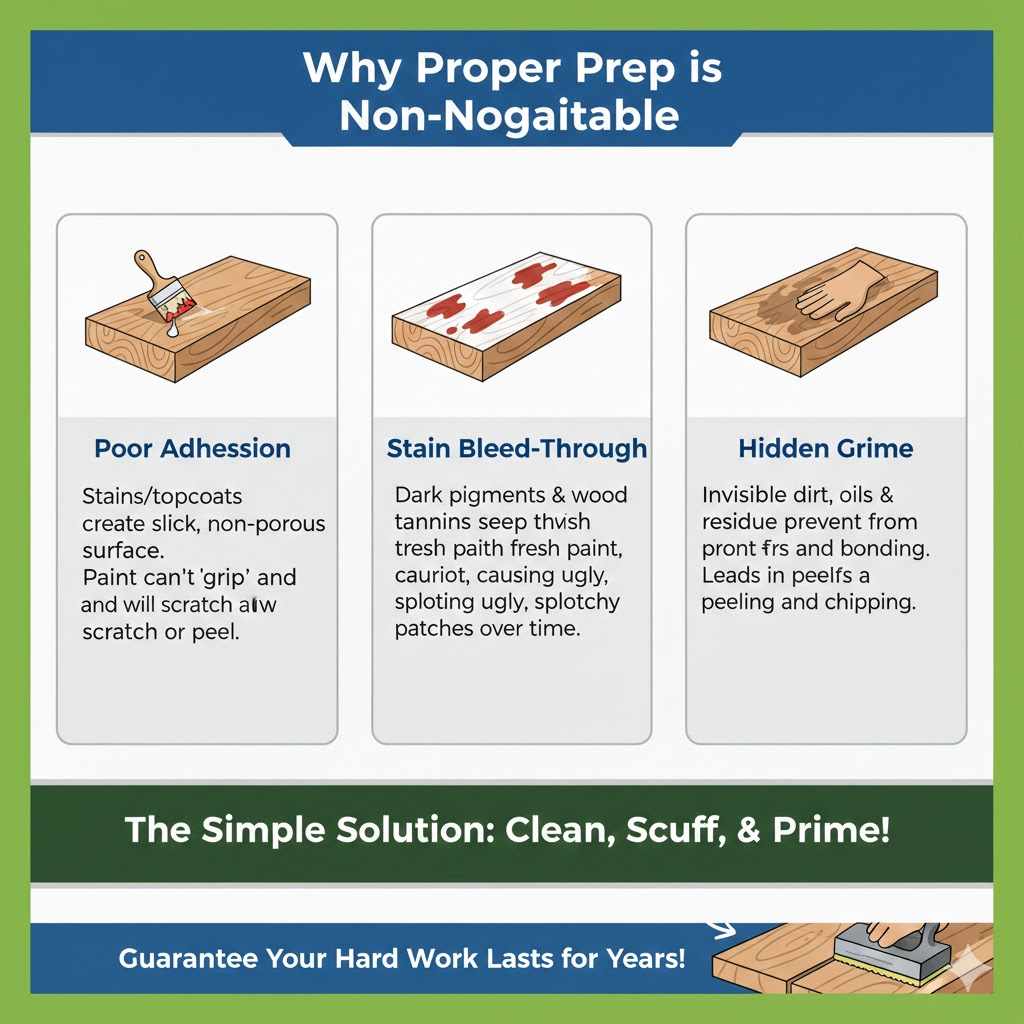
Why Proper Prep is Non-Negotiable
Before we grab a paintbrush, it’s crucial to understand why you can’t just slap a coat of paint directly onto a stained surface. Think of it like trying to write on a greasy piece of paper with a pencil—the pencil will just slide right off. Paint needs something to “bite” into, and stained wood is often sealed, slick, or oily.
Here’s what you’re up against:
- Poor Adhesion: Many wood stains, especially older ones, are oil-based. They penetrate the wood and can leave a slightly oily residue. On top of that, most stained wood has a clear protective topcoat, like polyurethane or varnish, which creates a slick, non-porous surface. Paint simply cannot stick to this.
- Stain Bleed-Through: Wood contains natural pigments called tannins. Dark stains can also have powerful dyes. Without a proper barrier, these colors can seep, or “bleed,” through your fresh paint, creating ugly, splotchy patches. This can happen weeks or even months after you finish painting!
- Hidden Grime: Furniture and trim collect years of dirt, grease, and residue from cleaning products. Painting over this grime is a recipe for a peeling, chipping disaster.
The solution to all these problems is a simple but essential preparation process: clean, scuff, and prime. Skipping these steps is the number one reason DIY paint jobs fail. By taking the time to do it right, you guarantee your hard work will last for years to come.
Your Essential Toolkit: Gathering Your Supplies
Having the right tools on hand before you start makes the entire process smoother and more enjoyable. You don’t need a professional workshop—just a few key items. Let’s get you set up for success.
Safety First!
- Safety glasses
- Dust mask or respirator
- Gloves (nitrile or latex work well)
Cleaning & Prep Supplies
- Drop cloths or plastic sheeting
- Painter’s tape
- Bucket
- Warm water
- Degreasing cleaner (like Trisodium Phosphate substitute or a simple dish soap solution)
- Clean, lint-free rags or sponges
- Tack cloth
Sanding Supplies
- Sandpaper (150-grit or 180-grit)
- Sanding block or random orbital sander (for larger flat surfaces)
Priming & Painting Supplies
- Stain-blocking primer (more on this below!)
- High-quality interior paint (latex or enamel)
- Good quality paintbrush (a 2-inch angled brush is very versatile)
- Small foam roller (for a smooth finish on flat areas)
- Paint tray
The Step-by-Step Guide to a Flawless Painted Finish
Ready to transform your stained wood? Follow these proven steps carefully, and you’ll get a result you can be proud of. Don’t rush—patience is your best tool here.
Step 1: Set Up Your Workspace
Painting can be messy, so preparation is key. Lay down drop cloths to protect your floors and any nearby furniture. If you’re painting something you can’t move, like trim or cabinets, use painter’s tape to create clean, crisp lines and protect your walls. Good ventilation is also important. Open a window or use a fan to keep the air moving, especially when you are cleaning, priming, and painting.
Step 2: Clean the Surface Thoroughly
This is the most critical step. You must remove all the dirt, grime, and oil from the wood. Mix your degreasing cleaner with warm water according to the product’s directions. If you’re using dish soap, a few drops in a gallon of water works well. Use a sponge or rag to scrub the entire surface. For kitchen cabinets, pay extra attention to areas around the knobs and handles where grease builds up. After scrubbing, rinse the surface with a clean rag and plain water. Let it dry completely—this can take an hour or two.
Step 3: The Light Scuff Sand
We are not trying to remove the old stain or finish. I repeat: you do not need to sand down to bare wood! The goal here is to “scuff up” the glossy topcoat. This light abrasion creates thousands of microscopic scratches that give the primer something to grip onto. It’s all about creating good adhesion.
Using your 150 or 180-grit sandpaper, lightly sand the entire surface. If you’re using your hands, wrap the paper around a sanding block to apply even pressure. Move in the direction of the wood grain. The goal is just to knock the shine off. When you’re done, the surface should feel slightly rough and look dull or matte. Be careful not to press too hard, especially on corners and edges where it’s easy to sand through the finish.
Step 4: Clean Up the Dust
Sanding creates a lot of fine dust. If you paint over this, you’ll get a gritty, bumpy finish. First, vacuum the surface with a brush attachment. Then, wipe it down with a slightly damp, lint-free cloth. For the final and most important cleaning, use a tack cloth. A tack cloth is a sticky piece of cheesecloth that picks up any remaining dust particles. Gently wipe the entire piece with it right before you prime.
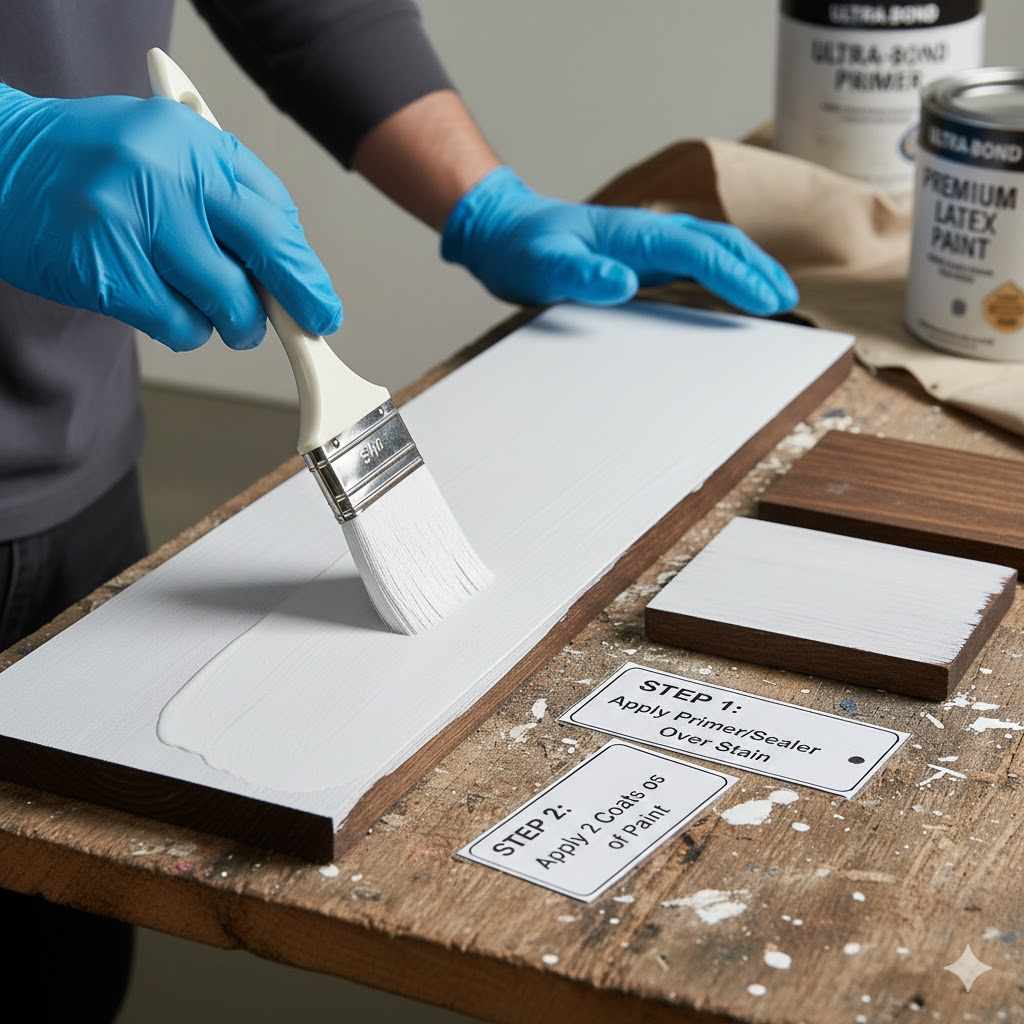
Step 5: Prime for Success
Primer is the magic that makes this project work. It does two things: it sticks to the old finish, and it provides the perfect surface for your new paint to stick to. Most importantly, a good stain-blocking primer prevents those old stain colors and wood tannins from bleeding through your new paint.
Apply a thin, even coat of primer with your brush or foam roller. Don’t try to get perfect coverage in one coat. A thin coat is better than a thick one that can drip and run. Let the primer dry completely according to the manufacturer’s instructions. This is usually a few hours, but check the can. If you are covering a very dark stain, a second thin coat of primer is a great idea for extra protection.
Step 6: Apply Your First Coat of Paint
Once your primer is fully dry, it’s time for color! Stir your paint thoroughly. Apply a thin, even coat of paint using your brush for detailed areas and your foam roller for flat surfaces. A foam roller helps eliminate brush strokes, giving you a super-smooth finish. Again, don’t try to achieve full coverage on the first coat. The goal is a light, even layer.
Step 7: Let it Dry and Lightly Sand (Again!)
Let the first coat of paint dry completely—check the can for recoat times. Once dry, you may notice the surface feels slightly rough. This is normal; it’s called “grain raise.” Take a very fine-grit sandpaper (220-grit is perfect) and give the surface a very gentle hand sanding. You barely need to apply any pressure. This will smooth out any imperfections and prepare the surface for a perfect final coat. Wipe away the dust with a tack cloth.
Step 8: Apply the Final Coat
Apply your second and final coat of paint, just like the first one. Take your time and focus on making it smooth and even. Two thin coats are always better than one thick coat. This second coat should give you full, beautiful coverage. Once you’re done, remove your painter’s tape while the paint is still slightly wet to get the cleanest lines.
Now, the hardest part: let it cure! Paint may feel dry to the touch in a few hours, but it takes much longer to fully harden, or “cure.” This can take anywhere from a few days to a few weeks. Be gentle with your newly painted piece during this time to avoid dings and scratches.
Choosing the Right Primer and Paint
Your choice of primer is the most important decision you’ll make in this project. Using the wrong one can lead to bleed-through and peeling. Here’s a simple guide to help you choose.
Primer Types Explained
| Primer Type | Best For | Pros | Cons |
|---|---|---|---|
| Shellac-Based Primer | The ultimate stain blocker. Perfect for dark red stains (cherry, mahogany), pine knots, and oily woods. | Excellent adhesion. Dries very quickly. Blocks the toughest stains and odors. | Strong odor. Requires denatured alcohol for cleanup. |
| Oil-Based Primer | Great for blocking stains and sticking to glossy surfaces. A versatile choice for most wood projects. | Very durable. Sands to a very smooth finish. Great stain blocking. | Slower drying time. Strong fumes. Requires mineral spirits for cleanup. |
| Water-Based (Acrylic) Primer | Good for light-colored stains or previously painted surfaces. Look for a “stain-blocking” acrylic formula. | Low odor. Easy cleanup with soap and water. Flexible. | May not block heavy or dark oil-based stains effectively. Can sometimes cause wood grain to raise. |
For most stained wood projects, especially those with dark or reddish stains, a shellac-based primer is my top recommendation. It provides the best insurance against bleed-through.
Paint Selection
For furniture, cabinets, and trim, you want a durable paint that can withstand daily use. A high-quality acrylic latex or acrylic-alkyd hybrid enamel is an excellent choice. These modern paints are tough, self-leveling (which helps minimize brush strokes), and easy to clean up with water. Look for a “Satin” or “Semi-Gloss” finish, as these are more durable and easier to clean than a flat or matte finish.
Important Safety Note on Older Homes
If you’re working in a house built before 1978, be mindful of potential lead-based paint. While wood stain itself doesn’t contain lead, the old varnish or layers of paint underneath might. Sanding can create hazardous lead dust. If you have any concerns, it’s wise to test the surface first. For more information, please consult the EPA’s guidelines on lead-safe renovation to ensure you and your family stay safe.
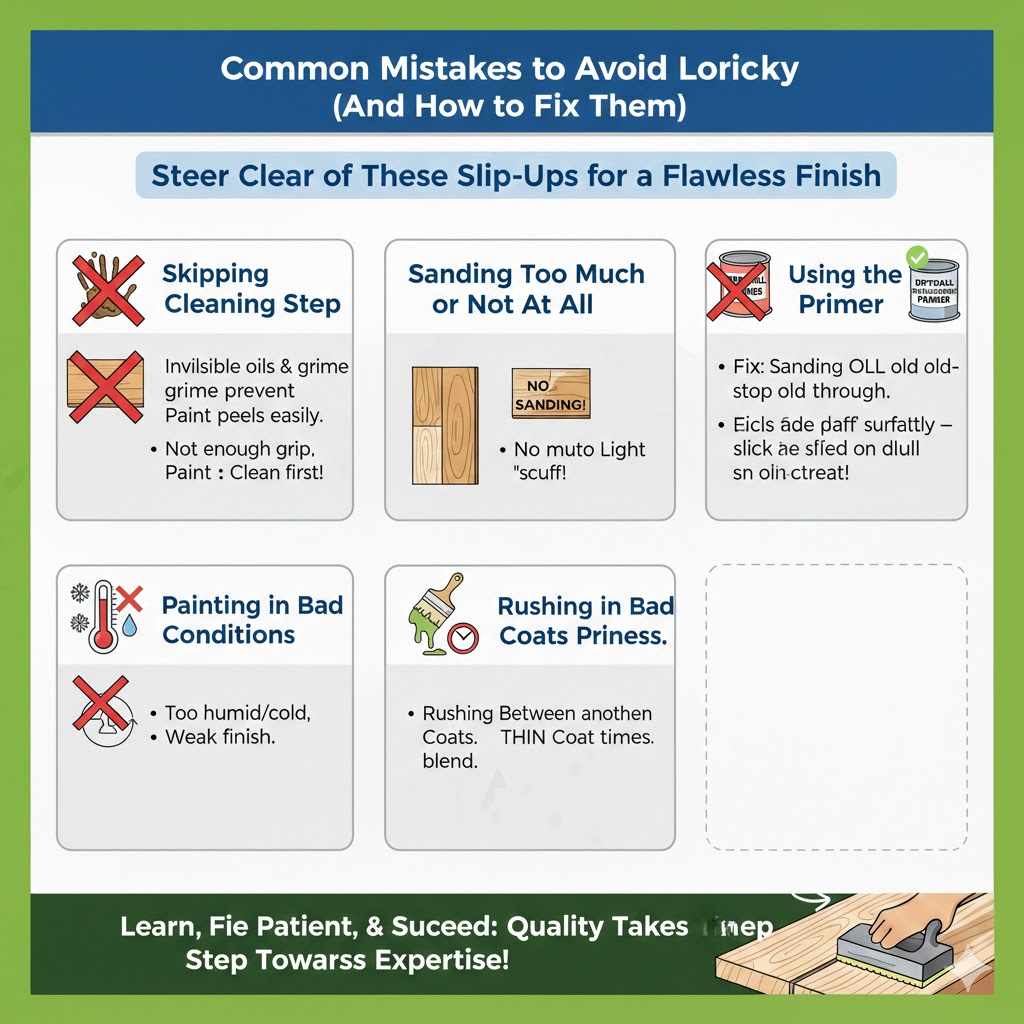
Common Mistakes to Avoid
Even with the best instructions, it’s easy to make a small misstep. Here are some common mistakes I see people make and how to avoid them:
- Skipping the Cleaning Step: Paint and primer will not stick to a greasy or dirty surface. It’s the #1 cause of peeling paint. Don’t skip it!
- Sanding Too Much or Not at All: Sanding isn’t about removal; it’s about adhesion. Forgetting to sand will result in poor grip. Sanding too much, down to bare wood, creates more work and can leave an uneven surface. A light scuff is all you need.
- Using the Wrong Primer: Grabbing any old primer off the shelf is a gamble. A general-purpose drywall primer will not stop stain from bleeding through. Always use a dedicated stain-blocking primer.
- Painting in a Humid or Cold Room: Paint needs the right conditions to cure properly. High humidity or low temperatures can dramatically slow down drying time and affect the final durability. Aim for a room temperature between 50 and 85°F (10 to 29°C).
- Rushing Between Coats: Patience is everything. If you apply a second coat before the first one is dry, you can create a gooey mess that never cures properly. Always follow the recoat times listed on the can.
Frequently Asked Questions (FAQ)
Do I absolutely have to sand before painting over wood stain?
Yes, I strongly recommend it. Sanding is not about removing the old finish but about creating a microscopic “tooth” or texture on the surface. This scuffed-up surface gives the primer something to grab onto, ensuring a strong bond and preventing your new paint from peeling or scratching off easily.
What is the best primer to use when painting over a dark stain?
For dark stains like mahogany, cherry, or dark walnut, a shellac-based primer is your best defense against stain bleed-through. It creates an excellent barrier that locks in the old color and wood tannins. An oil-based stain-blocking primer is also a very effective alternative.
Can I use latex (water-based) paint over an oil-based stain?
Yes, you can, but only if you use the right primer first. You cannot apply latex paint directly over an oil-based stain or finish. However, once you have properly cleaned, scuffed, and applied a coat of stain-blocking primer (either shellac-based or oil-based), you create a stable surface that is ready for any type of paint, including latex.
How many coats of paint will I need?
Typically, you will need one to two coats of primer and two coats of paint. The goal is to build up thin, even layers. Two thin coats of paint will always look better and be more durable than one thick, heavy coat. If you are painting a light color over a very dark stain, you may even need a third light coat for perfect coverage.
What happens if I don’t use a primer?
If you don’t use a primer, two things will likely happen. First, the old stain color and wood tannins will eventually bleed through your new paint, causing discolored splotches. Second, the paint will have a very weak bond to the slick, sealed surface of the stained wood, leading to it chipping, scratching, and peeling off with very little effort.
How long should I wait for the primer to dry?
Always check the instructions on the primer can, as dry times vary by product and environmental conditions. Generally, a shellac-based primer can be ready for another coat in as little as 45 minutes. Oil-based primers often take several hours. Water-based primers usually dry in about an hour. It’s always better to wait a little longer to be safe.
Can I paint over a glossy polyurethane topcoat on stained wood?
Absolutely! The process is exactly the same. The glossy polyurethane is the “sealer” we need to scuff up. A thorough cleaning to remove any residue, followed by a light sanding with 150 or 180-grit sandpaper to remove the shine, is all you need to prepare the surface for a good bonding primer.
Your Project is a Go!
So, can you paint over wood stain? The answer is a resounding yes! It’s not about having some secret professional skill; it’s about following a simple, proven process. By taking the time to properly clean, sand, and prime your piece, you are setting yourself up for a beautiful, durable finish that will completely refresh your home.
Painting over old, dated wood is one of the most budget-friendly ways to make a huge impact on your decor. It lets you save a beloved piece of furniture from the curb or update a whole room of trim without the cost of replacement. Now you have the knowledge and the step-by-step plan to do it with confidence. So grab your tools, put on some music, and enjoy the satisfaction of transforming something old into something new and beautiful. Happy painting!