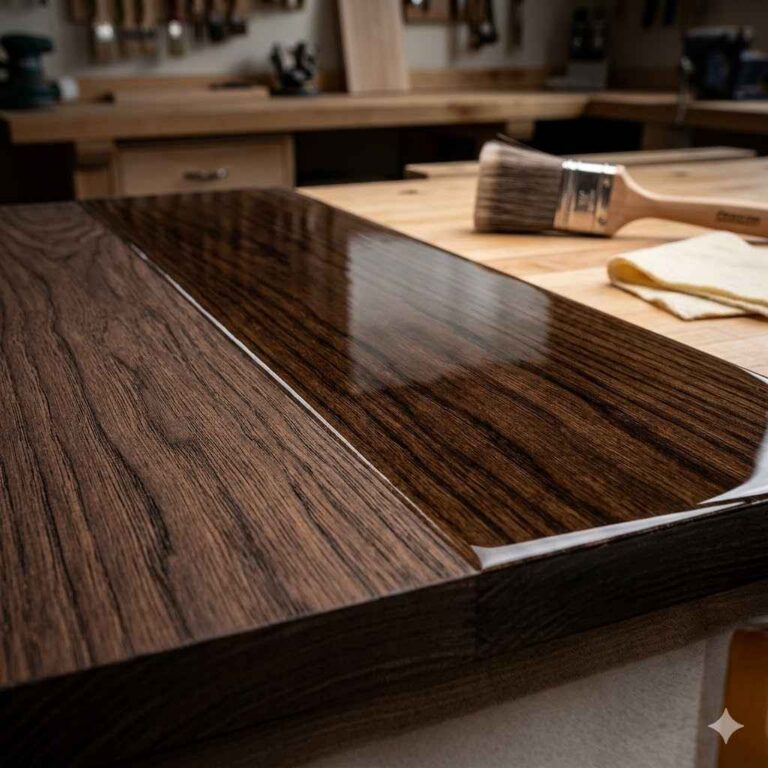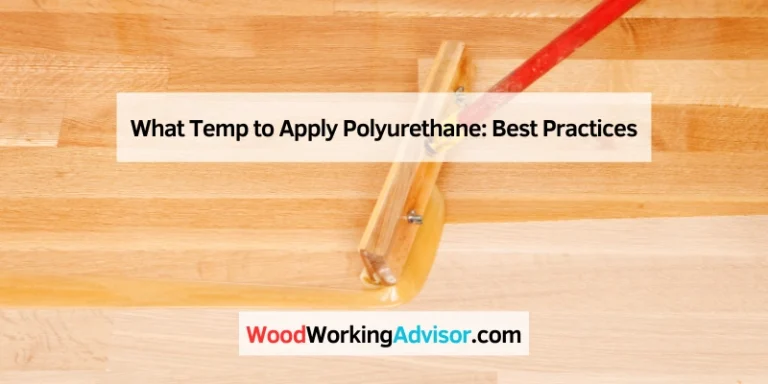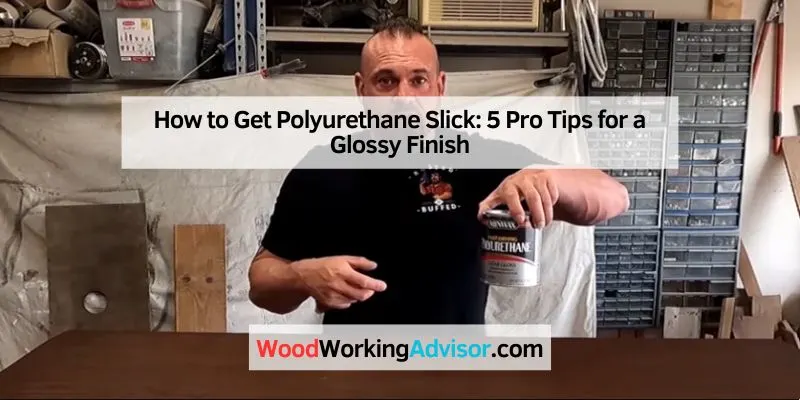
How to Get Polyurethane Slick: 5 Pro Tips for a Glossy Finish
To get polyurethane slick, sand the surface to create a smooth finish and apply a quality polyurethane sealant. Allow it to dry completely for optimal results.
Polyurethane slick surfaces offer durability and a sleek aesthetic, making them popular in both home and commercial settings. Achieving this glossy finish requires proper preparation and application techniques. The right tools and materials can make a significant difference in the final look.
A well-executed process not only enhances the appearance but also increases the longevity of the surface. This guide will walk you through the essential steps to achieve that perfect polyurethane slick finish. Whether you’re working on furniture, floors, or other surfaces, understanding these methods will ensure successful results every time. Get ready to transform your projects into stunning showcases!
The Basics Of Polyurethane
Polyurethane is a versatile material. It serves many purposes in construction and crafting. Understanding the basics helps in choosing the right type for your project. Here, we explore different types and surface preparation.
Types Of Polyurethane
Polyurethane comes in various forms. Each type has unique features. Here’s a quick overview:
| Type | Description | Best For |
|---|---|---|
| Water-Based | Low odor, fast drying | Indoor furniture, crafts |
| Oil-Based | Durable, rich finish | Floors, outdoor furniture |
| Spray | Quick application, smooth finish | Large surfaces, intricate details |
| Gel | Thick consistency, easy to control | Vertical surfaces, detailed work |
Prepping Your Surface
Preparing your surface is crucial. It ensures a smooth application. Follow these steps for best results:
- Clean the Surface: Remove dirt and grease.
- Sanding: Sand the surface lightly. Use fine-grit sandpaper.
- Dust Removal: Wipe off dust with a damp cloth.
- Drying: Let the surface dry completely.
- Test Patch: Apply a small amount to check adhesion.
Proper preparation leads to a better finish. Take your time and follow these steps carefully.
Choosing The Right Tools
Picking the right tools for applying polyurethane is essential. The tools impact the finish quality. Using proper tools can save time and effort. Let’s explore the best options.
Brushes Vs. Rollers
Choosing between brushes and rollers depends on your project.
- Brushes: Great for edges and detailed work.
- Rollers: Ideal for large, flat surfaces.
Both tools have benefits:
| Tool | Advantages |
|---|---|
| Brush | Precision in tight spots |
| Roller | Fast coverage of big areas |
Consider your project size. For intricate designs, use a brush. For big surfaces, a roller works best.
The Importance Of Quality
Quality tools lead to better results. Cheap tools can ruin your work. Invest in good brushes and rollers.
- Brush Quality: Look for synthetic bristles for smooth finishes.
- Roller Quality: Choose a roller with a thick nap for more coverage.
High-quality tools make application easier. They help achieve a professional finish. Don’t compromise on quality. Your project deserves the best.
Tip 1: Sanding For Success
Sanding is crucial for achieving a smooth, glossy finish with polyurethane. Proper preparation ensures better adhesion and a flawless look. Start with the right tools and techniques.
Choosing The Right Grit
Selecting the correct sandpaper grit is vital. Each grit serves a unique purpose:
| Grit Level | Purpose |
|---|---|
| Coarse (40-60) | Removes material quickly and shapes surfaces. |
| Medium (80-120) | Prepares the surface for finishing. |
| Fine (150-220) | Smooths the surface before final coats. |
| Extra Fine (320+) | Perfects the finish between coats. |
Use a coarser grit for rough surfaces. Switch to finer grits for smoother results. Always finish with extra fine grit for the best shine.
Sanding Techniques
Employ effective sanding techniques for optimal results:
- Sand with the grain: Follow the wood’s natural direction.
- Keep it even: Apply consistent pressure across the surface.
- Use a sanding block: This helps maintain an even surface.
- Change sandpaper regularly: Dull paper causes scratches.
Consider these steps:
- Start with coarse grit for heavy sanding.
- Move to medium grit to refine the surface.
- Finish with fine grit for a smooth feel.
Follow these sanding practices. They ensure a strong base for your polyurethane finish.
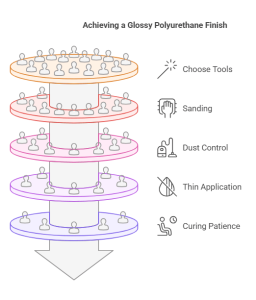
Tip 2: Dust-free Environment
Creating a dust-free environment is essential for achieving a smooth, durable polyurethane finish. Dust and debris can ruin the appearance of your project. Follow these steps to maintain a clean workspace.
Creating A Clean Workspace
Start by setting up a clean area. This helps ensure that your finish remains pristine. Here are some tips:
- Choose a well-ventilated area.
- Clear the workspace of all unnecessary items.
- Use drop cloths to protect the floor.
Regularly clean surfaces and tools. This prevents dust from settling. Keep your workspace organized for better efficiency.
Avoiding Contamination
Prevent contamination by following these guidelines:
- Wear a dust mask and gloves.
- Use an air filter or air scrubber.
- Shut windows and doors to minimize outside dust.
Check your project area frequently. Remove any dust particles immediately. This will help achieve a flawless finish on your polyurethane project.
Tip 3: Thin To Win
Using the right thickness of polyurethane is crucial. Thinner layers dry faster and look better. This tip will guide you to achieve a smooth finish.
The Right Thinning Ratio
Finding the perfect thinning ratio is essential. Too much thinner can weaken the finish. A good rule is to use a ratio of 3:1.
Here’s a simple table to remember:
| Component | Amount |
|---|---|
| Polyurethane | 3 parts |
| Thinner | 1 part |
Always mix well. Test the mixture on a small area. Adjust as needed.
Applying Thin Coats
Thin coats are key to a flawless finish. Apply multiple thin layers instead of one thick coat. This method prevents runs and drips.
Follow these steps for applying thin coats:
- Use a high-quality brush or sprayer.
- Dip the brush lightly in the mixture.
- Start at one edge and move steadily.
- Cover the surface evenly.
- Let the coat dry completely before adding another.
Thin coats dry faster. They also enhance the appearance of the finish. Always remember: thin to win!
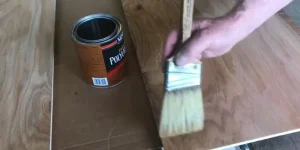
Tip 4: Mastering The Application
Applying polyurethane slick requires skill. Proper techniques ensure a smooth finish. Focus on two key areas: even strokes and avoiding drips and runs. Let’s dive into these essential techniques.
Even Strokes
Even strokes create a flawless surface. Here are some tips:
- Use a high-quality brush or roller.
- Apply the polyurethane in the same direction as the grain.
- Keep a consistent pressure on the brush or roller.
Practice makes perfect. Try to keep your hand steady. This will help you achieve a uniform coat.
Avoiding Drips And Runs
Drips and runs can ruin your finish. Follow these steps to prevent them:
- Don’t overload your brush or roller.
- Work in small sections.
- Check for drips as you work.
Wipe off excess polyurethane immediately. This keeps your project looking professional.
Use a paint tray to control the amount of product. A well-managed application leads to a beautiful finish.
Tip 5: Patience In Curing
Achieving the perfect polyurethane slick requires patience. Curing time is crucial for a durable finish. Rushing this process can lead to problems. Let’s explore curing times and post-application care.
Curing Times
Curing time varies based on the product. Follow the manufacturer’s instructions for the best results. Here’s a quick reference:
| Polyurethane Type | Dry to Touch | Fully Cured |
|---|---|---|
| Oil-Based | 6-8 hours | 24-48 hours |
| Water-Based | 1-2 hours | 3-4 days |
Always check specific product guidelines. Factors like humidity and temperature can affect curing times. Warm, dry conditions speed up the process. Cold, damp areas slow it down.
Post-application Care
After applying polyurethane, care is vital. Here are some tips to follow:
- Keep the area well-ventilated.
- Avoid heavy traffic on the surface.
- Refrain from placing objects on the surface.
Wait for the full curing time before using the surface. This ensures a strong finish. Patience pays off with a smooth, durable slick.
Achieving The Ultimate Gloss
Getting a high-gloss finish with polyurethane is an art. The right techniques lead to stunning results. Follow these tips to achieve an eye-catching shine.
Polishing For Perfection
Polishing can take your finish from dull to dazzling. Use these steps for the best results:
- Start with a clean surface. Dust and dirt can ruin the gloss.
- Choose the right grit sandpaper. Begin with 220 grit for smoothness.
- Sand in the direction of the grain. This prevents scratches.
- Clean the surface again. Remove any dust particles.
- Apply a polishing compound. Use a soft cloth to buff it in.
- Use a buffer for a high shine. Electric buffers work best.
Repeat the polishing process until you achieve the desired gloss.
Maintaining The Shine
Keeping your polyurethane finish shiny is simple. Follow these tips:
- Regular cleaning: Use a soft, damp cloth.
- Avoid harsh chemicals: They can dull the finish.
- Use coasters and mats: Protect the surface from scratches.
- Reapply polish: Do this every few months.
These steps ensure your glossy finish lasts for years.
Frequently Asked Questions
How Do I Apply Polyurethane Slick?
To apply polyurethane slick, start by cleaning the surface thoroughly. Use a brush or roller for even application. Apply a thin layer and let it dry completely. Sand lightly between coats for a smooth finish. Always follow the manufacturer’s instructions for best results.
What Tools Do I Need For Polyurethane Slick?
You’ll need a few essential tools for applying polyurethane slick. A high-quality brush or foam roller is ideal. Additionally, have sandpaper for smoothing between coats. A clean cloth for dust removal is also necessary. Ensure you have a good ventilation system while working.
How Long Does Polyurethane Slick Take To Dry?
Polyurethane slick typically takes 24 hours to dry. However, drying time can vary based on humidity and temperature. Always check the product label for specific drying times. For best results, allow at least 48 hours before heavy use. Patience ensures a durable finish.
Can I Use Polyurethane Slick Outdoors?
Yes, you can use polyurethane slick outdoors. Ensure the product is designed for exterior use. Apply it in suitable weather conditions, avoiding rain or extreme temperatures. Proper application will protect your surfaces from the elements. Always follow the manufacturer’s guidelines for outdoor use.
Conclusion
Getting polyurethane slick is a straightforward process. Follow the steps outlined in this guide to achieve the best results. Prepare your surface well and apply the product evenly. With a little patience, you’ll enjoy a smooth, durable finish. Embrace your project with confidence and enjoy the benefits of polyurethane slick.