Can You Pour Self-Leveling Concrete Over Plywood? Only the Right Kind
Yes, but not with just any bag labeled “self-leveling concrete.” Standard rigid self-leveling concrete is designed for rigid substrates like a concrete slab — poured over plywood, it will crack, because plywood flexes under foot traffic and rigid cement doesn’t. What you actually want is a self-leveling underlayment (SLU) formulated and rated for wood subfloors — usually a polymer-modified or fiber-reinforced gypsum or cement blend that flexes slightly with the plywood instead of fighting it.
The label matters more than the marketing name. Look for wording like “for use over wood subfloors” or “APA-rated substrate compatible” on the bag — that’s the difference between a floor that lasts and one that spider-cracks within a year.
Why Plywood Is Different From a Concrete Slab
CHECK MOISTURE BEFORE YOU POUR
 |
General Tools MMD4E Digital Moisture Meter – $44.99 Pouring over damp plywood is the #1 cause of underlayment failure — this checks moisture content in seconds before you commit a whole bag.
|
A concrete slab doesn’t move. Plywood does — it deflects slightly under load, expands and contracts with humidity, and has seams between sheets that shift a little over time. Standard self-leveling concrete has almost no flexibility once cured, so any movement in the plywood underneath transfers straight into hairline cracks on the surface.
The deflection limit matters here: for a self-leveling underlayment to hold up over plywood, most manufacturers require the floor structure to meet at least L/360 deflection (L/480 if you’re tiling on top), meaning the joists can’t flex more than 1/360th of the span under load. If your subfloor bounces noticeably when you walk on it, fix that structurally — add blocking or sister the joists — before you pour anything on top. No underlayment product fixes a bouncy floor.
Preparing the Plywood Subfloor
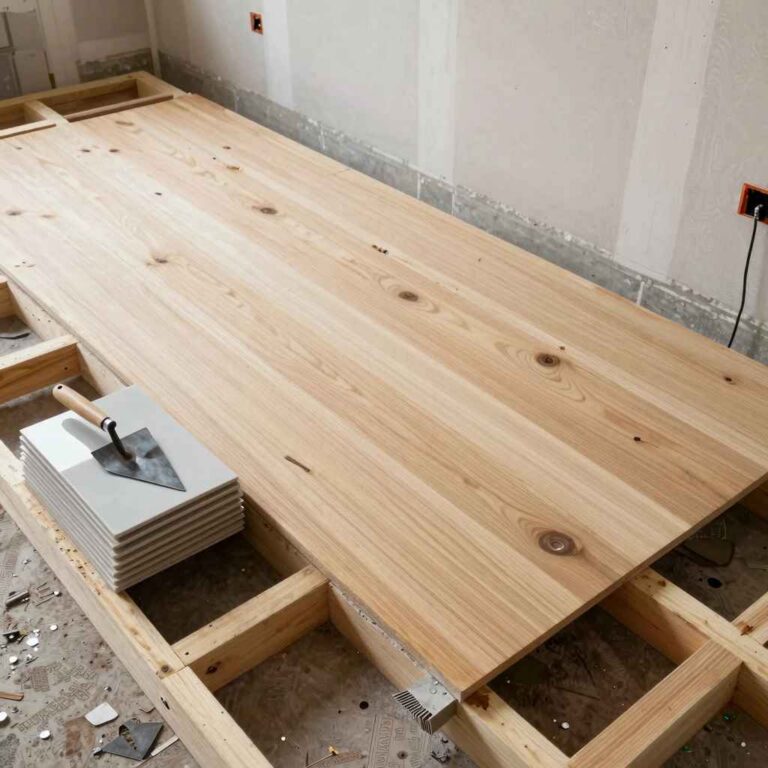
Confirm the plywood is exterior-grade or T&G subfloor panel, minimum 5/8 inch thick, and fully screwed down every 6 inches along the edges and 8-12 inches in the field — not just nailed. Loose panels and squeaks mean movement, and movement cracks underlayment. Re-drive or add screws anywhere you feel flex.
Sand or fill any high spots and gaps at seams — the underlayment will self-level minor dips, but it won’t bridge a seam that’s proud by more than about 1/8 inch. Vacuum thoroughly; any dust left behind becomes a bond-breaker between the primer and the plywood.
Test moisture content before priming. Wood-based self-leveling underlayments generally want the plywood at or below 12% moisture content — pouring over damp plywood traps moisture that can cause the underlayment to blister, disbond, or grow mold underneath where you can’t see it. If you don’t have a moisture meter handy, at minimum let a new subfloor acclimate for the time the manufacturer specifies (often 48-72 hours in the actual room conditions) before pouring.
Priming — Don’t Skip or Substitute This Step
Plywood is porous and will pull water out of the underlayment mix unevenly if it’s not primed, causing weak spots and pinholing. Use the specific acrylic or latex primer the underlayment manufacturer recommends for wood substrates — not a generic paint primer or the concrete-specific primer meant for slabs, which bonds differently to wood fibers. Roll it on evenly, let it dry to the tack described on the label (usually until it’s dry to the touch but still slightly tacky), and pour within the manufacturer’s stated window — priming too far in advance lets dust resettle on the tacky surface.
Mixing and Pouring
Measure water first, into a clean bucket, then add the powder while mixing with a paddle mixer on a drill — mixing water into powder (not powder into water) is how you avoid dry clumps at the bottom. Mix to the consistency described on the bag, usually compared to pancake batter, for the full time specified (typically 2 minutes) — under-mixing leaves lumps that show as bumps in the cured floor.
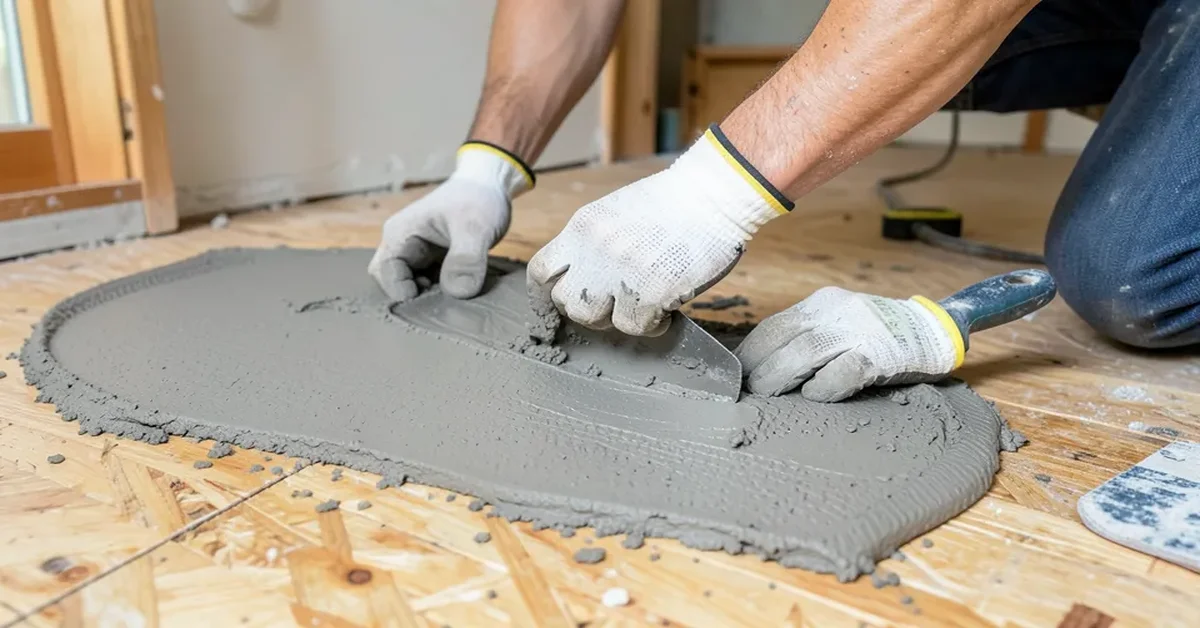
Pour in a continuous ribbon starting at the corner farthest from the door, working back toward your exit. Self-leveling underlayment does most of the leveling itself, but a gauge rake or smoother helps it reach corners and edges evenly. Most SLU products set up fast — you typically have 15-20 minutes of working time, so have your whole batch mixed and your pouring plan decided before you start.
When Not to Use Self-Leveling Underlayment Over Plywood
Skip it if the subfloor deflects more than the manufacturer’s rated limit — fix the framing first. Skip it for exterior or frequently wet areas unless the specific product is rated for that exposure; most wood-substrate SLUs are interior-only. And don’t use it as a substitute for structural repair — if the plywood is delaminating, rotted, or spongy underfoot, replace that section before leveling over it. Self-leveling underlayment fixes unevenness, not structural problems.
Frequently Asked Questions
Does self-leveling underlayment stick to plywood?
Yes, when the plywood is clean, dry (under about 12% moisture content), structurally sound, and coated with the manufacturer’s recommended wood-substrate primer. Skipping the primer or pouring over damp or dusty plywood is the most common cause of poor adhesion.
Do I need to prime plywood before self-leveling?
Yes, always. Plywood is porous and will absorb water unevenly from the underlayment mix without a primer, causing weak spots, pinholes, and poor bonding. Use the acrylic or latex primer specifically recommended by the underlayment manufacturer for wood substrates, not a generic paint or concrete primer.
What’s the best type of self-leveler for plywood?
Look specifically for a self-leveling underlayment labeled for use over wood subfloors, not standard concrete self-leveler. These are typically polymer-modified or fiber-reinforced blends designed to flex slightly with the plywood instead of cracking. Confirm the deflection rating matches your floor structure before buying.
When should you not use self-leveling underlayment?
Avoid it if the subfloor deflects more than the product’s rated limit, if the plywood is damp, rotted, or structurally unsound, or for exterior/wet-area use unless the specific product is rated for that exposure. Fix structural or moisture problems first — underlayment corrects unevenness, not a failing subfloor.
Related: filling cracks in a plywood subfloor and sanding plywood smooth before you pour.
Sponsored / affiliate links. As an Amazon Associate I earn from qualifying purchases. I may earn additional commission from eligible campaigns.