Solid Stain Over Paint: The 6-Step Prep That Prevents Peeling
Yes, solid stain can go over paint, but only if the old paint is cleaned, sanded, and covered with a bonding primer first. Skip any of those steps and the new color will crack and peel within a season, because solid stain relies on a mechanical grip instead of soaking into open wood grain the way paint does when it’s applied to bare wood. Below is the full prep-to-finish process, a two-minute test for checking whether your existing paint is even worth staining over, and how to pick a primer that won’t let go. (If you’re deciding between stain types first, see how solid stain compares to semi-solid.)
Paint vs. Solid Stain: Why They Don’t Bond the Same Way
Best Bonding Primer for Stain-Over-Paint Jobs
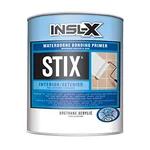 |
INSL-X Stix Acrylic Waterborne Bonding Primer (1 Qt) – $26.99 The exact type of water-based bonding primer this guide recommends before rolling solid stain over old paint.
|
People use “paint” and “solid stain” almost interchangeably, but the two products cure onto wood in different ways, and that difference is the whole reason prep matters. Paint forms a continuous, mostly non-breathable film that sits entirely on top of whatever surface it’s rolled onto – wood, primer, or old paint. Solid color stain is thinner: it soaks slightly into open wood pores while also leaving a thin film on the surface, so it needs some open, porous material to grab onto. Painted wood doesn’t offer that – the paint film has already sealed the pores – so solid stain applied straight over it is really just sitting on top of another film, with nothing anchoring it beyond simple surface tackiness.
| Feature | Paint | Solid Color Stain |
|---|---|---|
| How it bonds | Forms a thick film on the surface; doesn’t penetrate. | Soaks slightly into open grain and leaves a thinner film on top. |
| Appearance | Hides all wood grain; can look glossy or flat. | Hides most grain but keeps a flatter, more wood-like look. |
| How it fails | Fails all at once once compromised – chips, cracks, peels in sheets. | Wears down gradually and fades, unless it was applied without prep over paint, in which case it peels too. |
| Best applied to | Bare, primed, or previously painted wood. | Bare or lightly weathered wood that still needs to breathe. |
Why Skipping Prep Makes Solid Stain Peel Off Painted Wood
Three things go wrong when solid stain is rolled directly over unprepped paint. First, there’s nothing but the paint’s own surface tension holding the new coat on – no texture, no open grain, no mechanical grip. Second, wood constantly expands and contracts with humidity, and two stacked films with different flexibility move at different rates, which eventually shears the bond apart at the edges. Third, glossy or semi-gloss paint sheds liquid rather than accepting it, so the stain beads and sits unevenly instead of curing into a uniform coat. A bonding primer solves all three problems at once: it’s formulated to grip a slick painted surface, it flexes with the wood underneath it, and it gives the stain a uniform, slightly porous layer to lock onto instead of a repellent painted shell.
How to Apply Solid Stain Over Paint
Step 1: Gather Your Materials
You’ll need a deck cleaner or TSP substitute, a stiff brush, 100 to 120-grit sandpaper (a random orbital sander speeds this up considerably), exterior-grade wood filler, a bonding primer rated for exterior use, and your solid stain. Add a dust mask and eye protection – sanding old paint kicks up fine dust you don’t want to breathe, especially on anything painted before the 1980s.
Step 2: Clean the Surface Thoroughly
Scrub the entire area with a deck cleaner or a TSP solution to strip away dirt, mildew, and chalky paint residue, then rinse thoroughly with a garden hose. A pressure washer works too, but keep the nozzle at least 12 inches from the surface and use a wide fan tip – a narrow, close jet can gouge soft wood or blast paint off unevenly, which leaves you with a patchier repair job than you started with. Let everything dry completely for 24 to 48 hours before moving on; trapped moisture under a fresh coat is one of the most common causes of early peeling.
Step 3: Scrape and Sand Away All Loose Paint
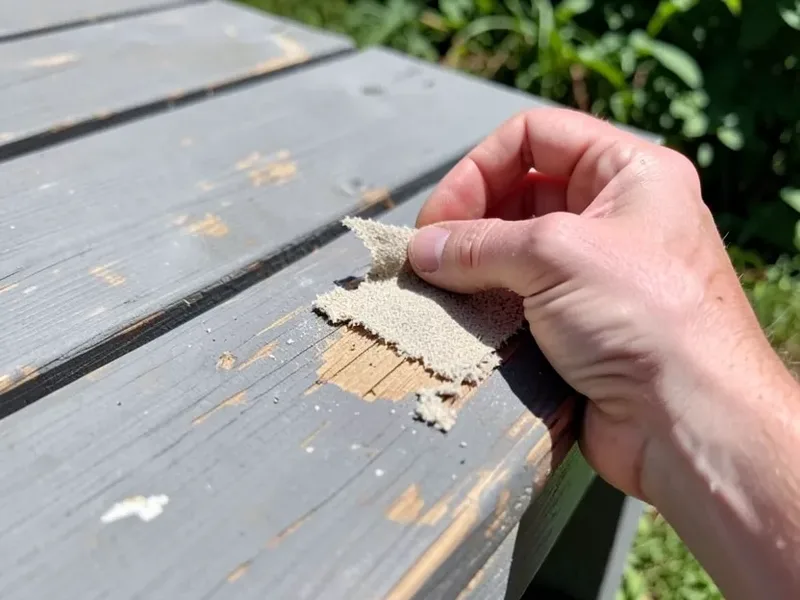
Use a carbide scraper to remove any paint that’s already bubbling, cracking, or flaking – if it’s not firmly stuck now, it definitely won’t hold a new coat on top of it. Then sand the entire surface, not just the damaged spots, with 100 to 120-grit paper. You’re not trying to strip the paint down to bare wood; you’re scuffing the glossy film so it has texture, and feathering the edges where old paint meets bare wood so there’s no visible ridge once you’re done. Vacuum or blow off all sanding dust, then wipe the surface with a tack cloth before continuing – anything left behind gets trapped under the primer.
Step 4: Make Any Necessary Repairs
Fill gouges, popped nail heads, and any spots you sanded down to bare wood with an exterior wood filler. Let it cure fully per the label, then sand it flush with the surrounding surface. Skipping this step leaves low spots that telegraph through the primer and stain, and it gives moisture a place to collect.
Step 5: Apply a High-Quality Bonding Primer
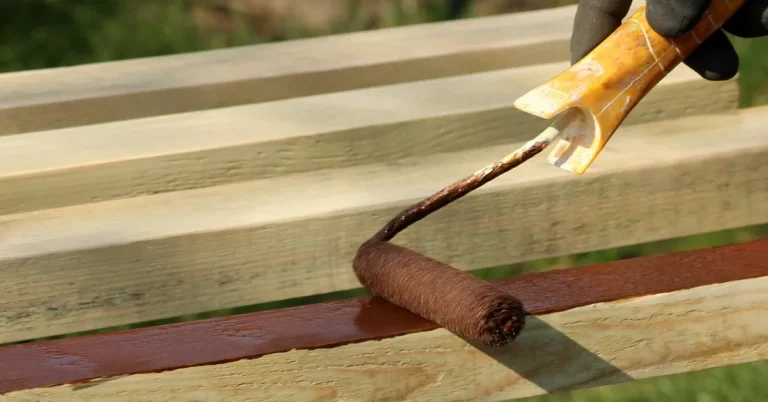
Apply one even coat of bonding primer with a brush or roller, working it into corners and seams where two boards meet. Don’t skip this even if the existing paint looks like it’s in great shape – “looks fine” and “will hold a second product” aren’t the same thing, and the primer is inexpensive insurance against a full redo next year. Respect the label’s dry time before moving to the next step; painting over primer that hasn’t fully cured just adds a soft, easily damaged layer to the stack.
Step 6: Apply the Solid Stain
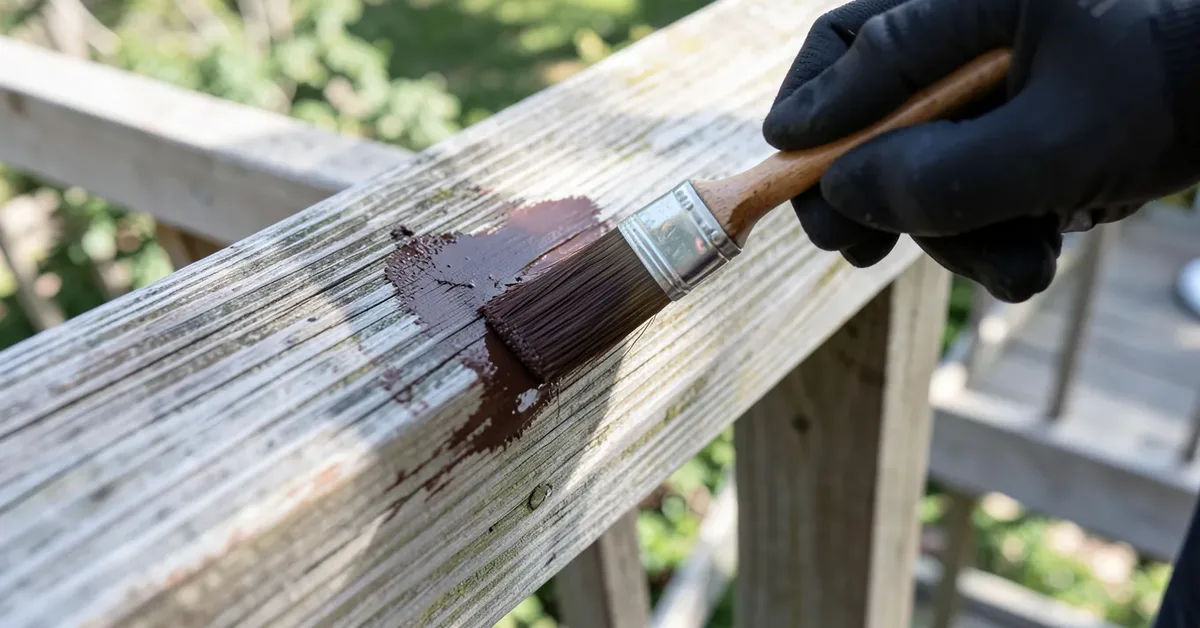
Apply two thin coats rather than one thick one, back-brushing as you go to work the stain into any texture and avoid lap marks. Follow the label’s recoat window between coats, and pick a day with mild temperatures and no rain in the forecast for at least 24 hours – direct sun can cause the stain to skin over before it bonds, and rain before it cures will wash pigment right back out. Once it’s fully cured, the same recoat-timing guidance that applies to bare-wood staining projects applies here too.
Choosing the Right Bonding Primer
Not every bonding primer behaves the same way, and picking the wrong one for your climate or timeline can undo the rest of this prep work.
| Primer Type | Pros | Cons | Best For |
|---|---|---|---|
| Oil-Based Bonding Primer | Excellent adhesion, blocks wood tannins from bleeding through, very durable. | Strong odor, needs mineral spirits for cleanup, longer dry times. | Exterior projects mixing old paint and bare tannin-rich wood like cedar or redwood. |
| Water-Based Acrylic Bonding Primer | Low odor, soap-and-water cleanup, dries fast, stays flexible with the wood. | Slightly less tannin-blocking power than oil-based on raw cedar or redwood. | Most repaint-to-stain projects, especially when you want to recoat the same day. |
For most homeowners tackling a deck rail, fence section, or piece of outdoor furniture, a water-based acrylic bonding primer is the easier choice – it dries fast enough to prime and stain in the same weekend, and it moves with the wood instead of staying rigid against it.
The 2-Minute Cross-Hatch Test: Check If Your Old Paint Is Actually Bonded
Before you commit a whole weekend to this project, it’s worth confirming the existing paint is worth staining over at all. Use a utility knife to cut a small tic-tac-toe grid through the paint down to the wood, in an inconspicuous spot. Press a strip of packing or painter’s tape firmly over the grid, rub it down, then rip it off in one quick motion. If the paint stays put with only a few tiny flecks missing, it’s bonded well enough to prep and stain over. If whole squares lift away with the tape, the paint is already failing on its own, and no amount of sanding or primer will save it – that section needs to be scraped back to bare wood instead of prepped for stain.
Frequently Asked Questions
What is the real difference between solid stain and paint?
Paint forms a thick, non-breathable film on the surface and hides wood grain completely. Solid stain soaks slightly into open grain while leaving a thinner film, so it moves with the wood and still shows a bit of texture underneath the color.
Do I have to remove all of the old paint before applying solid stain?
No. You need to remove loose or failing paint and scuff-sand the rest so it has texture, but firmly bonded paint (confirmed with the cross-hatch tape test above) can stay in place under a bonding primer.
Can I use a semi-transparent stain over paint instead?
Not successfully. Semi-transparent stain is designed to soak into open wood grain and show it through the color – over a painted surface there’s no grain to soak into, so it just beads and wipes around instead of curing properly. Solid stain is the only stain type formulated to sit on a film-forming layer like a bonding primer.
How long will solid stain last over a properly prepped painted surface?
With full prep and a quality bonding primer, most exterior solid stains last 3 to 5 years before they need a maintenance coat, similar to how they’d perform on bare wood. Skip the primer and you’re often looking at peeling within a single season.
What kind of primer is best for this project?
A water-based acrylic bonding primer is the easiest all-around choice for most repaint-to-stain jobs. Switch to an oil-based bonding primer if you’re working over raw cedar or redwood sections that could bleed tannins through, since oil-based formulas block that better.
Is it okay to use a pressure washer to prep the surface?
Yes, with care. Keep the nozzle at least 12 inches away and use a wide fan tip, not a narrow turbo nozzle, so you clean the surface without gouging soft wood fibers or stripping paint unevenly. Let the wood dry 24 to 48 hours afterward before sanding or priming.
Is solid stain more durable than paint?
Not exactly more durable – they fail differently. Paint tends to hold up longer before it fails, but then fails dramatically (chipping, peeling in sheets). Solid stain wears down more gradually through fading, which many homeowners find easier to touch up than a full paint strip-and-redo.
Get a Finish That Actually Lasts
Solid stain over paint fails for one reason almost every time: someone skipped the primer, or skipped sanding, to save an afternoon. Run the cross-hatch tape test first, clean and sand the surface, fill any damage, prime with a product rated for bonding over paint, then apply two thin coats of stain. That order, followed in full, is what separates a finish that looks good for years from one that’s peeling again by next summer.
Sponsored / affiliate links. As an Amazon Associate I earn from qualifying purchases. I may earn additional commission from eligible campaigns.