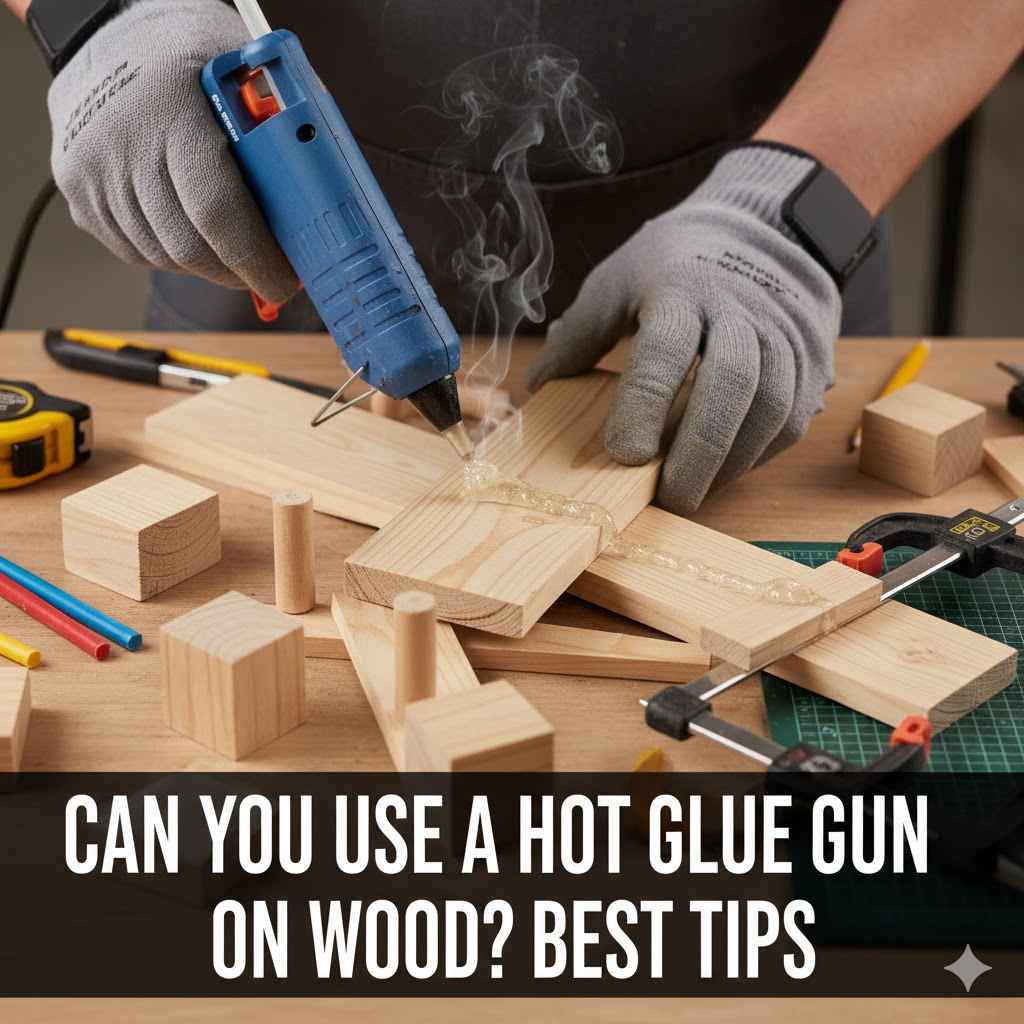
Can You Use a Hot Glue Gun on Wood? Best Tips
Many crafters and DIY enthusiasts wonder, Can You Use a Hot Glue Gun on Wood? Best Tips are essential for anyone new to this technique. Sometimes, it might seem tricky to get a strong bond or avoid messy glue strings.
But don’t worry, it’s actually quite simple once you know a few tricks. We’ll walk you through it step by step, so you can achieve great results every time. Get ready to learn how to make your wood projects stick together beautifully.
Hot Glue Guns And Wood A Great Match
Hot glue guns are a popular tool for many projects, and they work very well with wood. They heat up glue sticks, turning them into a liquid that flows easily. When this liquid glue cools down, it hardens quickly, creating a strong bond.
This makes them perfect for quick fixes or assembling various wooden items. Many people find them easy to use for small crafts and repairs.
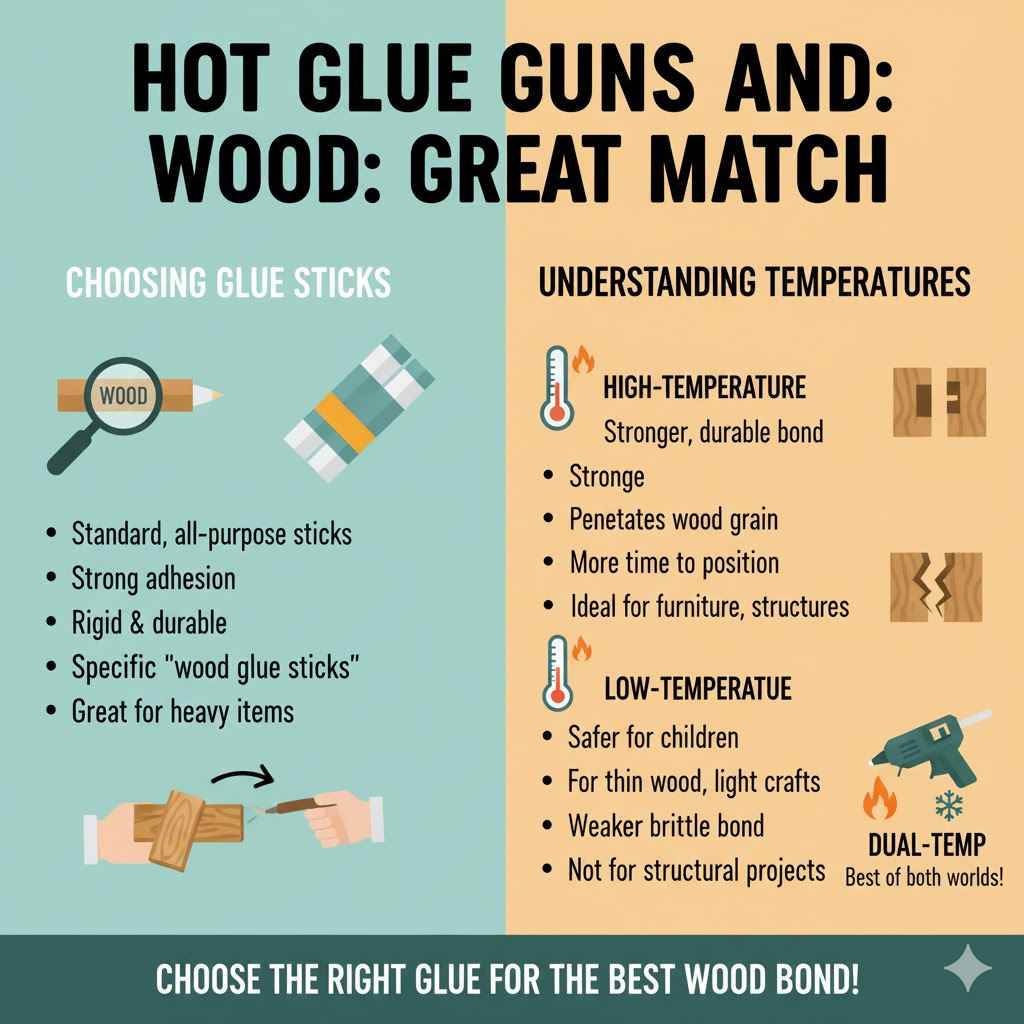
Choosing The Right Glue Sticks For Wood
Not all glue sticks are made the same. For wood, you’ll want to pick glue sticks that are designed for strong adhesion. Some glue sticks are more flexible, while others are designed for rigidity and strength.
For wood projects, especially those that need to hold weight or withstand some movement, a stronger, more rigid glue stick is often the best choice. Some manufacturers even offer specific “wood glue sticks” or “all-purpose” sticks that work well.
- High-Temperature Glue Sticks: These melt at a higher temperature, resulting in a stronger, more durable bond. They are excellent for heavier wood pieces that need to support weight. The hotter glue flows better and creates a more solid connection as it cools. This type of glue is less likely to become brittle over time.
- Low-Temperature Glue Sticks: These melt at a lower temperature and are generally considered less strong. They are better for delicate materials or when you need more time to position pieces. While they can be used on wood for light crafting, they might not be suitable for structural projects. They cool faster, which can be good for quick crafts but bad for large assemblies.
- All-Purpose Glue Sticks: These are a good middle ground and can work for most wood applications. They offer a balance of bonding strength and working time. If you’re unsure, starting with an all-purpose stick is usually a safe bet for general woodworking and crafting. They are versatile for various materials, making them a convenient choice for many crafters.
The Importance Of Glue Gun Temperature
The temperature of your hot glue gun plays a significant role in how well it adheres to wood. High-temperature guns produce hotter glue. This hotter glue can penetrate the wood grain slightly, creating a deeper and stronger bond.
It also stays molten for a bit longer, giving you more time to adjust your pieces. Low-temperature guns are safer for children and delicate materials but may not provide the strongest hold on wood.
- High-Temperature Guns: These are ideal for most wood projects requiring a strong, lasting bond. They are perfect for furniture repair, building small wooden structures, or attaching heavier wooden elements. The heat helps the glue flow into any small gaps in the wood, ensuring a complete seal and maximum adhesion.
- Low-Temperature Guns: These are better for crafts with thin wood or when working with children. They reduce the risk of burns and are less likely to melt or damage delicate wood surfaces. However, the bond might be weaker and more prone to breaking over time, especially under stress.
- Dual-Temperature Guns: Some guns offer both high and low-temperature settings. This versatility allows you to choose the best option for each specific project. You can use the high setting for strength and the low setting for more delicate work or when you need extra working time.
Preparing Your Wood Surface For Hot Glue
Getting the wood ready is a key step for a successful hot glue project. A clean, dry surface ensures the glue can form the strongest possible bond. Dust, oil, or old finishes can prevent the glue from sticking properly.
Taking a few moments to prepare your wood will save you frustration later on.
Cleaning And Drying Wood
Before you apply any hot glue, make sure your wood is clean and completely dry. Dust and debris can create weak spots in the glue bond. If the wood is damp, the water can interfere with the glue’s ability to set properly.
A clean, dry surface allows the hot glue to make direct contact with the wood fibers, leading to a much stronger hold.
- Wipe Down The Surface: Use a clean, dry cloth or a slightly damp cloth to wipe away any dust or dirt. If using a damp cloth, ensure the wood dries fully before gluing. Compressed air can also be useful for blowing away loose dust from cracks and crevices.
- Remove Oil And Grease: If the wood has any oil or grease on it, clean it with a degreaser or rubbing alcohol. Let it dry completely. These substances can act as a barrier, preventing the glue from adhering well to the wood.
- Check For Finishes: If the wood has a glossy finish like varnish or paint, you might want to lightly sand it first. Sanding creates a slightly rougher texture, which gives the hot glue more to grip onto. A fine-grit sandpaper is usually sufficient for this.
Sanding For Better Adhesion
For many wood projects, a light sanding of the surfaces where you’ll apply glue can make a big difference. Sanding creates a slightly roughened texture. This texture gives the hot glue more microscopic points to adhere to, improving the overall strength of the bond.
It’s like giving the glue more tiny anchors to hold onto.
- Choose The Right Grit: Use a medium to fine-grit sandpaper (around 120-220 grit) for most applications. You don’t need to make the wood rough; just a light scuffing is enough. Over-sanding can remove too much material and might create a less appealing surface finish.
- Sand Only Where Needed: Focus your sanding efforts on the exact areas where the glue will be applied. If you’re joining two pieces of wood edge-to-edge, sand the edges. If you’re attaching a decorative piece, sand the back of that piece and the area on the main piece where it will attach.
- Clean Up Sanding Dust: After sanding, it’s crucial to remove all the dust. Use a brush, tack cloth, or compressed air to ensure a clean surface. Any remaining dust will act as a barrier between the glue and the wood, weakening the bond.
How To Apply Hot Glue To Wood For A Strong Bond
Applying hot glue to wood effectively involves more than just squeezing the trigger. There’s a technique to it that helps ensure a strong, lasting connection. From applying the right amount of glue to pressing the pieces together correctly, each step matters.
These tips will help you get a professional-looking finish on your wood projects.
Applying The Right Amount Of Glue
Using too little glue means you won’t get a strong bond. Too much glue can ooze out and make a mess, and it can also be wasteful. The goal is to apply a consistent bead of glue that will spread evenly when the pieces are pressed together.
- Aim For A Steady Bead: Apply a steady, even bead of glue along one surface. Don’t glob it on. Think of it as drawing a line of glue. The width of the bead should be roughly half the width of the material you’re joining.
- Consider The Joint Type: For edge joints, run a bead along the edge of one piece. For surface applications, you might want to create a zigzag pattern to ensure good coverage. This pattern helps spread the glue over a larger area.
- Work Quickly: Hot glue cools fast. Once applied, you have a limited window to join your pieces. Have everything ready before you start applying glue. This ensures you can join the pieces while the glue is still hot and pliable.
Pressing Wood Pieces Together
Once the glue is applied, pressing the pieces together firmly and holding them in place is vital. This action helps spread the molten glue to create maximum surface contact. It also ensures the pieces don’t shift while the glue cools and hardens.
- Apply Firm Pressure: Press the two pieces of wood together with firm, even pressure. Don’t just nudge them; apply enough force to ensure good contact along the entire glued surface. This helps the glue spread out and fill any small gaps.
- Hold Until Set: Hold the pieces in place until the glue has cooled and hardened. This usually takes about 30-60 seconds, but it can vary. If you release them too soon, the bond might not be strong, or the pieces might shift.
- Use Clamps If Needed: For larger or more precise projects, using clamps can be very helpful. Clamps provide consistent pressure over a longer period, ensuring a solid bond. They also allow you to keep your hands free to make any minor adjustments.
Dealing With Glue Strings
One common issue with hot glue is the “glue strings” that can form when you pull the glue gun away. These are thin strands of semi-melted glue. While they don’t usually affect the strength of the bond, they can look messy.
- Quick Pull Away: A quick, decisive pull away from the glued surface can minimize strings. A slow pull tends to draw out more strings. Try to lift the gun straight up or to the side in one smooth motion.
- Twist The Tip: Some crafters find that twisting the tip of the glue gun slightly as you pull away helps to break the strings cleanly. This motion can help to snap the strands of glue rather than stretching them out.
- Trim Excess Glue: Once the glue has cooled, any visible strings or excess hardened glue can be carefully trimmed away with a craft knife or scissors. For a cleaner finish, you can also gently sand them down.
Advanced Hot Glue Techniques For Wood
Beyond basic application, there are ways to use hot glue on wood for more creative and durable results. These methods can enhance the look and strength of your projects. They offer solutions for common challenges and open up new design possibilities.
Creating Strong Wood Joints With Hot Glue
While hot glue is great for many things, it’s not always the primary choice for structural joints that bear significant weight over long periods. However, for many craft and DIY projects, it provides a perfectly adequate and quick join. The key is to prepare the surfaces well and apply the glue correctly.
- Edge-to-Edge Joints: Apply a bead of hot glue along the edge of one piece of wood. Quickly press it against the edge of the second piece. Hold firmly for 30-60 seconds. For added strength, you can also add small wooden dowels or toothpicks into pre-drilled holes along the edge for reinforcement.
- Butt Joints: These are simple joints where one piece of wood butts up against another. Apply glue to the end grain of one piece and press it firmly against the surface of the other. Clamps are highly recommended for butt joints to ensure sustained pressure while the glue sets.
- Reinforcement Techniques: To make hot glue joints even stronger, consider using reinforcing materials. Small brads, nails, or even small wooden blocks glued across the joint can provide extra support. These act like internal braces, distributing stress and preventing the glue from failing.
Using Hot Glue For Wood Inlays And Decorations
Hot glue is excellent for attaching decorative elements to wood surfaces. This includes small wooden shapes, beads, or even creating textured patterns. Its quick-setting nature means you can add multiple elements without long drying times.
- Attaching Small Embellishments: Apply a small dot of hot glue to the back of a wooden embellishment (like a button, a small carving, or a thin wooden cutout) and press it onto the wood surface. Hold it in place until it cools and sticks.
- Creating Raised Designs: You can use a glue gun to “draw” designs directly onto a wood surface. Apply the glue in patterns or lines, then you can paint over it once it’s cool. This creates a raised texture that adds depth and dimension to your artwork.
- Filling Small Gaps Creatively: Sometimes, you might have tiny gaps or imperfections in wood that you want to fill. Hot glue can be used for this, especially if you plan to paint over it. Apply the glue, let it cool, then carefully sand it smooth and paint.
When Hot Glue Might Not Be Enough
While hot glue is versatile, it’s important to know its limitations, especially when working with wood. For projects that require extreme durability, structural integrity, or exposure to harsh conditions, other adhesives might be more suitable. Hot glue is generally best for crafts, light repairs, and temporary fixes.
- High-Stress Structural Joints: If you’re building something that needs to support a lot of weight or endure significant physical stress, like a load-bearing shelf or a chair leg, hot glue might not be strong enough on its own. Traditional wood glues or mechanical fasteners (screws, nails) are better for these applications.
- Outdoor Projects or High Moisture Areas: Hot glue can degrade over time when exposed to moisture and extreme temperatures. If your wood project will be used outdoors or in a humid environment, a waterproof wood glue or epoxy would be a more durable choice.
- Fine Woodworking And Antiques: For fine woodworking where precise joints and long-term archival quality are important, hot glue is generally avoided. Traditional woodworking glues offer better strength, reversibility, and longevity.
Can You Use A Hot Glue Gun On Wood? Best Tips
When asking, Can You Use a Hot Glue Gun on Wood? Best Tips are here to guide you. We’ve explored how to prepare your wood, choose the right glue sticks, and apply them for the strongest possible bond.
Remember that preparation is key for a good outcome. Cleaning and lightly sanding your wood surface can make a big difference.
Real-Life Examples And Case Studies
Let’s look at how hot glue is used effectively with wood in common scenarios. These examples show its practical application in everyday projects.
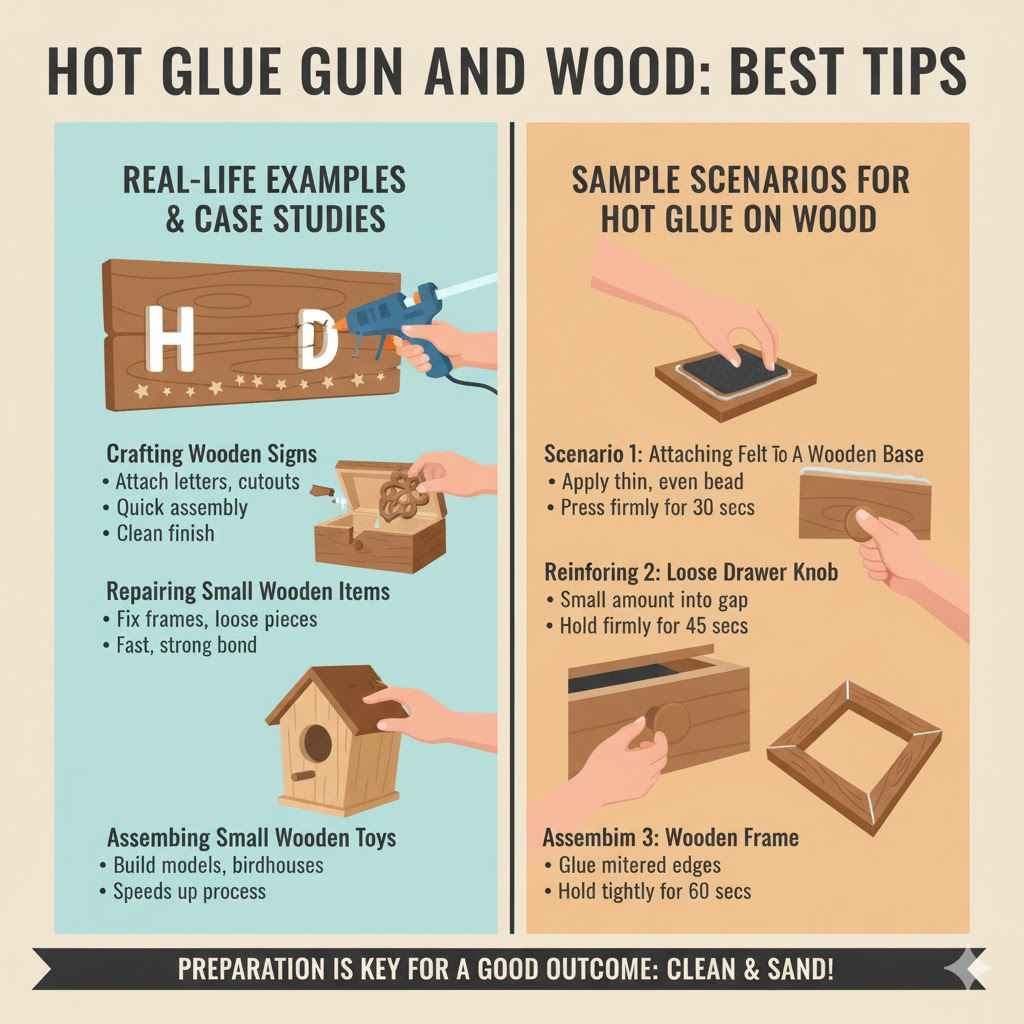
- Crafting Wooden Signs: Many DIY enthusiasts create wooden signs for home decor. They often attach wooden letters, cutouts, or decorative trim to a base wooden board using a hot glue gun. The quick bonding time allows them to assemble the sign rapidly, and the glue holds the lightweight elements securely. For instance, a crafter might glue small wooden stars around the edges of a painted wooden sign for a festive look. The glue strings are trimmed, and the resulting sign looks professionally made.
- Repairing Small Wooden Items: A broken wooden picture frame or a loose decorative piece on a wooden box is a common household issue. Hot glue is perfect for these quick repairs. A user might apply hot glue to reattach a broken filigree piece on a wooden jewelry box. They hold it in place for a minute, and it’s as good as new. The speed of the fix is invaluable for minor damages.
- Assembling Small Wooden Toys Or Models: Hobbyists building small wooden models or simple toys often use hot glue for assembly. For example, when building a birdhouse from a kit, hot glue can be used to attach small decorative pieces or even to reinforce seams on lighter parts. This speeds up the building process significantly compared to waiting for traditional glues to dry.
Sample Scenarios For Hot Glue On Wood
Here are a few situations where using a hot glue gun on wood is a great idea:
Scenario 1 Attaching Felt To A Wooden Base: You’re creating a small wooden display stand and want to add a felt lining to protect items placed on it. Clean and dry the wooden surface. Apply a thin, even bead of hot glue around the edges and a few lines across the center of the wood. Carefully press the felt onto the glue, smoothing it out as you go. Hold firmly for about 30 seconds. Trim any excess felt.
Scenario 2 Reinforcing A Loose Wooden Drawer Knob: A wooden drawer knob has become loose. You don’t want to use screws for aesthetic reasons. Gently pull the knob away from the drawer front to create a small gap. Apply a small amount of hot glue into the gap on the side that connects to the drawer front. Quickly press the knob back into place and hold firmly for 45 seconds until the glue sets.
Scenario 3 Assembling A Simple Wooden Craft Project: You’re making a small wooden picture frame for a school project. Apply a bead of hot glue along the mitered edge of one frame piece. Immediately press it firmly against the mitered edge of the adjoining piece. Hold tightly for 60 seconds. Repeat for all four corners, ensuring each joint is strong before moving to the next.
Frequently Asked Questions
Question: Is hot glue strong enough for wood furniture repair
Answer: For minor cosmetic repairs or reattaching loose decorative parts on wood furniture, hot glue can be sufficient. However, for structural repairs or areas that bear weight or stress, traditional wood glues or mechanical fasteners are much stronger and more reliable.
Question: Can I paint over hot glue on wood
Answer: Yes, you can paint over hot glue on wood once it has cooled and hardened completely. For a smoother finish, you might want to lightly sand the glued area first. Ensure the paint is suitable for the type of wood and the glue surface.
Question: What is the difference between high-temp and low-temp hot glue for wood
Answer: High-temperature hot glue melts at a higher temperature, creating a stronger, more durable bond that is excellent for most wood projects needing strength. Low-temperature hot glue melts at a cooler temperature, is less strong, and is better for delicate materials or when working with children.
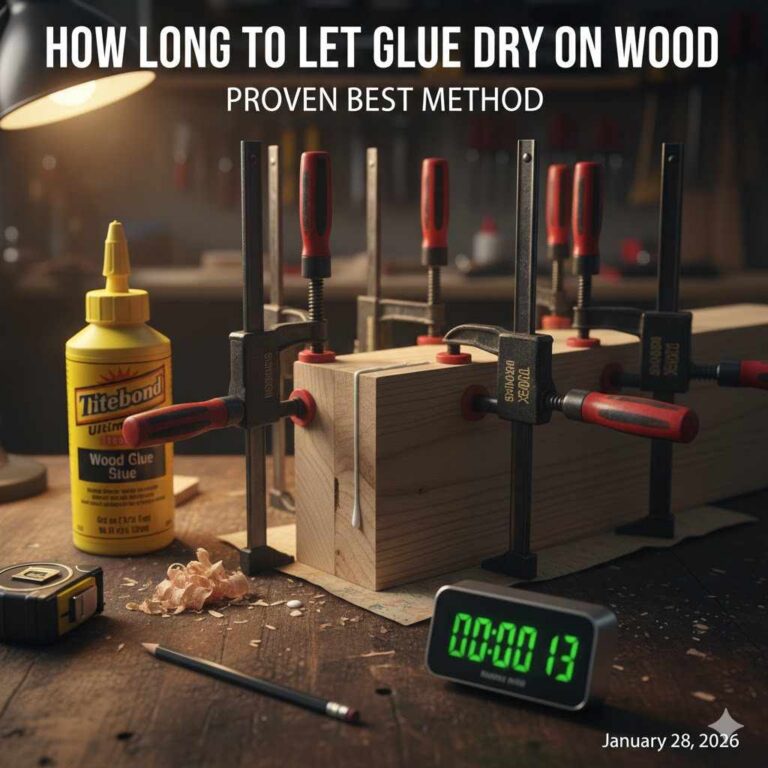
Question: How long does hot glue take to dry on wood
Answer: Hot glue cools and hardens relatively quickly, usually within 30-60 seconds. However, it can take up to 24 hours for the bond to reach its maximum strength. For most craft and repair purposes, holding the pieces together for about a minute is enough.
Question: Can hot glue be used on stained or painted wood
Answer: Yes, hot glue can be used on stained or painted wood. However, for best adhesion, especially on glossy finishes, lightly sanding the area where the glue will be applied can improve the bond. Ensure the paint or stain is fully cured and dry.
Wrap Up
So, yes, you can use a hot glue gun on wood, and with the best tips, it’s a fantastic tool. Remember to clean and prep your wood, choose the right glue sticks, and apply with a steady hand. Holding the pieces firmly as the glue sets is key to a strong bond.
Enjoy creating and repairing your wood projects with confidence.