Danish Oil Dry Time in Cold Weather: Wait Times and Cures
In cold, damp, unheated spaces, Danish oil often needs about 24 to 72 hours between coats and may take about a week or more to stop feeling oily; if it is still tacky after 48 hours, warm the space or switch to a faster-drying finish. Rushing it can leave sticky surfaces, dust nibs, and a soft film that never cures properly. This guide gives wait times, grain-specific warning signs, and a simple rule for deciding whether to wait, heat the space, or change finishes.
Cold-weather behavior

- Faster absorption and curing than typical oil finishes
- Can be used on bare wood or over an existing finish
- Food-safe and non-toxic for many woodworking projects
Danish oil is an oil/varnish blend. It penetrates wood fibers, then leaves a thin residue after you wipe it back, so it does not build the same heavy film you get from a dedicated varnish. That matters in cold air, because slow evaporation and slow oxidation stretch the time before the surface feels dry enough for the next coat.
Cold changes the finish in three ways. Lower temperature slows curing, damp air slows release of the solvent component, and weak airflow leaves wet vapor near the surface. Overnight lows are a separate risk: a coat that seems ready at dusk can turn tacky again by morning if the shop drops sharply after sunset.
Humidity also changes how the wood drinks the oil. Low humidity can help the surface dry faster, but it can also make thirsty end grain pull finish unevenly, which means the panel may look dry in one area and still wet in another. That is why walnut face grain and walnut edge or end grain do not belong on the same schedule.
How cold air changes drying
Cold air does not just slow the clock. It changes how evenly the finish sets up, especially on mixed-grain parts and in unheated shops where the temperature swings hard between day and night. A coat that looks acceptable at 60°F can still stay oily at 40°F if airflow is poor and the wood has a lot of exposed end grain.
Temperature
As temperature drops, wait time rises. The change is not linear from one coat to the next, because a cooler room also keeps more oil at the surface longer. That leaves more residue to wipe, and more residue means a longer path to a dry, non-tacky finish.
Relative humidity
Dry air can help the surface set faster, but it does not fix a cold shop. One forum contributor described a shop held under 30% humidity by a dehumidifier, yet the wood still showed absorption times ranging from 3 hours to a day depending on density. That spread is exactly why grain type matters.
Airflow and overnight low risk
Air movement matters because it clears lingering solvent and slows the return of surface oil. Gentle ventilation is useful. A sudden overnight drop is not. If the room warms during the day and cools hard at night, use the nighttime low, not the daytime high, as your real drying condition.
How should you apply Danish oil in a cold shop?
Flood the surface, let the wood soak up what it can for 15-20 minutes, then wipe until no liquid remains. In cold weather, the wipe-back step matters more, not less, because a thick surface layer turns sticky faster than a thin one. Do not leave puddles or a glossy wet skin on top of the wood. (Finewoodworking)
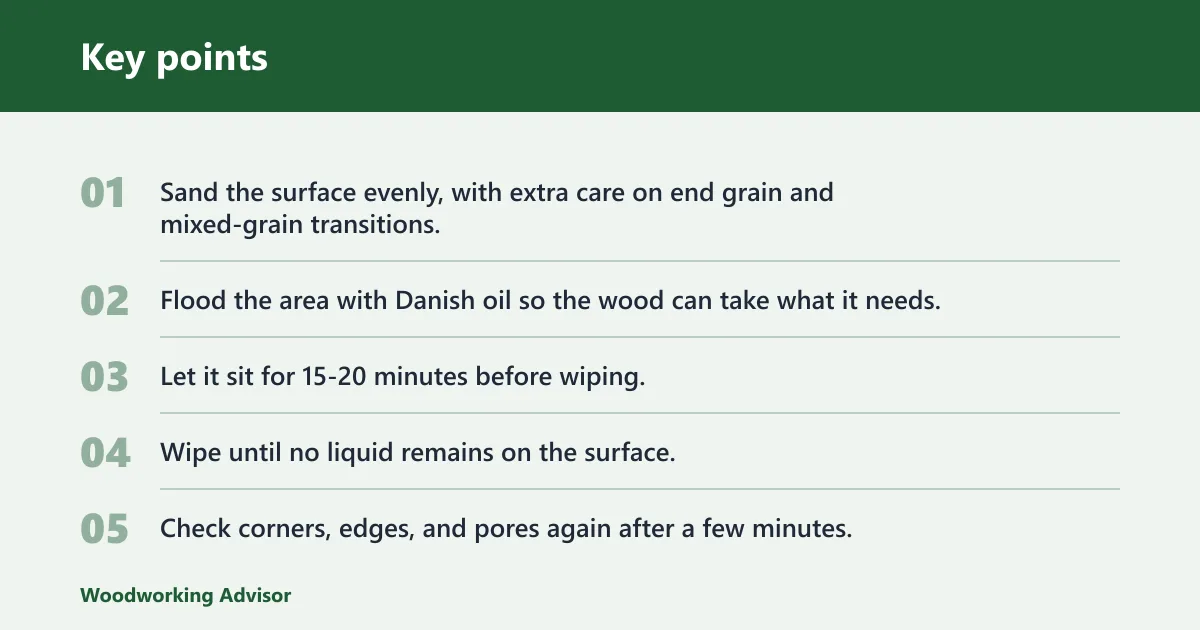
- Sand the surface evenly, with extra care on end grain and mixed-grain transitions.
- Flood the area with Danish oil so the wood can take what it needs.
- Let it sit for 15-20 minutes before wiping.
- Wipe until no liquid remains on the surface.
- Check corners, edges, and pores again after a few minutes.
- Only add a second pass if the wood has clearly taken the first coat and the surface is no longer wet.
For walnut end grain, extra sanding before oiling helps the finish spread more evenly. One contributor said walnut end grain needs to be sanded almost polished before oiling. That is sensible because end grain behaves like a bundle of open straws, and rough scratch marks give the oil even more places to pool.
Say your walnut tabletop has a face-grain center panel and exposed end-grain breadboard edges. The center may look ready the next day, while the edges still appear darker and oily. Treat those areas as separate drying zones, not one uniform surface.
End grain needs a different schedule
End grain absorbs more finish than face grain, dries unevenly, and often needs repeated saturation before it looks even. On walnut, that difference shows up fast: face grain may settle cleanly after a wipe-back, while edge grain keeps drinking oil and stays glossy or patchy longer.
That is why end grain often needs extra sanding, a longer soak, and a longer wait before the next coat. If you stop at the first dry-looking patch, the surrounding fibers can still be pulling oil from below the surface, which leads to blotchy sheen and sticky spots.
What uneven absorption looks like
Uneven absorption shows up as dark islands, dull dry patches beside shiny ones, or a surface that feels dry in the middle but tacky at the edges. One forum post noted pieces drying for about 36 hours and still showing dry patches. That symptom usually means the coat spacing was too short for the room conditions or the grain mix.
Dry-time matrix
This matrix gives a practical starting point for cold-shop scheduling. Use the lowest likely overnight temperature, not the warmest hour of the day. If humidity is high, airflow is poor, or the work includes a lot of end grain, move to the longer end of each range.
| Ambient temp | Face grain | End grain | Mixed-grain project | Minimum wait between coats | Tackiness check before recoating |
|---|---|---|---|---|---|
| 40°F | 36-48 hours | 48-72 hours | 48-72 hours | 48 hours minimum | Press a clean fingertip on an inconspicuous spot; if it drags, feels cool and oily, or leaves a print, wait longer. |
| 50°F | 24-36 hours | 36-48 hours | 36-60 hours | 36 hours minimum | The surface should feel dry and smooth, with no slip under light finger pressure. |
| 60°F | 18-24 hours | 24-36 hours | 24-48 hours | 24 hours minimum | If the sheen still wipes off on a clean cloth or the surface feels tacky, wait another cycle. |
These are wait times between coats, not full cure times. Full cure still takes longer, especially before any topcoat. If the room stays damp or the wood keeps weeping oil, a longer wait is safer than forcing the next coat on top of a soft surface.
How long between coats?
At a minimum, use the matrix above. In real cold-shop work, 24 to 72 hours between coats is common, and 48 hours is a safer floor when temperature sits near 40°F. If a coat still feels oily after that, the problem is not patience alone; the room or the finish schedule needs to change.
One user recommended letting Danish oil dry at least 48 hours between coats, and that advice fits cold conditions better than the fast-dry schedules often printed for warmer shops. The shorter the grain stays wet, the less chance there is for dust nibs and sticky overlap marks.
When to stop recoating and wait longer
Stop recoating if the surface still feels slick, if a cloth picks up residue, or if the sheen changes as you rub it with a dry fingertip. That is a sign the oil is still moving to the surface. Additional coats on top of that can trap uncured oil and make the finish feel gummy for days.
If you are finishing a small box or tray in a cold basement, one coat may look fine after a day on the flat faces but stay soft in the corners. That is a mixed-grain problem, not a product defect. Wait for the corners to pass the tackiness check before you add more oil.
When should you warm the space or switch finishes?
Warm the space when the finish is still tacky after 48 hours, when overnight lows keep pulling the surface back into a wet state, or when end grain keeps weeping while the face grain looks ready. Switch finishes when you need a predictable dry window that a cold shop cannot provide.
Signs the oil is still weeping
Weeping shows up as shiny spots that do not level, a cloth that comes away dark, or dry patches next to slick areas. That uneven behavior usually means the surface layer is thin in some places and overloaded in others. More wipe-back time helps only if the room is warm enough for the coat to finish setting.
When airflow is enough
Airflow is enough when the room is cool but stable, the surface is only slightly slow, and the finish is no longer moving back to the touch after several hours. A fan that moves air across the room, not directly at the piece, can shorten the lag between coats without crusting the surface.
When a different finish is the better choice
If the project must be done in a very cold, damp shop and cannot wait through repeated 48-hour cycles, switch to a finish with a schedule that better fits the space. Danish oil is useful, but it is not the best choice when you need a hard deadline and the room keeps falling below a workable temperature.
For a Varathane topcoat, wait until the Danish oil is fully dry, not just dry to the touch. Oil-based and water-based topcoats both need a stable, cured base. If the oil is still soft, the topcoat can wrinkle, bond poorly, or stay gummy along the grain.
Frequently asked questions
How long for danish oil to dry
Dry time depends on temperature, humidity, airflow, and grain. In cold weather, a practical range is 24 to 72 hours between coats, with 48 hours a safer minimum near 40°F. Full cure takes longer, especially in unheated spaces and on end grain.
How long between coats of danish oil
Use 36 to 48 hours in a cool shop, and lengthen that to 48 to 72 hours near 40°F or on thirsty mixed-grain work. If the surface still feels oily, sticky, or cool under a fingertip, do not add another coat yet.
How is danish oil applied?
It is applied by flooding the surface, letting the wood absorb what it needs, and wiping away the rest. That wipe-on, wipe-off method matters most on end grain and in cold shops, where puddles dry slowly and can stay sticky for days.
Danish oil vs varnish
Danish oil penetrates and leaves a thin residue, while varnish builds a thicker surface film. That makes Danish oil easier to wipe cleanly and better for a lower-build look, but it also means you should not expect the same film thickness or weather protection as a dedicated varnish.
Is Danish oil suitable for outside use?
Not as a stand-alone weatherproofing finish. It can be used on some outdoor projects if the schedule and maintenance plan fit, but it does not form a heavy protective film. For exposed outdoor work, choose a finish system made for exterior conditions.
Sponsored / affiliate links. As an Amazon Associate I earn from qualifying purchases. I may earn additional commission from eligible campaigns.