Rust-Oleum Cabinet Transformations Review: Does It Work?
Rust-Oleum Cabinet Transformations is worth considering for lightly worn cabinets that need a budget refresh, not a structural repair. It works best when the doors are sound, the surface cleans well, and you can leave enough cure time before hard use. Rushed prep or a busy kitchen raises failure risk fast.
Verdict

Based on the published system details, this is a multi-step cabinet refinishing kit with a cleaner-degreaser, bond coat, optional glaze, and protective top coat. It can save a usable set of wood, laminate, melamine, or metal cabinets from being replaced too soon, but it is less forgiving on dark-to-white conversions and on sink-bay wear.
Pros
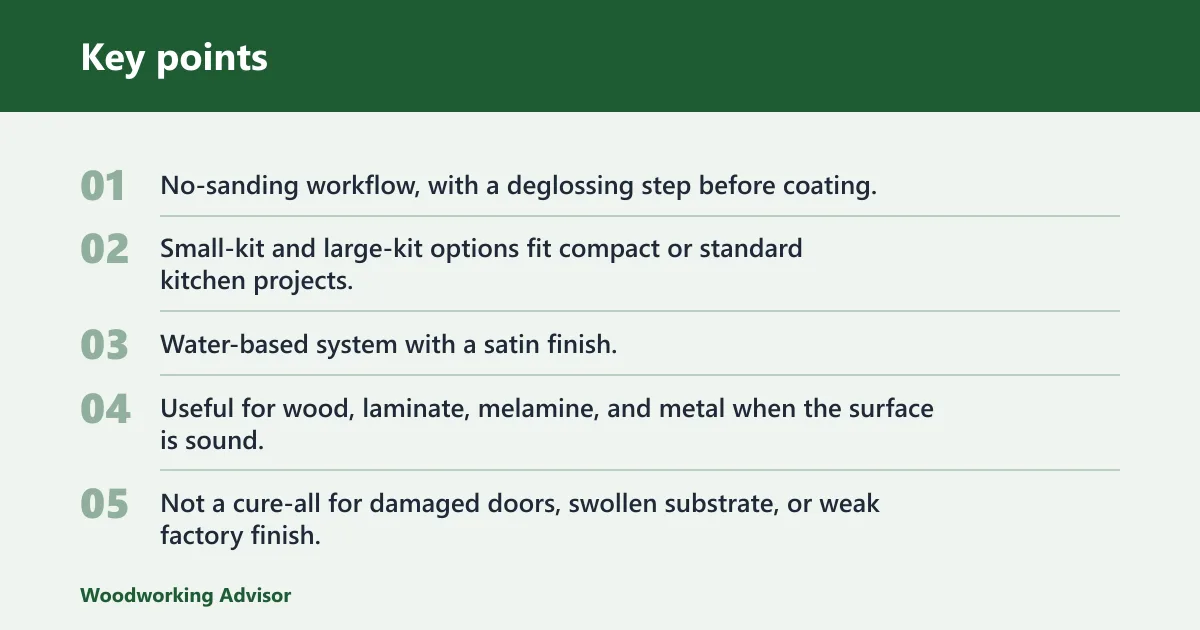
- No-sanding workflow, with a deglossing step before coating.
- Small-kit and large-kit options fit compact or standard kitchen projects.
- Water-based system with a satin finish.
- Useful for wood, laminate, melamine, and metal when the surface is sound.
Cons
- Not a cure-all for damaged doors, swollen substrate, or weak factory finish.
- Brush marks, bubbles, and topcoat streaking can show if application is rushed.
- White tint jobs can yellow or read uneven on some woods.
- Touch-ups get harder after glaze and top coat are on.
Specs at a glance
| Spec | Detail |
|---|---|
| System type | Multi-step cabinet refinishing kit |
| Prep step | Cleaner-degreaser and deglosser |
| Base coat | Bond coat |
| Optional finish step | Glaze |
| Protective layer | Top coat |
| Finish | Satin |
| System base | Water-based |
| Small kit coverage | Up to 100 sq ft |
| Large kit coverage | Up to 200 sq ft |
| Small kit price | $75 to $95 |
| Large kit price | $130 to $160 |
| Bond coat recoat window | 2 to 3 hours |
| Glaze dry time before top coat | 8 hours |
| Rehanging doors | About 12 hours |
| Full cure | 7 days |
| Compatible substrates | Wood, laminate, melamine, metal |
Does Rust-Oleum Cabinet Transformations really work?
Yes, it can work on kitchen cabinets when the substrate is sound and the prep is careful. The best results come on doors and frames that are clean, intact, and not exposed to constant water or impact. It is less dependable on damaged edges, swollen particleboard, or a kitchen that gets rough daily traffic.
A common first-timer mistake is treating the no-sanding claim as a shortcut around prep. The system still depends on removing grease, dulling the existing finish with the deglosser, and giving each coat its time. If you skip that part, the coating may look fine at first and then fail early.
Best-case results
On a small or standard kitchen with sound wood or laminate doors, the kit can produce a satin cabinet finish that reads like a refinish job instead of a quick craft repaint. That is most likely when you keep the color change moderate, use the right number of coats, and respect the cure schedule.
Where it falls short
It falls short when the project asks too much from a light-duty coating. Dark-to-white conversions, sink-base cabinets, and trash pull-outs are harder on the film. The system can still be used there, but the odds of visible wear, staining, or edge damage rise quickly.
Who it
This kit suits DIY homeowners who want a lower-cost cabinet refresh and can follow a multi-step process without rushing. It is a better fit for sound wood, laminate, melamine, or metal cabinets with light to moderate wear than for cabinets that need repair, filler work, or a heavy-duty factory-style finish.
It is not the right choice if the boxes are water-damaged, the doors are badly nicked, or the kitchen sees heavy impact at every handle and corner. In that case, a true cabinet enamel system or a primer-plus-paint approach is usually the better buy.
Pros and cons for the right buyer
- Best fit: sound cabinets, moderate traffic, and a budget refresh.
- Not ideal: damaged surfaces, extreme wear, or projects that need easy future touch-up.
What works
The strongest part of the system is that it packages the steps into one cabinet-focused process. You clean and degloss first, then apply bond coat, then add glaze if desired, and finish with the top coat. That sequence is straightforward for a beginner who can stay organized and keep surfaces dust-free.
It also helps that the system is described as no-sanding. That does not mean no prep. It means you still need to clean grease and grime, remove hardware, provide ventilation, and wear PPE while working. Those details matter more than the label.
Prep and workflow
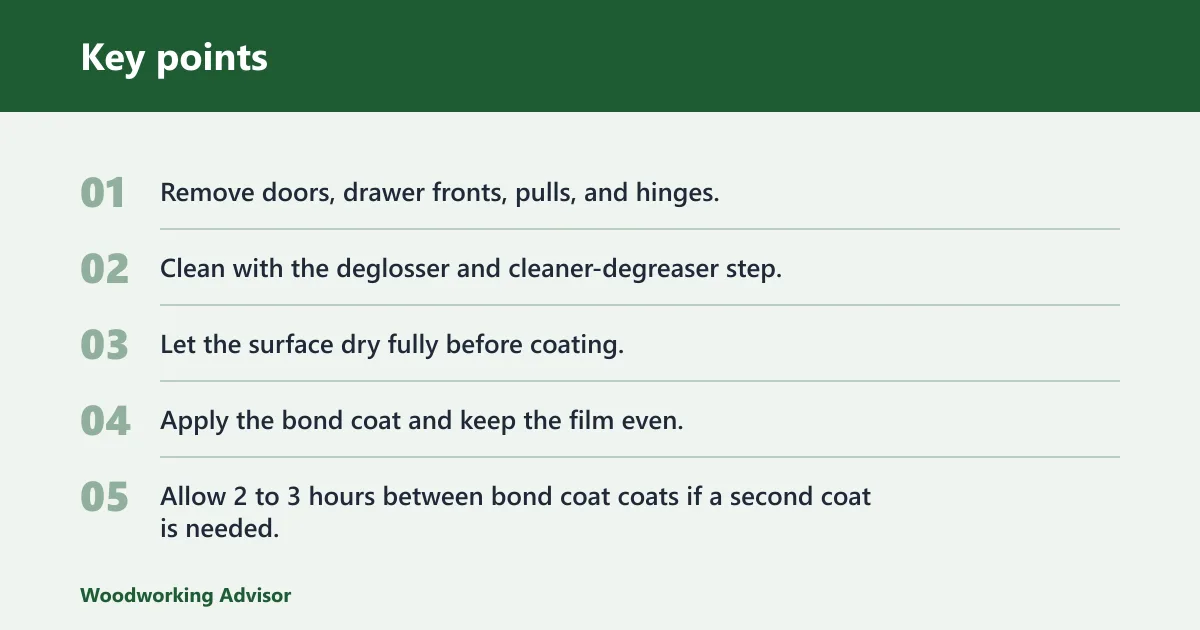
- Remove doors, drawer fronts, pulls, and hinges.
- Clean with the deglosser and cleaner-degreaser step.
- Let the surface dry fully before coating.
- Apply the bond coat and keep the film even.
- Allow 2 to 3 hours between bond coat coats if a second coat is needed.
- If using glaze, let it dry 8 hours before the top coat.
- Rehang doors after about 12 hours, then avoid hard use until full cure.
Color and finish behavior
The satin finish is more forgiving than a high-gloss cabinet paint because it hides minor surface variation a little better. Even so, brush marks and bubbles can show if the coat is too thick or the room conditions are poor. Topcoat streaking is also a real risk on large flat panels.
Suppose you are turning medium oak uppers white in a busy galley kitchen. The color shift is more demanding than repainting a cream cabinet to a deeper neutral, so any tannin bleed or uneven coverage will be easier to spot and harder to correct later.
What does not?
The biggest drawback is durability in high-wear zones. Sink bases, trash pull-outs, and edge-bump areas take repeated moisture, rubbing, and contact. Those zones are where a budget refinishing system is most likely to show wear first, even if the rest of the kitchen still looks good.
Another weak spot is repairability. Once glaze and top coat are on, touch-up becomes harder to match cleanly. Small misses may be easy to fix right away, but later repairs can flash, streak, or sit differently than the original film.
Common finish problems
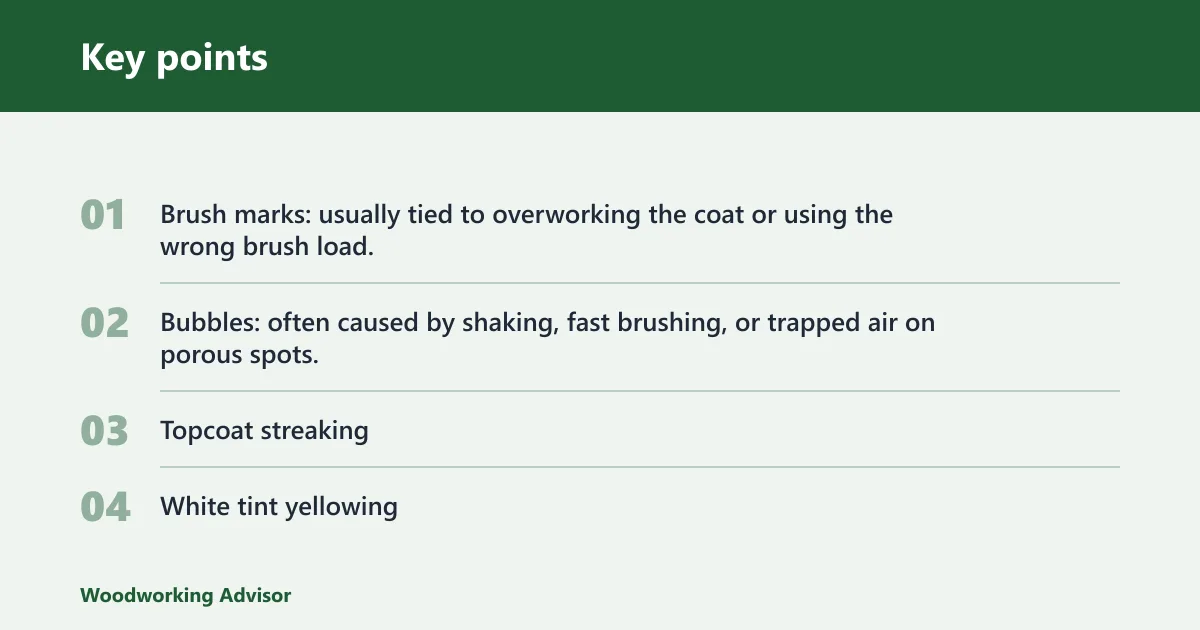
- Brush marks: usually tied to overworking the coat or using the wrong brush load.
- Bubbles: often caused by shaking, fast brushing, or trapped air on porous spots.
- Topcoat streaking: more visible on large, flat doors and painted end panels.
- White tint yellowing: a risk on some woods, especially where stain or tannin bleed is present.
Why white-over-oak needs caution
White over oak or any tannin-prone wood is not a low-risk project. A separate bonding primer or stain-blocking workaround may be needed if the substrate wants to bleed through, because a light top color makes that problem easy to see. That is one of the clearest cases for choosing a more traditional cabinet system.
Cabinet Transformations decision table
| Cabinet substrate | Kitchen traffic level | Color change severity | Likely coat count | Cure timeline | Call |
|---|---|---|---|---|---|
| Wood, sound finish | Low to moderate | Light to moderate | 1 to 2 bond coats, glaze optional | Rehang around 12 hours; full cure 7 days | Buy |
| Laminate, well-adhered surface | Low | Moderate | 2 bond coats | Rehang around 12 hours; full cure 7 days | Buy, if prep is careful |
| Melamine, intact edges | Low to moderate | Moderate | 2 bond coats | Rehang around 12 hours; full cure 7 days | Buy, with caution |
| Metal cabinets | Low | Light to moderate | 1 to 2 bond coats | Rehang around 12 hours; full cure 7 days | Buy only if rust is controlled |
| Wood, tannin-prone oak, white finish | Any | Dark to white | Often more than 2 steps after stain-blocking work | Extra prep plus full cure 7 days | Upgrade |
| Damaged, swollen, or peeling doors | Any | Any | Not a good fit | Not a cure issue; substrate is the issue | Skip |
How to read the table
Small kitchens with a modest number of doors and drawer fronts fit the small kit more naturally, while a standard kitchen with full uppers, lowers, and frame work usually points to the large kit. Coverage is about 100 sq ft for the small kit and about 200 sq ft for the large kit, but heavy color changes and detailed frames eat that margin fast.
Rustoleum cabinet transformations review checklist
- Sink cabinets: moisture, leaks, and hand contact make them a high-risk wear zone.
- Dark-to-white conversions: reveal bleed-through, uneven coverage, and missed sanding substitutes faster than darker colors.
- White-tint yellowing: can show where tannins, old stain, or uneven cure affect the film.
How durable is rust-Oleum cabinet transformations?
Durability is acceptable for light to moderate daily use after the coating fully cures, but it is not a forever finish. A review calling it a refresh, not a forever finish, matches the practical reality: the coating can hold up for everyday cabinet use, yet high-contact areas will wear sooner than the less touched parts of the kitchen.
The split that matters is between looking finished and being fully cured. You can often rehang doors after about 12 hours, but the top coat is not hard for 7 days. Treating it as finished on day one is how soft film, marking, and edge wear show up too early.
Wear zones to watch
Daily use is hardest on door edges, pull points, toe-kick areas, sink bases, and trash pull-outs. Those surfaces take the most abuse from hands, water, hinges, and bins. If your kitchen sees constant traffic in those spots, a stronger cabinet enamel system is the safer choice.
Touch-up limitations
Touch-ups are most manageable before glaze and top coat are applied. After those layers go on, matching sheen and color gets harder. That matters if you expect future repairs, because a small scratch may turn into a visible patch rather than a clean fix.
Should you buy it?
Buy it if your cabinets are structurally sound, your traffic level is light to moderate, and you want a cabinet refresh that follows a defined step sequence. It is also a reasonable option if you need to cover a small kitchen or a modest standard kitchen and can accept a satin finish with some application sensitivity.
Skip it or upgrade if you need a harder finish, have water damage, want a dark-to-white conversion on tannin-prone wood, or need easy future touch-up. In those cases, a true cabinet enamel or primer-plus-paint system is the more reliable buy.
Alternatives
Rust-Oleum Cabinet Transformations & Trim Paint in Pure White is the more direct color-finish route if you want a cabinet coat rather than the full multi-step kit. Based on the published specs and buyer feedback, it is aimed at a smoother painted look and normal household use, but it still depends on careful prep and does not solve substrate problems.

Rust-Oleum Chalked Matte Clear Top Coat is a different kind of add-on than the cabinet kit. It is useful when you want a protective clear layer with low odor and fast dry-to-touch timing, but it is not a complete cabinet refinishing system on its own. The drawback is simple: it does not replace a bond coat or solve adhesion by itself.
Frequently asked questions
Does Rust-Oleum Cabinet Transformations really work on kitchen cabinets?
Yes, it can work on sound kitchen cabinets, especially wood or laminate that are clean and lightly worn. It is less suited to damaged doors, heavy-impact kitchens, or jobs where prep is rushed. The result depends more on surface condition and cure time than on the label alone.
How durable is Rust-Oleum Cabinet Transformations after months of daily use?
It can hold up in moderate daily use once fully cured, but wear usually appears first in sink bases, trash pull-outs, corners, and high-touch edges. It is best thought of as a refresh system with normal household durability, not a replacement for a harder cabinet enamel in rough-use kitchens.
Do you really have to sand cabinets before using Rust-Oleum Cabinet Transformations?
The kit is sold as a no-sanding system, but that does not eliminate prep. You still need to clean grease and grime, use the deglosser, and remove hardware before coating. If the surface is damaged or peeling, skipping sanding does not solve the underlying problem.
How much does Rust-Oleum Cabinet Transformations cost?
The small kit is priced at $75 to $95, and the large kit is priced at $130 to $160. That makes it a budget-minded refresh option, but cost should be weighed against fit, substrate condition, and whether a tougher enamel system would reduce future repair work.
How long does Rust-Oleum Cabinet Transformations take to cure?
The bond coat has a 2 to 3 hour recoat window, glaze needs about 8 hours before the top coat, and doors can be rehung after about 12 hours. Full cure takes 7 days, and that final stage is the one that matters for hardness and resistance to daily wear.
Can Rust-Oleum Cabinet Transformations be used on laminate or melamine?
Yes, the system is listed for laminate and melamine as well as wood and metal. The catch is condition: the surface must be intact, well cleaned, and free of loose edges or damage. Good adhesion depends on the existing finish staying sound through prep and cure.
Which Rust-Oleum Cabinet Transformations kit size do I need for my kitchen?
Choose the small kit for up to 100 sq ft and the large kit for up to 200 sq ft, but measure doors, drawer fronts, and frames rather than guessing by room size alone. A small kitchen can still need the large kit if you have many fronts, tall uppers, or detailed frame work.
What are the most common problems with Rust-Oleum Cabinet Transformations?
The most common problems are brush marks, bubbles, streaking, white tint yellowing, and weak touch-up matching after glazing. Coverage can also run short if you underestimate cabinet surface area. Most of these issues trace back to prep, application technique, or using the finish before it has fully cured.
Sponsored / affiliate links. As an Amazon Associate I earn from qualifying purchases. I may earn additional commission from eligible campaigns.