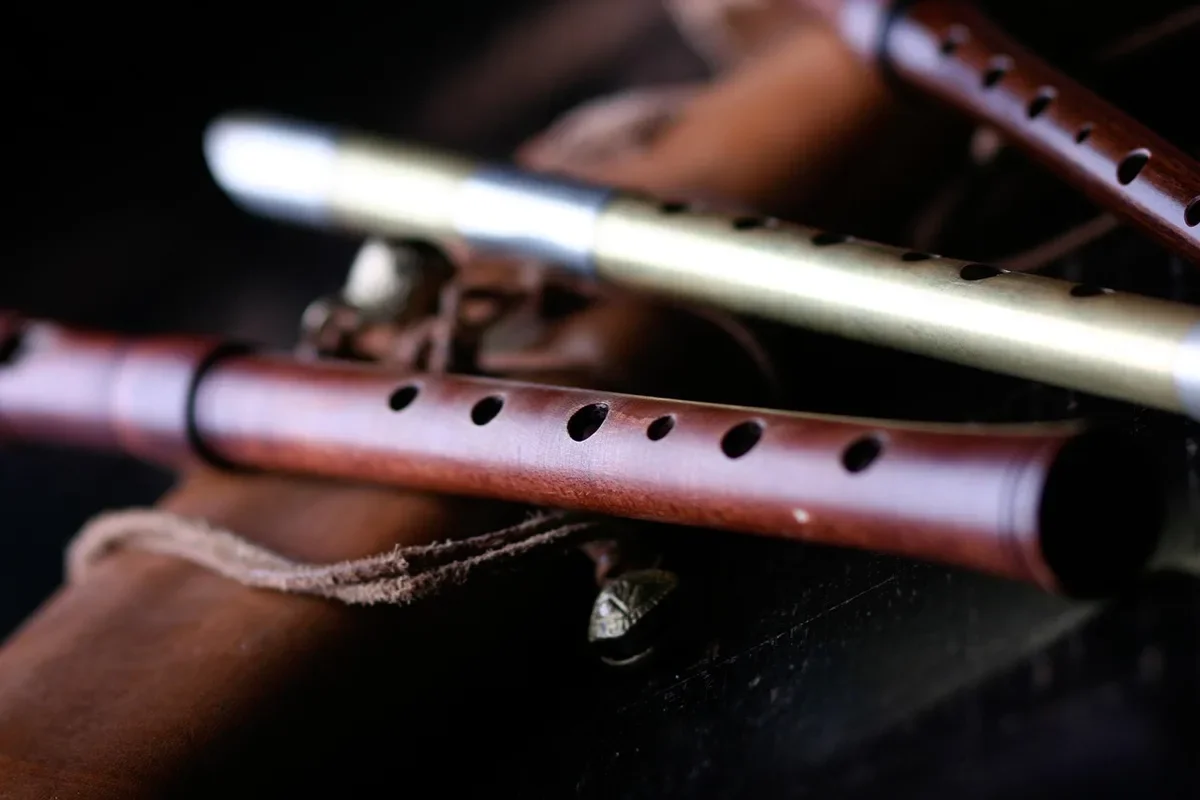
How to Build a Wooden Train Whistle: 4-Chamber Chord Plans
A wooden train whistle is a small block of hardwood with several stopped pipes drilled into it, each to a different depth, so one breath sounds a chord. The depth of each bore sets its note, so the whole project comes down to drilling four holes to the right lengths.
Most guides say “carve a tapered block and drill a small hole,” which produces a single squeak at best. A train whistle is different: it is a multi-chamber chord whistle, closer to a tiny pipe organ than to a playground whistle. This guide gives you a bore-depth chart worked out from the physics of a stopped pipe, the layout of the cut, and the tuning method that lets you fix a note that comes out wrong. If you only want a single-note whistle, our guide to making a whistle out of wood covers that simpler build.
We have not built and recorded this exact whistle ourselves, so the depths below are calculated starting points, checked against a published maker-space plan, and every acoustic claim here is hedged accordingly. Plan to drill short, test with a tuner app, and adjust.
Materials and Tools for a Four-Chamber Train Whistle
BEST DEEP-BORE BIT PICK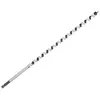 |
IRWIN WeldTec Auger Wood Drill Bit, 1/2 in x 17 in, $21.19
|
The build uses four 3/4 in square hardwood columns glued into one 1-1/2 in square body. This follows the approach in a published George Fox University maker-hub plan, where the columns are 9-1/2 in long. Building the body from four separate columns is a good idea for a practical reason: a 1/2 in bore in 3/4 in stock leaves walls only 1/8 in thick, and a long bit that wanders will break through. If it happens, you ruin one column, not the whole block.
- Four columns of hardwood, 3/4 in x 3/4 in x 9-1/2 in (maple, cherry, or oak all work; see the wood myth below).
- 1/2 in dowel for the four windway plugs, about 12 in total.
- One 1/2 in bit long enough for the deepest bore. The longest bore is close to 9 in, so a standard 6 in bit will not reach.
- Drill press or a solid drill guide, plus clamps or a vise.
- Fine saw and a flat file for the notch and the flat on each dowel plug.
- Wood glue and clamps for the plugs and for joining the columns.
- Tuner app on a phone, or a reference pitch instrument.
- Safety gear: eye protection and a dust mask for sanding.
If you have not drilled deep, narrow holes before, read our guide on how to drill properly first. The same rules apply here: slow speed, straight bit, and clear the chips often.
How a Train Whistle Makes Its Chord
Each bore is a stopped pipe: open at the mouth end and closed at the bottom of the drilled hole. Air blown across the notch (the window) sets the air column inside vibrating, and the column length decides the pitch. A longer column gives a lower note. Four bores of different lengths sound four notes together.
For a stopped pipe, the fundamental frequency is approximately:
f = v / (4 x (L + e))
Here v is the speed of sound (about 13,504 inches per second at roughly 68 F), L is the speaking length of the bore in inches, and e is an end correction that accounts for the air just outside the opening acting as if the pipe were slightly longer. The maker-hub plan uses an end correction of 3/8 in for its 1/2 in bores, and we use the same value here.
The Myth: Hardwood Versus Softwood Sets the Pitch
Many guides claim that pine “produces good sound” while oak gives a “richer tone,” as if the species chose the note. In a whistle like this, the pitch comes from the length of the air column, not from the wood around it. One source we read puts it plainly: the speaking length sets the pitch, and the scale of the chamber shapes the timbre. The wood mainly affects how well the bore holds its shape, how it feels, and how smooth the inside wall is. A dense hardwood with a tight grain stays stable under a 1/8 in wall better than a soft pine does, which is the practical reason to choose it. Treat any claim of a species-specific tone as unproven until you have tested two whistles side by side.
Bore Depth Chart for a G Major Chord
The table lists a G major chord (G4, B4, D5) plus a high G5 as an optional fourth bore. Speaking length comes straight from the formula above. The drilled depth is measured from the open end of the column, so it is longer than the speaking length by the space taken up by the plug and notch. Comparing against the maker-hub plan, whose G4, B4 and D5 depths are 8-13/16 in, 7 in and 5-15/16 in, the difference works out to about 9/16 in, and we use that constant. Because we derived it from one plan and did not test it, treat every number as a starting point.
| Note | Frequency (Hz) | Speaking length (in) | Drill depth from open end (in) | First drill to (in) |
|---|---|---|---|---|
| G4 | 392.0 | 8.24 | 8-13/16 | 8-11/16 |
| B4 | 493.9 | 6.46 | 7 | 6-7/8 |
| D5 | 587.3 | 5.37 | 5-15/16 | 5-13/16 |
| G5 (optional) | 784.0 | 3.93 | 4-1/2 | 4-3/8 |
For a minor chord, swap the B4 bore for Bb4 (466.2 Hz). That bore comes out at about 7-7/16 in deep, which also matches the maker-hub plan.
The last column, “First drill to,” is the important one. You can always drill a bore deeper, which lowers the pitch, but you can never make it shorter. Drilling each bore 1/8 in short and then deepening it as you test is the safe order of operations. It is the single most useful technique in this whole build.
Temperature Changes the Pitch
Sound travels faster in warm air, so a whistle tuned on a warm afternoon will play sharp on a hot day and flat on a cold one. Using the standard approximation for the speed of sound in air (about 331.3 + 0.606 x temperature in C, in meters per second), the shift is about 30 cents (roughly a third of a semitone) for every 10 C (18 F) of difference. Tune the whistle at the room temperature where you intend to play it. Breath is warmer than room air too, so the pitch can drift up slightly as you keep blowing.
| Air temperature | Speed of sound (m/s) | Pitch shift vs 68 F |
|---|---|---|
| 50 F (10 C) | 337.4 | about 31 cents flat |
| 68 F (20 C) | 343.4 | reference |
| 86 F (30 C) | 349.5 | about 30 cents sharp |
Step-by-Step: Building the Whistle
1. Prepare and mark the columns
Cut four columns 3/4 in square and 9-1/2 in long. Sand the faces flat so the four will glue into a tight 1-1/2 in square. Mark the center of one end of each column and label the columns by note so you never mix up which one is which.
2. Drill the bores
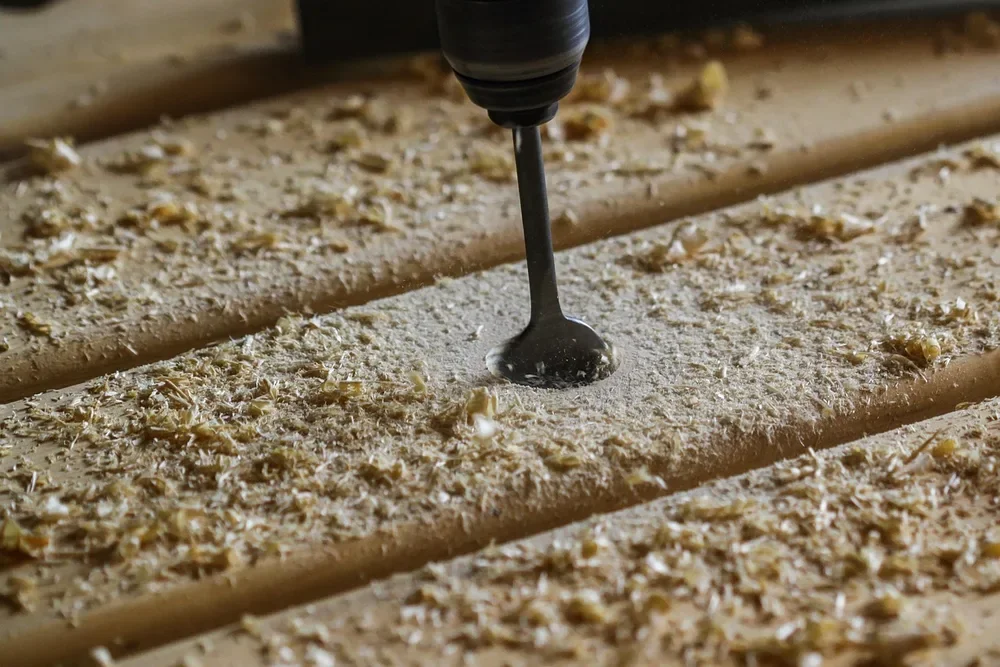
Clamp each column firmly in a vise on the drill press and drill the 1/2 in bore from the open end to the “First drill to” depth in the chart, wrapping a strip of tape around the bit as a depth flag. Run at low speed. Auger bits pull themselves in through the lead screw, so feed gently and back the bit out every inch or two to clear chips. Chips packed in a deep bore can jam the bit or split a thin wall. Never hold the block by hand while drilling.
If a bit breaks through a wall, do not patch it: start over with a fresh column. Repairs leak air, and a leaking chamber whistles weakly or not at all.
3. Cut the notch and shape the plug
On each column, cut a notch across the face about 3/4 in from the open end, with the straight side toward the open end and the bottom of the notch reaching a little less than halfway into the bore. This sharp edge (the labium) splits the airstream. Next, file a shallow flat on one side of a 1/2 in dowel to make a D-shaped plug. The flat leaves a narrow gap, the windway, that directs a thin sheet of air at the notch edge.
Published plans disagree on how much to take off. One forum builder describes filing away about 1/16 in, while the maker-hub plan flattens the dowel to 3/8 in thick, which removes 1/8 in. That is exactly the kind of dimension you tune by trial, so start with the smaller flat and deepen it only if the whistle chokes or sounds airy.
4. Glue in the plugs and test each note
Glue each plug into the open end with the flat side facing the notch and let it set. Then blow each column on its own, checking the pitch with your tuner app. If a note is sharp, deepen that bore in small steps with the same bit. If it will not sound at all, check that the windway is clear and that the plug is seated with the flat toward the notch.
5. Join the columns and add a mouthpiece
Once all four notes are close, glue the columns into a 1-1/2 in square, with the notches aligned on one side. The maker-hub plan then caps the assembly with a mouthpiece block, 1-1/2 in x 1-1/2 in x 3/4 in, hollowed with a 1-3/8 in Forstner bit about 3/8 in deep, with a 1/2 in blow hole in the center. The hollow acts as a shared air chamber so one breath feeds all four windways. We are describing that design as published, and have not built it, so expect some fitting and trimming.
Finishing and Safety
- Sand the outside smooth and round every edge. Do not sand inside the windway or the notch edge, since a rounded edge weakens the tone.
- A whistle goes in the mouth. Leave it raw or use a finish that is fully cured and labeled safe for surfaces that contact food or toys, and do not paint the mouthpiece or the windway.
- A whistle with loose plugs is a small-parts hazard for young children. Glue the plugs firmly and adult-supervise any child under 3.
- Wear eye protection when drilling and a dust mask when sanding.
If you are looking for related first projects, our easy whittling projects are good practice, and our guide on attaching small pieces of wood together covers the gluing. Curious about the instrument side? See whether all woodwind instruments are made of wood. For the history of the real thing, the train whistle entry on Wikipedia is a good starting point.
Troubleshooting a Whistle That Will Not Sound
| Symptom | Likely cause | Fix |
|---|---|---|
| Airy hiss, no clear note | Windway too tall or too wide, or blowing too hard | Blow more gently; if it persists, glue in a fresh plug with a smaller flat |
| Note too high | Bore drilled too short | Deepen the bore in 1/16 in steps |
| Note too low | Bore drilled too deep | A bore cannot be shortened; remake that column at the correct depth |
| No sound from one bore | Blocked windway, or leaking wall | Clear the gap; if a wall leaks, remake the column |
| Notes fight each other | A bore is off pitch | Retune with the tuner app, one chamber at a time |
Frequently Asked Questions
How do you make a wooden train whistle?
Drill four 1/2 in bores of different depths into hardwood columns, cut a notch 3/4 in from the open end of each, and glue in a flattened dowel plug so air flows across the notch edge. Each bore depth sets one note, so together they sound a chord. Drill short first, then deepen each bore while checking pitch with a tuner app.
What wood is best for a train whistle?
Any dense, tight-grained hardwood such as maple, cherry, or oak is a good choice because it keeps thin 1/8 in bore walls stable. The pitch is set by the bore length, not the species, so wood choice matters more for durability and feel than for the note.
How long should a wooden train whistle be?
The body in the plan above is about 9-1/2 in long, because the lowest bore in a G major chord is close to 9 in deep. A higher-pitched chord can use a shorter block, since shorter bores play higher notes.
Can kids make a wooden train whistle?
Children can help with sanding and decorating, but an adult should do the drilling, since it needs a clamped block and a drill press or a firm drill guide. Because the whistle goes in the mouth, use a fully cured finish and glue the plugs firmly.
Conclusion
A wooden train whistle is a chord instrument built from four holes of carefully chosen depths. Use the chart as a starting point, drill each bore a little short, and deepen it while checking with a tuner until the chord rings true. Because the depths are calculated and cross-checked with one published plan rather than tested by us, expect to fine-tune, and enjoy the process.
Sponsored / affiliate links. As an Amazon Associate I earn from qualifying purchases. I may earn additional commission from eligible campaigns.