How to Make MDF Drawers (Cut List, Joints and Slides)
An MDF drawer is easy to cut and very smooth, but it fails in ways that plywood and solid wood do not: screws pulled through the edges, corners that crumble when you drive a fastener too close to the end, and swollen edges after a damp season. This guide gives you a complete cut list for a real 18 inch wide drawer, the order to build it in, and the specific steps that keep MDF joints from splitting.
You will build a 17 in wide by 22 in deep box from 1/2 in MDF with a plywood bottom, sized for standard side-mount ball bearing slides. If your opening is a different size, the same formulas apply, and the drawer box material guide covers when you might prefer plywood or solid wood instead.
Choose the Slides First, Because They Set Every Dimension
Best 22-Inch Slide Pick
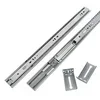 |
LONTAN 22 Inch Soft Close Drawer Slides with Rear Mounting Brackets, 1 Pair, $33.24 A single pair of full-extension, side-mount ball bearing slides sized for the sample drawer in this guide, so you do not have to buy a multi-pair bundle for one build.
|
Most side-mount ball bearing slides need exactly 1/2 inch of clearance on each side of the drawer box. That means the box must be 1 inch narrower than the cabinet opening, and the slide length sets the box depth: a 22 inch slide means a 22 inch deep box. The slide in the box above is listed at 22 in long, 1/2 in thick and rated for 100 lb, so an 18 in opening gives a 17 in wide box.
Buy the slides before you cut anything, and measure the real opening in three places, top, middle and bottom, because cabinet carcasses are rarely perfectly square. If you would rather hide the slides, undermount hardware follows different sizing rules, covered in the Blum undermount measuring guide.
Is MDF Actually a Good Drawer Material?
MDF gets two claims repeated about it: that it “resists warping” and that it is “strong.” Both are only half true. MDF does not cup or twist the way a wide solid-wood board can, and you can read more about that in our does MDF warp article. But for a drawer, the things that actually cause failure are different: how well the material holds a screw, how it behaves when damp, and how it sags under sustained weight.
| Property | 1/2 in MDF | 1/2 in birch plywood |
|---|---|---|
| Screw holding in the edges | Poor, edges split or crumble | Good, layers hold the thread |
| Screw holding in the face | Fair, needs a pilot hole | Good |
| Sag under sustained load | More likely on wide spans | Less likely |
| Damp or humid rooms | Edges swell and do not recover | Tolerates it better, still needs a finish |
| Painted finish | Excellent, no grain to telegraph | Grain can show through |
| Relative cost | Usually the cheapest | Usually higher |
| Dust when cut | Very fine, needs a respirator | Coarser, still needs protection |
The takeaway is a hybrid: use MDF for the box sides, front and back where a smooth painted finish matters, and use 1/4 in plywood or hardboard for the bottom, where sag is the risk. If you want a full comparison, see MDF vs birch plywood, or the plywood drawer build if you decide MDF is the wrong call for your project.
Tools and Materials
- 1/2 in MDF, about 2.4 sq ft per drawer box (see the cut list below)
- 1/4 in plywood or hardboard for the bottom, 17 in by 22 in
- A pair of 22 in side-mount ball bearing slides
- PVA wood glue
- #8 x 1-1/4 in coarse-thread screws for the box joints, plus short slide screws (under 1/2 in long)
- Table saw, circular saw with a guide, or track saw, with a sharp fine-tooth blade
- Drill/driver and a pilot bit, countersink bit
- Clamps and a framing square
- Primer or sealer, and a paint or clear finish
- Respirator (N95 or better), eye and hearing protection
The Cut List for an 18 Inch Wide Drawer
This sample assumes an 18 in wide by 22 in deep opening at least 6 in high, side-mount slides with 1/2 in clearance per side, a butt-joint box, and a 1/4 in bottom glued to the underside. The box ends up 17 in wide, 22 in deep and 4-3/4 in tall.
| Part | Qty | Material | Size |
|---|---|---|---|
| Box sides | 2 | 1/2 in MDF | 22 in long x 4-1/2 in tall |
| Box front and back | 2 | 1/2 in MDF | 16 in long x 4-1/2 in tall |
| Bottom | 1 | 1/4 in plywood or hardboard | 17 in x 22 in |
The front and back are 16 in, not 17 in, because they sit between the two sides (17 in minus two 1/2 in sides). The 1/4 in bottom adds to the height, so the finished box is 4-3/4 in tall. The four MDF parts total roughly 342 square inches, about 2.4 sq ft, so one 4 x 8 sheet of 1/2 in MDF covers roughly a dozen boxes of this size before you account for saw kerf and layout waste.
Scale the design to your opening with three rules: box width equals opening width minus 1 in, box depth equals slide length, and the front and back equal box width minus 1 in (two 1/2 in sides). Cut all sides in one setup so they match, and cut the front and back together too.
Cut MDF Cleanly and Safely
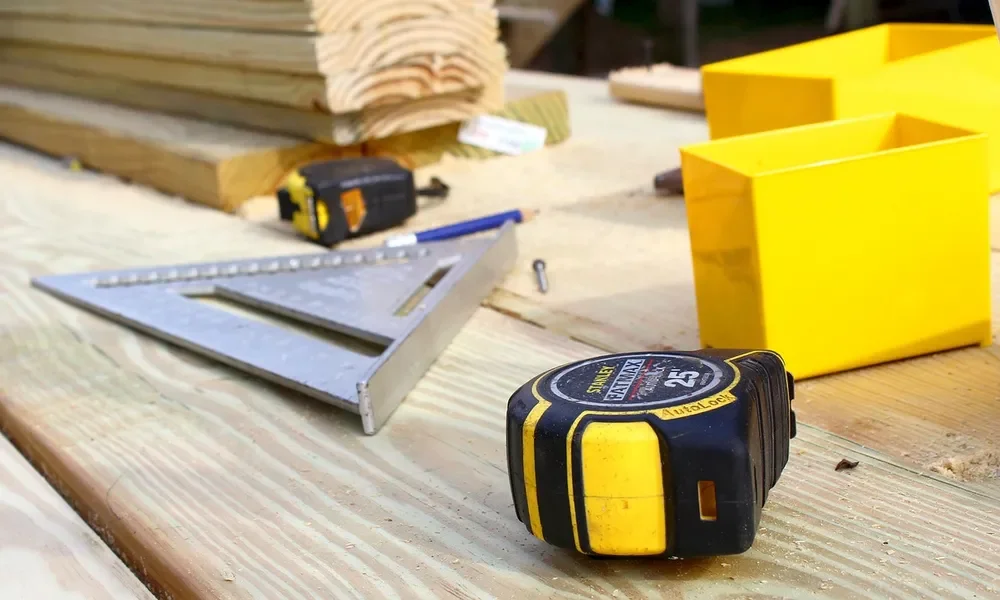
Use a sharp, high tooth-count blade made for fine finish cuts and support the sheet fully so the edge does not break out at the end of the cut. Our guide on cutting MDF cleanly covers blade choices and feed rate in more detail.
MDF dust is extremely fine and is bonded with a formaldehyde-based resin, so cut with dust collection or outdoors, and wear a respirator rated N95 or better. Read is it safe to cut MDF and why MDF dust is dangerous before your first cut, and sweep or vacuum the dust rather than blowing it around the shop.
Assemble the Box Without Splitting the Edges
This is the step where most MDF drawers fail, so slow down. The end of an MDF board is its weakest surface. A screw driven straight into an edge grips soft, loose fibers, and it can push the material apart if you drive it too close to the end.
Size the Edges Before Gluing
Raw MDF edges soak up glue like a sponge, which leaves the joint starved. Brush a thin coat of PVA glue thinned with a little water onto each edge that will be joined, let it tack up, then apply full-strength glue for the actual joint. Our guide to gluing MDF has more on adhesives and open time.
Pre-Drill Every Screw
Drill a pilot hole for each screw, sized so the threads still bite (about 1/8 in for a #8 screw), and countersink lightly so the head does not blow out the surface. Keep every screw at least 1/2 in from the end of a board, and use two screws per corner joint. See pre-drilling holes for screws and our page on the best MDF screws for thread and size options.
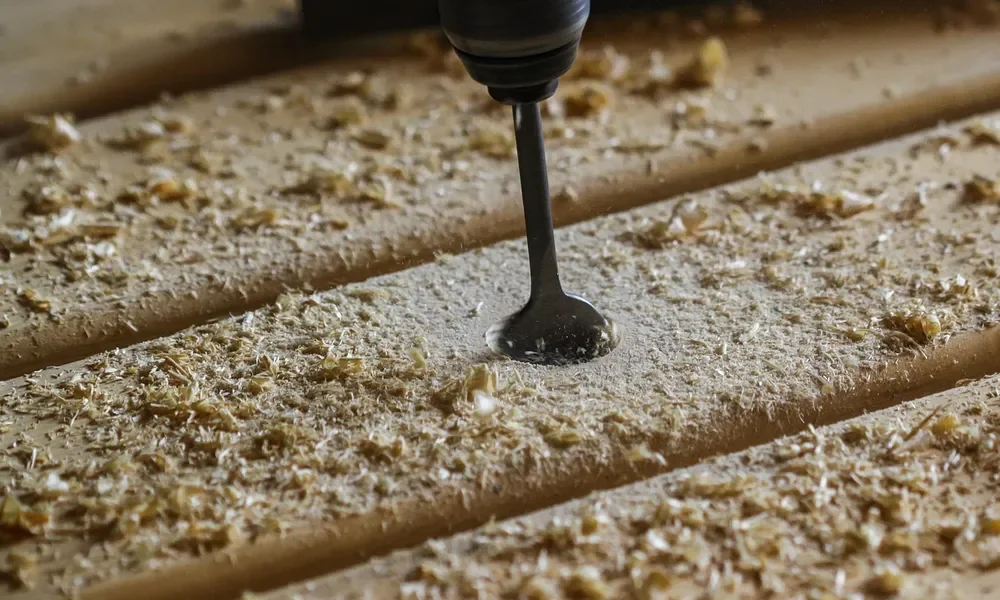
Glue each corner, clamp the box square, check it with a framing square or by measuring both diagonals (they should match), then drive the screws while the glue is still wet. If you are comfortable with a router or table saw, a rabbet joint is a stronger upgrade: it gives the glue more face surface to hold, so the screws are secondary.
Fit the Bottom
Glue and pin or screw the 1/4 in bottom to the underside of the assembled box. Because the bottom overlaps all four walls, it acts like a diagonal brace and helps hold the box square, so check squareness before the glue sets. For details on thickness options, see what size plywood for drawer bottoms.
Skip an MDF bottom on any drawer wider than about a foot. A thin MDF panel tends to bow under sustained weight, and you cannot flatten it once it has taken a set.
Install the Slides and Drawer Front
- Mount the cabinet members level and parallel, using a 3/4 in or 1 in spacer block to keep them at the same height on both sides.
- Mount the drawer members on the box sides, checking that the screw length is shorter than the 1/2 in side thickness, or it will poke through the outside face.
- Hook the drawer onto the cabinet members and slide it in. Adjust until it clears the sides evenly, using the 1/2 in gap per side as your target.
- Attach a separate drawer front from the inside with screws through oversized holes, so you can adjust its position before tightening. Our drawer front alignment guide walks through the gap spacing.
Seal and Finish the MDF
Seal all exposed faces and especially the cut edges before you install anything. Prime the edges with a shellac-based or oil-based primer, sand lightly, and then paint or lacquer. A couple of thin coats of primer on the edges matter more than the topcoat. See the best way to seal MDF edges and can you paint MDF wood for products and steps.
MDF drawers are fine in dry rooms such as bedrooms and offices. In kitchens and bathrooms, choose moisture-resistant MDF or plywood (see MDF vs moisture-resistant MDF), because once an MDF edge swells it stays swollen. Our page on whether MDF can get wet explains why.
Common Mistakes With MDF Drawers
- Driving screws into the raw end of a board with no pilot hole, which splits the fibers.
- Cutting the box to the exact opening size and forgetting the 1/2 in per side slide clearance.
- Using an MDF bottom on a wide drawer, which sags over time.
- Skipping edge sealing, so the first spill or humid summer swells the corners.
- Cutting without a respirator or dust collection.
Frequently Asked Questions
Can you build drawers from MDF?
Yes. MDF works for drawer boxes and drawer fronts when you glue the joints, pre-drill every screw, and seal the edges. Its weak points are screws driven into the edges and long-term moisture, not warping. For very heavy contents such as tools or cookware, plywood boxes are the safer choice.
What thickness MDF for drawers?
Half-inch (1/2 in) MDF is the usual choice for drawer box sides, fronts and backs on drawers up to about 24 inches wide. Use 3/4 in MDF for a separate drawer front or for very wide, heavily loaded drawers. Keep the bottom in 1/4 in plywood or hardboard rather than MDF, because a thin MDF panel tends to sag across a wide span.
Is MDF good for drawer fronts?
Yes. MDF has no grain and a very smooth face, so it takes paint better than most solid woods and stays flat on a cabinet door. Prime the edges well, since raw MDF edges soak up paint and moisture.
How do you keep MDF drawer joints from splitting?
Pre-drill a pilot hole for every screw, keep screws at least 1/2 in from the end of a board, size the joint edges with thinned wood glue before the final glue-up, and use coarse-thread screws. Where you can, choose a rabbet or dado joint so the glue joins face surface instead of a fragile edge.
Should MDF drawer boxes be painted?
A drawer box that is only ever used indoors in a dry room can be left raw, but sealing all faces and especially the cut edges with primer or a shellac-based sealer slows moisture uptake and stops the fuzzy edge from shedding dust into whatever you store.
Conclusion
A good MDF drawer comes down to three decisions: size the box from the slides, glue and pre-drill every joint so you are not relying on screws in the edges, and seal the MDF before it sees moisture. If you are also building the cabinet around it, see our guides on making MDF shelves and making MDF doors.
Sponsored / affiliate links. As an Amazon Associate I earn from qualifying purchases. I may earn additional commission from eligible campaigns.