
DIY Wood Desktop: Transform Your Workspace with Style
Creating your own wood desktop can be a rewarding project. It’s a chance to customize and craft a unique workspace.
A DIY wood desktop isn’t just about functionality; it’s about personalizing your workspace to match your style. Whether you’re an experienced woodworker or a beginner, this project offers a creative escape. You can choose the type of wood, design, and finish that suits you best.
By crafting your own desktop, you gain a sense of accomplishment and a piece of furniture that reflects your personality. Plus, it’s a great way to learn new skills and enhance your woodworking abilities. With some basic tools and a bit of patience, you can create a beautiful, sturdy wood desktop that will last for years. Ready to start? Let’s dive into the process and tips to help you build your perfect desk.

Credit: mandyjackson.com
Choosing The Right Wood
Oak is strong and lasts long. Pine is softer and easier to work with. Birch has a fine grain and is smooth. Maple is hard and resists scratches. Each type of wood has its own look and feel. Think about the end use. Choose wood that matches your needs.
Using sustainable wood is good for the environment. Look for wood certified by trusted sources. FSC certification is a good example. Reclaimed wood is another option. It is recycled from old buildings or furniture. This choice saves trees and reduces waste.
Gathering Materials And Tools
Creating a wood desktop requires some tools. You will need a saw, a drill, and sandpaper. A measuring tape is crucial for accurate cuts. Safety gear is necessary too. Wear goggles and gloves to protect yourself. Clamps hold wood pieces steady while you work. A screwdriver helps with assembly.
Extra supplies make the project smoother. Wood glue bonds pieces together. Stain or paint gives the desktop a nice finish. Brushes or rags apply the stain evenly. Screws and nails are essential for joining parts. A level ensures the desktop is even. Wood filler fixes any gaps or holes.
Measuring And Cutting The Wood
Begin by measuring the space where the desk will go. Use a tape measure for this. Write down the length, width, and height you need. Double-check your numbers. Mistakes can waste wood. Make sure your measurements are exact. This ensures your desktop fits perfectly.
Always wear safety goggles. Protect your eyes from wood chips. Use a sharp saw for cleaner cuts. Dull blades can slip and cause harm. Cut slowly and steadily. Rushing can lead to mistakes. Use clamps to hold the wood in place. This keeps your hands safe.
Credit: www.mamaandmore.com
Assembling The Desktop
Wood glue is a great start. It creates strong bonds. For extra strength, add screws or nails. Drill pilot holes first. This prevents wood splitting. Use clamps to hold pieces together. Wait for glue to dry completely. Dowels are another option. They help align parts perfectly. Use a jig for precise drilling. Insert dowels and glue them in place. Biscuits also work well. They add stability. Use a biscuit joiner tool. Apply glue to biscuits and slots. Fit the pieces together snugly.
Use corner braces for added support. Attach them inside corners. They keep the structure firm. Metal brackets work too. Screw them at key points. L-brackets add extra security. Install them under the desktop. They prevent wobbling. Wood screws are essential. Choose the right size and length. Tighten them properly. Check for loose screws often. Reinforce joints with wood filler. Fill any gaps or cracks. Sand the filler smooth. This strengthens the joints.
Sanding And Smoothing
Pick the right sandpaper for your project. Start with coarse grit like 80 for rough surfaces. Move to medium grit, such as 120, for smoother areas. Finish with fine grit like 220 for a perfect finish. Different woods may need different grits. Always test on a small area first.
Sand in the direction of the wood grain. This prevents scratches. Use even pressure to avoid creating dips. Change sandpaper often for the best results. Wipe dust away with a damp cloth. Check your progress often. Take your time for a smooth, professional look.
Finishing Options
Staining the wood gives it a rich color. It can make the grain pop. Begin by sanding the wood. Use a fine-grit sandpaper. After sanding, wipe the wood clean. Next, apply the stain with a brush or cloth. Let it soak in for a few minutes. Then, wipe off the excess. Allow the stain to dry completely. This process might need to be repeated for a deeper color.
Varnish protects the wood from damage. It also adds a shine. Start by stirring the varnish gently. Do not shake it. Use a good quality brush. Apply a thin coat of varnish. Let it dry for several hours. Lightly sand the surface. Wipe off the dust. Apply a second coat of varnish. Repeat for more protection. Allow the final coat to dry fully before use.
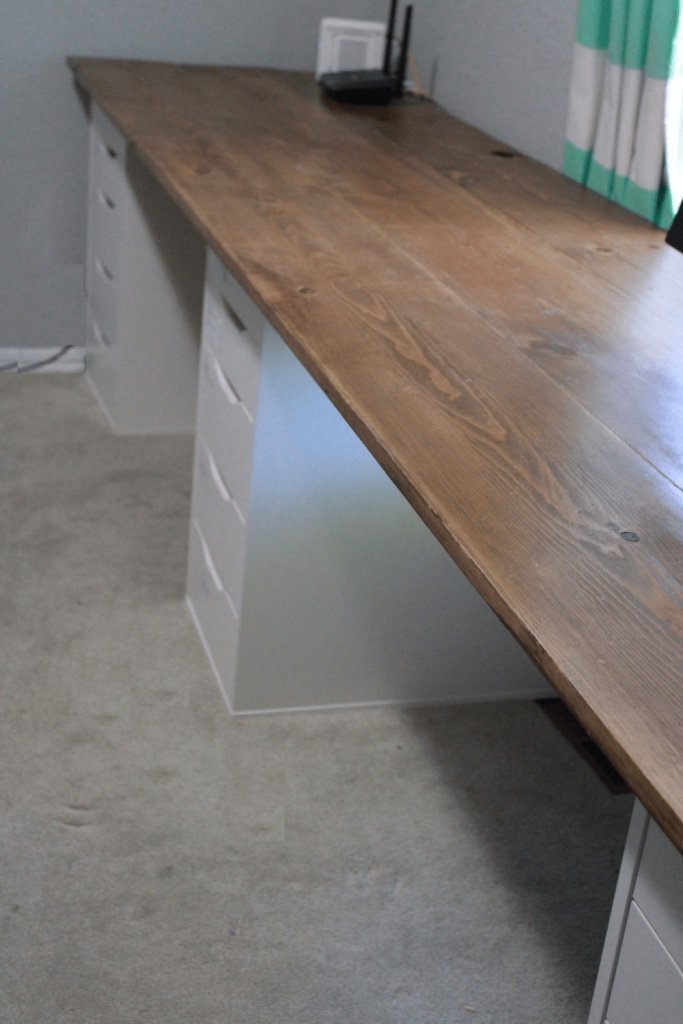
Mounting The Desktop
Choosing the right supports is crucial for a stable desktop. Metal brackets are strong and easy to install. Wooden legs can match the desktop but may require more work. Adjustable supports offer flexibility in height. Measure the height of your chair before deciding on support height.
To install supports, first mark where they will go. Use a level to ensure they are even. Drill pilot holes to prevent wood from splitting. Secure the supports with strong screws. Double-check for stability before placing the desktop.
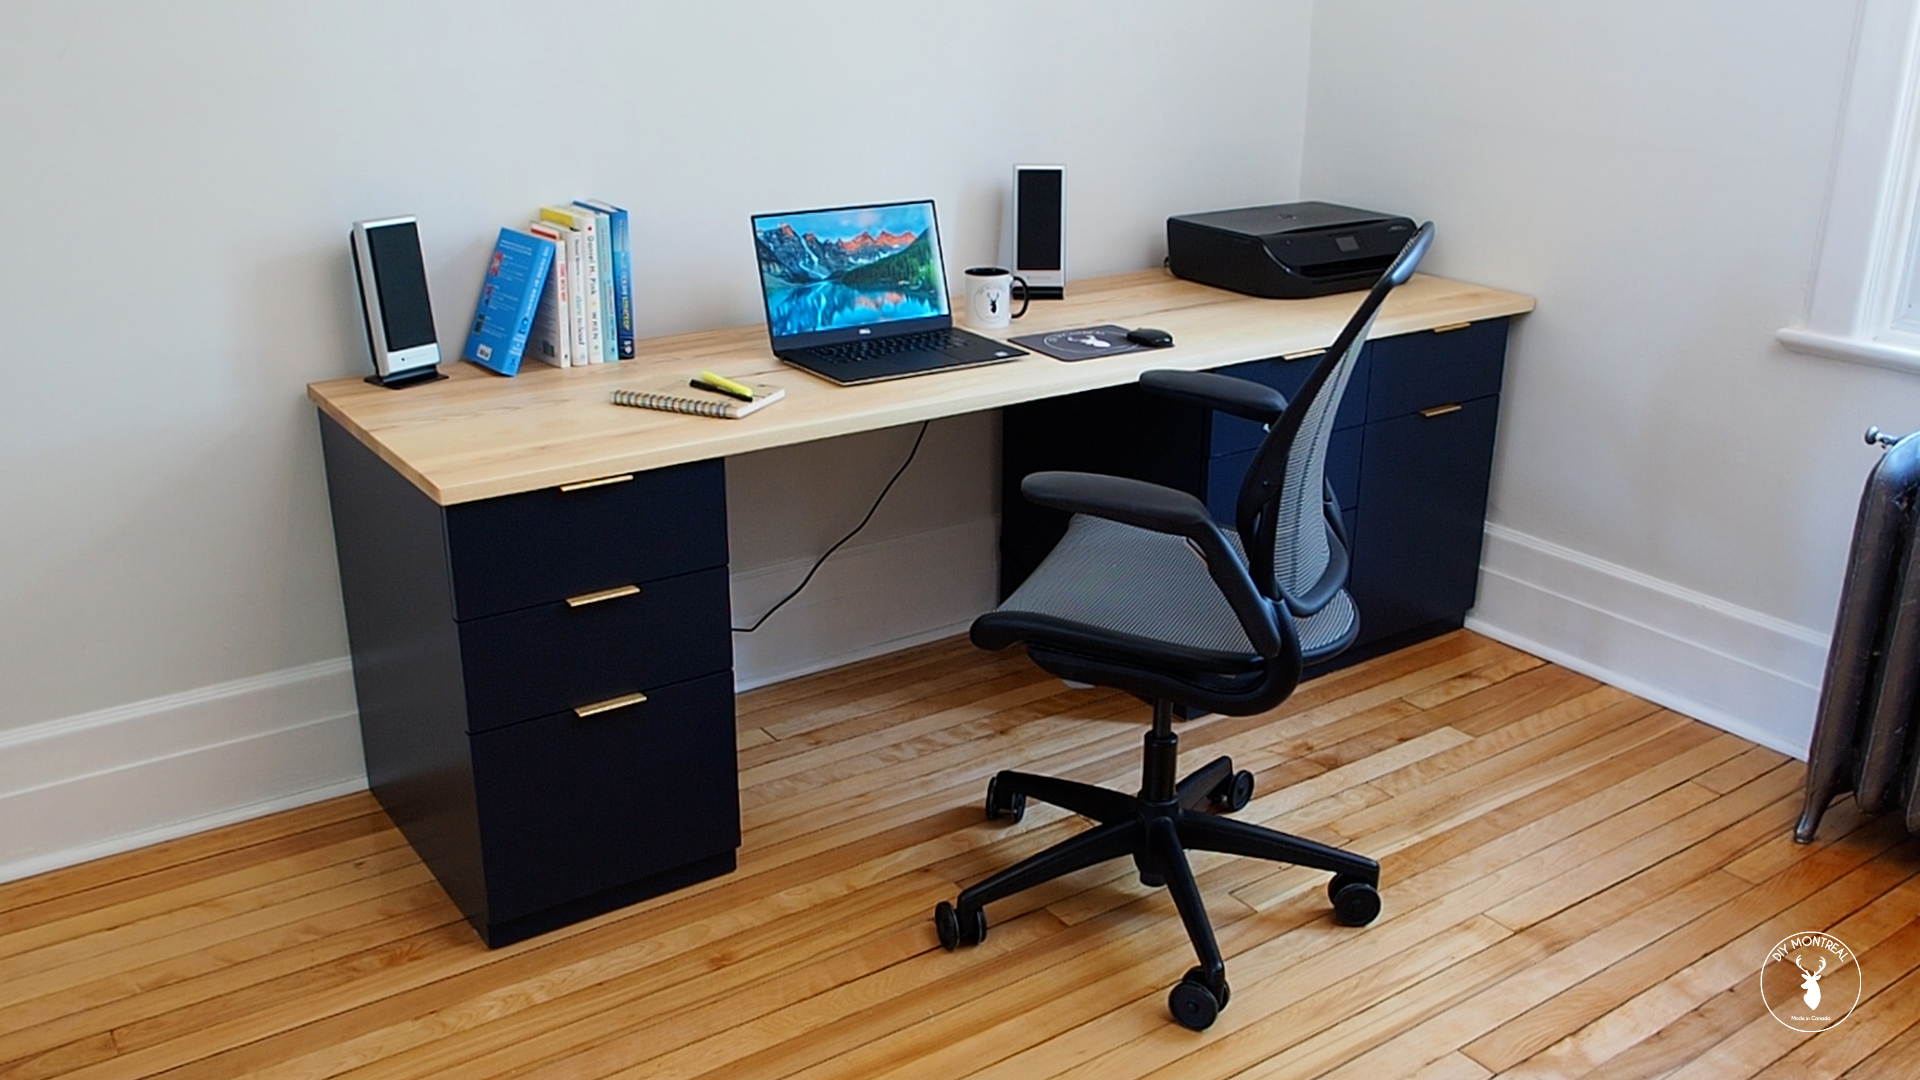
Credit: www.diymontreal.com
Maintenance And Care
Clean the surface with a soft cloth. Use mild soap and water. Dry it immediately to prevent damage. Avoid harsh chemicals. They can harm the wood finish. Dust the desktop often. This keeps it looking new.
Use a wood filler for small scratches. Sand the area gently. Wipe away dust with a clean cloth. Apply wood stain to match the desktop color. For deep scratches, consider a wood repair kit. Follow the kit instructions carefully. Always test products on a small area first.
Frequently Asked Questions
What Is The Best Wood To Make A Desktop Out Of?
Solid hardwoods like oak, walnut, and maple are excellent choices for desktops. These woods are durable, attractive, and resistant to wear.
What Is The Cheapest Wood To Build A Desk?
Pine is the cheapest wood to build a desk. It’s widely available, easy to work with, and budget-friendly. Pine offers a good balance between cost and quality, making it a popular choice for affordable furniture projects.
Can You Use Plywood As A Desktop?
Yes, you can use plywood as a desktop. Ensure it is properly sanded, sealed, and supported to handle weight and use.
How Thick Should A Wooden Desktop Be?
A wooden desktop should be 1 to 1. 5 inches thick for stability and durability. This thickness supports heavy equipment and prevents warping.
Conclusion
Crafting your own wood desktop is both rewarding and practical. You gain a custom piece that fits your needs. Plus, the process is fun and creative. With the right tools and patience, anyone can do it. So, take the plunge and start your project.
You’ll enjoy the satisfaction of building something unique. Happy woodworki