Do You Sand the Final Coat of Polyurethane? Not Required, But Many Do
No, you typically do not sand the final coat of polyurethane. Sanding can damage the finish and create an uneven surface.
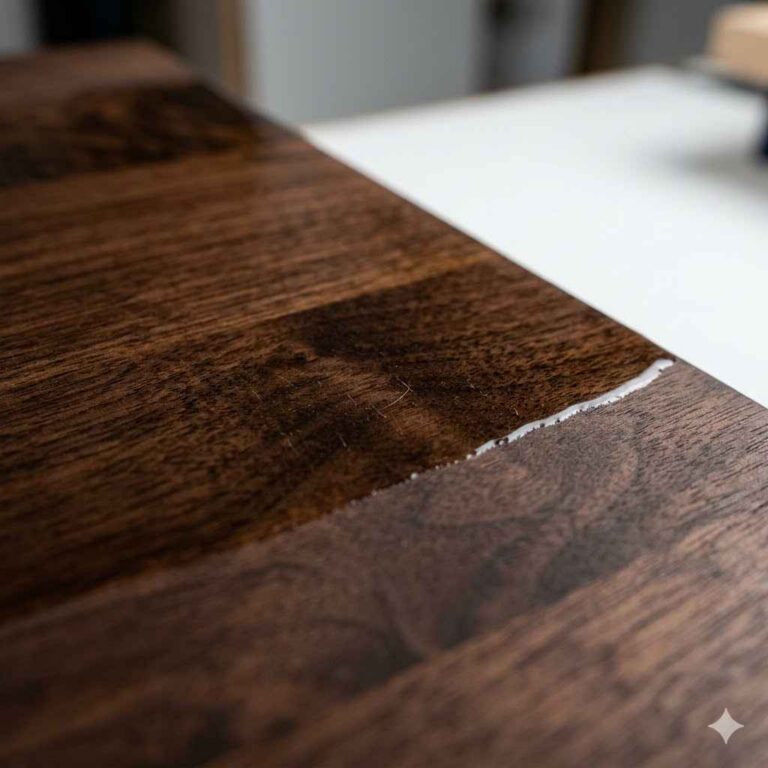
Applying a final coat of polyurethane is crucial for enhancing the durability and appearance of wood surfaces. This protective layer adds a glossy finish, shielding the wood from scratches, stains, and moisture. Many DIY enthusiasts and professionals appreciate the smooth, rich look that a final coat provides.
It’s essential to ensure the surface is clean and free from imperfections before application. Some may wonder about sanding between coats or before the final layer. Understanding the right techniques ensures that your project remains flawless and visually appealing. This guide will clarify the best practices for finishing with polyurethane, ensuring a long-lasting, beautiful finish.
Introduction To Polyurethane Finishes
Polyurethane finishes are popular choices for protecting wood surfaces. They create a durable, glossy layer. This layer enhances the natural beauty of wood. Many people wonder about the final coat and sanding.
Basics Of Polyurethane
Polyurethane is a synthetic resin. It comes in two main types: water-based and oil-based.
- Water-based polyurethane: Dries quickly and has low odor.
- Oil-based polyurethane: Takes longer to dry but offers a richer finish.
Both types provide strong protection. They resist scratches, stains, and moisture. Choosing the right type depends on your project.
Importance Of A Final Coat
The final coat of polyurethane is crucial. It enhances durability and shine. Without it, surfaces may wear down faster.
- Prevents moisture damage.
- Enhances color depth.
- Improves overall appearance.
Skipping the final coat risks damaging the finish. Sanding before the final coat helps improve adhesion. This creates a smooth, even surface.
Always follow the manufacturer’s instructions for best results.
The Debate: To Sand Or Not To Sand
The choice to sand the final coat of polyurethane sparks much discussion. Many woodworkers have strong opinions. This decision affects the finish quality and durability.
Pros Of Sanding
Sanding the final coat offers several advantages:
- Improved Adhesion: Sanding creates a rough surface. This helps the next coat bond better.
- Smoother Finish: It removes imperfections. This results in a glossy, smooth surface.
- Enhanced Durability: A well-sanded surface resists wear. This extends the life of your finish.
Cons Of Not Sanding
Choosing not to sand can lead to issues:
- Uneven Surface: Dust and debris may settle. This creates bumps and imperfections.
- Poor Adhesion: Without sanding, new coats may peel. The finish may not adhere properly.
- Less Attractive Finish: A rough surface looks unprofessional. This can detract from your project.
| Aspect | With Sanding | Without Sanding |
|---|---|---|
| Adhesion | Strong | Weak |
| Smoothness | High | Low |
| Durability | Long-lasting | Shorter life |
Types Of Polyurethane And Their Sanding Needs
Choosing the right type of polyurethane is essential for your project. Each type has unique properties that influence sanding. Understanding these differences helps you achieve the best finish.
Oil-based Vs. Water-based Polyurethane
Both oil-based and water-based polyurethanes have distinct characteristics.
| Type | Drying Time | Sanding Needs | Finish Quality |
|---|---|---|---|
| Oil-based | Slow (8-12 hours) | Light sanding between coats | Rich and warm |
| Water-based | Fast (1-2 hours) | Light sanding recommended | Clear and bright |
Oil-based polyurethane takes longer to dry. This allows for deep penetration into the wood. It usually requires light sanding between coats. Water-based polyurethane dries quickly. It offers ease in application and cleanup.
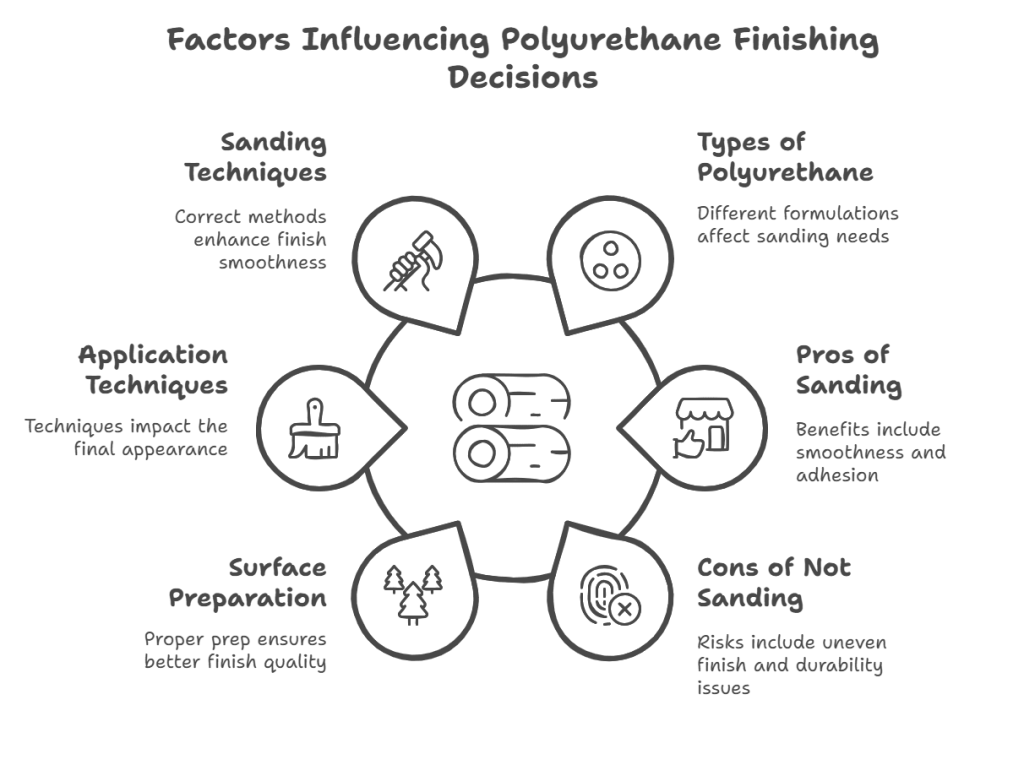
Factors Influencing Sanding Decisions
Several factors impact your sanding choices. Consider the following:
- Project Type: Furniture, floors, or crafts.
- Finish Desired: Glossy or matte finish.
- Application Method: Brush, spray, or wipe.
- Wood Type: Softwoods vs. hardwoods.
- Previous Coats: Number and type of previous finishes.
Each factor helps determine how much sanding is needed.
- Assess the wood and existing finish.
- Choose the appropriate polyurethane.
- Decide on the sanding technique.
Understanding these factors leads to a smoother finish. Always follow the manufacturer’s recommendations for the best results.
Preparing For The Final Coat
Preparing for the final coat of polyurethane is crucial. Proper preparation ensures a smooth, durable finish. Follow these steps for the best results.
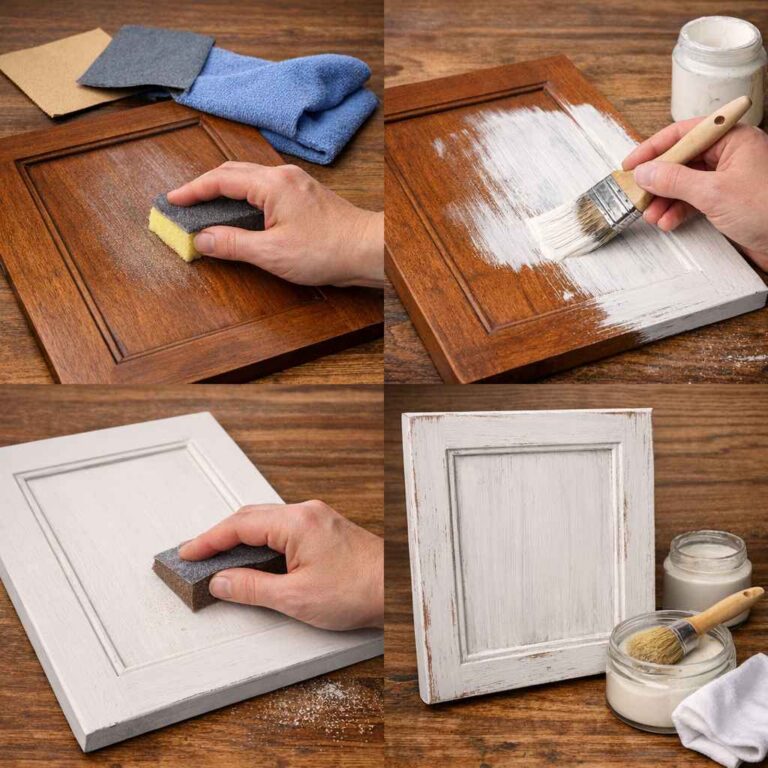
Surface Preparation
Surface preparation lays the foundation for a perfect finish. Follow these steps:
- Clean the surface thoroughly. Remove dust and debris.
- Sand the surface lightly using 220-grit sandpaper.
- Check for imperfections. Fill any gaps or holes with wood filler.
- Wipe down the surface with a damp cloth. This removes dust.
Always allow the surface to dry completely before applying the final coat.
Application Techniques
Using the right application techniques makes a big difference. Follow these tips:
- Use a high-quality brush. A foam brush works well.
- Apply thin coats. Thick coats can lead to runs.
- Work in small sections. This prevents the finish from drying too fast.
- Follow the wood grain while applying. This enhances the look.
Wait for each coat to dry completely. Lightly sand between coats for a smooth finish.
Sanding Techniques For The Perfect Finish
Sanding is crucial for achieving a smooth and glossy finish on your polyurethane surface. Proper techniques can enhance the final look and durability. Follow these tips for a stunning result.
Choosing The Right Sandpaper
Selecting the correct sandpaper is essential. Different grits serve various purposes:
| Sandpaper Grit | Purpose |
|---|---|
| 220 Grit | Ideal for final sanding before the last coat. |
| 320 Grit | Provides a finer finish for delicate surfaces. |
| 400 Grit | Perfect for polishing between coats. |
Choose sandpaper based on your project needs. Always opt for high-quality brands for better results.
Step-by-step Sanding Process
- Prepare the Area: Clear the workspace of dust and debris.
- Gather Supplies: Get sandpaper, a sanding block, and a vacuum.
- Start with 220 Grit: Lightly sand the surface. Move in the direction of the grain.
- Vacuum Dust: Remove dust with a vacuum or cloth. This prevents scratches.
- Use Finer Grits: Switch to 320 or 400 grit for a smoother finish.
- Final Vacuum: Clean the surface again before applying the last coat.
Always sand lightly. Too much pressure can damage the surface. Remember to keep the sanding block flat for even results.
Alternatives To Sanding
Sanding can be messy and time-consuming. Fortunately, there are alternatives to achieve a smooth finish. These methods save time and effort while maintaining quality.
Buffing For Smoothness
Buffing is a great alternative to sanding. It polishes the surface without removing too much material. Here are some benefits of buffing:
- Quick and easy process
- Less mess than sanding
- Enhances shine and depth of finish
To buff effectively, follow these steps:
- Use a clean buffing pad.
- Apply a buffing compound suitable for polyurethane.
- Work in small sections.
- Buff until the desired smoothness is achieved.
Using A Sanding Sealer
A sanding sealer can simplify your finishing process. It fills in pores and helps create a smooth surface. Consider these points:
| Advantages | Disadvantages |
|---|---|
| Speeds up the finishing process | May require additional coats |
| Improves adhesion of topcoats | Can add extra drying time |
To use a sanding sealer:
- Apply a thin coat over your project.
- Allow it to dry completely.
- Lightly sand with fine grit sandpaper.
- Proceed with your final polyurethane coat.
This method reduces the need for extensive sanding. It ensures a smoother finish with less effort.
Maintaining Your Polyurethane Finish
Maintaining your polyurethane finish is essential for long-lasting beauty. Regular care keeps the surface shiny and free from damage. Follow these simple tips to ensure your finish looks great.
Regular Care Tips
- Dust Regularly: Use a soft cloth to remove dust.
- Use Gentle Cleaners: Mix mild soap with water for cleaning.
- Avoid Harsh Chemicals: Do not use ammonia or bleach.
- Wipe Spills Immediately: Prevent stains by cleaning spills right away.
- Keep Away from Direct Sunlight: Protect your finish from UV rays.
Repairing Scratches And Damages
Scratches and damages can happen. Address them quickly to maintain your finish.
- Identify the Scratch: Look closely at the affected area.
- Clean the Surface: Use a damp cloth to remove dirt.
- Apply a Repair Kit: Use a polyurethane repair kit for scratches.
- Buff the Area: Use a soft cloth to blend the repair.
- Reapply Finish: If necessary, apply a new coat of polyurethane.
Follow these steps to keep your polyurethane finish in top shape. Regular maintenance extends the life of your surfaces.
Conclusion: Making An Informed Decision
Deciding whether to sand the final coat of polyurethane involves multiple factors. Each project is unique. Understanding the balance between aesthetics and durability is vital.
Balancing Aesthetics And Durability
Choosing to sand the final coat can enhance the look and feel of your project. Consider these points:
- Aesthetics: Sanding creates a smooth, professional finish.
- Durability: Proper sanding helps the next coat adhere better.
- Surface Texture: A rough surface can trap dirt and dust.
| Factor | Sanded Finish | Unsanded Finish |
|---|---|---|
| Appearance | Sleek and shiny | Glossy but less refined |
| Durability | Improved adhesion | May peel or chip |
| Maintenance | Easy to clean | More dirt accumulation |
Personal Preferences And Project Requirements
Your decision may depend on personal taste and project goals. Assess the following:
- Type of Project: Furniture vs. floorboards may need different approaches.
- Finish Desired: Matte or glossy finishes influence your choice.
- Skill Level: Sanding requires some experience and tools.
Ultimately, weigh your options carefully. Consider the impact on both appearance and longevity. Make an informed choice that suits your needs.
Frequently Asked Questions
Do You Need To Sand Between Polyurethane Coats?
Yes, sanding between coats of polyurethane is recommended. This process helps to create a smooth, even surface. It removes imperfections and allows the next coat to adhere better. Use fine-grit sandpaper for best results. Be sure to clean the surface thoroughly after sanding.
How Long Should I Wait Before Sanding Polyurethane?
You should wait at least 24 hours before sanding. This allows the polyurethane to cure properly. However, drying times may vary based on humidity and temperature. Always check the manufacturer’s instructions for specific guidance. Waiting ensures a better finish and reduces the risk of damage.
What Grit Sandpaper Is Best For Polyurethane?
Fine-grit sandpaper, typically 220-grit, is ideal for polyurethane. It smooths the surface without removing too much material. This grit helps to prepare the surface for the next coat. Avoid using coarse sandpaper, as it can create deep scratches. A smooth finish is essential for a professional look.
Can You Apply Polyurethane Without Sanding?
While it’s possible to apply polyurethane without sanding, it is not recommended. Skipping sanding can lead to a rough finish and poor adhesion. Dust, dirt, and imperfections may remain on the surface. For the best results, always sand between coats to ensure a smooth application.
Conclusion
Sanding the final coat of polyurethane can enhance the finish. It ensures a smooth, professional look while improving adhesion for future coats. Consider your project’s needs before deciding. A well-executed finish elevates the beauty of your work. Prioritize quality for lasting results.
Happy woodworking!