Hardwood Floor Cracks Between Boards: Why They Form and How to Fix Them
Cracks between hardwood floorboards are almost always a moisture problem, not a construction defect. Small seasonal gaps under 1/8 inch are normal wood movement; anything wider usually means the house ran too dry for too long, or the boards were installed before they finished acclimating. The fix depends entirely on the gap width: filler for hairline cracks, a color-matched rope-and-glue trick for medium gaps, and board replacement for anything you can lose a coin in.
Hey there, fellow DIYers, Md Meraj here. Solid hardwood is wood pulled straight from a log, and wood is hygroscopic, meaning it constantly absorbs and releases moisture from the air around it. When indoor humidity drops in winter (furnaces are brutal for this), each board loses a tiny sliver of width. Multiply that by a whole floor of boards and you get gaps that seem to appear overnight. This guide walks through exactly why that happens, how to judge which repair method your gaps actually need, and how to keep them from coming back once the floor looks right again.
Why Hardwood Floor Cracks Form Between Boards
BEST FOR HAIRLINE TO 1/8″ GAPS
 |
DAP Plastic Wood-X Wood Filler – $4.97 A stainable, natural-color latex filler that’s the right consistency for pressing into hairline-to-1/8″ seasonal gaps between hardwood boards.
|
The National Wood Flooring Association’s own installation guidance targets an indoor relative humidity band of roughly 35-55% year-round for solid hardwood. Stay inside that range and a floor should show only the faint hairline seams that are normal wood movement. Fall outside it for long stretches, especially running a furnace all winter with no humidifier, and boards shrink enough to open visible gaps.
What Actually Causes the Gaps
- Seasonal humidity swings: the single biggest cause. Dry winter air pulls moisture out of the wood; humid summer air puts it back. A floor that gaps every January and tightens back up every July is behaving completely normally.
- Incomplete acclimation before install: hardwood needs to sit in the room it will be installed in, unboxed, for several days so it reaches the room’s actual moisture content. Skip that step and the boards keep shrinking for months after installation.
- A wet event followed by drying: a spill, a slow leak, or a humid summer can swell boards. Wood doesn’t always spring back to its exact original width once it dries, which leaves a permanent gap where there wasn’t one before.
- An unstable subfloor: if the subfloor flexes underfoot, boards work loose from their neighbors over time regardless of humidity.
- Milling or fastening problems: less common, but a board that wasn’t milled to a tight tongue-and-groove fit, or wasn’t nailed/glued down properly, can gap on its own.
How Wide Is Too Wide?
Use gap width to pick your fix, not guesswork. As a rule of thumb: under 1/8 inch is cosmetic seasonal movement and barely needs attention. Between 1/8 and 1/4 inch is where filler starts failing (it cracks back out with the next humidity cycle) and a flexible rope-and-glue repair holds up better. Past 1/4 inch, especially if it’s a single board rather than the whole floor, something structural is going on and you’re looking at board replacement, not filler.
Tools and Materials for Each Fix
For Hairline to 1/8-Inch Gaps
- Color-matched, stainable wood filler (latex-based, not epoxy — epoxy fillers don’t flex with the wood and tend to pop back out)
- Flexible putty knife
- Fine sandpaper (220 grit) and a tack cloth
- Matching floor finish for touch-up (oil-based poly, water-based poly, or wax, depending on the existing finish)
For 1/8 to 1/4-Inch Gaps (the Rope Method)
- Jute rope, cotton cording, or fiber rope sized just slightly larger than the gap
- Wood glue (yellow carpenter’s glue)
- A wide putty knife to press the rope in flush
For Gaps Over 1/4 Inch or Damaged Boards
- Circular saw or oscillating multi-tool with a plunge blade
- Chisel and pry bar
- A replacement board matching species, width, and finish (salvaged from a closet or attic remnant if the original run is discontinued)
Step-by-Step: Fixing Small and Medium Gaps
- Clean the gap first. Vacuum out dust and debris, then wipe with a barely damp cloth so filler or glue actually bonds to bare wood, not grime.
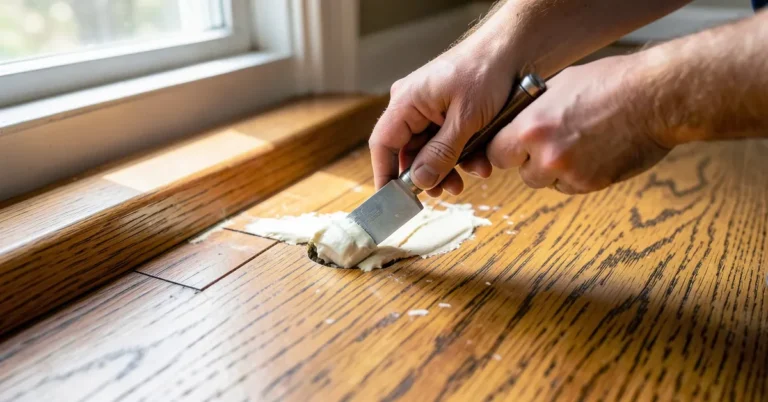
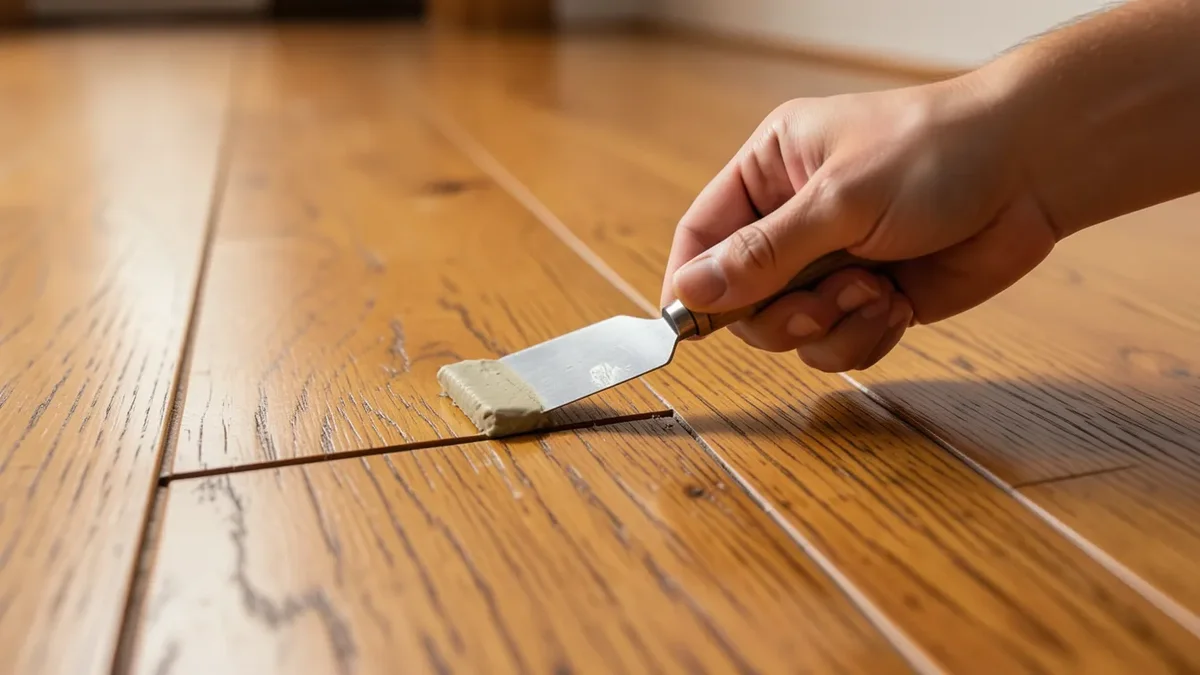
- Hairline gaps: Press color-matched filler in with a putty knife, slightly overfilling since it shrinks a bit as it cures. Let it dry fully (check the can, most latex wood fillers need 1-2 hours minimum, longer in humid weather), then sand flush and re-coat with matching finish.
- 1/8 to 1/4-inch gaps, the rope trick: This is the method professional floor techs actually use for gaps that keep reopening after filler, because a flexible fiber rope moves with the wood instead of cracking out. Dip a length of jute or cotton rope in wood glue, then press it into the gap with a putty knife until it sits just below the surface. Wipe excess glue immediately. Once dry, a thin skim of color-matched filler over the top hides the rope completely and gives you a surface that flexes with the next humidity cycle instead of popping loose.
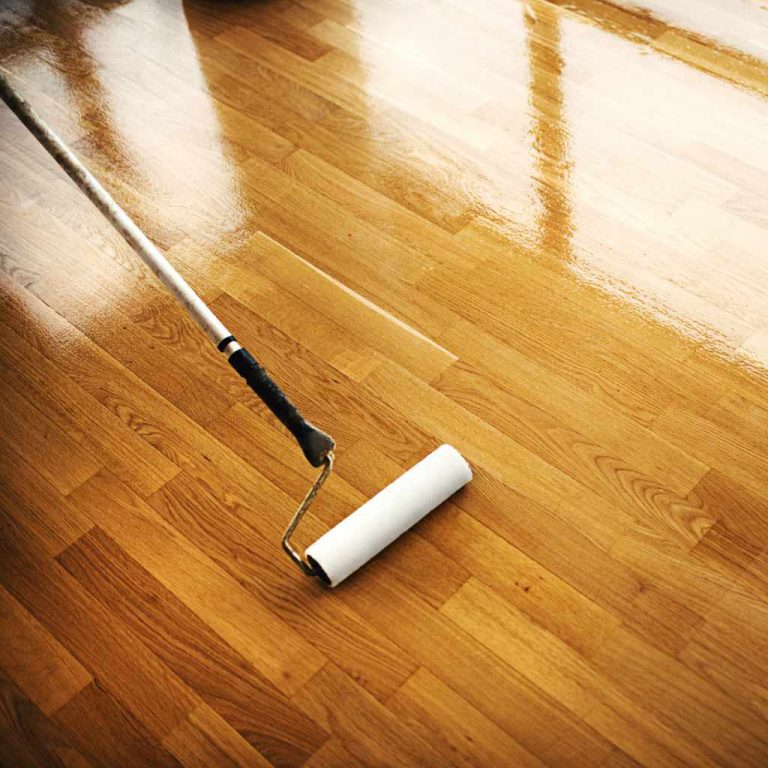
- Sand and finish. Once everything’s dry, sand the repaired area level with the surrounding floor and blend in your finish. Feather the edges so the touch-up doesn’t leave a visible sheen ring.
When Filler Isn’t Enough: Replacing a Board
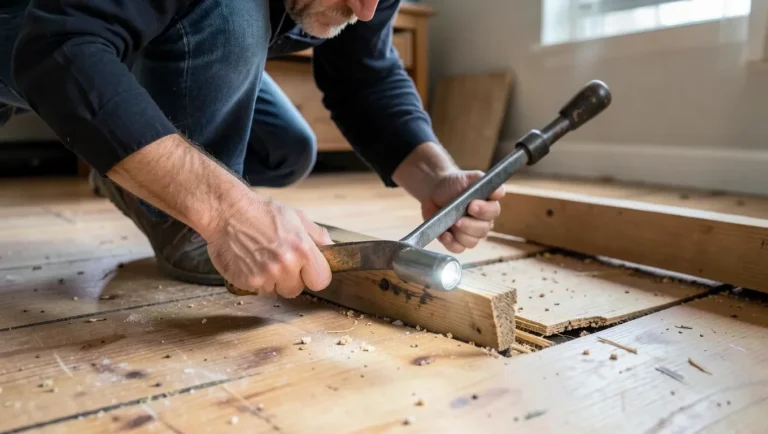
If one board has a gap wider than 1/4 inch while its neighbors look fine, filler is just delaying the real fix. Score along the board’s length with a circular saw set to the board’s exact thickness (an oscillating multi-tool is safer for this if you’re not confident with a plunge cut), then split the damaged board out in sections with a chisel — cutting it into two or three pieces first makes removal far easier than trying to pry one long board free in one piece. Remove the tongue or groove edge from the replacement board as needed so it drops in, glue it down, and face-nail or blind-nail depending on how the rest of the floor was installed. This is also the moment to check the subfloor underneath; if it’s what caused the gap in the first place, filling it back in without addressing the subfloor just buys you another repair in a year or two.
Preventing Cracks From Coming Back
Since seasonal humidity swings cause most of this, a whole-house humidifier run in winter (targeting that 35-55% band) does more to prevent future gaps than any filler ever will. A cheap hygrometer left on the floor of the room tells you exactly where you stand instead of guessing. Keep floors out of direct, prolonged sun exposure where possible, wipe up spills immediately rather than letting them sit, and if you’re ever refinishing or replacing sections, make sure new boards acclimate in the room for at least a few days, not just overnight, before installation.
When to Call a Professional
Bring in a flooring pro if gaps are widening across the whole floor rather than just a board or two (that points to a subfloor or structural moisture issue, not normal seasonal movement), if boards are cupping or crowning along with gapping, or if you’re dealing with a large section of damaged flooring rather than one or two boards. A moisture meter reading on the subfloor is cheap insurance before you spend a weekend on filler that a bigger problem will just undo.
Frequently Asked Questions
Is it normal for hardwood floors to have small gaps between boards?
Yes. Hairline gaps under about 1/8 inch that open in winter and close up in summer are normal wood movement, not a defect.
Can I use caulk instead of wood filler for floor gaps?
No. Caulk stays soft and doesn’t sand or stain like wood, and it can’t take foot traffic. Use a stainable latex wood filler, or the rope-and-glue method for wider gaps.
Will a humidifier really stop the gaps from coming back?
It significantly reduces them. Keeping indoor relative humidity in the 35-55% range year-round is the standard flooring-industry recommendation for minimizing seasonal wood movement.
Sponsored / affiliate links. As an Amazon Associate I earn from qualifying purchases. I may earn additional commission from eligible campaigns.