How to Clean a Hardwood Floor the Right Way (Safe Vinegar Ratio)
A hardwood floor with a polyurethane finish needs a barely-damp microfiber mop and a pH-neutral cleaner — never a steam mop or ammonia-based spray, which can dull or warp the finish. Skipping the dry-dust step first is the most common mistake, since ground-in grit acts like sandpaper under a mop. This guide covers the full cleaning process, what to avoid, and a safe diluted vinegar ratio for anyone who prefers a DIY solution.
Why Proper Hardwood Floor Cleaning Matters
Best Hardwood Floor Mop System Pick
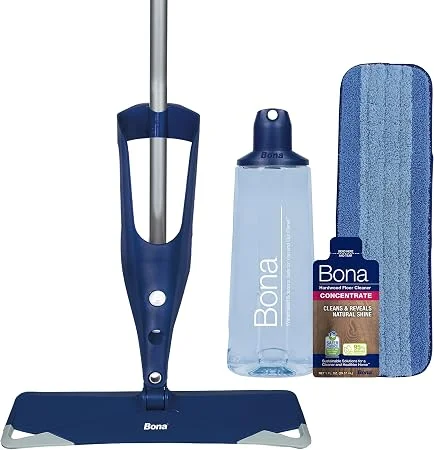 |
Bona Hardwood Floor Premium Spray Mop System – $41.97 This all-in-one spray mop replaces the two-bucket setup this guide describes — a sealed cartridge delivers a pre-mixed pH-neutral cleaner in a fine mist, so you skip mixing solution and still get a barely-damp pass over the finish.
|
Hardwood floors are a timeless choice, adding warmth and elegance to any home. Their natural beauty is undeniable, but they also require a bit of care to stay that way. Unlike tile or laminate, wood is a natural material that can be sensitive to moisture and harsh chemicals. Improper cleaning can lead to dullness, scratches, water stains, and even warping over time. This not only ruins the aesthetic appeal but can also lead to costly repairs or refinishing.
Think of it like any good woodworking project – the finishing touches are key to its longevity and beauty. Regular, gentle cleaning is the best way to preserve that beautiful finish and prevent everyday wear and tear from taking its toll. You’re not just cleaning; you’re maintaining a valuable part of your home.
Understanding Your Hardwood Floor Finish
Before you grab any old cleaning spray, it’s crucial to understand the finish on your hardwood floors. This finish is what protects the wood itself from spills, scratches, and general wear. The type of finish dictates how you should clean it. Historically, finishes like wax and oil were common, requiring different care than modern polyurethane. Most newer floors have a surface finish, typically a polyurethane or a similar protective coating. This is the most common type in homes today.
Surface finishes are generally more durable and easier to clean. They create a protective layer on top of the wood. Older homes might have penetrating finishes or even a waxed surface. These require a gentler touch and specific cleaning products. If you’re unsure about your floor’s finish, it’s always best to err on the side of caution and use the mildest method.
Common Hardwood Floor Finishes:
- Polyurethane (Surface Sealant): This is the most common modern finish. It creates a durable, protective layer on the surface of the wood. It doesn’t penetrate the wood grain.
- Varnish: Similar to polyurethane, but less common on floors today, it also forms a protective surface film.
- Oil Finish (Penetrating Sealant): These finishes soak into the wood, offering a more natural look and feel. They require more frequent maintenance.
- Wax Finish: Often applied over penetrating finishes or older wood floors, wax provides a soft sheen but is less durable and can be susceptible to scratching and water damage.
Knowing your finish helps you choose the right tools and cleaning solutions. For most homeowners, you’ll likely have a polyurethane finish, which offers great protection and makes cleaning much simpler. Once you know your finish, the next decision is which cleaning method fits it — our comparison of hardwood floor cleaning methods by cost and moisture risk breaks down vacuuming, spray cleaners, electric mops and steam.
Essential Tools & Supplies for Hardwood Floor Cleaning
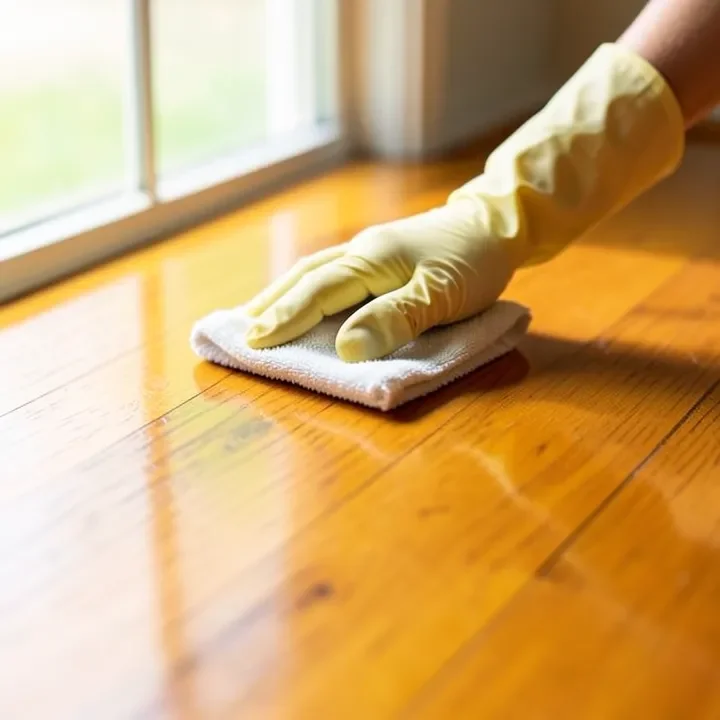
You don’t need a workshop full of specialized tools to clean your hardwood floors! A few simple items will get the job done effectively and safely. Having the right supplies on hand makes the process smooth and efficient, turning a chore into a quick task.
What You’ll Need:
- Soft-bristle broom or dust mop: For daily or weekly dry dusting to remove grit and debris that can scratch your floors. A microfiber dust mop is excellent for this.
- Vacuum cleaner with a hardwood floor attachment: Crucial for picking up finer dust and debris. Ensure it has a soft brush roll or a setting specifically for hard floors to avoid scratching. Check your manufacturer’s recommendations, as some advise against all vacuums.
- Microfiber mop: These are fantastic because they trap dirt and absorb liquid effectively without leaving streaks. Look for one with a flat head that can easily get under furniture.
- Two-bucket system: One bucket for your cleaning solution, and another for rinsing out your mop. This prevents you from spreading dirty water back onto the floor.
- pH-neutral hardwood floor cleaner: This is key! Avoid ammonia, bleach, vinegar (in excess), or oil-based soaps, as they can dull the finish or leave a residue. Look for cleaners specifically formulated for hardwood floors.
- Clean water: For rinsing.
- Soft cloths or towels: For spot-drying or polishing if needed.
Having these essentials ready will make cleaning day a breeze. Remember, gentle is always best when it comes to hardwood.
Step-by-Step Guide to Cleaning Your Hardwood Floors
Let’s get down to the actual cleaning! This process is designed to be simple, effective, and safe for your beautiful floors. We’ll break it down into easy-to-follow steps, just like preparing a piece of wood for a perfect finish.
Step 1: Dry Dusting
This is your first line of defense against scratches. Grit, sand, and small debris can act like sandpaper underfoot. Regularly sweeping or dust mopping removes these abrasive particles before they can do damage. Pay extra attention to high-traffic areas, entryways, and around furniture.
Frequency: Daily or every other day, especially in busy households.
Step 2: Vacuuming (If Recommended)
After dry dusting, a vacuum can pick up finer particles that sweeping might miss. If your vacuum has a suitable attachment for hardwood floors, use it on a low setting. If you’re unsure or your manufacturer advises against it, stick to thorough dust mopping.
Frequency: Once or twice a week, depending on your home’s dust levels.
📊 The National Wood Flooring Association recommends vacuuming with the beater bar/brush roll turned off (the “bare floor” setting) as part of routine hardwood maintenance — a standard rotating brush head can scratch the finish. — Source: NWFA Maintenance Guidelines, 2026
Step 3: Prepare Your Cleaning Solution
This is where you select your cleaner. For most polyurethane-finished floors, a pH-neutral cleaner made specifically for hardwood is your best bet. Dilute it according to the product’s instructions in one of your buckets. If using a spray bottle type cleaner, you might not need to dilute it heavily.
Important Note: Never pour commercial cleaners directly onto the floor. Always follow the manufacturer’s instructions for dilution and application.
Step 4: Damp Mopping
This is the most critical step for wet cleaning. The key word here is damp, not wet! Too much water is the enemy of hardwood floors and can cause swelling, warping, and discoloration.
Dip your microfiber mop into the cleaning solution bucket. Wring it out thoroughly. You want the mop to be barely damp, not dripping wet. If you can squeeze water out of it, wring it more!
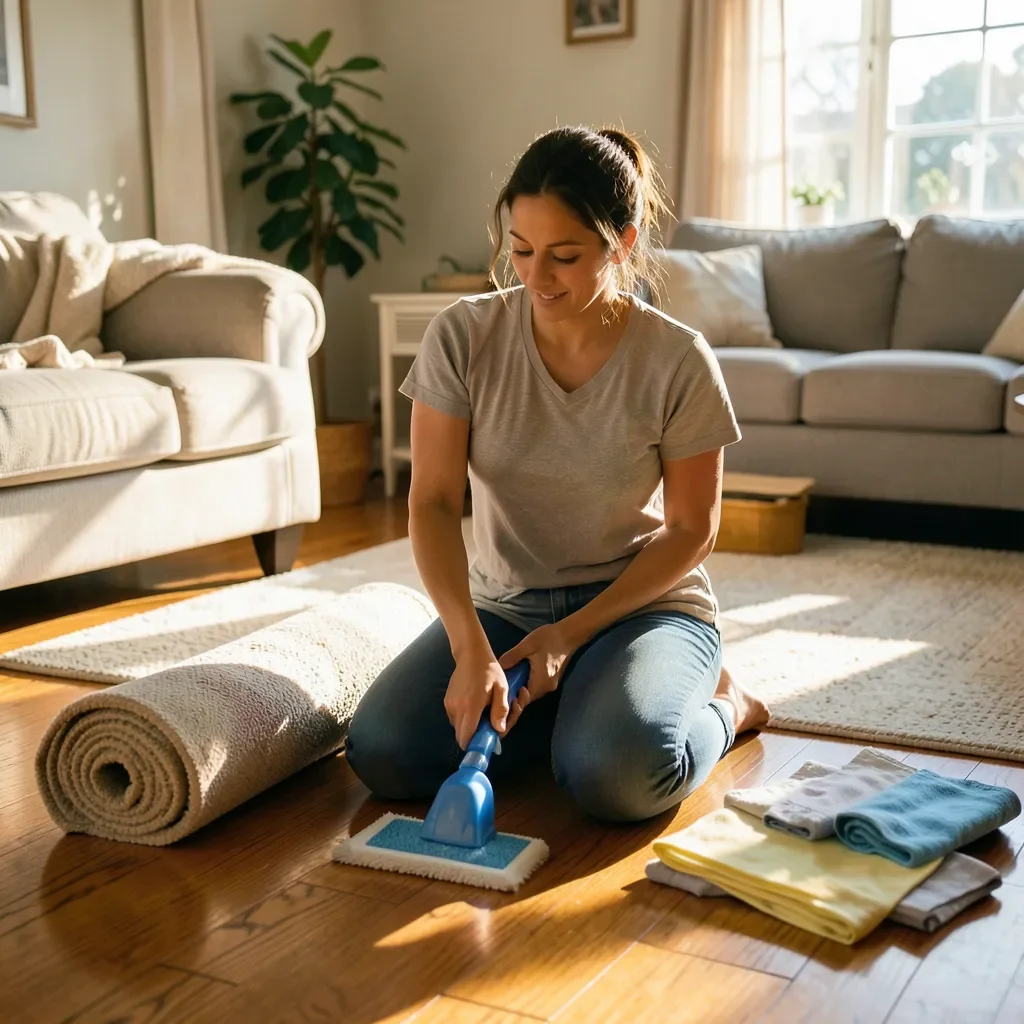
Begin mopping the floor in the direction of the wood grain. Work in small sections. As you mop a section, you’ll notice the mop head picking up dirt. Rinse the mop head in the separate clean water (your second bucket) to remove the dirty water and dirt. Then, dip it back into the cleaning solution and wring it out again. This two-bucket method keeps your cleaning solution cleaner for longer and ensures you’re not just pushing dirty water around.
Frequency: As needed – weekly, bi-weekly, or monthly, depending on traffic and spills.
Step 5: Quick-Drying and Buffing
One of the beauties of using a well-wrung-out microfiber mop is that the floor dries very quickly. However, if you see any standing water or damp spots lingering, especially in humid conditions, use a clean, soft cloth or towel to quickly wipe them dry. This prevents water from seeping into the wood or finish.
For an extra shine, you can lightly buff the floor with a clean, dry microfiber cloth or a polishing pad attachment on your mop. This is usually an optional step for those who like a high-gloss finish.
Dealing with Spills and Stains
Accidents happen! The key to dealing with spills and stains on hardwood floors is to act fast. The longer a spill sits, the more likely it is to penetrate the finish and cause damage.
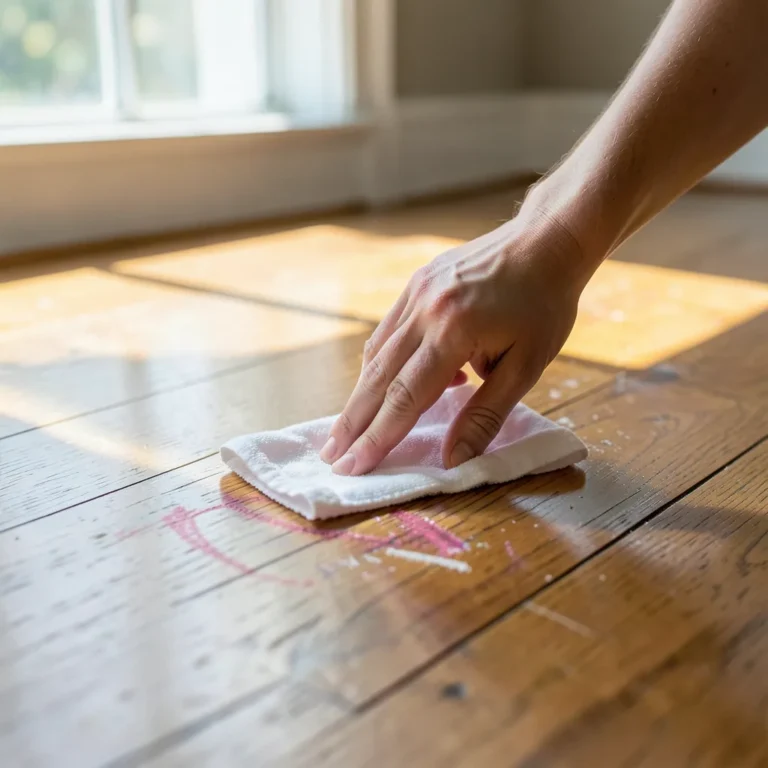
- For fresh spills: Immediately blot the spill with a clean, absorbent cloth or paper towel. Don’t rub, as this can spread the liquid.
- For sticky or sugary spills: Lightly dampen a cloth with water and your pH-neutral cleaner. Wipe the area gently. Dry immediately.
- For dried-on dirt or scuffs: Try to lift them with your dry dust mop first. If that doesn’t work, use a damp cloth (water only, or very diluted cleaner) and gentle pressure. A tennis ball can sometimes be used to gently rub out scuff marks.
- For tougher stains: For stains that have penetrated the finish (like pet accidents or deep grease), you might need a specialized hardwood floor stain remover. Always test these in an inconspicuous spot first. Extreme stains might require professional attention or refinishing.
Remember, always dry the area thoroughly after cleaning any spill or stain.
Products to Avoid on Your Hardwood Floors
Just as important as knowing what to use is knowing what to avoid. Using the wrong cleaning products can cause irreversible damage to your hardwood floors, dulling their finish or even etching the wood itself. When in doubt, always consult your floor’s manufacturer or a professional.
Products You Should Steer Clear Of:
- Ammonia-based cleaners: Ammonia is a harsh chemical that can break down and dull the protective finish of your hardwood floors over time.
- Bleach: Bleach is corrosive and can permanently discolor the wood and damage its finish.
- Vinegar (especially undiluted): While often touted as a natural cleaner, vinegar is acidic. In small, very diluted amounts, it might be okay occasionally for some finishes, but frequent use or using it undiluted can etch the finish and dull the shine. It’s best to stick to pH-neutral cleaners.
- Oil soaps and furniture polish: These can build up on the floor’s surface, creating a slippery, hazy residue that is difficult to remove and can attract more dirt. They also can make future cleaning or refinishing problematic.
- Excessive Water: As mentioned, never flood your hardwood floors with water. This means no steam mops (unless specifically certified for hardwood and used with extreme caution, though many professionals advise against them) and always using a well-wrung-out mop. Visit the Energy.gov guide on hardwood floors for general maintenance tips.
- Abrasive cleaners or scouring pads: Steel wool or abrasive powder cleaners will scratch the finish and the wood surface.
Safe DIY Vinegar Ratio (If You Still Want to Use It)
If you prefer a homemade solution instead of a commercial pH-neutral cleaner, dilute 1/2 cup of distilled white vinegar per 1 gallon of warm water — a stronger mix is what actually etches polyurethane finishes over repeated use. Use this ratio only occasionally, mop with a barely-damp head, and dry the floor immediately afterward. Skip it entirely on waxed or oil-finished floors, where any acid exposure does more harm.
Sticking to cleaners specifically designed for hardwood and using gentle techniques will keep your floors looking their best for years. It’s about nurturing the material, not stripping it down.
Maintaining Your Hardwood Floors Between Cleanings
Keeping your hardwood floors in great shape isn’t just about the deep cleans; it’s also about the daily habits that protect them. A little preventative care goes a long way in preserving their beauty and durability.
Daily & Weekly Pro-Tips:
- Use doormats: Place mats both inside and outside exterior doors to catch dirt, grit, and moisture before they get tracked onto your floors.
- Use furniture pads: Attach felt pads to the legs of all furniture – chairs, tables, sofas, etc. This prevents scratches and gouges when furniture is moved.
- Trim pet nails: Keep your pets’ nails trimmed to minimize scratches.
- Clean up spills immediately: Don’t let liquids sit on the floor.
- Avoid high heels and cleats: Shoes with hard, pointed heels can leave dents. Encourage the right house slippers or soft-soled shoes.
- Use rugs in high-traffic areas: Place area rugs in hallways, entryways, and living room seating areas to protect the floor from wear.
- Wipe up water: Be mindful of water from pets’ bowls, plant saucers, or even leaks. Wipe up any spills immediately.
These simple practices significantly reduce the wear and tear on your hardwood floors, making your cleaning sessions easier and less frequent.
Deep Cleaning vs. Regular Cleaning
It’s helpful to differentiate between regular maintenance and a more thorough deep clean. Think of it like prepping a piece of wood for its final finish versus a light sanding after the first coat.
Regular Cleaning:
- Frequency: Daily to weekly.
- Tools: Soft broom, dust mop, vacuum with hardwood attachment.
- Purpose: To remove loose dirt, dust, and debris that can cause scratches.
Deep Cleaning:
- Frequency: Monthly to quarterly, or as needed for visible dirt.
- Tools: pH-neutral hardwood cleaner, two buckets, microfiber mop.
- Purpose: To remove accumulated grime, light grease, and marks that dry dusting can’t handle.
While deep cleaning is essential, consistent regular cleaning is the best way to keep your floors looking good and reduce the need for more intensive cleaning methods. It’s all about consistent, gentle care.
Table: Cleaning Frequency Guide
| Activity | Frequency | Tools/Supplies | Notes |
|---|---|---|---|
| Dry Dusting/Sweeping | Daily or every other day | Soft-bristle broom or microfiber dust mop | Removes abrasive grit. Essential for scratch prevention. |
| Vacuuming | 1-2 times per week | Vacuum with hardwood floor attachment (soft brush roll) | Use only if recommended by floor manufacturer. Avoid beater bars. |
| Damp Mopping (Light Clean) | Weekly or bi-weekly | pH-neutral hardwood cleaner, two microfiber mops (one for solution, one for rinsing), two buckets | Use a barely damp mop. Never saturate the floor. |
| Spot Cleaning Spills | Immediately | Soft, absorbent cloth or paper towel, approved cleaner (if needed) | Blot, don’t rub. Dry promptly. |
| Deep Cleaning | Monthly to quarterly | Same as Damp Mopping, potentially a hardwood floor restoration cleaner if needed | Focuses on grime buildup. Ensure thorough drying. |
This table provides a good visual guide for how often to tackle each cleaning task. Remember to adjust based on your specific home environment and lifestyle. For example, if you have pets or young children, you might need to clean more frequently.
When to Call a Professional
While most hardwood floor cleaning can be handled with basic tools and a little care, there are times when it’s best to bring in the experts. Professionals have specialized equipment and knowledge to tackle issues beyond simple cleaning.
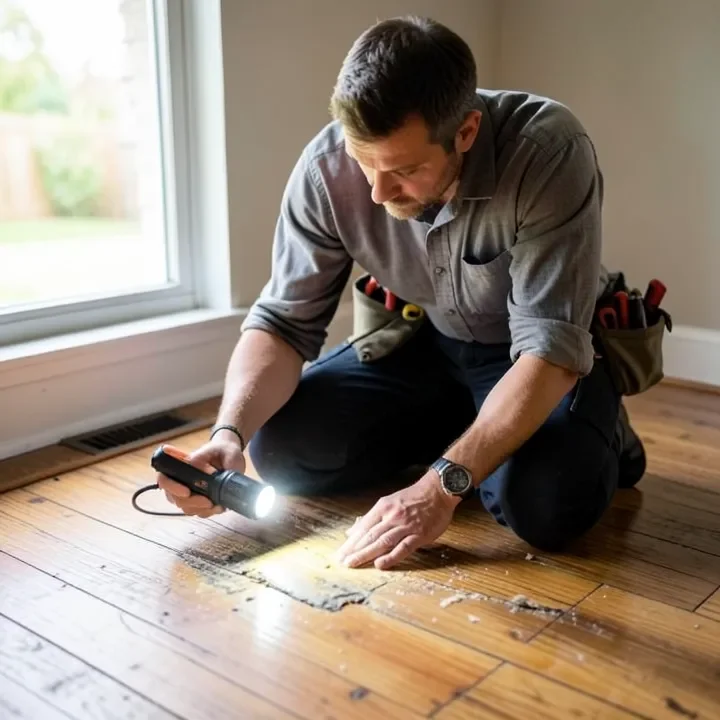
- Deep-set stains: If a stain has penetrated the finish and cannot be removed with gentle methods, a professional can assess and potentially refinish the area.
- Moisture damage: If your floors have been exposed to significant water damage, leading to warping or buckling, professional assessment and repair are crucial.
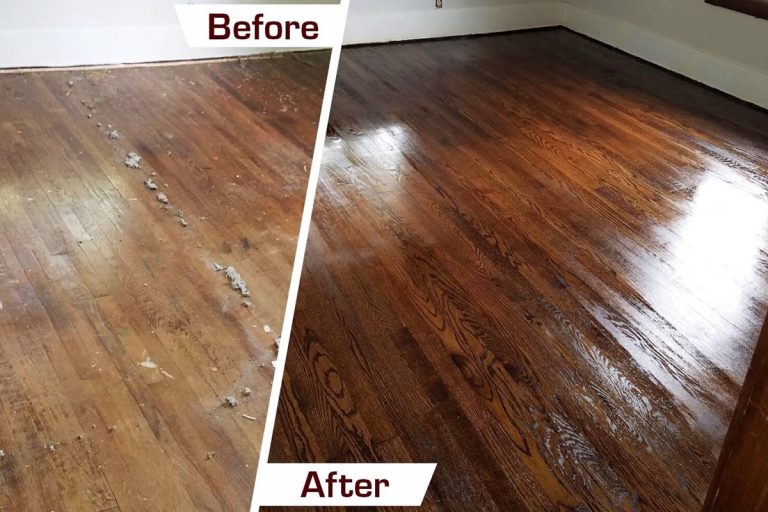
- Restoring a dull finish: If your floors have lost their sheen and regular cleaning isn’t bringing it back, professional refinishing or recoating might be necessary. This can range from a light screen and recoat to a full sand and refinish, depending on the floor’s condition.
- Unknown finishes: If you have very old or unusually finished floors and are unsure how to care for them, a professional can identify the finish and provide the right cleaning or maintenance plan.
- Extensive repairs: If you have deep scratches, gouges, or missing pieces of wood, these often require professional attention.
Don’t hesitate to seek professional help when your floors are beyond simple cleaning. They have the expertise to restore their beauty and integrity safely.
Frequently Asked Questions (FAQ)
Q1: Can I use a steam mop on my hardwood floors?
A: Generally, no. Most hardwood floor manufacturers and experts advise against using steam mops. The high heat and moisture from steam can penetrate the finish, warp the wood, and damage the adhesive bonds holding the planks together, leading to long-term problems.
Q2: How often should I clean my hardwood floors?
A: It depends on traffic. For most homes, dry dusting or sweeping daily or every other day is recommended. Damp mopping for a deeper clean can be done weekly to monthly, depending on how dirty the floors get.
Q3: What’s a safe vinegar-to-water ratio for cleaning hardwood floors?
A: Dilute 1/2 cup of distilled white vinegar per 1 gallon of warm water. Use it only occasionally on polyurethane-finished floors with a barely-damp mop, dry immediately, and avoid it entirely on wax or oil finishes, where acid exposure causes more damage.
Q4: Should I vacuum or sweep hardwood floors first?
A: Either works, but if you vacuum, turn off the beater bar or brush roll first — the National Wood Flooring Association recommends the bare-floor setting because a rotating brush head can scratch the finish. Sweeping or dust mopping is the safer default if you’re unsure your vacuum has that setting.
Sponsored / affiliate links. As an Amazon Associate I earn from qualifying purchases. I may earn additional commission from eligible campaigns.