How to Apply Danish Oil: Step-by-Step Guide for Perfect Finish (2026)
To apply Danish oil, wipe a thin, even coat onto bare or lightly sanded wood with a lint-free cloth or foam brush, following the grain direction. Allow 15 minutes for the oil to penetrate, then wipe off all excess before it becomes tacky. Apply 2–3 coats total, waiting 4–8 hours between coats and sanding lightly with 320-grit between applications. Danish oil is one of the easiest wood finishes to apply — it builds a protective, water-resistant film while enhancing the wood’s natural color and grain.
- Sand wood to 150–180 grit, wipe clean with tack cloth
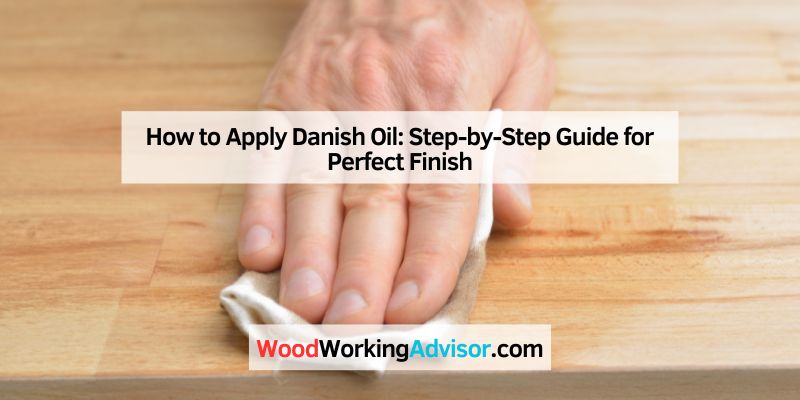
- Apply a thin, even coat with lint-free cloth or foam brush, with the grain
- Wait 15 minutes for the oil to penetrate the wood fibers
- Wipe off all excess — do not leave puddles; excess causes sticky spots
- Dry 4–8 hours, then sand lightly with 320-grit (optional)
- Repeat for 2–3 coats total for full protection
- ⚠ Safety: Lay used rags flat to dry — bunched oily rags can spontaneously combust
Introduction To Danish Oil
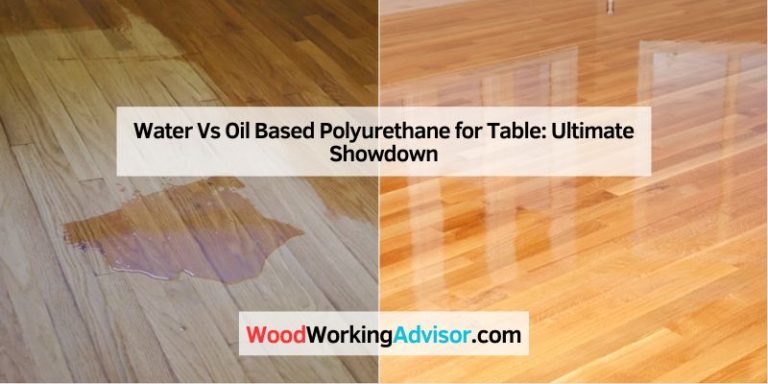
Danish oil is a penetrating oil finish — a blend of linseed or tung oil, varnish, and mineral spirits — that soaks into wood fibers rather than sitting on the surface like paint or polyurethane. This gives finished wood a natural, hand-rubbed look while providing moderate water resistance and UV protection. It’s one of the easiest wood finishes to apply, making it a favorite for furniture, countertops, interior trim, tool handles, and decorative woodwork. Danish oil is not waterproof — for surfaces with heavy water exposure, a topcoat of polyurethane over cured Danish oil provides additional protection.
Preparing Your Workspace
Work in a well-ventilated space — Danish oil contains mineral spirits that release solvent fumes as it dries. Open windows, run a fan, and keep the workspace temperature between 65°F and 80°F for optimal penetration and drying. Avoid applying in direct sunlight or high humidity (above 80%), which slows drying and can cause the finish to become tacky. Lay down drop cloths to protect nearby surfaces. Keep a metal or glass container with water nearby for soaking used rags immediately after application — this is a critical fire safety step.
Selecting The Right Wood
Types Of Wood
Danish oil works best on open-grained hardwoods like oak, ash, teak, walnut, and mahogany — the oil penetrates deeply into the porous grain structure, enhancing color and depth. It also works well on pine, cedar, and other softwoods, though soft woods absorb more oil and may require an additional coat. Dense, closed-grain hardwoods like maple and cherry absorb less oil — results can be uneven on these species without careful surface preparation. Danish oil is not recommended for oily exotic woods like rosewood or cocobolo, where the natural oils prevent penetration and bonding. For those, consider teak oil which is formulated for dense, oily species.
Wood Preparation Tips
Sand the wood progressively to 150-grit for open-grained woods or 180-grit for fine-grained species. Finish sanding in the direction of the grain — cross-grain scratches fill with oil and become visible in the final finish. Remove all sanding dust with a vacuum followed by a tack cloth. For previously finished wood, strip the old finish completely — Danish oil will not penetrate through varnish, lacquer, or polyurethane. Any bare wood that has been exposed to moisture or has mildew must be cleaned and fully dried before oiling.
Prepping The Wood Surface
After sanding, wipe the entire surface with a clean rag dampened with mineral spirits. This “pre-wetting” step removes the last traces of sanding dust and gives you a preview of what the oiled finish will look like — the mineral spirits temporarily shows the final color and grain enhancement. Allow the mineral spirits to flash off completely (10–15 minutes) before applying Danish oil. For oak specifically, avoid using water-based pre-wetting agents — water raises the grain and can cause tannin bleed in oak that reacts with the oil finish, creating dark spots.
Applying The First Coat
Apply the first coat liberally — you want the wood to absorb as much oil as possible on the first coat. Pour a small amount of Danish oil onto a clean lint-free cloth or foam brush and apply it with the grain direction, working in manageable sections. Cover the entire surface evenly, including end grain which absorbs significantly more oil. Watch for dry spots appearing within 5–10 minutes and immediately apply additional oil to those areas. After 15 minutes of penetration time, use a clean lint-free cloth to wipe off all excess oil. This step is critical — any oil left sitting on the surface will not cure properly and will leave a sticky, gummy film that takes days to harden.
Allowing Proper Drying Time
Drying Time Guidelines
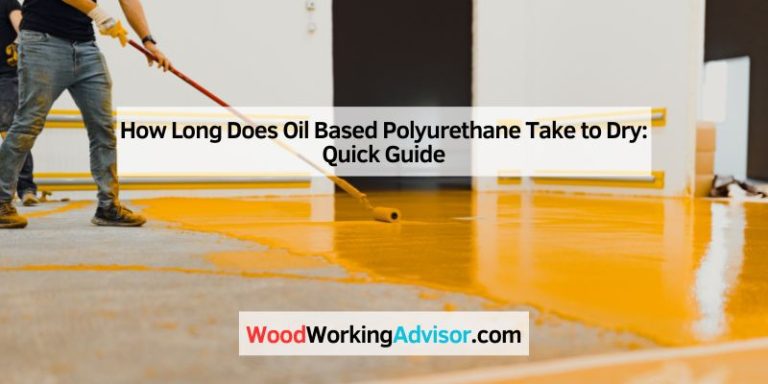
Danish oil is dry to the touch in 4–8 hours under normal conditions (65–75°F, moderate humidity). Full cure between coats requires 8–24 hours — most manufacturers recommend 24 hours for best results. Full cure of the final coat takes 3–7 days, after which the surface is ready for normal use. In cooler temperatures (below 60°F) or high humidity, drying time can double — do not apply the next coat until the previous coat is fully dry and no longer tacky. A simple test: press a folded piece of white tissue paper against the surface — if any oil transfers, it needs more drying time.
Signs Of Proper Drying
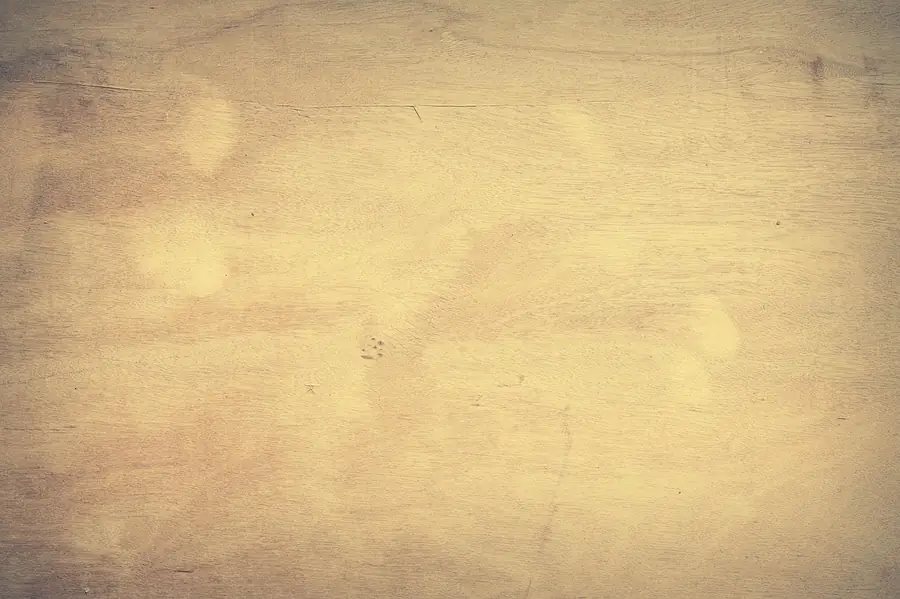
Properly dried Danish oil feels dry to the touch with no tackiness. The surface should have a slight sheen but not a sticky or glossy film. If the surface is still tacky after 24 hours, you likely applied too thick a coat or left excess oil on the surface. Fix tacky Danish oil by wiping the surface firmly with a clean lint-free cloth dampened with mineral spirits — this removes the uncured oil. Allow to dry again before proceeding.
Applying Additional Coats
For most projects, 2–3 coats of Danish oil provide adequate protection. Lightly sand between coats with 320-grit sandpaper — this removes any raised grain and creates a mechanical key for the next coat. Wipe away sanding dust with a tack cloth. Apply subsequent coats more sparingly than the first — the wood is already partially saturated and will absorb less oil. Use the same technique: apply thin and even, penetrate 15 minutes, wipe all excess. The “wet-on-wet” application method allows you to apply all coats in a single day by keeping the surface wet with oil rather than allowing each coat to dry — check your specific product instructions as not all Danish oil formulas support this method.
Finishing Touches
After the final coat has cured for 24 hours, buff the surface with a clean, dry lint-free cloth using light pressure. This removes any surface haze and brings out a smooth, satin sheen. For a higher gloss level, apply a coat of paste wax over the fully cured Danish oil — the wax adds reflectivity and provides a sacrificial layer that protects the oil finish from scratches and water marks. For furniture that will see heavy daily use, consider applying 1–2 coats of oil-based polyurethane over the cured Danish oil for maximum durability.
Maintaining Your Danish Oil Finish
Danish oil finishes are easy to maintain and repair, which is a key advantage over film-forming finishes like varnish or polyurethane. Clean Danish oil finished surfaces with a damp cloth and mild soap — avoid harsh cleaners that strip the oil. Reapply a single maintenance coat of Danish oil every 1–2 years as the surface begins to look dry or dull. Simply clean the surface, lightly sand with 320-grit, wipe off dust, and apply one fresh coat of oil, wiping off the excess after 15 minutes. This refreshes the protection and restores the sheen without any stripping or sanding down to bare wood.
Type Of Cloth For Applying Danish Oil To Wood
The best cloth for applying Danish oil is a clean, lint-free cotton rag — old T-shirt material, cotton cheesecloth, or commercially available lint-free tack cloths all work well. Avoid synthetic fabrics (polyester, nylon) as they don’t absorb oil well and can streak the application. A foam brush is the best tool for the initial heavy application on large flat surfaces — it absorbs more oil and distributes it more evenly and quickly than a cloth. For wiping off excess, always use a fresh dry lint-free cloth rather than the application cloth, which has already absorbed oil. Critical safety note: oil-soaked rags present a serious spontaneous combustion fire hazard. After use, lay rags flat and spread out on a non-combustible surface (concrete, metal) to dry fully, or submerge them in water in a metal container. Bunched oil rags have caused numerous workshop fires. Do not throw oil rags in a trash bin.
How To Apply Danish Oil On Oak
Oak is one of the best woods for Danish oil because its open pores absorb the oil deeply, creating rich color and excellent protection. Key tips for oiling oak:
- Avoid water before oiling — Water causes tannin bleed in oak that reacts with oil and leaves dark, iron-gray stains. Use mineral spirits for pre-cleaning, not water.
- Apply oil generously on the first coat — Oak’s open grain absorbs 30–50% more oil than closed-grain woods. You’ll see the wood drinking up the oil quickly; keep the surface wet by adding more oil to dry spots.
- Pay extra attention to end grain — End grain in oak absorbs oil rapidly. Apply two coats on end grain before oiling the face grain — this prevents uneven absorption and blotchy appearance.
- White oak vs. red oak — White oak’s closed tyloses make it slightly more water-resistant than red oak. Both accept Danish oil well, but white oak typically achieves a more uniform result with one fewer coat.
- 3 coats minimum for oak — The open grain needs the third coat to fully saturate and protect all the exposed fiber surfaces.
Frequently Asked Questions
What Is The Best Way To Apply Danish Oil?
The best method is to apply a thin, even coat with a lint-free cloth or foam brush following the wood grain, allow 15 minutes for penetration, then wipe off all excess with a clean dry cloth. Never leave excess Danish oil sitting on the surface — it won’t cure properly and will become sticky. Apply 2–3 coats, waiting 8–24 hours between each coat and sanding lightly with 320-grit between applications. The key to a good Danish oil finish is thin coats and thorough wiping.
Do You Use A Brush Or Rag For Danish Oil?
Both work — use a foam brush for the first heavy coat on large flat surfaces (faster, more even distribution) and a lint-free cloth for subsequent coats and for wiping off excess. Natural bristle brushes also work but tend to leave more oil on the surface, increasing the risk of tacky spots. Avoid synthetic bristle brushes. For the wiping-off step, always use a fresh, clean lint-free cloth rather than the application tool. Remember to lay used rags flat to dry — never ball them up, as oily rags can spontaneously combust.
How Many Coats Of Danish Oil Should You Apply?
Apply 2–3 coats for most projects. The first coat is the heaviest — the wood absorbs the most oil on the initial application. The second coat builds protection. A third coat is recommended for: end grain, oak and other open-grained hardwoods, surfaces that will see water (countertops, outdoor furniture), and any areas where the wood still looks dry or dull after the second coat. There is no benefit to more than 3 coats — additional coats cannot penetrate already-saturated wood and will simply sit on the surface, causing tackiness.
How To Get A Shiny Finish With Danish Oil?
Danish oil naturally produces a satin sheen, not a high gloss. To increase the sheen: (1) After the final oil coat has cured for 48 hours, buff the surface vigorously with a clean dry cloth — friction builds a slight shine; (2) Apply a coat of paste wax (Briwax, Johnson Paste Wax) over the cured oil and buff to a shine; (3) For high gloss, apply 2 coats of oil-based polyurethane over the fully cured Danish oil finish. The polyurethane bonds well to cured Danish oil and provides a durable high-gloss topcoat.
Conclusion
Danish oil is one of the most forgiving and rewarding wood finishes available — easy to apply, easy to repair, and beautiful on virtually any wood species. The key rules: apply thin coats, wipe off all excess after 15 minutes, allow full drying time between coats, and always dispose of oily rags safely by laying them flat to dry. For oak and open-grained hardwoods, plan for 3 coats. For a higher sheen, add paste wax or a polyurethane topcoat over the cured oil. With proper application and annual maintenance coats, a Danish oil finish can last for many years.