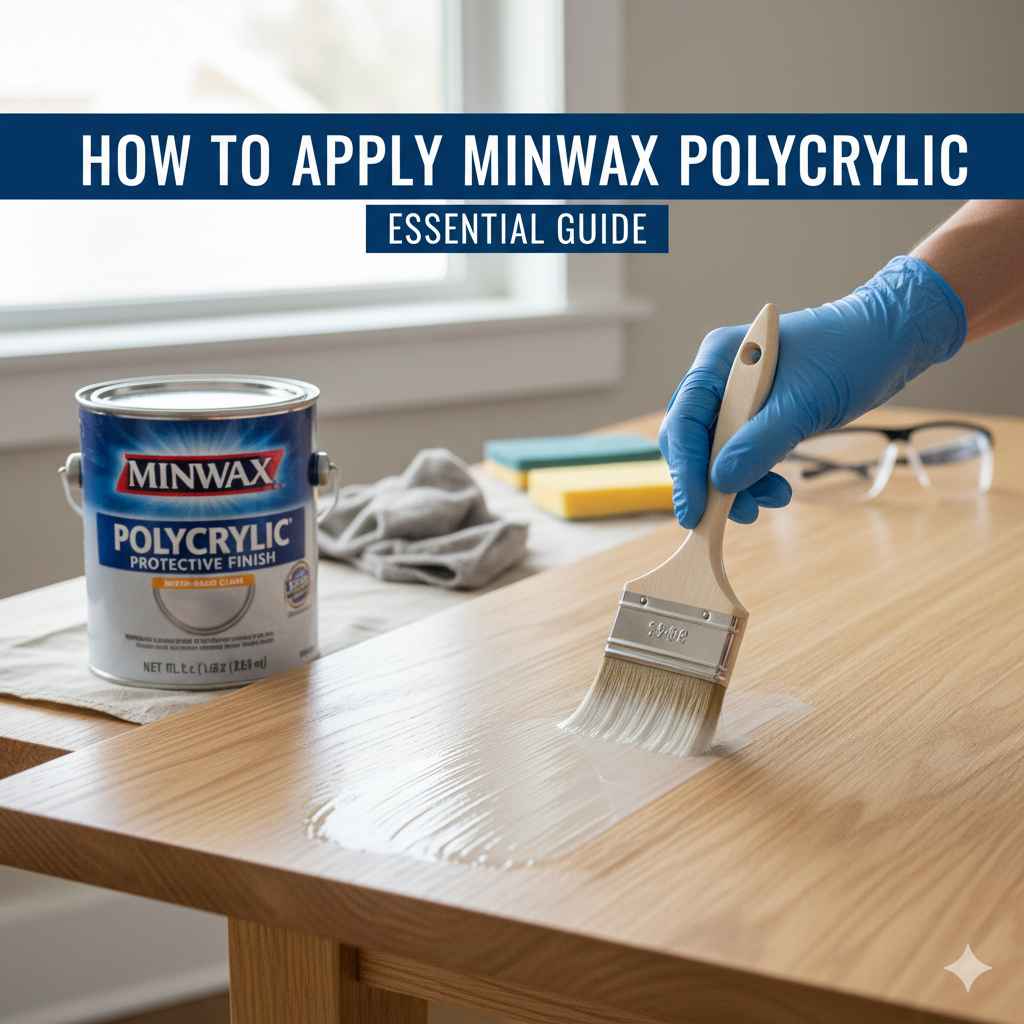
How To Apply Minwax Polycrylic: Essential Guide
To apply Minwax Polycrylic effectively for a durable, clear finish, prep your surface thoroughly, apply thin, even coats with a quality brush or roller, sand lightly between coats, and allow adequate drying time. This yields a beautiful, protective coating for your woodworking projects with minimal fuss.
Learning to finish your woodworking projects can feel a bit daunting at first, can’t it? You’ve put in the time and effort to build something beautiful, and now you want to protect it with a finish that looks great and lasts. One popular choice is Minwax Polycrylic, but applying it smoothly and evenly can sometimes be a puzzle. Many DIYers worry about brush marks, drips, or an uneven sheen. But don’t worry, with a few simple steps, you can achieve a professional-looking finish that will make your projects shine. This guide will walk you through the entire process, from preparation to the final coat, making it easy and confidence-boosting.
Why Choose Minwax Polycrylic?
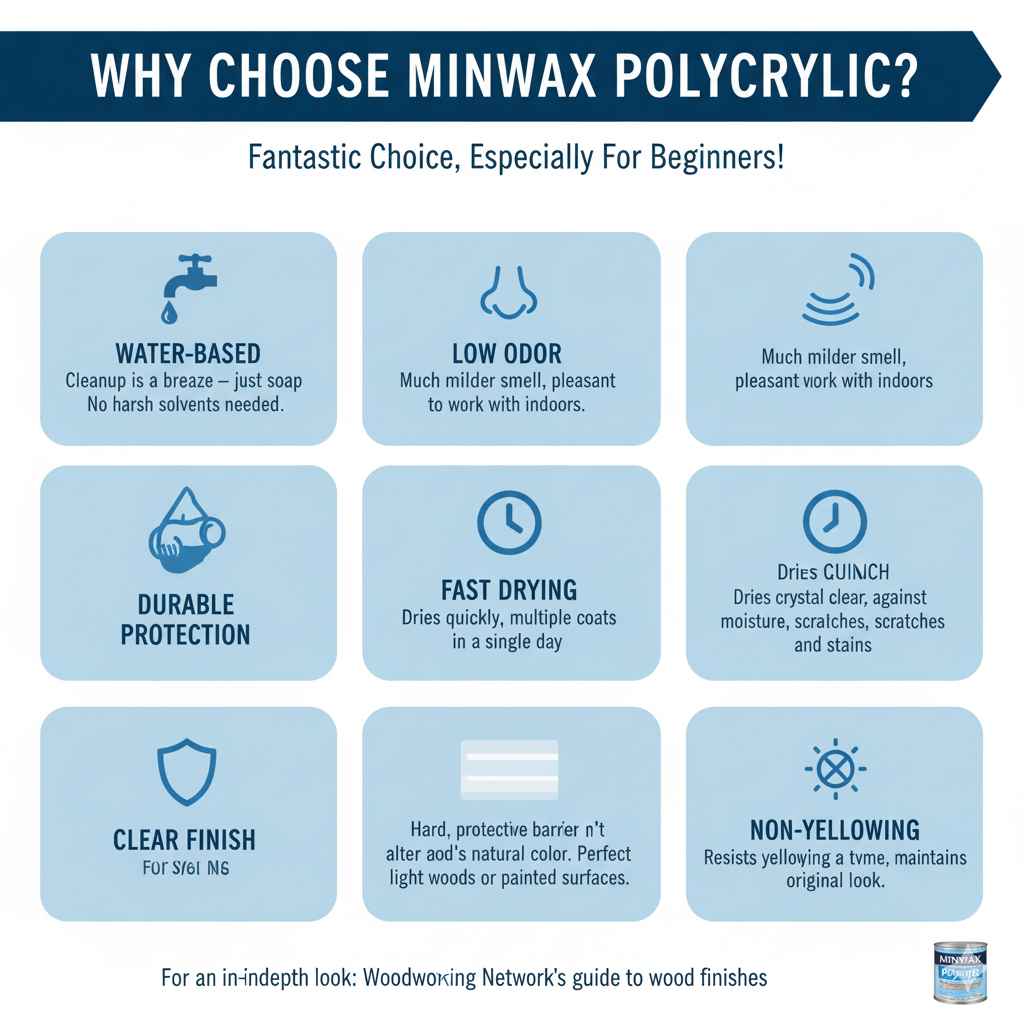
Before we dive into the “how-to,” let’s quickly touch on why Minwax Polycrylic is a fantastic choice, especially for beginners.
Water-Based: This is a huge advantage! Cleanup is a breeze – just soap and water. No harsh solvents needed.
Low Odor: Unlike oil-based finishes, Polycrylic has a much milder smell, making it more pleasant to work with indoors.
Fast Drying: It dries much quicker than traditional varnishes, allowing you to apply multiple coats in a single day.
Durable Protection: It forms a hard, protective barrier against moisture, scratches, and stains.
Clear Finish: It dries crystal clear, meaning it won’t significantly alter the natural color of your wood, unlike some oil-based finishes which can add an amber tint. It’s perfect for projects where you want the wood’s true color to shine through, like light-colored woods or painted surfaces.
Non-Yellowing: It resists yellowing over time, which is great for maintaining the original look of your project.
For an in-depth look at different wood finishes and their properties, you might find the Woodworking Network’s guide to wood finishes very helpful.
Getting Started: What You’ll Need
Gathering your supplies before you begin is key to a smooth application process. Here’s what you’ll want to have on hand:
- Minwax Polycrylic: Choose the sheen you prefer (e.g., Matte, Satin, Semi-Gloss, Gloss).
- Good Quality Synthetic Bristle Brush: For smaller areas or detailed work. A 2” or 2.5” brush is very versatile.
- Foam Roller or High-Quality Microfiber Roller: For larger, flat surfaces like tabletops or cabinet doors.
- Fine-Grit Sandpaper (220-grit or higher): For smoothing between coats.
- Sanding Block: Helps distribute pressure evenly when sanding.
- Tack Cloth or Microfiber Cloth: For removing dust after sanding.
- Stir Stick: To gently stir the Polycrylic.
- Drop Cloth or Protective Sheeting: To protect your work area.
- Safety Glasses: Always protect your eyes!
- Gloves: To keep your hands clean (optional, but recommended).
- Mineral Spirits or Denatured Alcohol: For cleaning brushes and rollers if you’re not using dedicated water-based finish cleaner.
Step-by-Step Guide: How to Apply Minwax Polycrylic
Now that you have your tools ready, let’s get to the exciting part – applying that beautiful finish!
Step 1: Prepare Your Surface – The Foundation of a Flawless Finish
This is arguably the MOST important step. A perfect finish starts with a perfectly prepared surface. Even the best product will look bad on a poorly prepped surface.
Ensure the Wood is Clean: Make absolutely sure there’s no dust, grease, or old finish on your project. If you’re working on raw wood, sand it smooth. Start with a medium grit (like 120-grit) to get rid of any imperfections, then move to a finer grit (180-grit or 220-grit) for a silky-smooth feel. Always sand in the direction of the wood grain.
Remove ALL Sanding Dust: After sanding, wipe the entire surface down with a tack cloth or a slightly damp microfiber cloth. Dust is the enemy of a smooth finish, so be thorough! You can even use a vacuum with a brush attachment to get into crevices.
Check for Imperfections: Fill any holes or cracks with wood filler that matches your wood’s color. Let it dry completely and then sand it smooth to be level with the surrounding wood.
Work in a Clean Environment: Dust in the air can settle onto your wet finish. Try to work in a well-ventilated area that’s as dust-free as possible. Consider laying down a drop cloth to catch any drips.
Step 2: Stir, Don’t Shake!
This is a common mistake! Polycrylic is water-based, and shaking it can create a lot of tiny bubbles. These bubbles will transfer to your finish and create an undesirable texture.
Gently Stir: Open the can and use a clean stir stick to gently stir the Polycrylic. Mix it until it’s uniform in consistency. Scrape the bottom and sides of the can to ensure all the settled material is incorporated.
Step 3: Apply the First Coat
Now for the application! Remember, thin, even coats are key.
Loading Your Brush/Roller: Dip your brush about an inch into the Polycrylic, or load your roller. Tap off any excess – you don’t want drips.
Application Technique:
Brush: Apply in long, smooth strokes, working in the direction of the wood grain. Overlap each stroke slightly to avoid lap marks. Try to maintain a wet edge.
Roller: Use light, even pressure. Roll slowly and deliberately to avoid creating air bubbles.
Avoid Overworking: Don’t brush or roll back and forth too much. Once you’ve spread the finish, leave it alone to flow out. This helps prevent brush marks and roller texture.
Thin Coats are Best: It’s much better to apply three thin coats than one thick, gloppy one. Thin coats dry faster and are easier to work with.
Step 4: Drying Time
Patience here pays off! Allow the first coat to dry completely according to the manufacturer’s instructions.
Check the Can: Minwax Polycrylic typically dries to the touch in about 30 minutes. However, for recoating, it generally requires about 2 hours. Always check the specific product can for the most accurate drying times.
Environmental Factors: Humidity and temperature play a big role. If it’s very humid or cool, it might take longer to dry.
Step 5: Sanding Between Coats (The Secret to Smoothness!)
This step is crucial for a glassy-smooth finish. It might seem counterintuitive to sand a finish that’s supposed to be protecting your project, but it’s essential.
Light Sanding: Once the coat is dry to the touch and ready for recoating (usually after 2 hours), take your fine-grit sandpaper (220-grit or higher) and lightly sand the entire surface.
Purpose of Sanding: This isn’t about removing the finish; it’s about knocking down any little imperfections – dust nibs, slight ridges, or minor bumps – and creating a slightly rough surface for the next coat to adhere to.
Use a Sanding Block: This helps you apply even pressure and avoid creating divots.
Keep it Gentle: Use minimal pressure. You’re just “de-napping” the surface, not trying to expose the wood.
Step 6: Clean Again
After sanding, you must remove all the dust.
Tack Cloth or Microfiber: Use a tack cloth or a clean, dry microfiber cloth to wipe away all sanding dust. A vacuum can also be helpful first.
Step 7: Apply Subsequent Coats
Repeat Steps 3, 4, 5, and 6 for each subsequent coat.
Number of Coats: For most projects, 2-3 coats are sufficient. For high-wear surfaces like tabletops or cabinets, you might want to go for 3-4 coats.
Final Coat: For the final coat, you can skip the sanding step if the surface is already smooth and blemish-free. Apply it carefully and let it cure fully.
Step 8: Curing Time
While Polycrylic dries to the touch relatively quickly, it takes much longer to fully “cure” (harden completely).
Light Use: You can usually handle your project gently after 24 hours.
Full Cure: It typically takes about 7 days for Polycrylic to reach its maximum hardness. Avoid placing heavy objects or subjecting the finish to heavy wear and tear until it’s fully cured.
Polycrylic Application: Brush vs. Roller
Choosing the right applicator depends on the size and type of surface you’re finishing.
| Applicator Type | Best For | Pros | Cons |
|---|---|---|---|
| Synthetic Bristle Brush | Small projects, furniture details, edges, smaller surfaces | Good control, can get into tight spots, traditional application method. | Can leave brush marks if not careful, slower for large areas, requires careful cleaning. |
| High-Quality Foam Roller | Large, flat surfaces (tabletops, cabinet doors, shelves) | Faster application, smoother coverage on large areas, less prone to drips than brushes. | Can create a bubbly texture if not used gently, foam can degrade over time, harder to use on detailed areas. |
| High-Quality Microfiber Roller | Large, flat surfaces (similar to foam, often superior results) | Excellent for smooth, even coverage, holds more product than foam, minimizes air bubbles and texture. | More expensive than foam rollers, requires careful cleaning. |
Important Considerations for a Perfect Finish
Here are a few extra tips to help ensure your Polycrylic project turns out beautifully:
Stain vs. Tint: Remember that clear Polycrylic will not significantly darken your wood. If you want to add color, you’ll need to stain the wood first with a wood stain, let it dry completely, and then apply the Polycrylic as a protective topcoat. Polycrylic is NOT a stain itself.
Consistency is Key: Uniform application is vital. Try to maintain a consistent speed and pressure as you apply each coat.
Edge Application: Pay special attention to edges. They tend to absorb more finish and can sometimes dry out faster, leading to unevenness. Apply a little extra care and ensure they are well-coated.
Ventilation: While low-odor, good ventilation is always recommended for any finishing project to aid drying and ensure a healthy working environment. For more on ventilation safety, check out resources from OSHA, like their worker safety rights information which covers safe practices.
Test Area: If you’re unsure or working on a valuable piece, always do a test application on a scrap piece of wood or an inconspicuous area first.
Working with Different Sheens
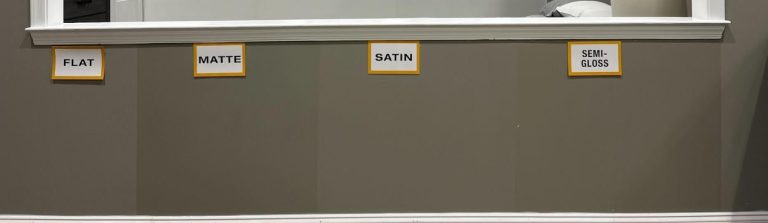
Minwax Polycrylic comes in various sheens, and your choice will affect the final look of your project:
Gloss: Provides the highest shine and reflects the most light. It can sometimes highlight imperfections more than other sheens.
Semi-Gloss: Offers a noticeable shine but is less reflective than gloss. A popular choice for furniture and cabinets.
Satin: The most popular choice for many woodworkers. It provides a soft, subtle sheen that isn’t too dull or too shiny, offering good protection with a natural look.
Matte: Offers the least amount of shine, providing a very low-sheen, natural look that can sometimes resemble an oil finish.
Troubleshooting Common Issues
Even with the best intentions, minor issues can pop up. Here’s how to handle them:
Brush Marks: If you notice brush marks, they are usually caused by using too much pressure, applying the finish too thickly, or overworking the area. Lightly sand the affected area after it dries and apply another THIN coat, using less pressure and fewer strokes.
Drips and Runs: These often happen when too much finish is applied, especially on vertical surfaces. Sand them down carefully once dry and reapply a thin coat.
Bubbles: Shaking the can or applying too quickly can cause bubbles. For small bubbles, you can try to level them by lightly sanding and reapplying.
Sticky Finish: This usually means the coat hasn’t dried or cured properly. Ensure you’re working in appropriate temperatures and humidity, and give it more time. Avoid recoating too soon.
FAQ: Your Polycrylic Questions Answered
Here are answers to some common questions beginners have about applying Minwax Polycrylic.
- Can I apply Minwax Polycrylic over existing paint? Yes, absolutely! Polycrylic is excellent for protecting painted surfaces. Just ensure the paint is fully dry and clean. For best adhesion, light sanding (220-grit) can help, followed by thorough dust removal. You can apply it over latex or oil-based paints.
- Do I need to use a wood conditioner before Polycrylic? A wood conditioner is typically recommended before applying stain* to softwoods like pine or poplar to help them absorb the stain more evenly and prevent blotchiness. Polycrylic itself is a clear topcoat and doesn’t require a conditioner. If you’ve already stained your wood, ensure the stain is completely dry before applying Polycrylic.
- Can I use Polycrylic on exterior projects? Minwax Polycrylic is designed for interior use only. It does not offer the UV protection or resistance to weather that exterior finishes do. For exterior projects, you should use products specifically formulated for outdoor use, such as Minwax Helmsman Spar Urethane.
- How many coats of Polycrylic are recommended? For most projects, 2-3 coats are sufficient for good protection and appearance. For surfaces that experience a lot of wear and tear, like tabletops, countertops, or cabinet doors, 3-4 coats are recommended for maximum durability. Always aim for thin, even coats.
- What’s the difference between Polycrylic and Polyurethane? The main difference is their base. Polycrylic is water-based, while polyurethane is oil-based. This means Polycrylic is low-odor, non-yellowing, and cleans up with water. Polyurethane is more durable, offers better moisture resistance, and adds an amber tone to wood, but it has a strong odor, requires mineral spirits for cleanup, and can yellow over time. Polycrylic is generally preferred for light-colored woods and painted surfaces where a clear, non-yellowing finish is desired.
- Can I apply Minwax Polycrylic over an oil-based stain or topcoat? Yes, you can apply water-based Polycrylic over a fully dried and cured oil-based finish. However, it’s always a good idea to lightly sand the oil-based surface and wipe it clean to ensure good adhesion for the water-based topcoat. If you’re unsure, always test on a scrap piece first.
Conclusion: Your Project, Finished Beautifully
You’ve now got the essential knowledge to confidently apply Minwax Polycrylic. By focusing on careful preparation, applying thin, even coats, and giving it the proper drying and curing time, you’ll achieve a professional-looking, durable finish that enhances the beauty of your woodworking projects. Remember, every step, from sanding to stirring, contributes to the final outcome. Don’t be afraid to practice on scrap pieces if you’re feeling a bit nervous. With a little patience and your new skills, your projects will not only be protected but will also look stunning for years to come. Happy finishing!