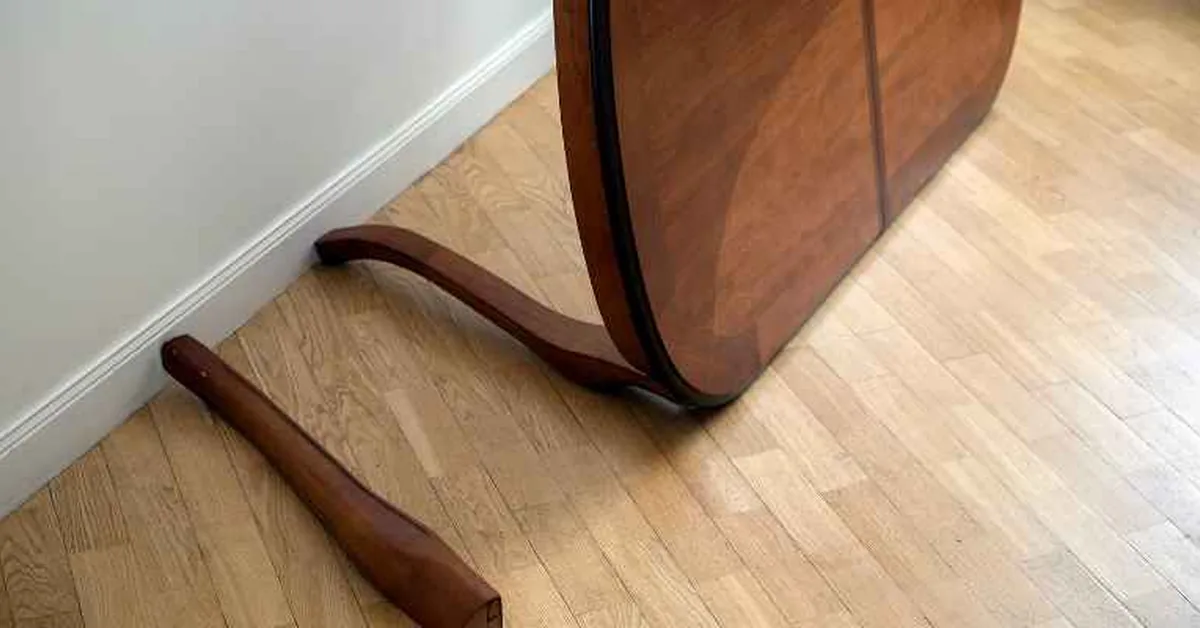
How to Fix a Split Wood Table Leg (Glue, Clamp, or Reinforce)
Wood glue and clamps fix most split table legs — apply glue deep into the crack, clamp for 30 minutes to set, then leave clamped 24 hours to fully cure. But a split running through a load-bearing joint needs a dowel, screw, or hidden brace added underneath the glue, or it will re-open under weight. This guide covers picking the right adhesive, clamping and reinforcing the joint, filling wide splits with missing wood, and stopping the leg from splitting again.
Insert your Affiliate Disclosure reusable block here
Tools and Materials You’ll Need
Best Wood Glue Pick
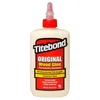
Titebond Original Wood Glue, 8 oz
The industry-standard PVA glue for furniture repairs — strong bond, sets in 20-30 minutes under clamp.
- Best for: Clean, tight-fitting splits on indoor furniture
- Why we picked it: Fast set time keeps clamp time short, and it sands and stains cleanly
- Main drawback: Not waterproof — skip it for outdoor furniture or damp areas
Compare more split table leg repair supplies
 Option 1 Jorgensen 24″ Bar Clamp Set (2-Pack)
|
 Option 2 J-B Weld KwikWood Epoxy Putty
|
 Option 3 Gorilla All-Purpose Wood Filler Kit
|
As an Amazon Associate we earn from qualifying purchases.
Gather these before starting so the glue doesn’t start setting while you’re hunting for a clamp:
- PVA wood glue (Titebond or similar) or epoxy for a wider or damp-prone split
- 1-2 bar or C-clamps sized to the leg’s length
- Wood filler or epoxy putty (only needed if a chunk of wood is missing)
- 120-grit and 220-grit sandpaper
- A small acid brush or flat stick to push glue into the crack
- Wood screws and a drill (only for reinforcing a load-bearing split)
- Matching wood stain or finish
How to Fix a Split Wood Table Leg
Flip the table over or lay the leg flat so gravity isn’t fighting the clamp. Work through these steps in order — skipping the dry-fit step is the most common reason a repair fails.
- Dry-fit the split: Press the two sides of the split together without glue. If they close tight with no gap, glue alone will hold; if you see a gap or missing splinters, you’ll need filler (see below).
- Clean the crack: Blow out dust and old wax with compressed air or a stiff brush — glue won’t bond to a dirty or oily surface.
- Apply glue into the split: Work PVA glue or epoxy deep into the crack with a small brush, then work the joint open and closed slightly so glue coats both faces fully.
- Clamp across the split: Position the clamp so pressure runs perpendicular to the crack, not along it. Tighten until glue squeezes out in a thin bead, then stop — overtightening can crack thin stock further.
- Wipe excess glue: Remove squeeze-out with a damp cloth immediately; dried glue blocks stain from penetrating later.
- Let it cure fully: Leave the clamp on per the glue’s cure time (see the table below) before handling the leg.
- Sand and finish: Once cured, sand flush with 120-grit then 220-grit, and match the surrounding stain or finish.
Which Glue Sets Fastest? Clamp Times Compared
Clamp time is the main variable competitors gloss over as “let it dry” — the actual minutes and hours vary a lot by adhesive type:
| Glue Type | Clamp Time | Full Cure | Best For |
|---|---|---|---|
| PVA (yellow wood glue) | 20-30 minutes | 24 hours | Clean, tight splits indoors |
| Polyurethane glue | 1-2 hours | 24 hours | Splits exposed to moisture |
| Epoxy | No clamp needed once shaped, or 1-2 hrs if clamped | 24-48 hours | Wide splits, missing wood, load-bearing joints |
| CA (cyanoacrylate) glue | Seconds — hold by hand | Minutes | Hairline cracks, quick tack before clamping |
See our full breakdown of how long wood glue needs to be clamped for cure times by brand.
Repairing a Wide Split or a Missing Wood Chunk
If the dry-fit test left a visible gap, or a sliver of wood actually broke off and is gone, glue alone won’t close the joint. Mix or knead epoxy putty and press it into the void, slightly overfilling since it shrinks a little as it cures. Once hardened, carve and sand it flush. For splits under 1/8 inch with no missing material, a stainable wood filler works instead of epoxy and is easier to color-match.
Reinforcing a Load-Bearing Split
A load-bearing split is a crack at or near the point where the leg meets the apron or tabletop — the joint that actually carries weight. Glue alone often re-opens here under normal use. Add mechanical reinforcement before the glue cures:
- Dowels: Drill 2-3 holes across the split, glue in hardwood dowels, and clamp — this is the strongest option for a structural crack.
- Screws: After the glue sets, drive a screw perpendicular to the split from a hidden face of the leg. Pre-drill to avoid re-splitting the wood.
- Hidden L-bracket or corner brace: Screwed to the inside face of the leg where it meets the apron, this takes stress off the glue joint entirely and is the easiest fix if the leg still wobbles after gluing.
- Wire wrap (temporary fix): Wrapping the glued split tightly with fine steel wire before clamping adds extra hold for legs under constant flexing, such as a leaf-table leg that folds.
If the split runs through a mortise and tenon joint rather than the leg itself, treat it as a joint repair, not a simple split — the tenon may need to be re-glued or replaced rather than just clamped.
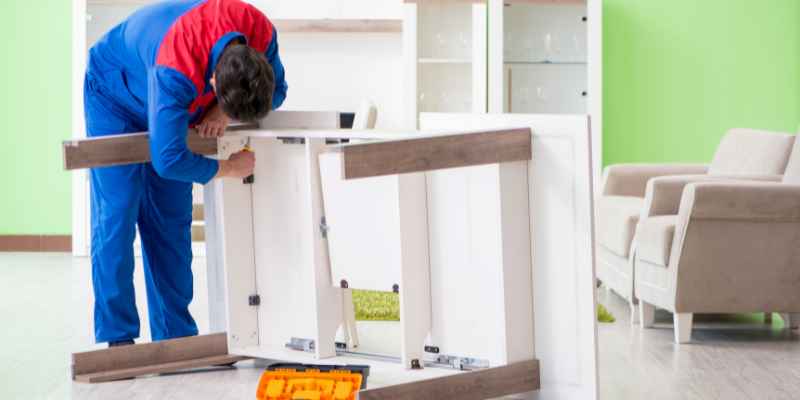
Is the Split Repairable, or Do You Need a Professional?
A hairline crack or a split that closes tight on the dry-fit test is a DIY job with glue and a clamp. Call a professional if the split runs through a joint, the leg is on an antique with veneer or inlay you don’t want to risk, or the wood is so weakened that a screw won’t hold — forcing a repair on wood that’s already failed structurally can crack it further and cost more to fix than the original damage.
Common Causes of Split Table Legs
Most splits trace back to seasonal wood movement — the wood expands and contracts with humidity changes until it cracks along the grain. Heavy loads, a hard knock, or a leg made from a lower grade of wood for furniture legs all accelerate the problem.
Preventing Future Splits
Keep indoor humidity between 35-55% with a humidifier or dehumidifier as the seasons change — this is the single biggest factor in whether a repaired leg splits again. Lift the table by its frame or apron when moving it; dragging it by one corner puts twisting stress directly on the legs, which is how many splits start in the first place. Keep the table away from radiators, heating vents, and direct sun, and wax or oil the legs every six months to slow moisture loss.
Frequently Asked Questions
Can I fix a split wood table leg without clamps?
Yes. Apply wood glue to the split, press the pieces together, and hold them with heavy rubber bands, painter’s tape wrapped tightly, or a heavy object for the clamp time listed on the glue. Drill and drive a screw through from a hidden face once the glue sets for extra hold without ever using a clamp.
What causes wood table legs to split?
Seasonal humidity changes that make the wood expand and contract are the most common cause, followed by heavy loads, impacts, and lower-grade wood that has more internal stress in the grain. Dragging a table by one leg instead of lifting the frame is a frequent, avoidable trigger.
Can I repair a split table leg without removing it?
Yes, for most splits. Tip the table on its side or upside down so the leg is accessible, apply glue into the crack, and clamp in place. Only remove the leg if the split runs through the joint where it attaches to the frame and you need to re-glue that joint separately.
How long does wood glue take to dry on a table leg repair?
PVA glue needs 20-30 minutes of clamp time and is safe for light handling after 1-2 hours, but full cure strength takes 24 hours. Polyurethane and epoxy need 1-2 hours clamped and 24-48 hours to fully cure — don’t put weight on the leg before then.
Will a repaired table leg be as strong as before?
A clean glue joint on solid wood is often stronger than the surrounding wood itself, since PVA glue bonds deeper than the wood fibers would naturally separate. A split at a load-bearing joint needs the dowel, screw, or bracket reinforcement above to match the leg’s original strength — glue by itself is not enough at a stress point.
Fixing a split wood table leg comes down to matching the fix to the damage: glue and a clamp for a clean split, epoxy putty for a wide gap, and mechanical reinforcement for anything at a load-bearing joint. Dry-fit first, don’t skip the clamp time, and check the whole table for the humidity or handling habit that caused the split so it doesn’t happen again. For general split-wood repairs beyond table legs, see our guide to mending split wood, or browse our full wood care and maintenance guide.
Sponsored / affiliate links. As an Amazon Associate I earn from qualifying purchases. I may earn additional commission from eligible campaigns.