How to Build a Box With 2×4 and Plywood (Full Cut List)
To build a box with 2x4s and plywood, make a frame from 2x4s, then screw plywood panels to it for the floor and walls. A 24 x 16 x 16 inch storage crate needs just two 8-foot 2x4s and a half sheet of plywood, and you can build it in an afternoon with a saw, a drill and a tape measure.
Most guides stop at “cut, assemble, finish” and leave you guessing on sizes. This one gives the full cut list, a screw plan that does not poke through the wood, and a plywood layout that gets every panel out of a 4 x 4 foot piece. For a plywood-only box with no frame, see our guide to making a plywood box.
What You Need to Build a 2×4 and Plywood Crate
Best Screw Pick for a Plywood Crate
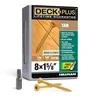 |
Deck Plus Deck Screws, #8 x 1-5/8 in., 147 Pack, Tan Epoxy At 1-5/8 inches, this length holds 1/2 inch plywood to the face of a 2×4 without the tip coming out the far side. A T25 star bit comes in the box.
|
The finished crate measures 24 inches long, 16 inches wide and 16 inches tall on the outside, with an open top and an optional lid. A real 2×4 is only 1-1/2 by 3-1/2 inches, and nominal 1/2 inch plywood is commonly closer to 15/32 inch (about 0.47 inch). The cut list below rounds that to 1/2 inch, so measure your own plywood before you cut and adjust if it differs.
Materials
| Item | Quantity | Notes |
|---|---|---|
| 2×4 lumber, 8 ft | 2 | 118 inches of cuts, about 6 feet left over |
| 1/2 inch plywood | 4 x 4 ft (half sheet) | Sanded pine or birch face looks best for a visible box |
| #8 x 1-5/8 in. screws | About 50 | Walls, floor and posts |
| #8 x 3 in. screws | 8 | Frame corners, two per joint |
| Wood glue | 1 small bottle | Waterproof glue for outdoor use |
| Sandpaper, 120 and 220 grit | A few sheets | Ease every edge before assembly |
Tools
- Circular saw or hand saw, plus a straight edge to guide the cut
- Drill/driver with a 1/8 inch pilot bit and a countersink bit
- Tape measure, pencil and speed square
- Two or more clamps
- Safety glasses and hearing protection
Cut List for a 24 x 16 x 16 Inch Crate
The frame is a ring of 2x4s standing on edge, with four short corner posts on top. The plywood wraps the outside. The long walls run the full 24 inches, the end walls fit between them, and the floor drops inside the walls.
| Part | Size | Qty | Material |
|---|---|---|---|
| Long rails | 23 in. | 2 | 2×4 |
| Short rails | 12 in. | 2 | 2×4 |
| Corner posts | 12 in. | 4 | 2×4 |
| Long walls | 24 x 16 in. | 2 | 1/2 in. plywood |
| End walls | 15 x 16 in. | 2 | 1/2 in. plywood |
| Floor | 23 x 15 in. | 1 | 1/2 in. plywood |
Here is where the numbers come from. The rails stand on edge (3-1/2 inches tall), so the posts are 16 inches minus 1/2 inch of floor minus 3-1/2 inches of rail, which is 12 inches. The short rails sit between the long rails, so they measure 15 inches minus two 1-1/2 inch rail thicknesses, which is 12 inches. The 2×4 total is 23 + 23 + 12 + 12 + (4 x 12) = 118 inches.
Cut the Plywood Without Wasting a Sheet
These six panels add up to about 1,593 square inches, roughly 35 percent of a full 4 x 8 sheet, and they fit on a 4 x 4 foot half sheet. Rip three strips across the 48 inch width: two at 16 inches and one at 15 inches. That uses 47 inches, and a standard 1/8 inch saw kerf takes two more cuts of about 1/8 inch, leaving about 3/4 inch to spare.
- Strip 1 (16 in. wide): one 24 inch long wall and one 15 inch end wall
- Strip 2 (16 in. wide): the second long wall and the second end wall
- Strip 3 (15 in. wide): the 23 inch floor panel
Cut with the good face down when you use a circular saw, because the blade lifts the fibers on the top face as it exits and leaves the tear-out there. Support both sides of the cut so the waste piece does not pinch the blade. Sand every cut edge now while the panels are flat.
Pick the Right Screw Length
Screw length is the detail that ruins otherwise good boxes. A 2 inch screw is a common default, but driven through 15/32 inch plywood into the 1-1/2 inch face of a 2×4, it travels about 1.53 inches into wood that is only 1.5 inches thick. The tip comes out about 1/32 inch on the far side, which snags hands and clothing. A 1-5/8 inch screw stops about 1-1/8 inch into the 2×4 and has room to spare.
| Joint | Screw | Why |
|---|---|---|
| Frame corner (rail into end grain of rail) | #8 x 3 in., two per joint, plus glue | 1-1/2 in. through the first rail and 1-1/2 in. into the second |
| Floor into frame | #8 x 1-5/8 in., every 6 in. | Reaches about 1-1/8 in. into a rail that is 3-1/2 in. tall |
| Walls into frame | #8 x 1-5/8 in., every 6 in. | Holds the wall to the rail at the bottom |
| Walls into posts | #8 x 1-5/8 in., three per post face | Ties the corners together |
Counting the screws: 13 for the floor, 13 for the walls into the frame, and 24 for the posts (four posts, two walls each, three screws per face), so about 50 screws of 1-5/8 inch plus 8 of 3 inch. Drill a pilot hole for every screw within an inch of a panel edge, because plywood layers can split. A countersink bit keeps the heads flush.
Build the Box Step by Step
- Cut everything to the list. Label each piece with a pencil so nothing gets mixed up.
- Build the frame. Stand the two long rails on edge, set the short rails between them at each end, add glue, and drive two 3 inch screws through each long rail into the end of each short rail. Pilot drill first.
- Check square. Measure both diagonals of the 23 x 15 inch frame. Each should read about 27-1/2 inches. If one is longer, push the long corners together until they match, then clamp.
- Attach the floor. Flip the frame upside down, lay the floor panel on it with the edges flush, and drive 1-5/8 inch screws through the floor into the rails, about every 6 inches.
- Flip it back and seat the posts. Put a bead of glue where each 12 inch post rests on a corner of the frame, with the post flush to the outside corner. The posts get their real hold from the wall screws in the next steps.
- Attach the long walls. Set each 24 inch wall with its bottom edge flush with the bottom of the floor. Clamp, pilot drill, and drive screws every 6 inches into the frame. Add three screws into each post, centered about 2-1/4 inches from each end of the wall.
- Attach the end walls. Fit the 15 inch panels between the long walls, flush at the bottom, and repeat the screw pattern. Center the post screws about 3/4 inch in from each edge of the end wall.
- Check and sand. Run a hand over every corner, ease sharp edges with 120 grit, and finish with 220 grit.
Finish, Handles and an Optional Lid
Fill the screw heads with wood filler if you plan to paint. For a garage, shed or porch, seal the plywood edges first, because end grain soaks up moisture faster than the faces. Our guide to applying wood sealer covers prep and coats.
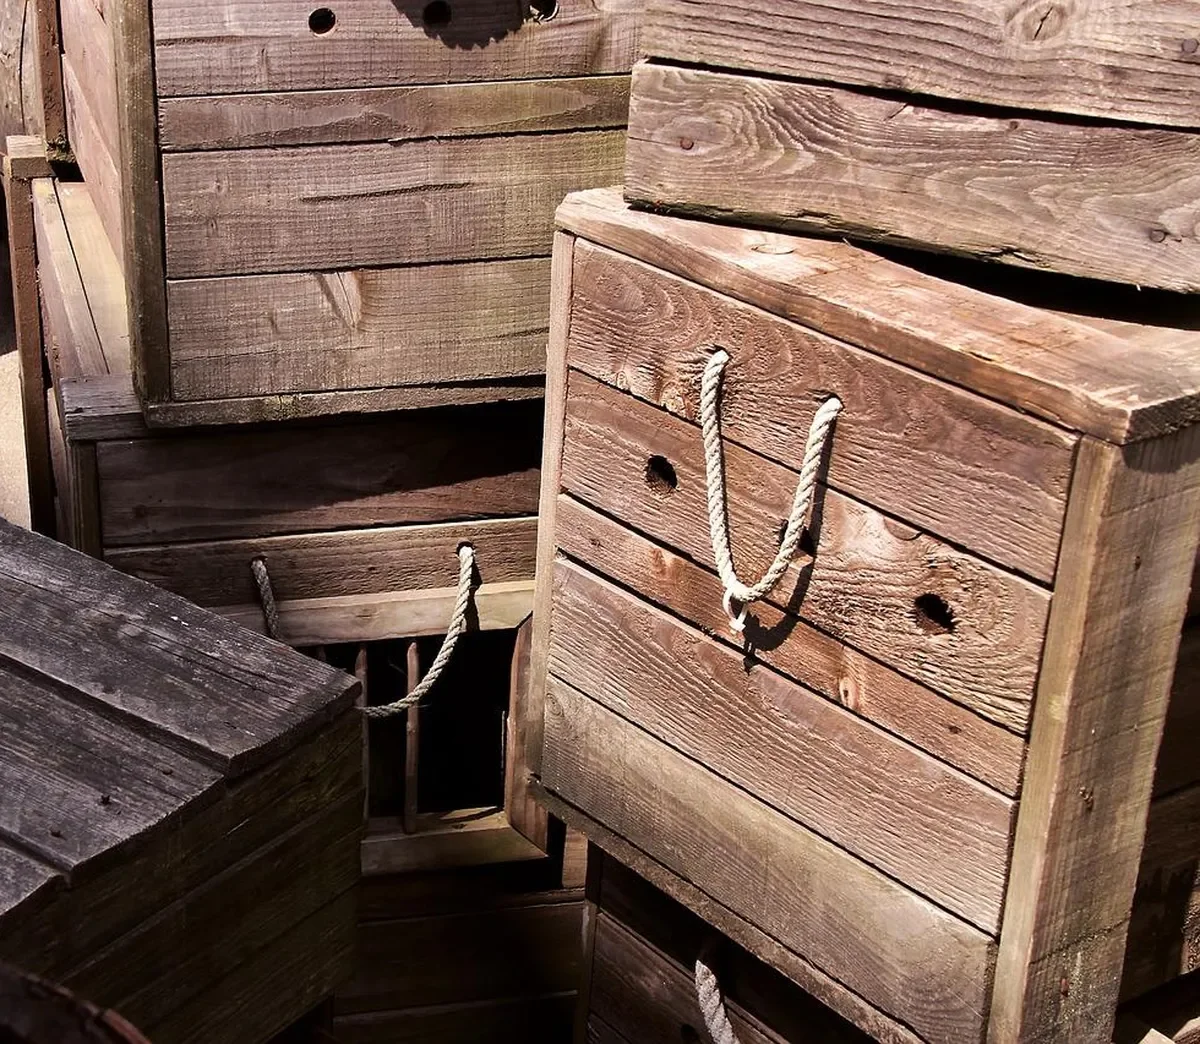
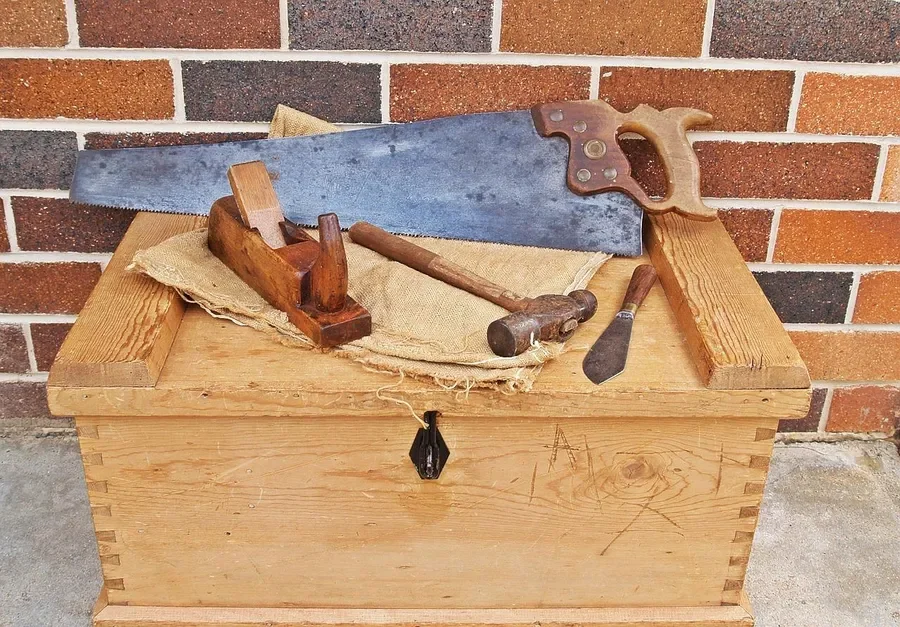
- Handles: drill two matching holes near the top of each end wall and knot a length of rope through them, as on the crates in the photo at the top of this page.
- Lid: cut a 24 x 16 inch plywood panel and attach it with two hinges along the back edge. If children will use the box, skip the hinged lid or add a lid support so it cannot slam.
- Runners: screw two 16 inch 2×4 offcuts flat under the floor to lift the box off a damp concrete floor. This adds 1-1/2 inches to the height.
Scaling the Crate Up
The same formulas work for a bigger box: long rails are the length minus 1 inch, short rails are the width minus 4 inches, posts are the height minus 4 inches, walls are the outside dimensions, and the floor is 1 inch smaller each way.
| Outside size (L x W x H) | 2×4 needed | Plywood area | Sheets |
|---|---|---|---|
| 24 x 16 x 16 in. | 118 in. (two 8 ft boards) | About 1,593 sq. in. | Half sheet (4 x 4 ft) |
| 36 x 18 x 18 in. | 154 in. (two 8 ft boards) | About 2,503 sq. in. | One full sheet |
These figures come straight from the dimensions and the formulas above. They are not load ratings. For a 36 inch crate the walls span farther, so use 3/4 inch plywood or add a middle post on each long wall. If you plan to store heavy loads, work out the weight first and see our wood load capacity calculator for lumber and screw checks.
When a Different Box Design Is a Better Fit
A 2×4 frame is bulky and heavy for its size. If you want a small, neat box for gifts or keepsakes, the corner joints in our DIY wood boxes guide give a cleaner look. For more plywood builds that use one sheet, see one sheet plywood projects. Choose this crate when you want fast, strong storage for tools, firewood, toys or garage gear.
Common Mistakes to Avoid
- Using 2 inch screws through 1/2 inch plywood into a 2×4 face. The tips poke through.
- Skipping pilot holes near edges. Plywood layers split when a screw lands close to the edge.
- Cutting with the good face up on a circular saw. The tear-out lands on the side you will see.
- Not checking the diagonals. A frame that is out of square makes every panel fit badly.
- Relying on glue or screws alone. Use both at the corners. Our guide on whether glue is stronger than screws explains why.
- Forgetting the real dimensions. A 2×4 is 1-1/2 x 3-1/2 inches, not 2 x 4.
Frequently Asked Questions
How much 2×4 and plywood do I need to build a box?
A 24 x 16 x 16 inch open-top crate needs 118 inches of 2×4, which is two 8-foot boards, and about 1,600 square inches of 1/2 inch plywood, which fits on a 4 x 4 foot half sheet. Larger boxes scale up quickly, so run the cut list before you buy.
What screw length should I use to attach 1/2 inch plywood to a 2×4?
Use 1-5/8 inch screws. Nominal 1/2 inch plywood is often 15/32 inch thick, so a 1-5/8 inch screw reaches about 1-1/8 inch into a 2×4 that is only 1-1/2 inches thick. A 2 inch screw would push through the far face by roughly 1/32 inch.
What thickness of plywood is best for a 2×4 box?
1/2 inch plywood works for a crate around 24 inches long. For walls much longer than about 30 inches, or for boxes that will hold heavy tools, step up to 3/4 inch plywood or add a middle post to stiffen the wall.
Do I need wood glue as well as screws?
Yes, glue adds strength at the corners and where the posts meet the frame. Use standard wood glue indoors and a waterproof (Type II or III) glue for a box that will live in a garage, shed or outdoors.
How do I check that the box is square?
Measure the diagonals of the bottom frame corner to corner. If both measurements match, the frame is square. For the 23 x 15 inch frame in this guide, each diagonal should be about 27-1/2 inches.
Conclusion
A 2×4 and plywood box comes down to a few numbers: 118 inches of 2×4, half a sheet of plywood, and screws that are long enough to hold but short enough to stay inside the wood. Follow the cut list, check the diagonals, and you will have a sturdy storage crate in an afternoon. Scale the formulas up when you need a bigger one.
Sponsored / affiliate links. As an Amazon Associate I earn from qualifying purchases. I may earn additional commission from eligible campaigns.