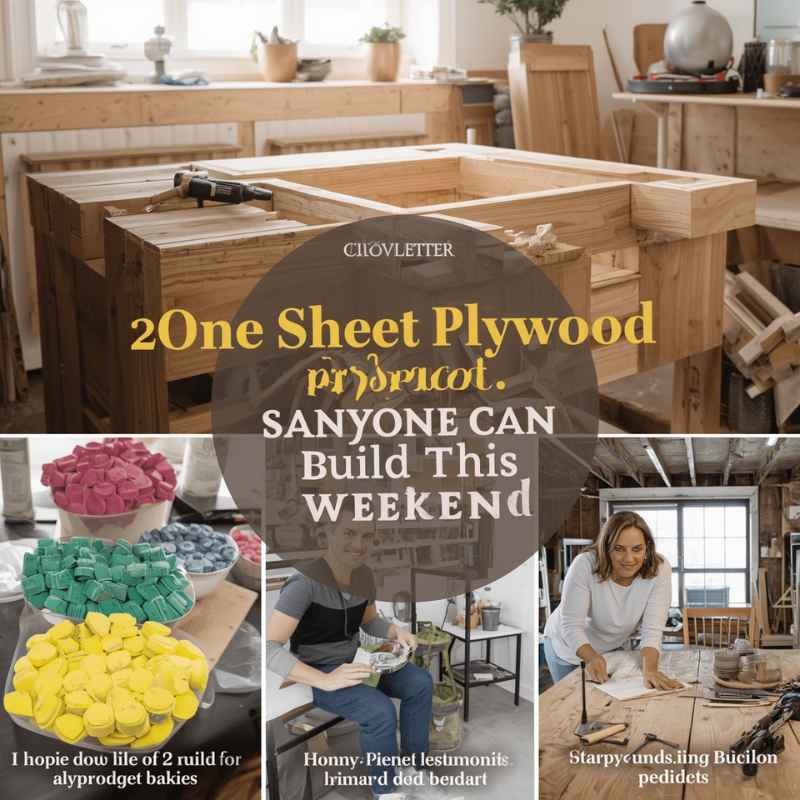
One Sheet Plywood Projects Anyone Can Build This Weekend
What if building something great didn’t require a huge shopping trip? What if you only needed one single piece of wood to start? That’s where one-sheet plywood projects shine.
They are a smart way to create something useful and beautiful. They use materials efficiently. And they keep costs down.
This guide will show you how to make amazing things. You can build them with just one sheet of plywood. We’ll cover easy ideas for your home.
You’ll learn simple steps to follow. Even if you’re new to building, you can do this. Get ready to build something you’ll love.
One-sheet plywood projects are a fantastic way to create functional and stylish items for your home without needing lots of materials or complicated steps. They are ideal for beginners and offer a quick, satisfying building experience over a weekend.
The Magic of One-Sheet Plywood
Best Guide For Straight Full-Sheet Cuts
 |
DeWalt DWS5100 12" Ripping Capacity Lightweight AluminumDEWALT | Our pick | $47.69
Price as of 20 Oct 2026
|
View |
Plywood earns its reputation as a DIY workhorse from how it’s built: thin wood veneers glued together with each layer’s grain running perpendicular to the one below it, which is what keeps a sheet flat and stable in a way a solid board of the same width often isn’t. Standard sheets run 4 feet by 8 feet, sold at essentially every lumberyard and home center, and building a project around exactly one sheet forces a genuinely useful constraint – you plan every cut before you buy, which cuts waste, keeps the shopping trip to a single stop, and caps the project’s material cost at whatever that one sheet runs.
That constraint also shapes what you can realistically build: a small bookshelf, a modern side table, or a set of stackable storage bins are all well within one sheet’s real estate, and because the piece count and cut count both stay low, the joinery stays simple too – ideal for a first build or a genuine weekend timeline rather than a multi-week project.
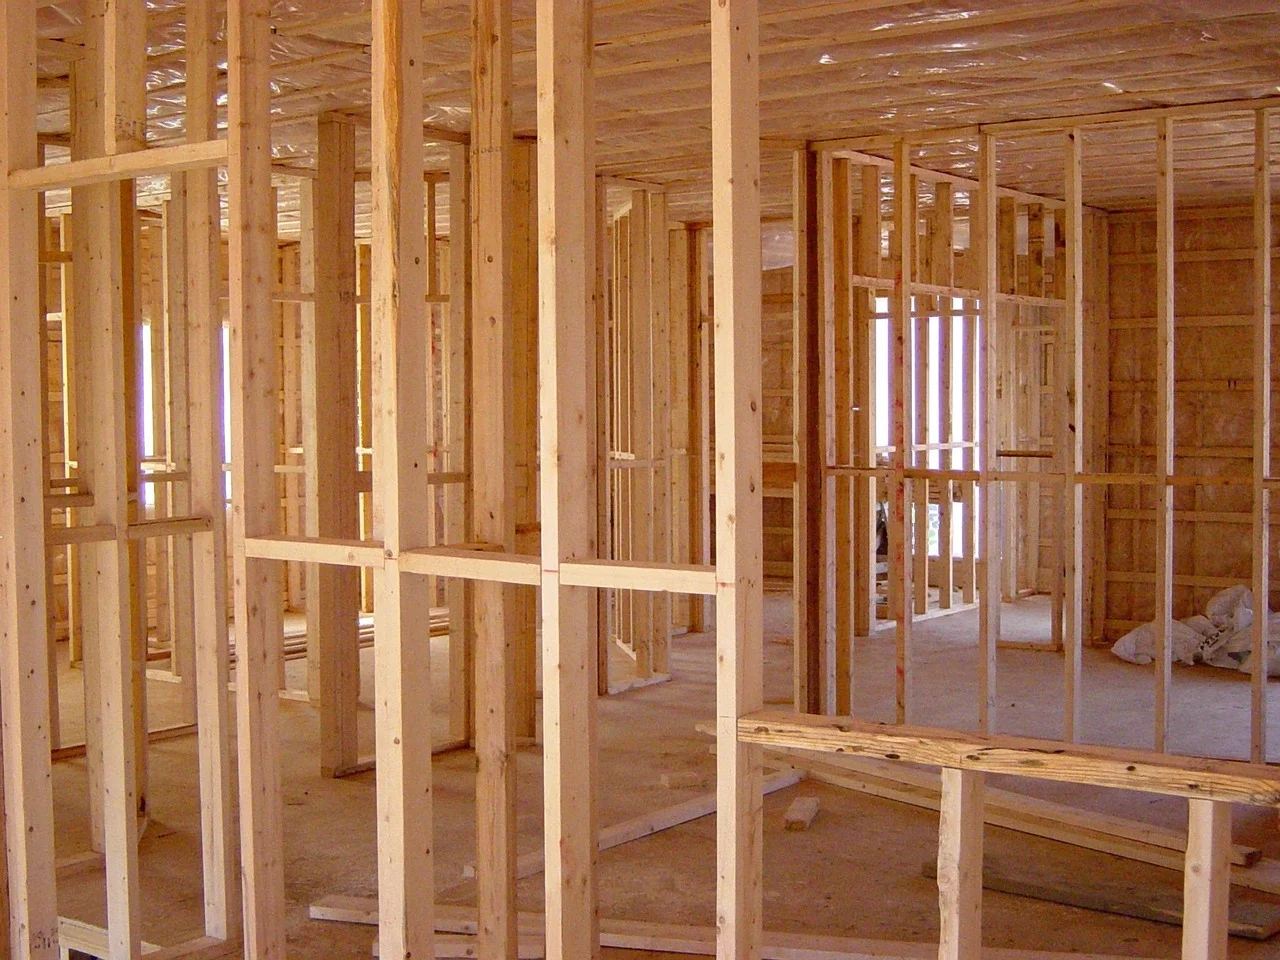
What to Expect on Your First Full-Sheet Build
The first time you cut into a full 4×8 sheet, it helps to know what actually trips people up. A coffee table or similar simple furniture piece is a common first project because it only needs a handful of straight cuts and one glue-up.
Most first-timers lose accuracy at the same two points: the very first rip cut (with nothing yet trimmed off the sheet, it’s the hardest one to keep straight) and the dry-fit before glue-up. Lay out every piece on the sheet first, cut the long rips before the short crosscuts, and dry-fit the whole assembly before any glue touches wood.
Measure every cut line twice against the plan before the saw touches the sheet – a mismeasured first rip carries through every piece cut from that section afterward. For assembly, wood glue and screws together hold better than either one alone on plywood joints.
One-Sheet Plywood Project Checklist
Before You Start:
- Choose your project plan carefully.
- Get the right type of plywood.
- Gather basic tools (saw, drill, measuring tape).
- Safety gear is a must (goggles, gloves).
During the Build:
- Measure twice, cut once!
- Use sharp blades for clean cuts.
- Test fit pieces before gluing.
Finishing Touches:
- Sand smooth for a nice feel.
- Apply paint, stain, or a clear coat.
Choosing the Right Plywood for Your Project
The face veneer – the outer layer you actually see and finish – is what separates the common plywood grades for a one-sheet project. Birch plywood has a smooth, light, tight-grained surface that takes both paint and stain evenly and holds up structurally, making it the safest default if you’re not sure which to pick. Pine plywood runs softer and typically shows visible knots, giving it a more rustic look at a lower price point, which works well when a slightly imperfect surface fits the project’s style. Hardwood plywoods faced in oak or maple cost more but show genuine grain figure, worth the premium on a piece meant to be a visual centerpiece rather than purely functional.
When you’re at the store, sight down the sheet’s edge for warping, check that the layers aren’t visibly gapped or delaminating, and note the grade stamp: “A-A” means both faces are good quality (worth it for anything visible from two sides), while “A-B” gets you a good face and a merely acceptable back, which is fine for anything that sits against a wall.
Simple Project Ideas: From Shelf to Seat
The Modern Bookshelf
A basic two- or three-shelf unit is one of the most forgiving first builds: a handful of vertical sides and horizontal shelves, joined with simple butt joints reinforced by glue and screws, with an optional back panel added for extra rigidity against racking. For a full step-by-step build with a cutting list, see our DIY plywood bookshelf guide. A bold paint color turns a plain box-and-shelf design into a real statement piece — browse more creative plywood design ideas for finish and color combinations.
Bookshelf Design Tip
Consider the depth. A shallow bookshelf is great for small spaces. A deeper one can hold larger items. Measure what you plan to store.
Then adjust your shelf depth.
The Minimalist Side Table
A side table is one of the smallest, quickest builds you can pull from a single sheet, whether it’s a simple “U”-shaped silhouette or a slightly more involved leg structure – every part still comes from the same 4×8. Because the pieces are small, mistakes are cheap to fix and the whole build goes fast, which makes it a genuinely good first-ever project. A clear coat shows off the plywood’s own grain, while paint lets it disappear into (or pop against) existing decor.
The Clever Storage Bin
A basic box – four sides and a bottom, with an optional lid – scales to whatever size you need, whether that’s toy storage for a kid’s room or a bin for garage tools. These bins often involve simple box construction, and adding a notched divider grid keeps smaller items from sliding around inside. Cut handle holes or add rope handles for easier carrying, and a matching set stacks cleanly, which is genuinely one of the fastest ways to bring order to a cluttered closet.
Storage Bin Styles
Open Top: Easiest to build. Great for quick access items. Like toys or firewood.
Lidded: Hides contents. Good for things you want to keep dust-free. Or out of sight.
With Handles: Makes moving heavy bins much easier. Cut out finger holes or add rope handles.
Ready to build beyond a single sheet? Our 10 DIY plywood furniture plans guide covers bigger multi-sheet builds like a full coffee table, TV stand, and bed frame.
Planning Your Cuts: The Key to Success
Arranging every piece’s shape on the 4×8 sheet before making a single cut – called “nesting” – is what actually determines whether you finish with usable offcuts or a pile of scrap. Most project plans include a cut diagram for exactly this reason; study it, mentally walk through the cutting order, and confirm the layout is genuinely efficient before committing a blade to the sheet. A free online nesting calculator can optimize the layout automatically for a complex cut list, though for a simple project sketching your own 4×8 rectangle on paper and drawing the pieces to scale is usually just as fast and builds a better mental map of the cut order.
Account for kerf – the width of material the blade itself removes with each pass – when spacing pieces on the layout; a standard circular saw blade takes roughly 1/8 inch, which adds up across a dozen cuts and can leave a tight layout short by the time you reach the last piece.
Essential Tools for One-Sheet Projects
A one-sheet build doesn’t demand a full shop, but a handful of tools make the difference between a frustrating afternoon and a clean result. A reliable measuring tape and a sharp pencil handle layout; a circular saw with a fresh, quality blade is the standard tool for breaking down the sheet, while a jigsaw fills in for curves or cutout shapes like handle holes where a circular saw can’t follow the line. A cordless drill/driver covers both pilot holes and driving screws, and an orbital sander turns the rough-sawn edges plywood is known for into something safe to handle. Round out the kit with wood glue (paired with screws, it makes a noticeably stronger joint than either alone), a few clamps in different sizes, and basic safety gear.
Safety First Always!
Eye Protection: Sawdust can fly. Always wear safety glasses or goggles.
Hearing Protection: Power saws can be loud. Protect your ears.
Dust Mask: Plywood dust isn’t good to breathe. Wear a mask.
Secure Your Work: Make sure the plywood is stable before cutting. Use clamps.
The Cutting Process: Making it Clean and Easy
A clearly marked cut line is the foundation of a clean cut – use a sharp pencil, and for a circular saw, running a strip of painter’s tape along the line first and marking on the tape reduces tear-out (the splintering that happens right along a cut edge) noticeably compared to marking bare plywood.
For a long, straight rip, a guide beats a freehand cut every time: a clamp-on edge guide, or a shop-made version using a straight piece of scrap clamped parallel to the line, keeps the saw tracking true. Whichever you use, measure the offset from the guide’s edge to the blade itself – check your saw’s manual for its specific “blade offset” – and set the guide that distance from your actual cut line, not zero. Let the saw’s own speed do the cutting rather than forcing it through, keep your eyes on the line rather than the blade, and have a second person support the offcut so it doesn’t snap off early and tear the piece.
A fine-tooth blade produces noticeably less tear-out than a standard framing blade, and orienting the plywood’s good face down when cutting with a circular saw (which cuts on the up-stroke) keeps most of the splintering on the underside where it won’t show.
Assembly: Bringing Your Project to Life
Most one-sheet projects go together with wood glue and screws, and pre-drilling is genuinely important here since plywood’s layered structure splits more readily than solid wood if a screw is driven without a pilot hole. Drill a pilot hole slightly smaller than the screw’s diameter, then a countersink so the screw head sits flush or just below the surface – both cleaner-looking and necessary if you plan to fill the holes afterward.
Spread glue on the mating edges, align the pieces, and clamp them while driving screws so nothing shifts mid-assembly; wipe away squeeze-out immediately with a damp cloth, since dried glue is far harder to remove and can block stain from penetrating evenly later. Butt joints (edges simply meeting flush) are the standard for beginners and, reinforced with glue and screws, are plenty strong for these projects; a dado joint (a groove cut into one piece that the mating piece slides into) adds real strength but demands more precise cutting than most one-sheet builds require.
Assembly Tips
Test Fit First: Before gluing and screwing, dry fit your pieces. Make sure everything lines up perfectly. This saves you from fixing mistakes later.
Use Enough Glue: Don’t be stingy with wood glue. It’s a major part of the joint’s strength.
Square Up: Use a carpenter’s square to make sure your corners are 90 degrees. This is vital for stability and a professional look.
Finishing Your Plywood Project
Sand every surface and edge, starting around 120-grit to knock down rough spots and mill marks, then moving to 220-grit for a genuinely smooth feel, and wipe away all dust with a tack cloth or damp rag before finishing – any dust left behind telegraphs straight through paint, stain, or clear coat.
Paint is the most forgiving finish on plywood and hides the face veneer entirely, so a primer coat followed by one or two topcoats works on nearly any grade. Stain shows off the real wood grain but can go blotchy on plywood, pine especially, so a pre-stain conditioner applied first – the same fix used on solid pine – helps it absorb evenly; expect to follow stain with a clear top coat for durability. A clear coat alone (polyurethane, polycrylic, or lacquer, in a matte, satin, or gloss sheen) protects bare or stained wood while keeping the grain fully visible; satin is the most common choice because it reads as natural without looking either flat or overly shiny, and it’s a reasonable default when in doubt.
Finishing Options at a Glance
Paint: For maximum color choice and hiding wood grain.
Stain: To enhance natural wood color and grain patterns.
Clear Coat: For protection and durability, showing off the wood.
Wax: Offers a subtle sheen and protection for a more natural feel.
When Plywood Projects Make Sense (And When They Don’t)
One-sheet plywood is genuinely well suited to beginners, tight budgets, quick weekend timelines, and functional pieces like storage, basic tables, and shelving. It’s a weaker fit for furniture that needs intricate detail or delicate curves, or fine joinery-heavy pieces where solid wood or a specialized sheet good would serve better. Outdoor use is its own consideration – standard plywood is vulnerable to water damage if the finish ever fails, so an outdoor build calls for marine-grade plywood and a genuinely robust, well-maintained finish rather than the interior-grade approach described here.
What this means for you: a simple, sturdy piece you can finish over a weekend is squarely what one-sheet plywood is good at; heirloom-quality, highly detailed furniture is a project for a different material or technique.
Quick Fixes and Tips for Plywood Projects
Tear-out along a cut edge: scrape away loose splinters, work a little wood glue under the torn piece, press it back into place, clamp or tape it while it dries, then sand smooth once cured; wood filler handles anything too small to glue back down.
Blotchy stain: lightly sand the area and try a pre-stain conditioner before reapplying, or embrace it – on a rustic-style piece, some unevenness reads as character rather than a flaw.
Stripped or misplaced screw holes: fill with wood filler (or a mix of wood glue and sawdust), let it cure fully, then sand and re-drill; a slightly larger screw is a faster fix if the hole just needs a touch more bite.
Visible plywood layers at the edge: iron-on edge banding (a thin real-wood veneer strip) trimmed flush after application gives a genuinely solid-wood look, or simply round the edges over with sandpaper for a softer, more casual line.
Troubleshooting Common Plywood Issues
Problem: Splintered cuts.
Fix: Use a sharp blade, painter’s tape, or a guide. For minor tear-out, sand or use wood glue.
Problem: Uneven stain absorption.
Fix: Use a pre-stain conditioner. Sand lightly and reapply.
Problem: Stripped screw holes.
Fix: Use wood filler and re-drill, or a slightly larger screw.
Problem: Visible plywood layers.
Fix: Apply wood edge banding or round over edges.
Frequently Asked Questions
What is the best type of plywood for beginner projects?
For most simple projects, birch plywood is a great choice. It has a smooth surface that’s easy to paint or stain. It’s also strong and readily available.
Pine plywood is another option if you prefer a more rustic look and don’t mind knots.
How do I prevent plywood from splitting when I screw it?
The key is to pre-drill pilot holes. These holes should be slightly smaller than the diameter of your screws. This gives the screw a path to follow.
It reduces the chance of the wood fibers splitting apart. For very thin plywood, it’s especially important.
Can I use a handsaw to cut plywood?
While you can technically use a handsaw, it will be very difficult to get straight, clean cuts on a full sheet of plywood. A power saw like a circular saw is highly recommended for efficiency and accuracy.
What’s the difference between veneer plywood and cabinet-grade plywood?
Veneer plywood is what most people use for furniture. It has a smooth, attractive outer layer. Cabinet-grade plywood is made to higher standards.
It has fewer voids within the layers and usually has a smoother surface on both sides. For most simple one-sheet projects, standard veneer plywood is perfectly fine.
How do I make sure my cuts are square?
Use a carpenter’s square to check your lines before cutting. After cutting, use the square again to check the corner of your piece. If you’re using a guide with your circular saw, ensure the guide is set up perfectly square to your cut line.
Is plywood strong enough for furniture?
Yes, plywood is very strong! Its layered construction gives it great stability and resistance to warping. For most furniture pieces, like shelves, tables, and bins, a standard 3/4-inch plywood sheet is more than strong enough when assembled correctly.
How do I achieve a smooth edge on plywood?
After cutting, sand the edges thoroughly. Start with a medium grit and finish with a fine grit sandpaper. For a really clean look, you can apply wood edge banding.
This is a thin strip of wood veneer that you iron onto the exposed edge layers.
Your Next Weekend Project Awaits
Building with one sheet of plywood stays accessible, affordable, and genuinely effective for practical items around the house, and the skills carry over directly to bigger projects once you’re ready for them. Start with a simple plan, gather the handful of tools it actually requires, and take your time on the cuts and glue-up – the finished piece, and the fact that it came from a single sheet of plywood, tends to be more satisfying than the modest cost would suggest.
Sponsored / affiliate links. As an Amazon Associate I earn from qualifying purchases. I may earn additional commission from eligible campaigns.
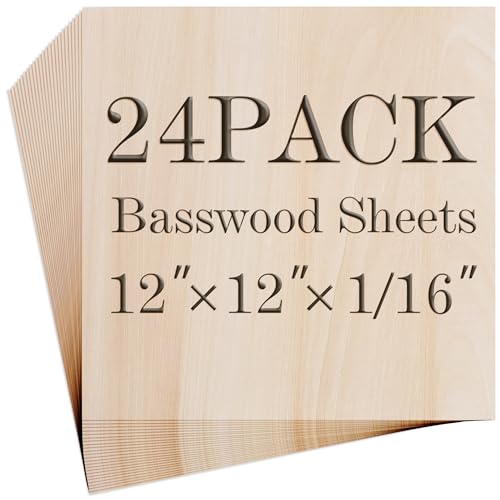 Balsa Wood Sheet, 24 Pack Plywood Sheets, Basswood Sheets 12X12X1/16 Inch, Unfinished Wood Boards Blanks for Laser Cutting, Engraving, Burning, Crafts((H305/17-24)
 Baltic Birch Plywood Sheets Box of 45 - Laser Engraving Cutting, Scroll Saw Nature Veneer Color, Stronger Than Basswood, A/A Grade,12 x 12 x 1/8”, 3mm Thickness Perfect for Wood Burning