How to Build a Wooden Sink That Won’t Leak or Rot
The most reliable wooden sink is a solid wood vanity that carries a real basin. If you want the wood itself to be the bowl, you have to line it with epoxy, seal every bit of end grain and accept that hot water is its enemy. No wood is waterproof, not even teak, so the whole build is really about keeping water out of the fibers and letting the wood move without cracking the seal.
Below are the two designs, a comparison of four woods using published numbers, a step-by-step build for an epoxy-lined bathroom basin, and the drain and finish details that decide whether the sink leaks in month one or lasts for years. The waterproofing figures come from the epoxy maker’s own technical data sheet, and the wood figures from The Wood Database.
Wooden Sink Designs: Wood Basin or Wood Vanity Base
Best Epoxy Lining Kit
 |
West System 105-A Resin and 207-SA Clear Hardener with Pumps: about $128 The coating epoxy this guide uses to glue up the basin, line it and seal the drain bore, mixed 3 parts resin to 1 part hardener.
|
Design A: wood vanity with a ceramic or stainless basin. You build a cabinet and top from solid wood or plywood, cut an opening and drop in a manufactured basin. Water only touches the wood at the cutout edge and around the faucet, so a good finish is enough. If you are cutting that opening, read how to cut a countertop for a sink first, and pick a finish from the best wood finishes for a bathroom vanity.
Design B: a true wooden basin. The bowl is made of wood (a box-joint or mitered box, or a hollowed block) and lined with epoxy. It looks dramatic on a vessel-style vanity, but every surface the water touches depends on the coating. Treat it as a hand-washing basin in a bathroom, not a kitchen sink. Kitchens add hot water, food acids and knife scratches, and one scratched-through coating lets water into unsealed wood.
The Myth That Ruins Wooden Sinks: Teak Is Waterproof
Teak is decay resistant, not waterproof. The Wood Database calls teak heartwood “very durable” against rot, which is why it is used on boats, but rot resistance only means fungus struggles to eat it. Teak still swells and shrinks with moisture, and a basin that moves will open its glue joints and crack any thin coating.
There is a second catch. Teak’s natural oils can interfere with glue and finish, and The Wood Database recommends wiping the surface with a solvent before gluing or finishing. It also contains up to 1.4 percent silica, which dulls saw blades and router bits quickly. So the “no sealing needed” advice you may have read is wrong on both counts.
Choosing the Wood: Four Options With Real Numbers
Movement matters more than hardness for a sink. The tangential shrinkage figure below is how much the wood shrinks across the width of a flat-sawn board from green to oven dry, and it is the best single number for predicting seam stress. A higher figure means the board moves more when humidity changes.
| Wood | Janka hardness (lbf) | Shrinkage radial / tangential | Decay resistance (heartwood) |
|---|---|---|---|
| Teak | 1,070 | 2.6% / 5.3% | Very durable |
| White oak | 1,350 | 5.6% / 10.5% | Very durable |
| Sapele | 1,360 | 5.2% / 7.2% | Moderately durable to very durable |
| Western red cedar | 350 | 2.4% / 5.0% | Durable to very durable |
Source: The Wood Database species pages for teak, white oak, sapele and western red cedar, read in September 2026.
What the table tells you in practice: white oak is very rot resistant, but its tangential shrinkage is about twice teak’s, so a wide flat-sawn oak panel moves roughly twice as much for the same humidity change. That is why oak basins should be built from narrow quartersawn strips. Western red cedar moves about as little as teak but is far softer at 350 lbf, so it dents from a dropped razor or a ring. Teak is the calmest choice, and sapele is a cheaper, stable option if you accept a wider range in decay resistance.
Whatever you choose, use wood dried to the humidity of the room where the sink will live, and let it sit in that room for a week or two before cutting.
Tools and Materials for an Epoxy-Lined Basin
- Table saw or track saw, router with a straight bit and a roundover bit, drill and a hole saw or Forstner bit for the drain
- Clamps (at least six) and a flat assembly surface
- Solid wood for the basin walls and floor, about 3/4 in thick
- Epoxy suitable for coating and gluing (see the kit above) with mixing cups, brushes or foam rollers and gloves
- UV-filtering marine or spar varnish for the top coat
- 120, 180 and 220 grit sandpaper, acetone or denatured alcohol for wiping teak or other oily wood
- Drain assembly with its own gasket, plumber’s tape and a P-trap kit for the plumbing below
Step-by-Step: Building the Wooden Basin
Step 1: Design the bowl with a slope to the drain
Sketch the basin at full size. A rectangular bowl around 16 by 12 inches and 5 inches deep suits a bathroom vanity. Angle the floor so it drains to the low point. Even a small slope keeps water from standing on the finish. Measure your drain flange before you drill, because the hole size comes from the drain’s own instructions, not from a general rule.
Step 2: Mill and dry-fit the parts
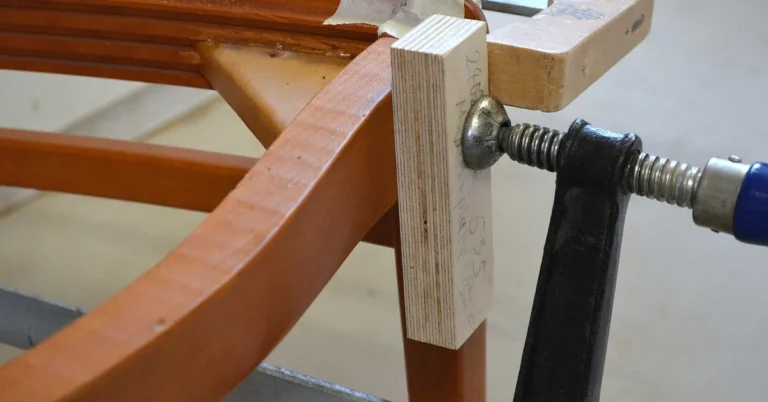
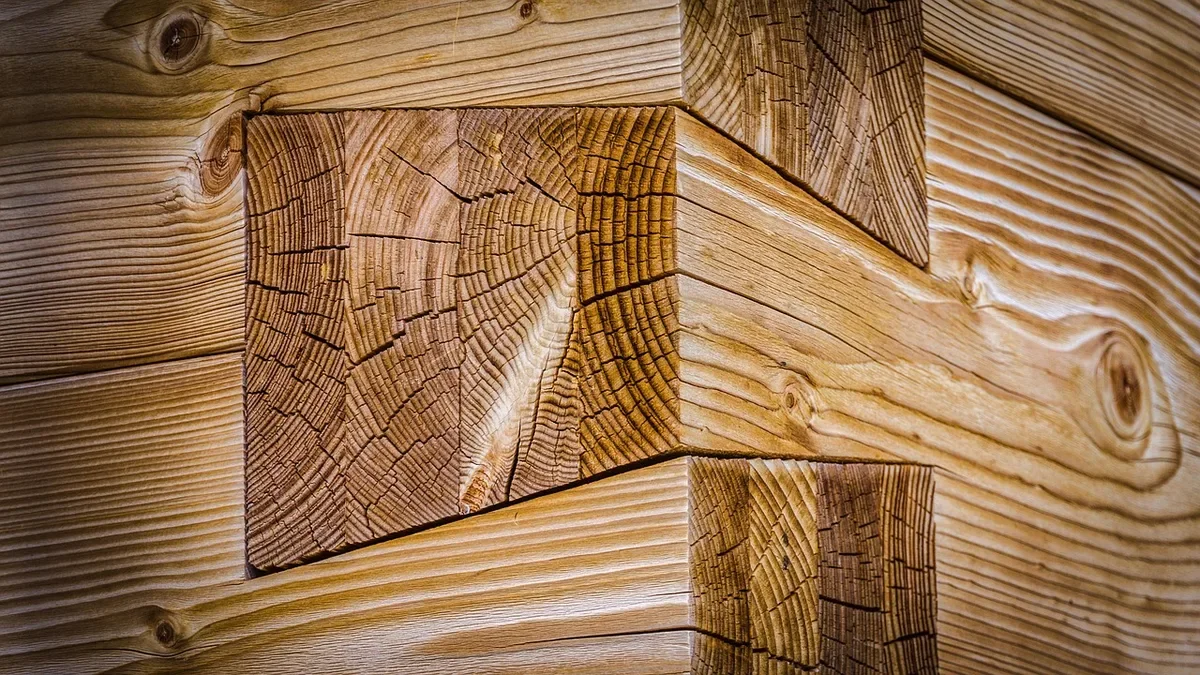
Mill the wall and floor pieces flat and square. Cut joints that give glue a lot of surface, such as box joints, splines or mitered corners with keys. Dry-fit everything with clamps and make sure the corners close without force. Do this now, because you cannot fix a bad joint after epoxy goes on.
Step 3: Prepare the wood and glue up
If you are using teak or another oily wood, wipe the glue faces with solvent just before gluing, as The Wood Database advises. West System’s data sheet lists its 105/207 epoxy as a structural adhesive for gluing and laminating, so you can use the same epoxy for the joints and the lining and avoid mixing adhesive chemistries. Mix by volume at 3 parts resin to 1 part hardener, spread it on both faces, clamp and clean the squeeze-out with a scraper before it cures. The same data sheet gives a minimum recommended working temperature of 60 F, so do not glue up in a cold garage.
Step 4: Round the edges and sand
Round all inside and outside edges with a roundover bit or sandpaper. Sharp corners let the coating thin out and chip. Sand to 180 grit, remove dust with a vacuum and a slightly damp rag, and let the wood dry before coating.
Step 5: Coat with epoxy, end grain first
Wet the end grain first and let it soak in, then coat the rest. According to the data sheet, 105/207 lets you apply three coats or more in one day without extra surface preparation, and the thin film cures to a solid in 10 to 15 hours (cure to working strength takes 1 to 4 days). Coat the inside of the drain hole too, because a raw bore is where a leak starts. After the last coat cures, sand lightly to scuff the surface.
Step 6: Protect the epoxy from sunlight
Cured epoxy is not sunlight proof. The 207 hardener carries an ultraviolet inhibitor, but the data sheet says it gives a long lasting finish “when used with quality UV-filtering varnish,” so the epoxy needs a varnish top coat if the sink sits near a window. Put on two or three coats of marine or spar varnish, following that varnish maker’s recoat times.
Step 7: Install the drain
Fit the drain flange with the gasket that comes with it. If the drain instructions call for a sealant, silicone is generally preferred over plumber’s putty on non-metal sinks because putty oils can stain some materials, so follow what your drain’s manufacturer says. Tighten the locknut until snug, not crushing, because over-tightening can crack the epoxy around the bore.
Step 8: Mount, connect and leak-test
Set the basin on the vanity top and seal the base with a bead of silicone. Connect the faucet and the P-trap. Fill the basin, then pull the drain and run water through it while you check every joint with a dry paper towel. Repeat the next day and again after a week before you close the cabinet.
Hot Water and Epoxy: The Detail Most Guides Skip
Cured 105/207 epoxy has a heat deflection temperature of 117 F and a glass transition onset of 116 F in the maker’s data sheet. Those are figures for one product tested under specific conditions, not a failure prediction, but they show that ordinary hot tap water can approach the temperature at which the coating softens. Water heaters are commonly set around 120 F.
So keep the basin for hand washing, avoid dumping boiling water in it, run cold or warm water rather than the hottest setting, and check the data sheet for whichever epoxy you actually use. If you want a kitchen sink, choose Design A with a stainless or fireclay basin.
Care and Maintenance
- Wipe standing water off the varnish after use and never leave wet towels in the bowl.
- Clean with mild soap and a soft cloth. Abrasive cleaners scratch the coating.
- Once a year, check the drain seal, the varnish gloss and the joints. Recoat the varnish when it dulls, before it wears through to the epoxy.
- Any chip that reaches bare wood should be sanded and recoated soon, because moisture spreads under a damaged coating.
- For finishes on the cabinet itself, see how to seal wood to hold water and how to waterproof wood.
Frequently Asked Questions
How do I choose the right wood for a wooden sink?
Pick a species that resists rot and moves little with humidity. Teak is very durable against decay and shrinks 2.6% radially and 5.3% tangentially, so it is the most stable of the common choices. White oak is very durable too, but shrinks about twice as much tangentially at 10.5%, so build it from narrow quartersawn strips. Whatever you choose, seal it, because rot resistance does not make wood waterproof.
What tools do I need to build a wooden sink?
A table saw or track saw, a router with a straight bit and a roundover bit, a drill with a hole saw or Forstner bit for the drain, and at least six clamps. You also need sandpaper from 120 to 220 grit, brushes or foam rollers for coating, and gloves. For the plumbing, add the drain assembly, a P-trap kit and plumber’s tape.
How do I waterproof a wooden sink?
Line every water-contact surface, including end grain and the drain bore, with a coating epoxy. West System states its 105/207 epoxy can take three or more coats in one day, and its 207 hardener contains a UV inhibitor that works best under a UV-filtering varnish. Finish with marine or spar varnish, then leak-test for several days before use.
Can I use a wooden sink in my kitchen?
A fully wooden basin is not a good idea in a kitchen. Kitchens bring hot water, and one cured epoxy data sheet lists a heat deflection temperature of only 117 F, plus food acids and knife scratches that can break the coating. Build a wood vanity or counter that holds a stainless or fireclay basin instead, and keep a solid wood basin for a bathroom.
Conclusion
A wooden sink works when you treat wood as a moving material and water as a constant threat. Pick a stable species, glue and line it with the same epoxy, seal the end grain and the drain bore first, protect the epoxy from light with a UV-filtering varnish, and keep hot water away from it. If you would rather skip the risk entirely, build the vanity in wood and let a ceramic or stainless basin do the wet work.
Sponsored / affiliate links. As an Amazon Associate I earn from qualifying purchases. I may earn additional commission from eligible campaigns.