How to Burn Letters Into Wood With a Torch (Safely)
The safest way to burn letters into wood with a torch is to mask the wood with a stencil, sweep a propane flame across the open letters until they char black, then shut the flame off and wet the area to make sure nothing is smoldering. A torch is not a pen, so bold letters on softwood work best.
A torch chars a wide patch of wood at once. That is why it suits big, bold lettering on signs, planks, and shou sugi ban style boards, and why it struggles with small script. If you want fine detail, a wood engraving method or a pyrography pen is the better tool. If you want dramatic, textured, dark letters, read on.
Torch work also carries real fire risk, and most quick guides gloss over it. This guide covers the method, which woods give the best contrast, and the safety steps that matter, including the ones people skip, like checking for hidden embers. If you have already scorched a board by accident, see our guide to fixing burnt wood.
What You Need Before You Light the Torch
Best Trigger-Start Torch Pick
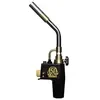 |
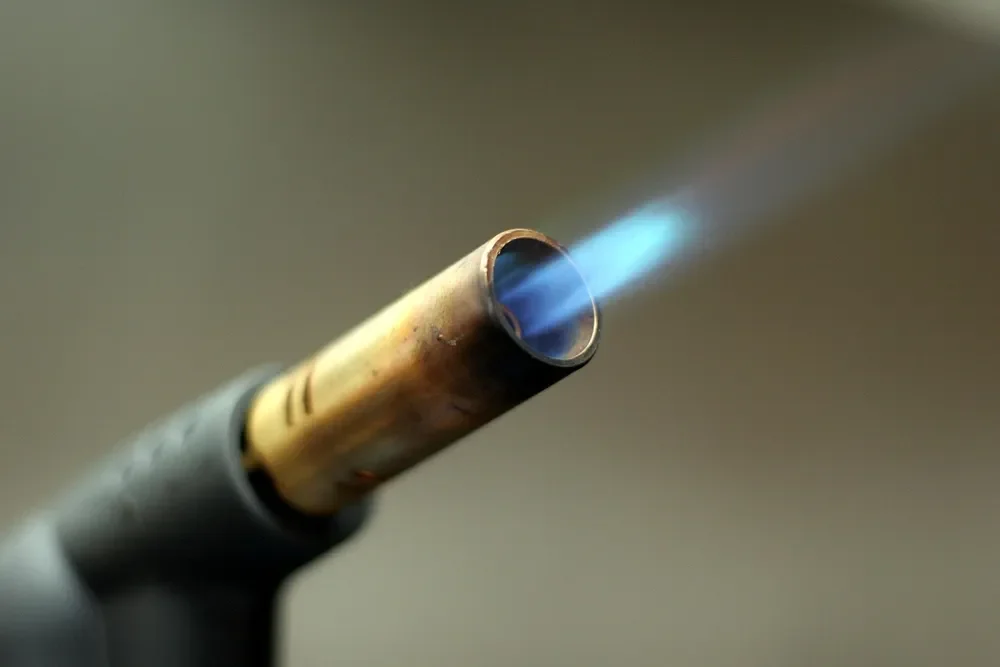
Bernzomatic TS8000 Trigger Start Torch – $57.98 A handheld propane torch head with a lockable trigger and an adjustable flame, so you can shut the flame off instantly between letters. The fuel cylinder is sold separately.
|
Any propane torch with an adjustable flame will do the job. The one above is a common trigger-start model, which matters because you can release the trigger and the flame stops right away. Here is the full kit:
| Item | Why it matters |
|---|---|
| Propane torch with adjustable flame | Lets you shrink the flame for edges and widen it for fills |
| Untreated softwood board | Pine, cedar, and fir char with strong contrast |
| Stencil (see the methods below) | A torch cannot freehand clean edges |
| Clamps and a non-combustible work surface | Concrete, brick, or a metal table, never a wooden bench |
| ABC fire extinguisher and a bucket of water | Within arm’s reach before you start |
| Leather gloves and safety glasses | Protect against sparks, flaking char, and radiant heat |
| Brass or nylon brush and clear sealer | Removes loose soot and locks in the finish |
Three Ways to Burn Letters, Compared
This is the part most guides skip. There is more than one way to get letters out of a torch, and each fails in a different way.
| Method | Best letter size | Main weakness |
|---|---|---|
| Stencil and sweep (mask the wood, burn the open letters) | Larger than about 2 inches | Char creeps under the stencil edge if it is not clamped flat |
| Trace by hand with a small pencil flame | Bold block letters, 1.5 inches and up | Wobbly lines and uneven depth are easy to make |
| Reverse burn (char the background, leave the letters in natural wood) | Any size a stencil can hold | Needs far more flame time and makes more smoke |
The reverse burn is worth knowing about. Instead of blackening the letters, you mask the letters and char everything around them. The letters stay light and crisp, and any rough edge is hidden by the surrounding grain. For a first project, this is usually the most forgiving route.
Choosing the Right Wood
Wood species decides how good your lettering looks more than any torch technique. Softwoods have soft, light earlywood bands and harder, denser latewood bands. The flame eats the soft bands faster, so the grain stands out in relief after you brush off the char. That effect is what gives torched pine and cedar their rich texture.
| Wood | What to expect |
|---|---|
| Pine | Strong contrast and pronounced grain relief; watch for resin pockets that flare up |
| Cedar | Chars easily and looks dramatic; the wood is soft, so heavy brushing removes a lot |
| Douglas fir | Very visible grain pattern after brushing |
| Oak | Takes longer to char and gives a subtler, more even dark |
| Maple and cherry | Dense, fine grain; tends to scorch brown and blotch rather than char cleanly |
| Walnut | Already dark, so lettering has low contrast |
| Pressure-treated lumber | Do not burn it: see the safety section below |
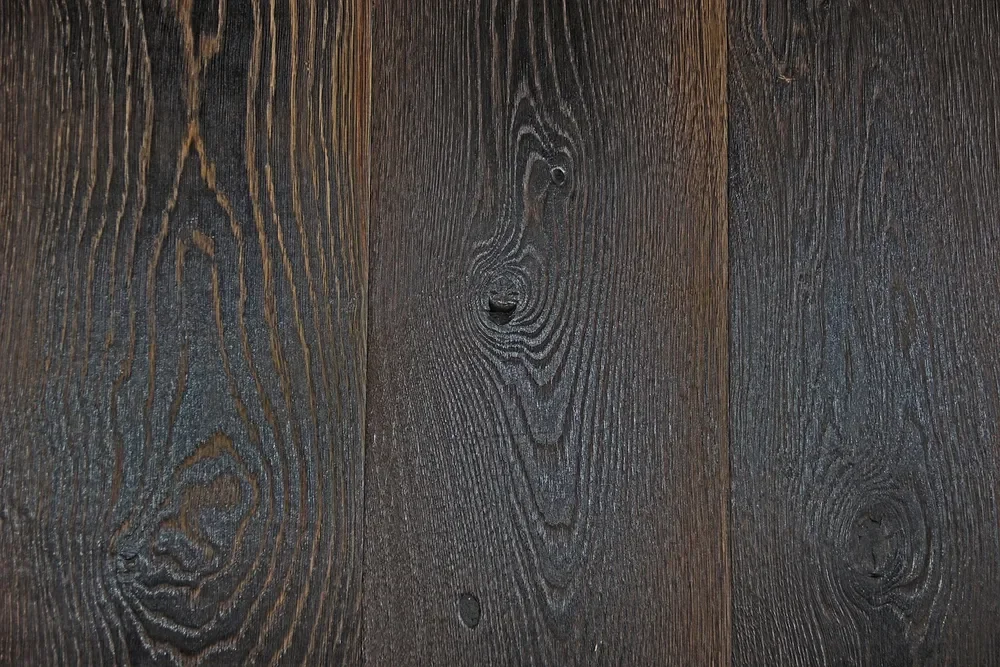
If the shou sugi ban look is your goal for the whole board, our guide to Japanese wood burning techniques and our walkthrough on how to char wood furniture go deeper on that style.
Fire and Fume Safety Before You Start
Burning wood with an open flame is a controlled fire. Treat it that way. These are the steps that matter most:
- Work outdoors or in a garage with the door wide open. Burning wood makes smoke with irritants and carbon monoxide. A fan pulling air away from you helps, but does not replace open air.
- Use a real respirator. A paper dust mask does not filter gases. A half-face respirator with organic vapor cartridges and a particulate pre-filter is the sensible choice for regular torch work.
- Clear the area. Sweep away sawdust and shavings, and keep rags soaked in oil finish away from the torch. Oily rags can self-heat and ignite on their own, so lay them flat outdoors or store them in a water-filled metal can.
- Keep the fuel cylinder well away. Set it several feet behind you, upright, never in the torch’s line of fire, and never leave a lit torch unattended.
- Have your extinguisher and water ready before ignition, not after something starts smoldering.
- Never burn treated wood. Pressure-treated boards carry preservatives, and older CCA boards contain arsenic, so their smoke and ash are hazardous. See our note on pressure-treated wood and fire.
The hidden-ember rule: charred wood can keep glowing inside cracks and knots after the flame is gone, even when the surface looks black and dead. When you finish, wet the burned area thoroughly with a spray bottle or damp cloth, then check the board again after a few minutes before you move it, store it, or bring it indoors. Do not stack freshly burned boards against a wall or leave them in a closed space.
Designing and Transferring Your Letters
Choose a bold, thick sans-serif or slab font. Thin strokes and fine serifs blur under a wide flame. Print the word at full size and keep every stroke at least about a quarter inch wide so heat does not bleed across it. Test the layout on paper first, then transfer it with carbon paper or tape the printout down and trace the outlines with a pencil. Our guide to carving letters into wood covers layout and spacing in more detail.
For a stencil, cut the letters out of a material that survives brief flame contact. Thin plywood soaked in water works for a quick single use, though it will scorch. Sheet steel lasts far longer. Clamp the stencil flat and tight, because any gap lets char creep under the edge and softens your letters. Letters like O, A, and B have islands in the middle that need small bridges so the stencil holds together.
Step-by-Step: Burning the Letters
- Set up on a non-combustible surface outdoors, with your extinguisher and water within reach.
- Sand the board smooth, wipe off dust, and clamp the stencil tightly to the surface.
- Light the torch away from the wood and reduce it to a soft, medium flame. Test it on an offcut of the same board.
- Sweep the flame steadily across the open letters, holding the tip a few inches from the surface. Keep it moving so no spot sits still.
- Stop when the wood turns matte black. A cracked, scaly surface is normal on softwood. Glossy bubbling means the flame is too close or too slow.
- Turn the torch off completely before you lift the stencil. Never move a stencil while the flame is on.
- Wet the area with a spray bottle, let it sit, and check for glowing embers or wisps of smoke.
- Let the board cool fully, then brush lightly along the grain with a soft brass or stiff nylon brush to remove loose soot.
Work one word at a time. Rushing the whole sign at once is how boards catch fire.
Sealing the Char So It Stays Put
Loose char rubs off on hands and clothes, so seal it. Blow off the dust, then apply a clear finish. A wipe-on oil deepens the black and brings out grain relief. Spar urethane or a similar clear topcoat is the better choice if the piece will live outdoors. Let each coat dry as the can directs before adding the next. If you use an oil finish, dispose of the rags safely, as covered in the safety section.
For more on whether a charred surface protects wood from rot and moisture, our article on whether burning wood preserves it explains the real limits of charring.
Troubleshooting Common Problems
- Fuzzy letter edges: the stencil was not clamped flat, or the flame was too wide. Clamp tighter, shrink the flame, and burn in shorter passes.
- Blotchy brown scorch instead of black char: the wood is probably a dense hardwood like maple. Switch to pine or cedar, or accept a toasted look.
- Cracks and splits: heat dries the surface fast. Start with dry, stable boards and avoid holding the flame in one place.
- Uneven depth: the flame speed varied. Keep a steady hand motion and move at the same pace on every letter.
- Heavy smoke and resin flare-ups: resinous pine pockets. Burn those spots quickly or avoid boards with heavy resin.
If you want smaller, cleaner detail after all, a wood burning kit handles the fine text while the torch handles bold letters and backgrounds.
Frequently Asked Questions
How do I prepare wood for burning letters?
Use untreated, dry wood and sand it to about 120 to 180 grit so the flame does not catch on fuzzy fibers. Wipe off all dust, transfer the letters with a pencil or a stencil, and clamp the board to a non-combustible surface. Always test your flame speed on an offcut of the same board first.
What type of torch is best for wood burning?
A handheld propane torch with an adjustable flame and a trigger or flame lock is the most practical choice. It gives you a wide, controllable flame for stencil work and bold letters. For lettering smaller than roughly 1.5 inches, a butane pencil-flame torch or a pyrography pen gives cleaner lines than a wide propane flame.
Can I burn letters on treated wood?
No. Pressure-treated lumber contains preservatives such as copper compounds, and older CCA-treated boards contain arsenic. Burning them produces smoke and ash you should not breathe or handle. Use untreated pine, cedar, fir, or a hardwood instead.
How long does it take to burn letters into wood?
A stencil sweep on softwood can char a letter in seconds, but the full job is mostly setup, cooling, brushing, and sealing. Plan on an hour or two for a short word on one board, and the finish needs its own drying time.
Conclusion
Burning letters with a torch rewards patience and a stencil. Choose bold letters on pine or cedar, clamp everything flat, keep the flame moving, and treat the fire risk seriously. Wet the board, check for embers, then brush and seal. The result is a dark, textured sign with far more depth than paint.
Sponsored / affiliate links. As an Amazon Associate I earn from qualifying purchases. I may earn additional commission from eligible campaigns.