How to Carve Plywood: Tools, Layer Depths and Safe Methods
You can carve plywood, but you carve it differently from solid wood: shave through the thin plies with a rasp, gouge or router bit, and let the exposed layer lines become part of the design. Pick a void-free plywood such as Baltic birch, score your outline before you cut, and treat the dust seriously because the glue in the sheet is part of what you are breathing.
This guide covers which plywood carves cleanly, how deep each layer actually cuts, which tool suits which job (hand gouge, rasp, router or scroll saw), how to avoid the two classic failures of face-veneer tear-out and chipped edges, and how to finish the result. It is written for hobby woodworkers who want a reliable method, not a gallery-piece tutorial.
Can You Carve Plywood? What the Layers Do
Best Plywood Shaping Rasp Pick
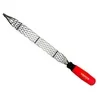 |
Shinto Saw Rasp, 10 in (250 mm), about $31 A thin, open-toothed blade that shapes plywood edges and layered contours without clogging the way a standard cabinet rasp does.
|
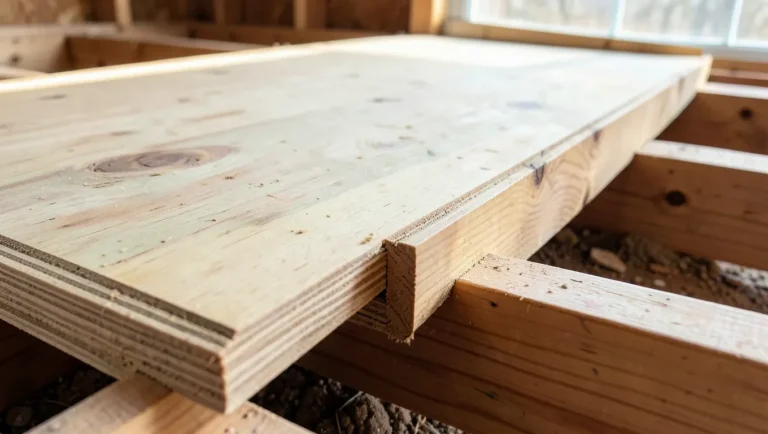
Plywood is built from thin veneers glued with the grain of each layer turned 90 degrees from its neighbor, always in an odd number of plies. That construction is the reason it resists warping, and it is also the reason carving it feels unusual. On the face you cut across a very thin veneer over cross-grain wood underneath. On the edge or in a deep cut you pass through one glue line after another.
Most guides treat those layers as a nuisance. The better approach is to treat them as a depth scale. In a good plywood every ply is nearly the same thickness, so each layer line that appears as you carve tells you how deep you have gone. Layered relief work, stacked-contour sculpture and the topographic-map style of wall art all depend on that predictability.
A depth chart for 3/4 inch Baltic birch
Nominal 3/4 inch (18 mm) Baltic birch is normally sold as 13 plies, which works out to roughly 1.4 mm per ply if you divide the thickness evenly. Real sheets vary a little, so treat these as planning numbers and test on a scrap edge first.
| Plies removed | Approximate depth | What it gives you |
|---|---|---|
| 1 | 1.4 mm (about 1/16 in) | Surface texture, lettering that just breaks the face veneer |
| 3 | 4.2 mm (about 5/32 in) | Shallow relief, border detail |
| 5 | 6.9 mm (about 1/4 in) | Clear two-level relief, good for signs |
| 9 | 12.5 mm (about 1/2 in) | Deep relief where the design reads from across a room |
| 13 | 18 mm (full thickness) | Through-cut, which is really scroll-saw or router cutout work |
The arithmetic is the information many tutorials skip. If you want a sign with three visible tiers, you can plan to cut through about 3 and 6 plies instead of guessing at fractions of an inch, and you can tell at a glance whether both halves of a mirrored carving are at the same depth.
Choose Plywood That Will Carve Cleanly
The grade of plywood decides most of the outcome before you pick up a tool. Voids in the core are the biggest problem: a gouge or router bit that hits an empty pocket leaps or tears out a chunk. The face veneer on cabinet-grade hardwood plywood is also very thin, often well under 1/16 inch, so a rasp goes through it almost immediately.
| Plywood type | Carving behavior | Best use |
|---|---|---|
| Baltic birch (all-birch plies, few or no voids) | Even, pale layers, clean edges, holds fine detail | Layered relief, signs, edge-profile carving |
| Birch or maple hardwood plywood, veneer core | Smooth face, but thin face veneer tears if cut against the grain | Shallow surface carving, router lettering |
| Sanded pine plywood | Soft and easy, layers dent rather than cut crisply | Practice pieces and painted projects |
| CDX and other construction sheathing | Voids, rough veneers, splintering, glue pockets | Not recommended for carving |
| MDF-core plywood | Smooth core routes cleanly, but the dust is very fine | Routed shapes with dust extraction and a respirator |
If you are unsure between a Baltic birch panel and a typical big-box birch sheet, look at an edge before you buy. Many even layers with no gaps or patches means the sheet will behave. Our guide to birch wood characteristics explains why birch is so common in this role, and the types of wood guide covers how engineered sheets compare with solid lumber.
Match the Tool to the Job
There is no single best carving tool for plywood. Each method removes wood in a different way and has a different failure mode, so pick by the result you want.
| Method | Best for | Speed | Main risk |
|---|---|---|---|
| Palm or bench gouge | Shallow relief and scooped shapes | Slow | Tear-out if you cut against the top grain |
| Rasp or saw rasp | Rounding edges, blending layers, contour shaping | Fast | Coarse scratches, easy to over-remove |
| Rotary tool with burr | Small detail and lettering | Medium | Burns and wandering on the face veneer |
| Router with V-groove or ball-nose bit | Lettering, borders, repeated shapes | Fast | Chip-out at the veneer, burning if the router pauses |
| Scroll saw or jigsaw | Cutting each layer to a profile before stacking | Medium | Blade wander on thick stock |
For profile cutting, a scroll saw gives the cleanest layer edges, and a jigsaw works for larger, rougher outlines. For grooves and lettering, see our router setup and bit depth guide.
Step by Step: Carve a Layered Plywood Relief
- Transfer the design. Print it at full size and trace it with carbon paper or a pencil pressed through the sheet. Mark the deepest areas with an X so you do not remove wood you meant to keep.
- Score the outline. Run a sharp knife along the boundary of every area you will cut. Scoring severs the surface fibers so the veneer does not lift beyond your line.
- Clamp the panel. Secure it to a bench with the work overhanging nothing. Keep both hands behind the cutting edge whenever you use a gouge.
- Remove waste in stages. With a router, work in shallow passes, roughly 1/8 to 1/4 inch each, instead of one deep cut. With a gouge, take thin shavings and stop when you see the next layer line appear.
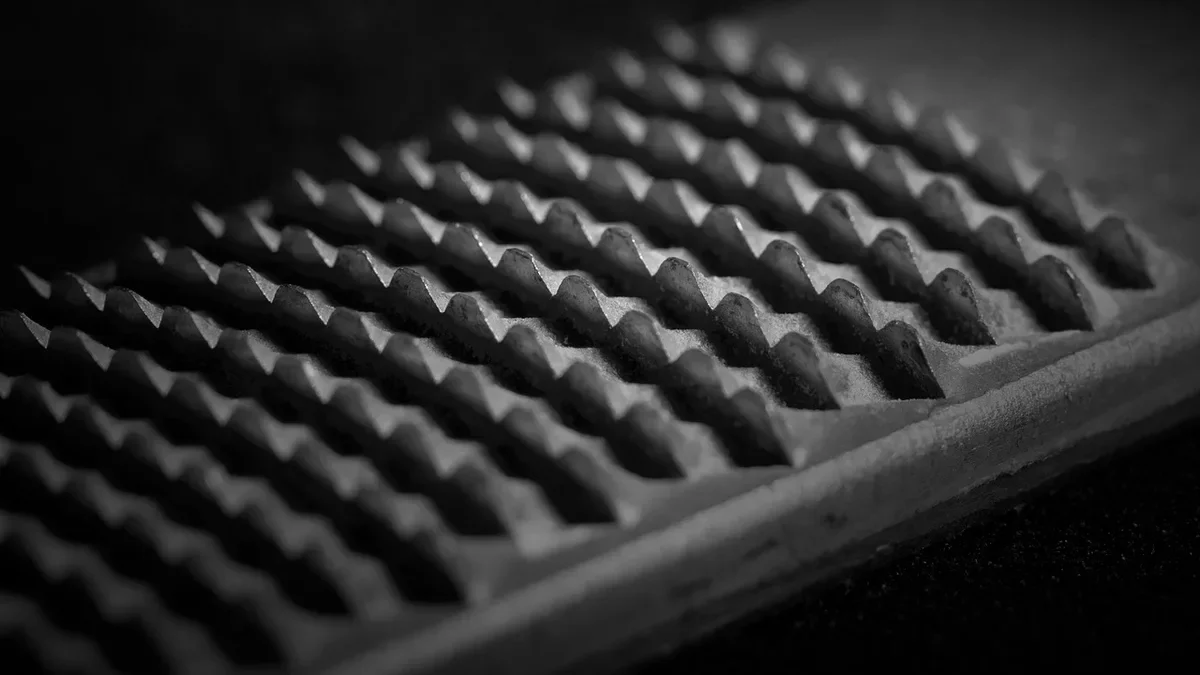
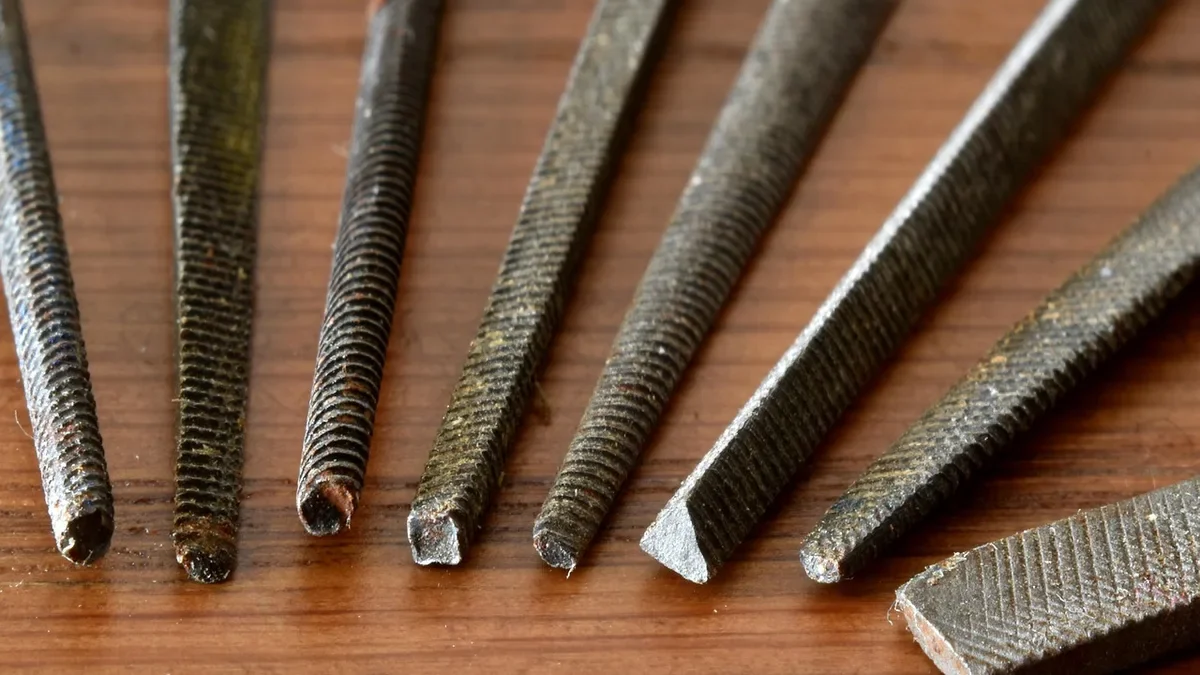
- Shape with a rasp. Use a coarse face to round over the stepped layers, then a fine face to blend them. Work along the layers, not across the veneer surface.
- Sand through the grits. Start at 80 or 120 grit on the rasped areas, then 180 and 220. Fold sandpaper around a dowel for concave curves.
- Seal before you finish. Exposed plies act like end grain and drink finish, so seal them with a thin coat first.
Tear-Out, Chipped Edges and Other Fixes
Most failures come from the thin outer veneer. It does not have the mass to resist a blade traveling against its grain. Three habits prevent nearly all of it.
- Score, then cut. A knife line along the edge of a cut gives the veneer a clean break point.
- Tape the cut line. Painter tape pressed down along a router or jigsaw cut supports the surface fibers and reduces chipping.
- Cut so the bit exits into the waste. Chipping happens where a tool leaves the material, so plan the last few millimeters to exit into scrap.
If a chip does break out, glue the piece back with thin cyanoacrylate or wood glue, clamp it under tape, and sand after it cures. Small gaps between layers can be filled with a mix of sanding dust from the same sheet and wood glue.
Finishing Carved Plywood
Birch plywood can look blotchy when stained, because the faces take pigment unevenly. A pre-stain conditioner, or simply a clear finish or dye, gives a more even color. Seal the rasped edges first, since they soak up finish faster than the face. A wipe-on polyurethane or hardwax oil brings out the stripe pattern of the layer lines, which is often the best part of the piece. If you plan to paint instead, read our guide to painting plywood for priming and edge sealing.
Dust and Glue Safety
Wood dust is classed by the International Agency for Research on Cancer as a human carcinogen, and plywood adds a second concern: the adhesive. Many interior-grade sheets use urea-formaldehyde glue and exterior grades use phenol-formaldehyde, so sanding and routing release fine particles that include glue residue. Wear a fitted N95 respirator as a minimum, and a P100 for longer sessions, plus eye protection. Work with dust extraction or open airflow, and vacuum instead of sweeping. Keep the holding hand clear of the blade path, and use a cut-resistant glove on that hand for gouge work.
If you want more detail on knife and rotary detail work, see our guide to wood engraving with hand and rotary tools.
Frequently Asked Questions
How do I start carving plywood?
Start with a void-free sheet like Baltic birch, transfer your design, and score the outline with a knife. Clamp the panel, then remove wood in shallow stages with a gouge, router or rasp. Test your depth on a scrap edge before you touch the real piece.
What tools are best for carving plywood?
A saw rasp for shaping, a palm gouge for shallow relief, a router with a V-groove bit for lettering, and a scroll saw for profile cutting. Choose by the job: rasps remove wood quickly, and gouges give crisp detail.
Can I carve plywood without power tools?
Yes. A knife, a few gouges, a rasp and sandpaper are enough for relief carving and edge shaping. It takes longer than routing, but hand tools give you more control over depth and tear-out.
Why does plywood chip when I carve it?
The outer veneer is very thin and has little support, so a blade traveling against its grain lifts it. Scoring the line, taping the cut and letting the tool exit into waste all reduce chipping.
What safety precautions should I take when carving?
Wear a fitted N95 or P100 respirator, eye protection and, when using gouges, a cut-resistant glove on the holding hand. Clamp the work, keep both hands behind the blade, and use dust extraction because plywood dust includes glue residue.
Conclusion
Carving plywood works when you plan around its construction: choose a sheet without voids, use the ply count as your depth guide, score and tape before you cut, and finish the exposed layers with care. Start with a small practice panel of Baltic birch, carve two or three plies deep, and you will quickly see how the material behaves.
Sponsored / affiliate links. As an Amazon Associate I earn from qualifying purchases. I may earn additional commission from eligible campaigns.
 Baltic Birch Plywood Sheets Box of 45 - Laser Engraving Cutting, Scroll Saw Nature Veneer Color, Stronger Than Basswood, A/A Grade,12 x 12 x 1/8”, 3mm Thickness Perfect for Wood Burning
 Baltic Birch Plywood 1/8'' x 12'' x 18'', 6 Pack, B/BB Grade, Void-Free Core, Laser Cutting Ready, Flat Sheets for CNC, Engraving, DIY Crafts, Art Painting, Wood Burning, Staining