How to Clean a Wood Deck Brand New
Many people love having a wood deck. It’s a great place to relax or have fun outside. But keeping it looking its best can feel tough.
If you’re new to deck care, you might wonder where to start. Don’t worry! We’ll show you exactly How to Clean a Wood Decks above Ground: Transform Your Backyard” href=”https://woodworkingadvisor.com/pool-wood-decks-above-ground/” target=”_blank” rel=”noopener” data-wpil-monitor-id=”19986″>Wood Deck and Make It Look Brand New.
It’s simpler than you think with these easy steps.
Getting Your Wood Deck Ready for Cleaning
Before we start scrubbing, getting your deck ready is super important. This helps the cleaning process work better and protects your deck. We’ll look at clearing everything off and doing a quick check for any loose bits.
This simple setup makes the rest of the job much easier and safer. Think of it as setting the stage for a sparkling clean deck.
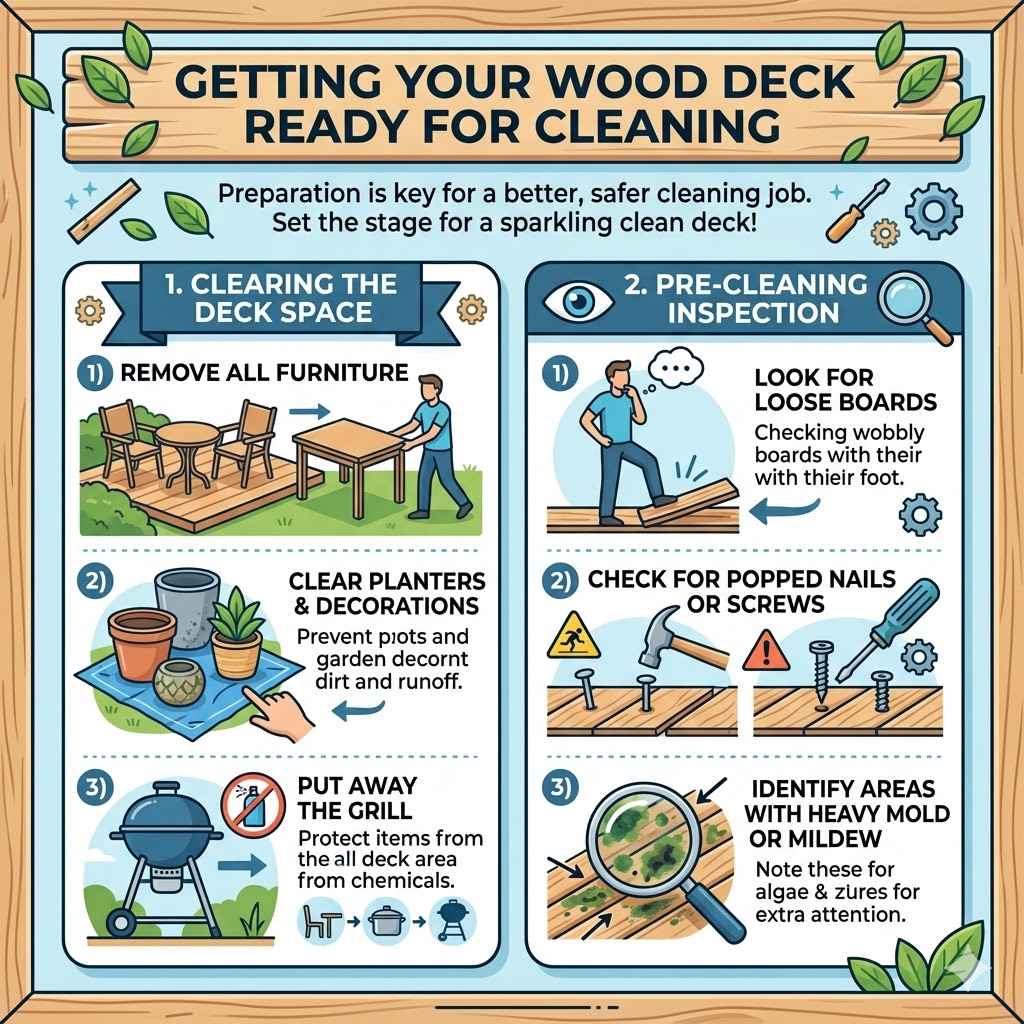
Clearing the Deck Space
The first step is to move everything off your deck. This includes furniture, planters, grills, and any toys. A clear deck means you can reach every inch without bumps or having to work around obstacles.
It also prevents cleaning solutions from staining your belongings.
Remove all furniture. Take chairs, tables, and benches to a safe spot nearby, like the lawn. Make sure they are out of the way of any cleaning spray or runoff.
Clear planters and decorations. Large pots or garden decor can be heavy. You might need help to move them.
Place them on a tarp or another protected area to avoid getting dirt or cleaner on them.
Put away the grill. If you have a grill, it’s best to move it away from the deck. This protects it from cleaning chemicals and makes it easier to clean the entire deck surface.
Pre-Cleaning Inspection
Before you grab your cleaning supplies, take a close look at your deck. Check for any loose boards, popped nails, or screws. Fixing these small issues now can prevent bigger problems later and make your cleaning more effective.
- Look for loose boards. Walk across your deck and feel for any boards that seem wobbly or loose. These might need to be re-secured with screws or nails.
- Check for popped nails or screws. These can be trip hazards and can also damage your cleaning tools. Hammer down any popped nails or replace loose screws.
- Identify areas with heavy mold or mildew. Notice any spots that look particularly green or black. These areas might need extra attention with a stronger cleaner.
Choosing the Right Cleaning Method for Your Wood Deck
There are a few ways to clean a wood deck, and picking the right one depends on how dirty it is and what kind of wood you have. We’ll explore different cleaning solutions and tools. This section will help you decide if you need a gentle wash or something a bit stronger to get that brand-new look.
Understanding Wood Deck Cleaners
Deck cleaners come in various forms, from simple soap and water to specialized wood cleaning solutions. It’s important to use a cleaner that is safe for your specific type of wood and the environment. Some cleaners are designed to tackle mold and mildew, while others focus on removing dirt and grime.
Oxygen bleach cleaners. These are a good choice for most wood decks. They are less harsh than chlorine bleach and are effective at removing dirt, mold, and mildew.
They work by releasing oxygen when mixed with water, which helps break down stains.
All-purpose wood deck cleaners. These are formulated to clean general dirt and grime. They are usually safe for most wood types.
Look for ones that are biodegradable if you are concerned about the environment.
Specialized cleaners. For tough stains like rust or oil, you might need a specialized cleaner. Always test these in an inconspicuous area first to ensure they don’t damage your deck’s finish.
When using any cleaner, always follow the manufacturer’s instructions. This usually involves diluting the cleaner with water and applying it to the deck surface. Rinsing thoroughly is also a key part of the cleaning process.
The Power of Pressure Washing
Pressure washing can be very effective for cleaning decks. However, it needs to be done carefully. Too much pressure can damage the wood.
It’s best to use a lower pressure setting and a wide fan tip. This helps to lift dirt and grime without gouging the wood.
Choosing the right pressure. For most wood decks, a pressure of 500-800 PSI is sufficient. For softer woods like pine, you might need even less pressure.
Hardwoods like oak can handle slightly more.
Using the correct nozzle. Always use a wide-angle nozzle, such as a 25 or 40-degree tip. Never use a zero-degree (pencil-point) nozzle, as this can easily strip the wood surface.
Maintaining the right distance. Hold the spray wand about 12-18 inches away from the deck surface. Move the wand in a consistent, sweeping motion to avoid creating streaks or uneven cleaning.
A common mistake is to hold the wand too close or use too much pressure. This can lead to raised grain, splintering, and uneven color. If you are unsure, it’s better to start with less pressure and a greater distance, and gradually increase if needed.
Gentle Cleaning with a Brush and Water
For lighter dirt or if you’re hesitant about pressure washing, a good old-fashioned scrub brush and water can work wonders. This method is very safe for your wood and gives you direct control over the cleaning process. It’s also a great option for decks that don’t have a lot of heavy buildup.
Gather your tools. You will need a stiff-bristled scrub brush, a bucket, and a hose with a spray nozzle. A long-handled brush can make the job easier on your back.
Prepare your cleaning solution. You can use plain water, or for a bit more power, add a mild detergent like dish soap or a specialized deck wash to your bucket of water.
Scrub and rinse. Wet a section of the deck, apply your cleaning solution, and scrub in the direction of the wood grain. Rinse thoroughly with the hose to remove all soap residue.
This method is very effective for removing surface dirt, pollen, and light mildew. It allows you to work out any stubborn spots by applying more pressure with the brush. Remember to rinse completely to avoid leaving behind any soapy residue, which can attract dirt.
The Step-by-Step Process to Clean Your Wood Deck
Now that you know your options, let’s walk through the actual cleaning. This is where we’ll put it all together to get that beautiful, like-new finish. Follow these steps carefully for the best results.
Step 1 Wetting the Deck
Before you apply any cleaner, it’s a good idea to wet the entire deck surface. This helps the cleaner spread evenly and prevents it from drying too quickly. It also helps to loosen surface dirt.
- Use your garden hose. Start at one end of the deck and work your way across. Ensure all the wood is damp but not soaked.
- Wet surrounding plants. If you have plants near your deck, try to wet them down too. This helps to dilute any cleaner that might splash onto them, protecting them from damage.
Step 2 Applying the Cleaner
Once the deck is wet, it’s time to apply your chosen cleaner. Whether you’re using a commercial deck cleaner, a DIY solution, or even just soapy water, apply it evenly.
Follow product directions. If you are using a commercial cleaner, mix it according to the instructions on the bottle. Some cleaners are ready to use, while others need to be diluted.
Work in sections. Apply the cleaner to a small area at a time. This prevents the cleaner from drying before you have a chance to scrub or rinse it off.
This is especially important on warm, sunny days.
Use a garden sprayer or roller. A garden sprayer can help you apply the cleaner evenly and quickly. You can also use a deck brush with a built-in reservoir for cleaner.
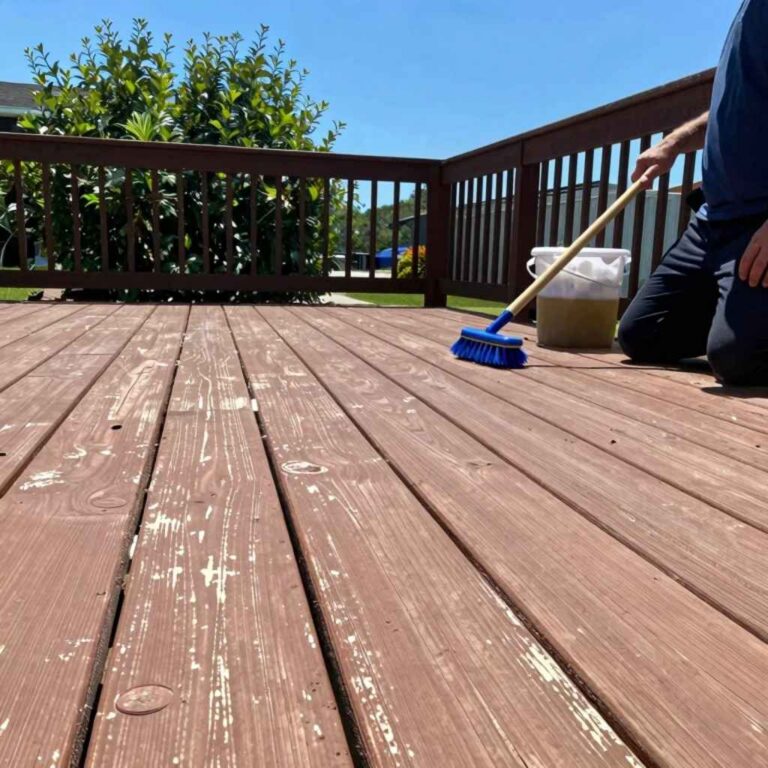
Step 3 Scrubbing the Deck
After the cleaner has had a few minutes to work, it’s time to scrub. Use a stiff-bristled brush to work the cleaner into the wood grain. This helps to lift away dirt, mildew, and grime.
- Scrub with the grain. Always scrub in the direction of the wood planks. This helps to avoid scratching the wood surface and ensures a more uniform clean.
- Apply firm pressure. For stubborn spots, you may need to apply more pressure. Pay extra attention to areas with visible mold or dark stains.
- Rinse the brush often. Dip your brush into a bucket of clean water regularly to remove accumulated dirt and cleaner. This keeps your scrubbing effective.
A common mistake is to forget to scrub, relying solely on the cleaner. Scrubbing is essential for lifting embedded dirt. Another mistake is scrubbing against the grain, which can leave noticeable marks on the wood.
Step 4 Rinsing the Deck
Rinsing is a critical step. You need to remove all traces of the cleaner and loosened dirt. Failing to rinse properly can leave residue that attracts new dirt or can even damage the wood over time.
- Use a garden hose with good pressure. Start at the highest point of the deck and work your way down. Ensure all cleaner and debris are washed away.
- Rinse thoroughly. Make sure you rinse all sections of the deck. Pay attention to corners and edges where cleaner might get trapped.
- Consider a pressure washer for rinsing. If you used a pressure washer for cleaning, you can use it on a low setting for rinsing as well. This can help to blast away all residue efficiently.
Many people think just spraying water is enough. However, you need to ensure all soap and grime are gone. If you see suds or residue lingering, rinse again until the water runs clear.
Step 5 Drying the Deck
After rinsing, the deck needs to dry completely. This can take anywhere from a few hours to a full day, depending on the weather. Avoid walking on the deck or placing furniture back until it is totally dry.
- Allow for natural drying. Let the sun and air do their work. Avoid using leaf blowers or towels, as this can create dust or lint.
- Check for damp spots. Before putting furniture back, do a final walk-through to make sure there are no lingering damp areas. This is especially important in shaded spots.
Allowing the deck to dry properly is crucial before you think about sealing or staining. Applying finishes to a wet deck can lead to poor adhesion and premature failure of the protective coating.
Restoring and Protecting Your Cleaned Wood Deck
Once your deck is clean and dry, you’ll want to keep it looking that way. This part is all about bringing back its shine and protecting it from the elements. We’ll look at some finishing touches that make a big difference.
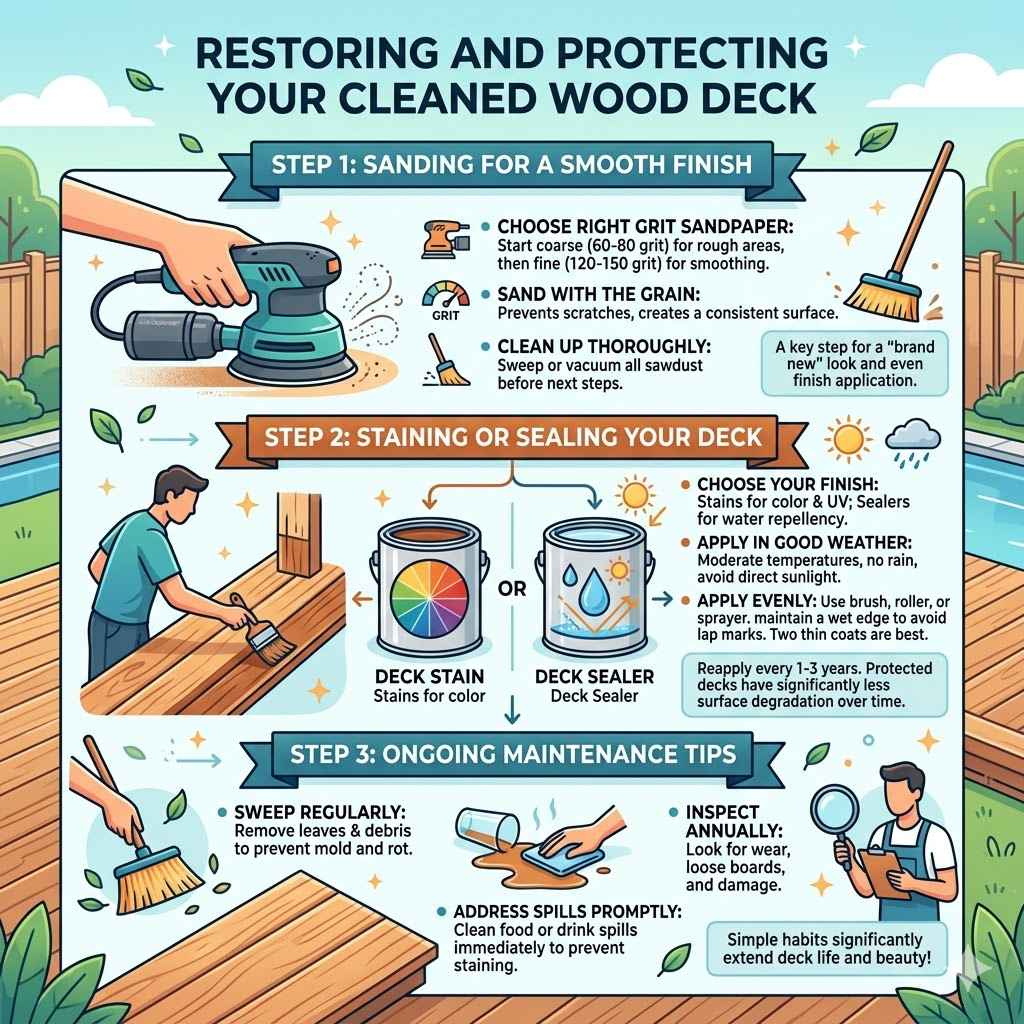
Sanding for a Smooth Finish
If your deck has rough spots, splinters, or old, peeling finishes, sanding can make a world of difference. Sanding removes the top layer of damaged wood and creates a smooth surface ready for protection.
- Choose the right grit sandpaper. Start with a coarser grit (like 60-80) for rough areas and then move to a finer grit (like 120-150) for a smoother finish. Use a power sander for larger areas.
- Sand with the grain. Always sand in the direction of the wood grain. This prevents unsightly cross-grain scratches that can be visible even after staining or sealing.
- Clean up thoroughly. After sanding, sweep or vacuum up all the sawdust. A clean surface is essential for the next steps.
Sanding is often skipped, but it’s a key step for achieving that truly “brand new” look. It preps the wood surface to accept stain or sealant evenly. Without proper sanding, any finish you apply may look blotchy or uneven.
Staining or Sealing Your Deck
After cleaning and sanding, applying a stain or sealer is the most important step for protection and beauty. This shields your deck from sun, rain, and foot traffic, and can refresh its color.
Choose your finish. Stains add color and UV protection. Sealers offer water repellency and some UV protection but don’t typically add color.
Both help preserve the wood.
Apply in good weather. Pick a day with moderate temperatures and no rain in the forecast. Avoid direct sunlight, as this can cause the finish to dry too quickly and streak.
Apply evenly. Use a brush, roller, or sprayer to apply the stain or sealer. Work in manageable sections, and always maintain a wet edge to avoid lap marks.
Two thin coats are usually better than one thick coat.
A typical deck sealant might last about 1-3 years, depending on the product and your climate. Regular reapplication is key to long-term deck health. For example, a study by the Forest Products Laboratory found that decks protected with a good quality sealer showed significantly less surface degradation over a five-year period compared to unprotected decks.
Ongoing Maintenance Tips
Keeping your deck looking great year-round involves simple, regular care. Small efforts over time prevent the need for major restoration projects later.
- Sweep regularly. Remove leaves and debris often. This prevents moisture from being trapped, which can lead to mold and rot.
- Address spills promptly. Clean up any food or drink spills immediately to prevent staining.
- Inspect annually. At least once a year, give your deck a good once-over. Look for any signs of wear, loose boards, or new damage that needs attention.
Regular sweeping not only keeps your deck tidy but also removes organic matter that feeds mold and mildew. This simple habit can significantly extend the life and appearance of your wood deck.
Frequently Asked Questions
Question: How often should I clean my wood deck?
Answer: It’s a good idea to clean your wood deck at least once a year, typically in the spring. If your deck is in a very damp or shaded area, or experiences heavy use, you might need to clean it more often, perhaps twice a year.
Question: Can I use household bleach to clean my deck?
Answer: While bleach can kill mold and mildew, it can also damage wood fibers and harm surrounding plants. It’s generally safer and more effective to use products specifically designed for wood decks, like oxygen bleach or specialized deck cleaners.
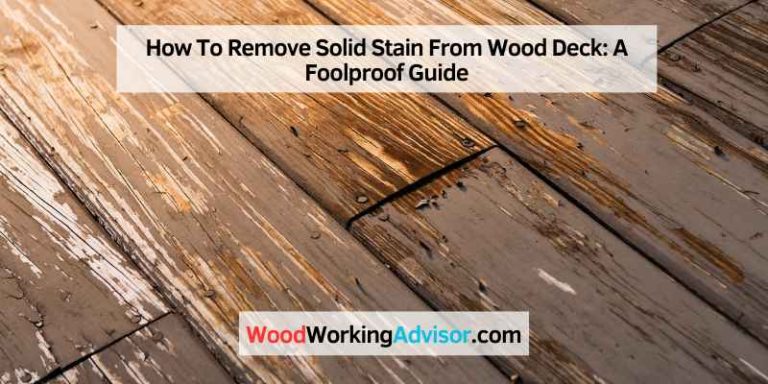
Question: What if my deck has stubborn stains?
Answer: For stubborn stains like oil or grease, you might need a specialized deck cleaner or a degreaser. Always test these products on an inconspicuous area first. Sometimes, a paste made of baking soda and water can help lift lighter stains.
Question: Do I need to seal my deck after cleaning?
Answer: Yes, sealing or staining your deck after cleaning is highly recommended. It protects the wood from moisture, UV rays, and everyday wear and tear, helping it last longer and look better. It also prevents the wood from drying out and cracking.
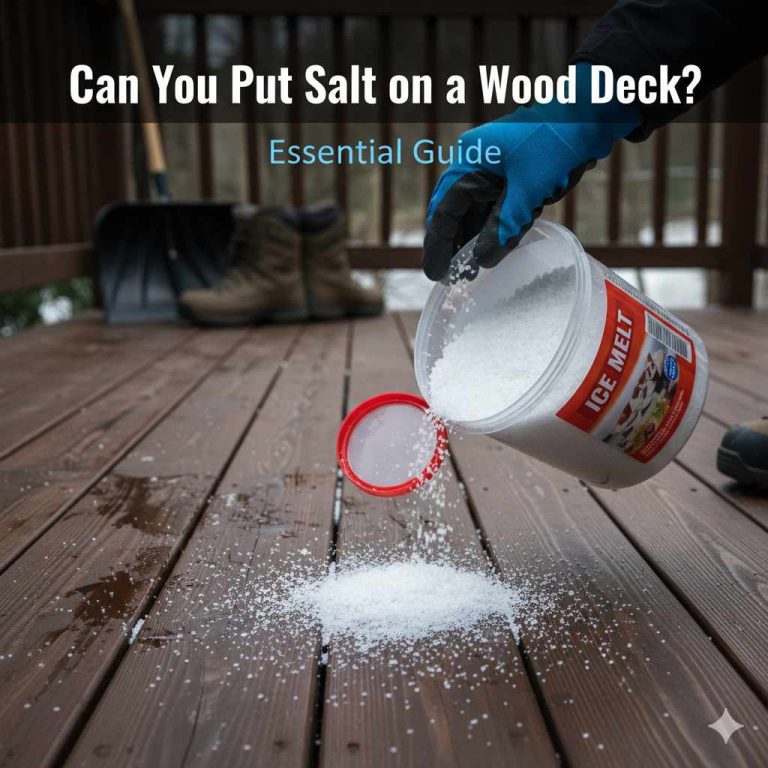
Question: How can I protect my deck from snow and ice in winter?
Answer: Avoid using salt or harsh ice melt products, as they can damage the wood. Shoveling snow gently with a plastic shovel is best. If you need to use de-icers, opt for pet-friendly and wood-safe options.
Summary
Following these steps for How to Clean a Wood Deck and Make It Look Brand New is achievable. By clearing the area, choosing the right cleaner, scrubbing gently, and rinsing well, you remove grime. Then, adding a protective finish ensures lasting beauty.
Your deck will look refreshed and inviting for everyone to enjoy.