How to Stain a Redwood Table: Avoid Tannin Bleed and Blotches
To stain a redwood table, sand it to 120 grit, wipe off the dust, and brush on an oil-based penetrating stain with the grain, wiping off any puddles before they turn tacky. Skip water-based stain unless you have tested it first: redwood is loaded with tannins that water can pull to the surface as brown blotches.
Redwood is one of the easier softwoods to finish and one of the easiest to get subtly wrong. It is soft, thirsty, and chemically different from pine or oak, so the usual advice (“condition, stain, seal”) does not map cleanly onto it. This guide covers the sequence that works, the two mistakes that ruin most redwood tables, and a realistic maintenance schedule so the finish does not fail in year two.
If you are working on old, gray, or already-finished furniture, start with our guide to refinishing redwood outdoor furniture. This page is about a table with bare or freshly stripped wood.
The Best Stain for a Redwood Table
Best Oil Stain for Redwood Tables
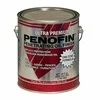 |
Penofin Ultra Premium Red Label, Redwood tone, 1 gal: $66.95 An oil-based penetrating stain, so it avoids the water-based problem that pulls redwood tannins to the surface.
|
The short version: pick a penetrating oil-based stain in a tone close to redwood, because it soaks into the wood instead of forming a film. It is forgiving for a first-timer, it sidesteps the tannin problem below, and when it eventually fades you can recoat without stripping. Film-forming stains and paints look fine for a season and then peel on a tabletop that takes sun and standing water.
Why Redwood Behaves Differently From Pine or Oak
Three properties of redwood change how you stain it.
- Tannins. Redwood heartwood contains water-soluble extractives, mostly tannins. They are part of why it resists decay, and they are also why water-based products can draw brown discoloration up through the finish. Our piece on painting redwood covers the same bleed problem in more depth.
- Softness. Redwood is roughly 450 lbf on the Janka scale, softer than Douglas fir. It dents easily, sands fast, and soaks up finish quickly, so you over-sand or over-apply more easily than you would on oak.
- Two colors in one board. Heartwood is the deep red-brown, while sapwood is pale cream to light tan. They take stain differently, so a table made from mixed boards can look striped after staining. If color matters, our explainer on what color redwood really is shows the difference.
Tools and Materials
- Sandpaper in 80, 120, and (optional) 150 grit, or a random orbital sander for the top
- A tack cloth or lint-free rags
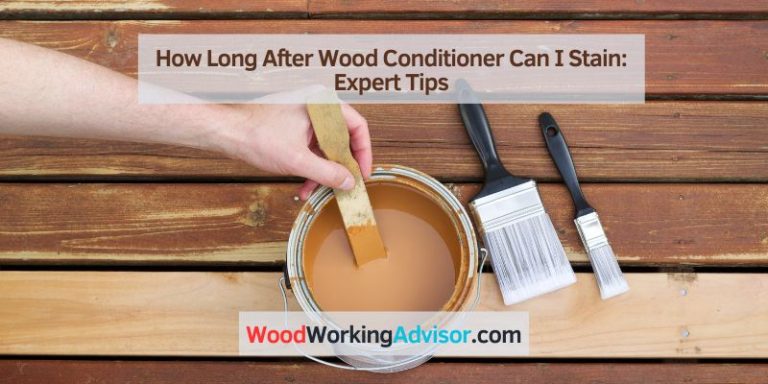
- Oil-based penetrating stain, about 1 gallon for a table with chairs, less for a small bistro table
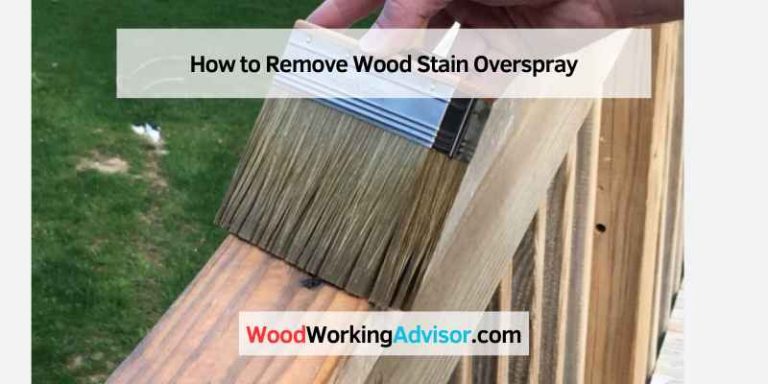
- A natural-bristle brush (see which brush to use for wood stain) or a pad applicator
- Nitrile gloves, a respirator rated for organic vapors, and mineral spirits for cleanup
- A scrap of the same redwood for testing, or the underside of a leg
Step 1: Prepare the Surface
Start with a clean, dry, bare surface. Scrub grime with a mild detergent and warm water, rinse, and let the table dry for at least a full day. Do not use a pressure washer on a tabletop: on soft wood it raises the grain and gouges the surface, and you will spend hours sanding out the damage.
Sand with the grain, starting at 80 grit only if there is old finish or rough spots to remove, then 120 grit. Stop at 120 or 150. This is the counterintuitive part: sanding redwood to 220 grit burnishes the surface and closes the pores, so a penetrating stain sits on top and looks weak. On a softwood table meant for oil finish, coarser is better.
Vacuum the dust, then wipe with a tack cloth. Check the end grain and table edges, which absorb far more stain than the flat top and turn dark and muddy if you do not plan for them.
Step 2: Test on a Scrap
Test before you commit the tabletop, on an offcut or the underside of a leg. Do not cut a piece out of the table, as an older version of this guide suggested. Apply one coat, let it dry as the label says, and look at it in daylight, not garage light. You are checking three things: final color, blotching, and whether any brown bleed appears at the edges.
| Stain type | Behavior on redwood | Tannin bleed risk | Best use |
|---|---|---|---|
| Oil-based penetrating stain | Soaks in deeply, enriches the red tone, forgiving to apply | Low | Outdoor and indoor tables (recommended) |
| Water-based stain | Dries fast, easy cleanup, but can lift tannins and raise the grain | Higher, so test first | Indoor table only, after a scrap test |
| Gel stain | Sits near the surface, more color control, more like paint | Low to moderate | Only if you want a more opaque color |
| Semi-transparent deck stain | Pigment-heavy, shows grain but hides some color | Low | Outdoor tables that need extra UV protection |
| Solid-color stain or paint | Forms a film, hides the wood | Needs a stain-blocking primer | Not recommended for a table you want to show redwood grain |
Step 3: Apply the Stain
- Work in shade, out of direct sun, in mild weather. Most exterior oil finishes list a workable temperature range on the can, so check yours.
- Stir the can. Do not shake it, since shaking whips in air bubbles that show up as tiny pits when it dries.
- Do the underside and legs first, then the edges, then the top last so you finish on the surface people will see.
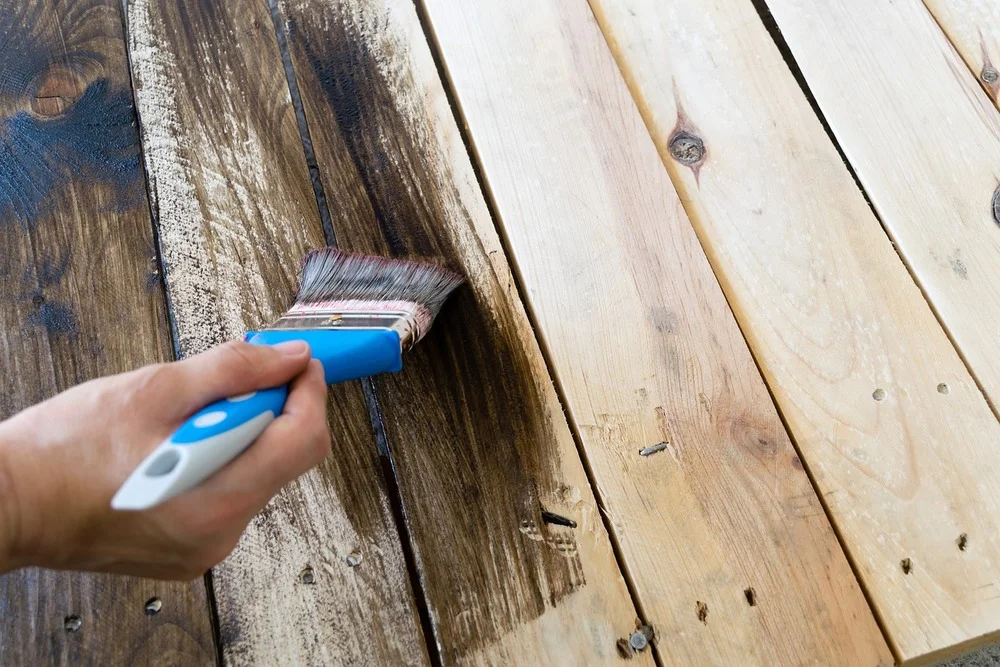
- Brush with the grain in long strokes, working one board or section at a time and keeping a wet edge. Each board is a natural stopping point, which prevents lap marks.
- Give the end grain a second pass. It drinks stain, so apply until it stops absorbing.
- Wipe or back-brush any puddles that have not soaked in before the surface gets tacky, within the time the label gives. Oil that dries in puddles leaves a sticky, glossy patch.
One thin coat is often all a penetrating oil stain wants. If the label calls for two, apply the second inside the recoat window on the can. Do not apply extra coats over a fully dry, sealed surface unless the product says you can, since the wood will not absorb them.
Oily rag safety: rags soaked in oil-based stain can heat up as the oil cures and, in a pile, can catch fire on their own. Lay them flat outdoors to dry completely, or submerge them in water in a sealed metal container before disposal. Never bunch them up in the trash or leave them in a heap.
Step 4: Let It Dry and Cure
Dry-to-touch and cured are different milestones. A penetrating oil may feel dry in a few hours, but it keeps hardening for days. Give it at least 48 to 72 hours in dry, mild weather before putting dishes, cloths, or drink glasses on the surface, and keep it out of rain until it has set. Cool or humid weather stretches every time on the label.
A quick way to judge: press a paper towel against an inconspicuous spot for a few seconds. If any oil transfers, it is not ready.
Step 5: Protect and Maintain the Finish
A penetrating oil stain with UV pigments is usually the finish and the protection in one step, so you do not need a separate topcoat. Adding a film-forming varnish over it is where many redwood tables go wrong: a hard film on a soft, moving wood cracks, then lets water in underneath.
| Situation | Restain every | Sign it is time |
|---|---|---|
| Outdoor table in full sun | About once a year | Color looks chalky, water stops beading |
| Outdoor table, covered patio | Every 2 to 3 years | Slight fading at the edges |
| Indoor table | Every 3 to 5 years, or when worn | Dull spots where hands and plates rest |
Clean with mild soap and water. Avoid bleach and heavy scrubbing, which strip color and roughen the surface. If you would rather let the wood turn silver-gray, see how redwood ages, and for a broader look at sealants and preservatives read our guide to treating redwood for outdoor use. If you are still choosing between species, cedar vs redwood compares them.
Troubleshooting Common Problems
Brown or purple blotches appearing through the stain
That is tannin bleed, usually from a water-based product or from moisture reaching the wood. Let the table dry fully, sand the blotchy area back to bare wood, and recoat with an oil-based stain. Do not paint over it without a stain-blocking primer.
Lap marks and dark stripes
These come from stopping mid-board and letting the edge dry. Sand the stripe lightly and re-brush a full board at a time while wet.
Tacky or sticky surface after a day or two
Too much oil was left on the surface. Wipe it with a rag dampened with mineral spirits while it is still soft, then let it dry. If it has fully cured tacky, a light sanding and thin recoat can fix it.
End grain much darker than the top
End grain absorbs more. Sand it one grit finer than the rest of the table, or seal it with a thinned first coat before staining.
Frequently Asked Questions
Do I need wood conditioner on redwood?
Usually not. Wood conditioner is meant for blotch-prone woods like pine and maple, and redwood is not a notorious blotcher. With an oil-based penetrating stain, test a scrap first and skip the conditioner unless the scrap looks patchy. Check the stain label too, since some exterior oil finishes are designed to soak in without a pre-treatment.
Can I use water-based stain on redwood?
You can, but redwood is rich in water-soluble tannins, and water-based products can pull them to the surface as brown or purplish blotches. If you want water-based, test a scrap, seal it with a stain-blocking product recommended for redwood, or use an oil-based stain instead.
How long should I wait before using a stained redwood table?
Follow the dry and recoat times on your stain can, because they vary by product and weather. As a working rule I would give a penetrating oil finish at least 48 to 72 hours in dry, mild weather before setting dishes or a tablecloth on it, and longer if it is cool or humid.
How often does a stained redwood table need restaining?
Expect a maintenance coat about once a year on a sun-exposed outdoor tabletop, and every two to three years on a sheltered patio or indoor table. Restain when water stops beading up and the color looks dry or faded, not on a fixed date.
Conclusion
Staining a redwood table comes down to three decisions: sand no finer than 120 to 150 grit, use an oil-based penetrating stain rather than water-based, and plan for a yearly touch-up on a table that lives in the sun. Test on a scrap, give the end grain extra attention, and handle oily rags safely, and the result will look like redwood rather than a blotchy imitation of it.
Sponsored / affiliate links. As an Amazon Associate I earn from qualifying purchases. I may earn additional commission from eligible campaigns.